
This is a very easy and cheap, no sew felt food tutorial!
I've never actually made real tortelloni pasta , so to learn how to fold it I used a wonderful picture pasta shaping tutorial over at a yummy cooking blog called Palachinka.
Nice!
Tortelloni Supplies:I've never actually made real tortelloni pasta , so to learn how to fold it I used a wonderful picture pasta shaping tutorial over at a yummy cooking blog called Palachinka.
Nice!
(makes 12)
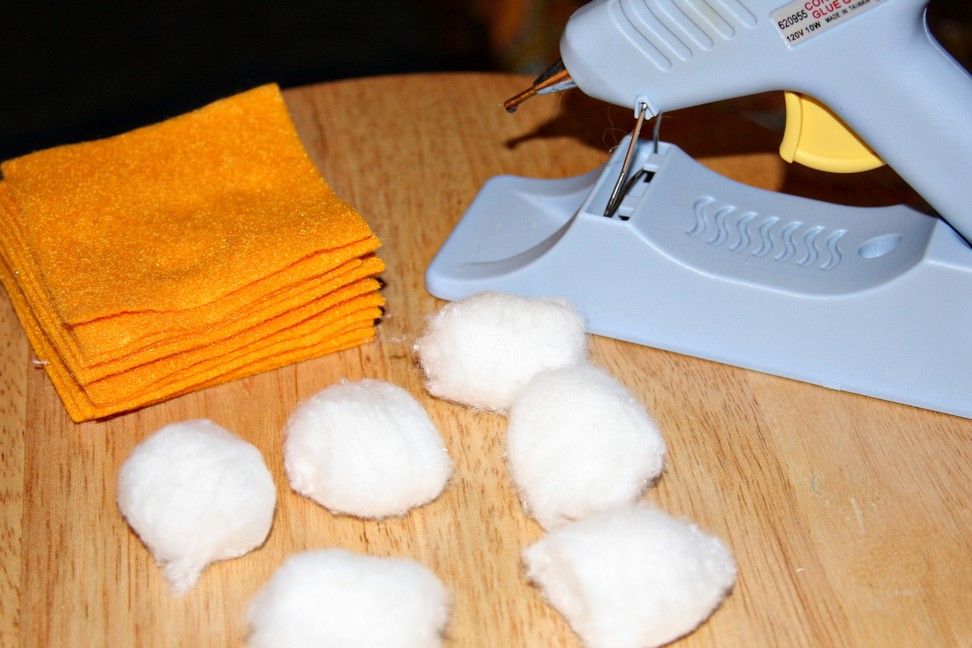
1 piece of 9"w x 12"l dark yellow craft felt cut into 12 3"x3" squares
hot glue gun & glue stick
12 cotton balls
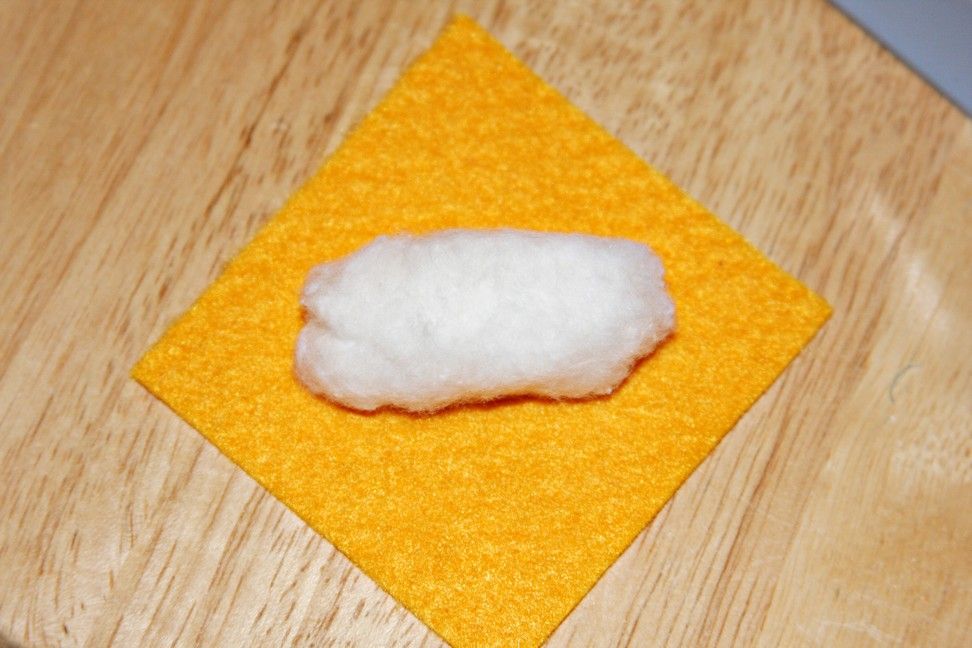
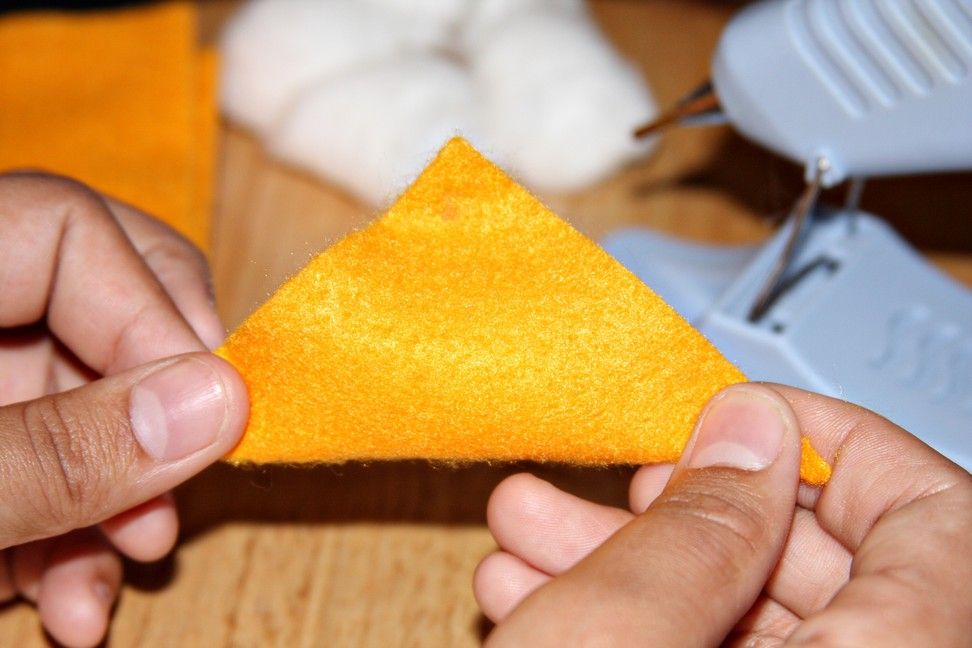
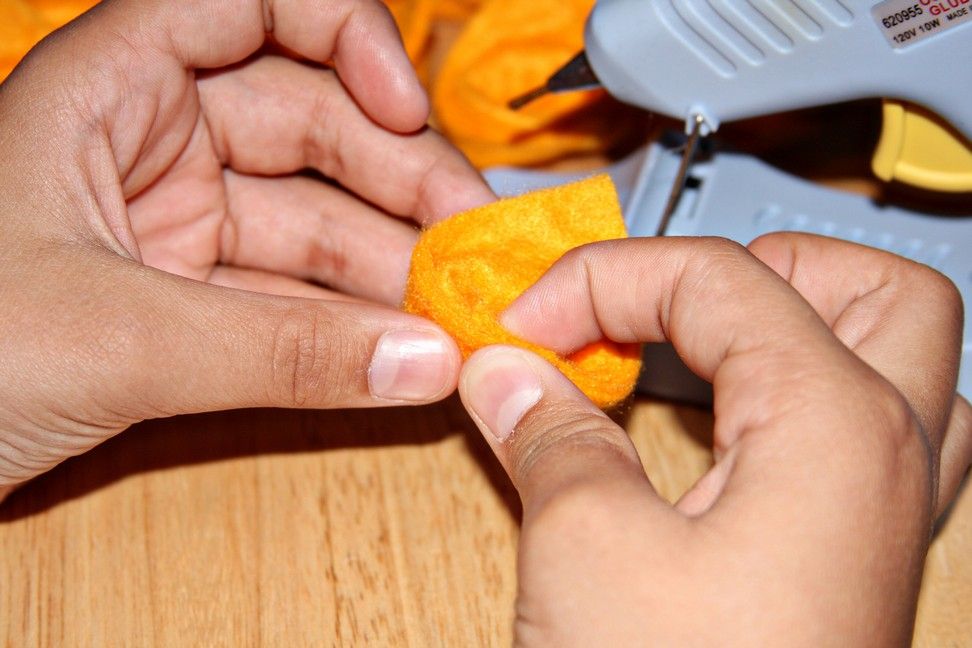
Turn the felt square so it looks like a diamond. Roll a cotton ball between your hands until it's a little oval-ish, place it in the center of the diamond. Put a dot of glue on the top corner of the felt. Fold until the corners meet and pinch until the glue sets. Your piece will be triangle-shaped now. To close the triangle, add a thin line of hot glue along the inside of both sides.
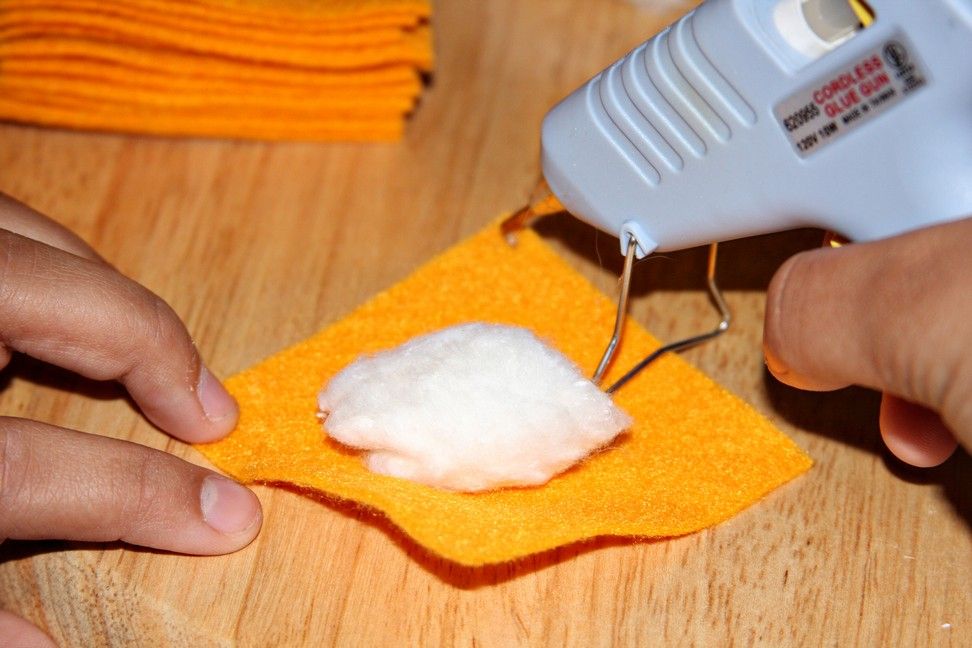

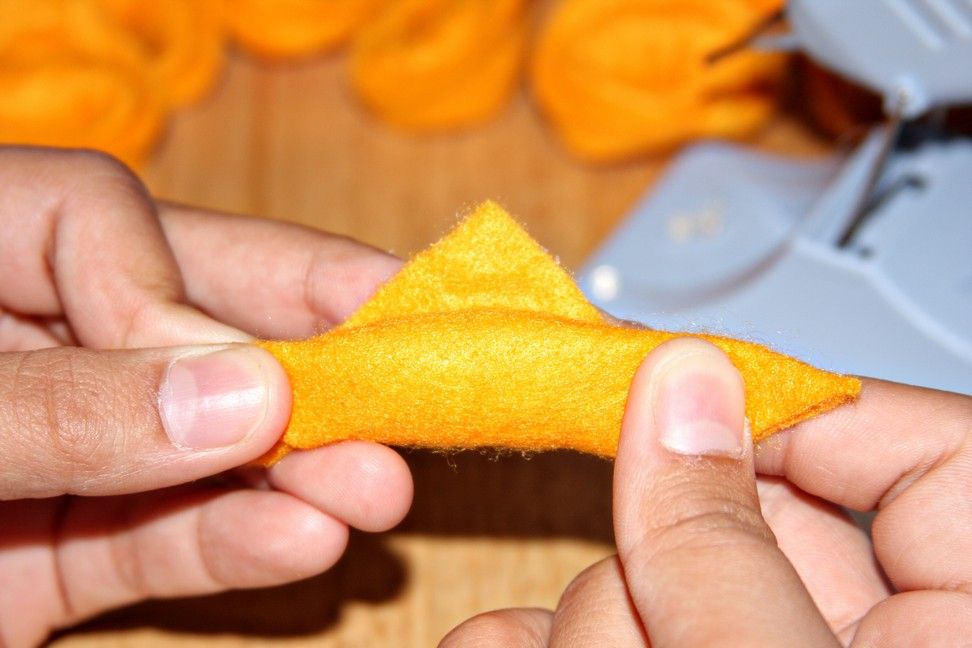
Pinch it closed until the glue sets. Now fold the bottom of the triangle up, leaving a a small triangle-size "point". While holding the fold in place, reposition your fingers like in the third picture, pinch the sides and curl them around your finger to bring the ends in the front.
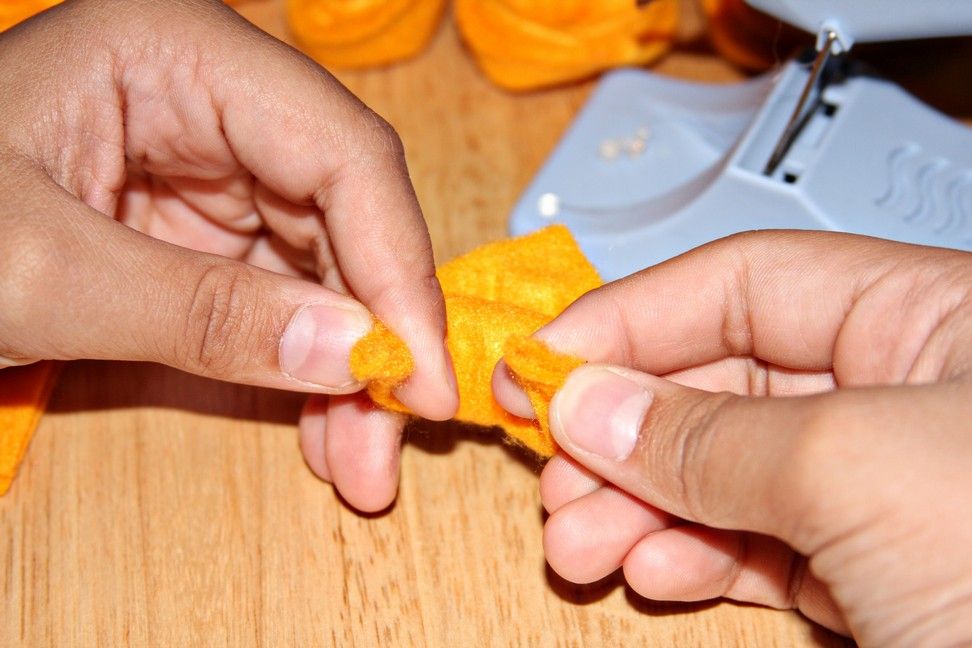
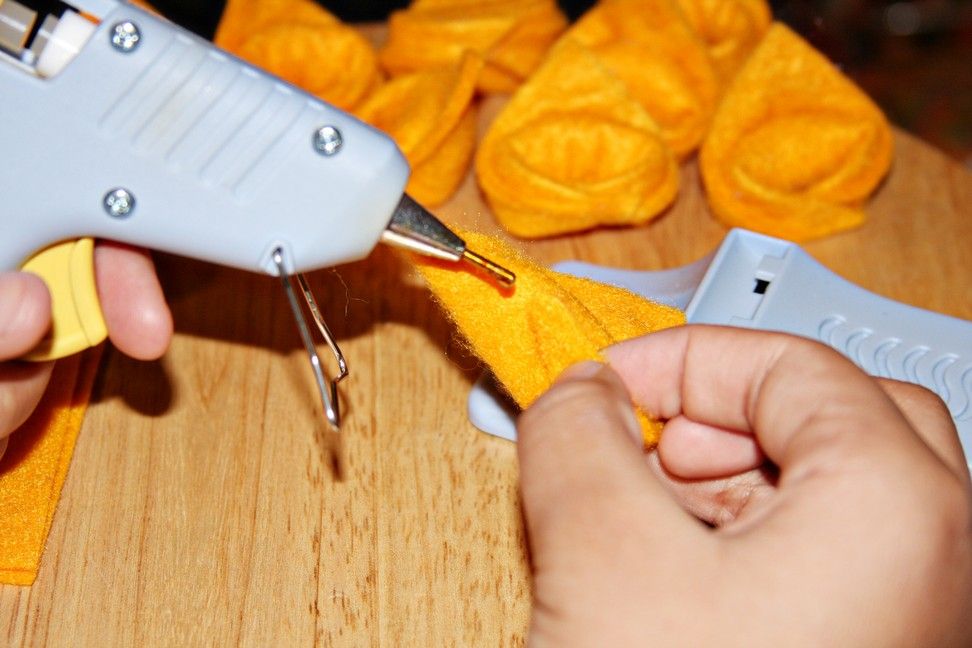
Place a dot of glue on one side of the tortelloni, then lay the edge of the other side on top. Pinch until the glue sets. All done! Now it's time to make the tin!

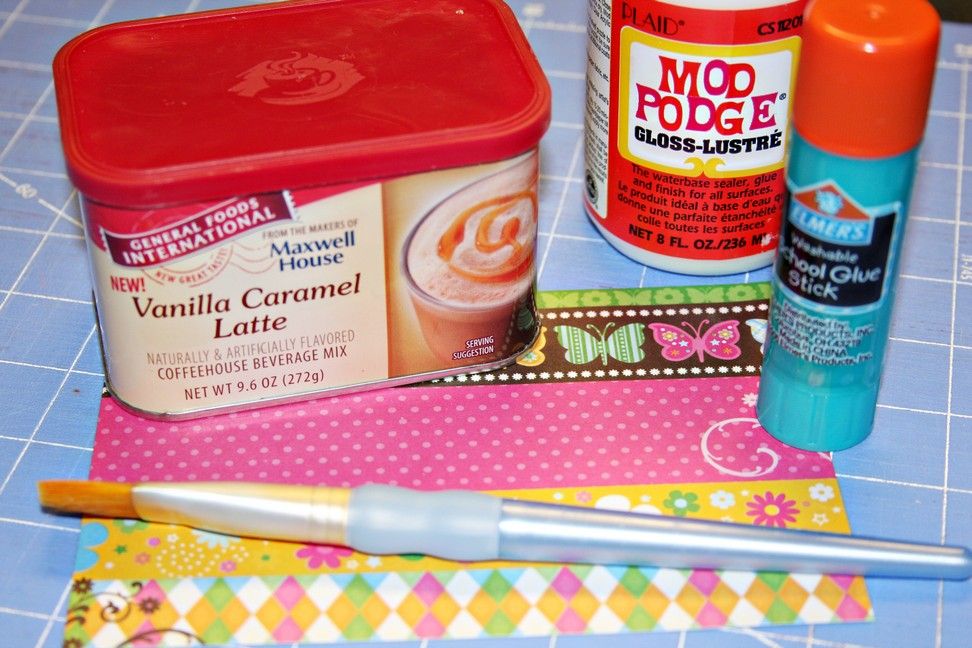
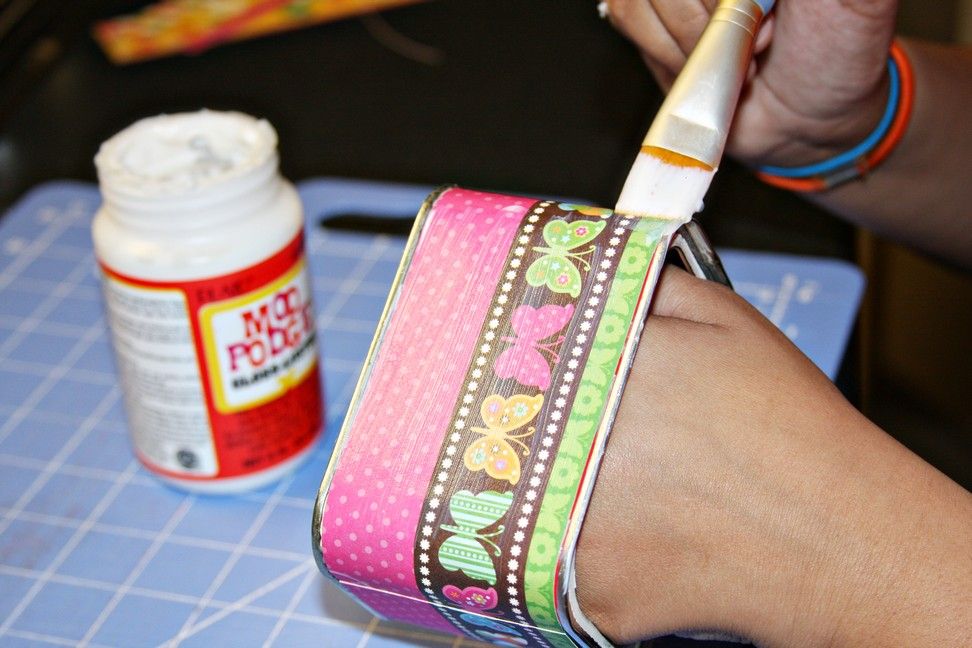
Tin Supplies:
Maxwell House tin (recycled!)
Mod Podge
card stock paper (I used 2 index sized pieces)
glue stick & paint brush
Measure width of the tin and cut the paper. Apply the glue to the tin.

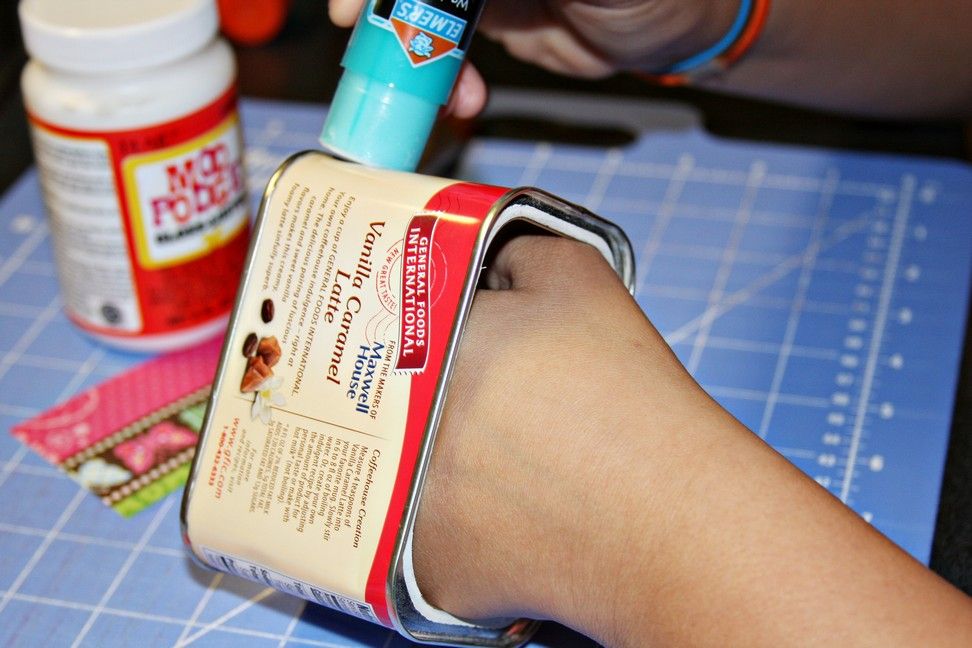
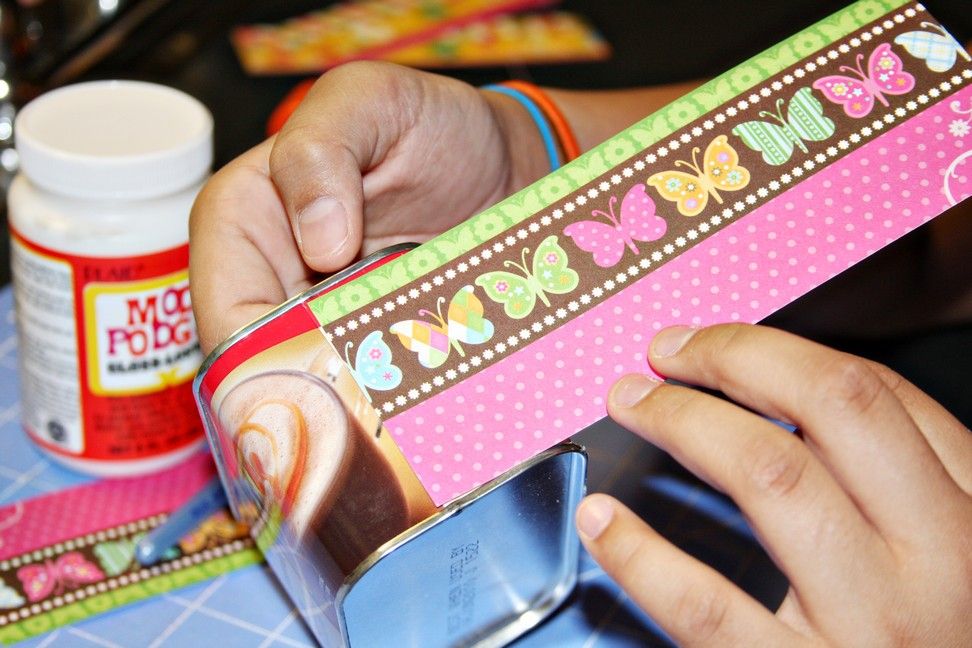
Put the paper on the tin starting at the tin's seam. Apply a thin layer of Mod Podge.
That's it! Let it dry completely before touching it.
All done!!
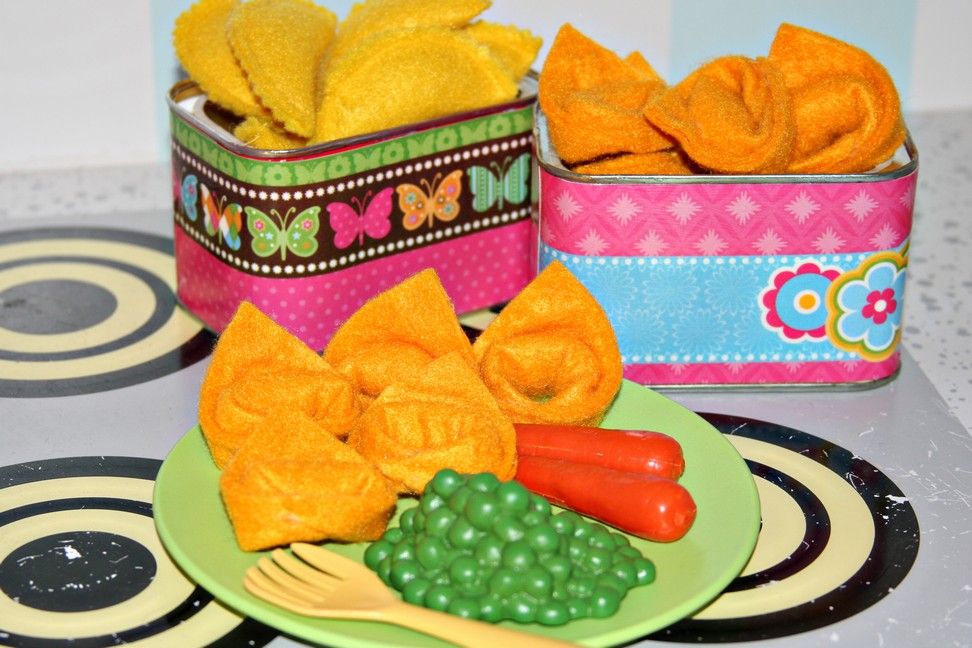
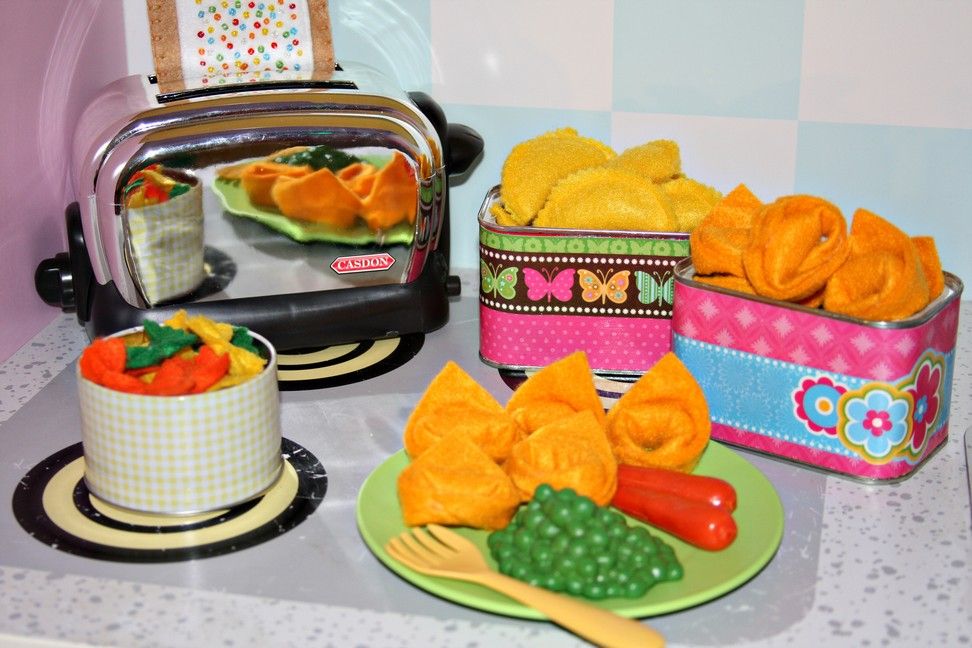
Look how cute the pasta looks in the tin!
These would make great stocking stuffers for your Darling Stinker, Christmas and Birthday presents too.
Bethany was a HUGE help making the pasta and the tins while I took pictures.
Thank you Bethy!!
This is an awesome project to do with your kids and costs next to nothing to make.
It didn't cost me a penny since I had everything I already needed on hand.
POST-IT-NOTE:
Serenity's peas and carrots are from the Learning Resources. They have some of the best play food I've ever seen - very durable and realistic! Serenity has a whole set for her kitchen. In case you were wondering, I don't show the lids for the tins 'cause I didn't want them in the picture, but I still have them.
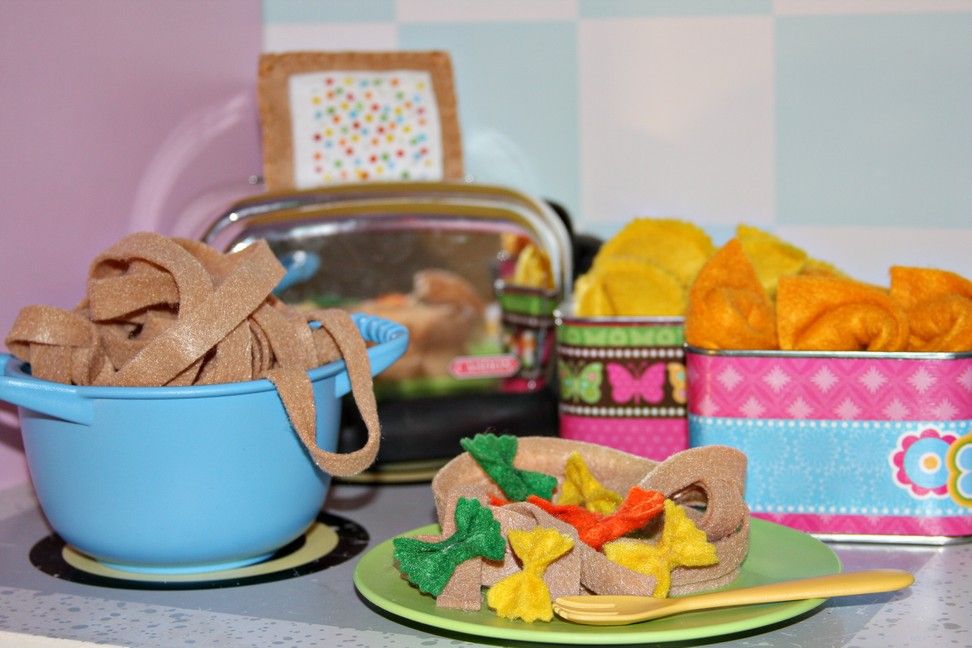
Tagliatelle noodles:
I modeled these after the ones from Haba.
They are $12 on Amazon!
So for around 35¢, I bought 1 piece of light brown 9"w x 12"l eco-fi felt at Wal-Mart.
Then to make them, all I did was cut one inch off the length of the felt piece, then cut it into 1/2"w x 11"l strips.
They are the same length as the Haba ones and I just guesstimated on the width.
I ended up with 18 {whole wheat} tagliatelle noodles.
Not bad for 35¢!
More felt foods I've made:
Pop-Tarts
Felt Bow-Tie Pasta
Felt Agnolotti Pasta
Felt Valentine's Day Fortune Cookies
NO-SEW Felt Cheese & Spinach Ravioli
Felt Eggplant Spinach & Tomato Lasagna
I hope y'all like this latest felt-food addition!
Pop-Tarts
Felt Bow-Tie Pasta
Felt Agnolotti Pasta
Felt Valentine's Day Fortune Cookies
NO-SEW Felt Cheese & Spinach Ravioli
Felt Eggplant Spinach & Tomato Lasagna
I hope y'all like this latest felt-food addition!
POST-IT-NOTE 2:
I would like give a HUGE thank you to Ruffles and Stuff and Someday Crafts and One Pretty Thing and Friend Stitch (I hope I got that right!) and Craft Gossip and Monster-Arkivet (I hope I got that one right too!) and Palachinka, and Bobbityboo, and Totally Tutorials and a-tutto-zigzago for linking this post!
Happy Holidays!


24 comments:
Adorable-my son loves Barilla spinach & cheese tort...I should make some of these for his kitchen!
Adorable!! I've got it up on the sidebar today!
This is so cute and amazing!
Thank you so much for using the tutorial!
Love the tins! I'm almost finished with all my felt food. Have you made cookies yet? Those are really easy too :) I've done chocolate chip and sugar cookies with hearts on them.
Thanks Angie
http://felting.craftgossip.com/2009/12/08/felt-tortellini-pasta-and-tin-tutorial/
♥ Linda
great!
cant wait to try it out!
thanks!
Adorable! I know a little girl who would just love this!
Oh my how stinking adorable. I just love your blog btw. Im a new follower. Im a crafty SAHM too. come visit my blog when ya get a chance.
http://www.craftychicmommy.blogspot.com/
Delicious¡¡¡¡
great idea
xxoo
maria
I've been looking for felt food but I'm a terrible sewer. I can totally handle a glue gun though! Cool.
OH MY GOODNESS!! This is so creative and FUN!! I love it!
this is too much!!!! I love this! email me and let me know if it would be ok to feature this ob Blue Cricket!!!
I love this!!!!
OK, that's it. I'm in LOVE with felt food!!
We are making some of these for gifts (I have a feeling my daughter won't mind when she finds some for her on Solstice morning). Your tutorial is great and so is the finished product. Thank you!
Those are DARLING!! Ha ha ha!! I love it. The shape makes me think that they would make really cute fortune cookies too!! Have a wonderful holiday season! Thanks so much for linking to Poppies!! Please come again!!
Thank you so much for linking! Those all came out so cute! I even want to play with them! lol
Wow, I love this idea, ... they seems so gnummy!!! I linked you on my blog, I'm sure someone wants to try out these tortelloni! Thank you so much for the great tutorial! Hugs, Renata.
I linked to this one, too! Thanks!
This is darling beyond words. You are super smart for making a tin to store it in, too. Well done!
Love the tortellini. Makes me hungry! Thanks for sharing with Made it Monday! Jules
AW, this is so cute!! It makes me so happy!
I think I might have already invited you from another post . . . but I'm going to invite you again anyway! Your felt posts are fantastic. Thanks for the great tutorials.
I'd love for you to link this (and any other felt projects you'd like to share) up at my Felt Food Roundup on OneCreativeMommy.com. I hope to see you there!
Thanks a lot for your tutorial.
It was great to sew tortellinis in Annecy (France => excuse my mistakes in English). They were sent to Canada for my godaughter.
International sewing tnaks to you !
Post a Comment