
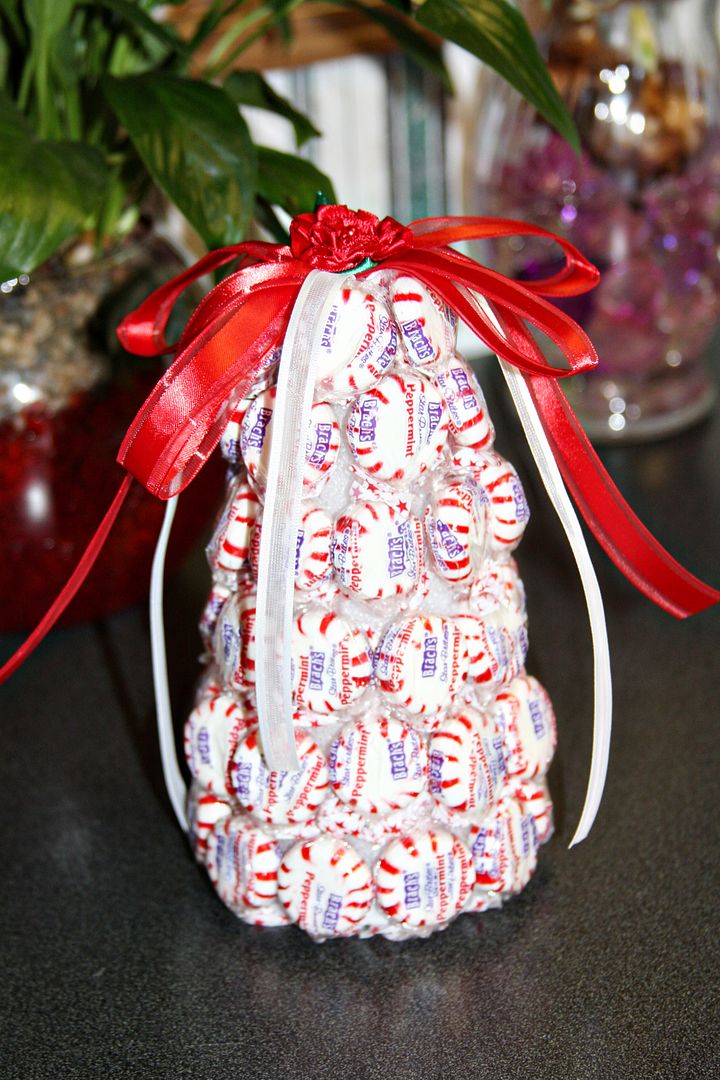
You've seen one of these before right? It's so easy to make! I did this one the other day, but it didn't come out quite like I wanted it to because I used the wrong kind of peppermints (they've got Brach's written all over them for gosh's sakes!) and pins (mine were way to short!). But I plan to try again, hopefully my second tree will look better than my first one!
Materials needed:
Styrofoam cone
Peppermints
Pins
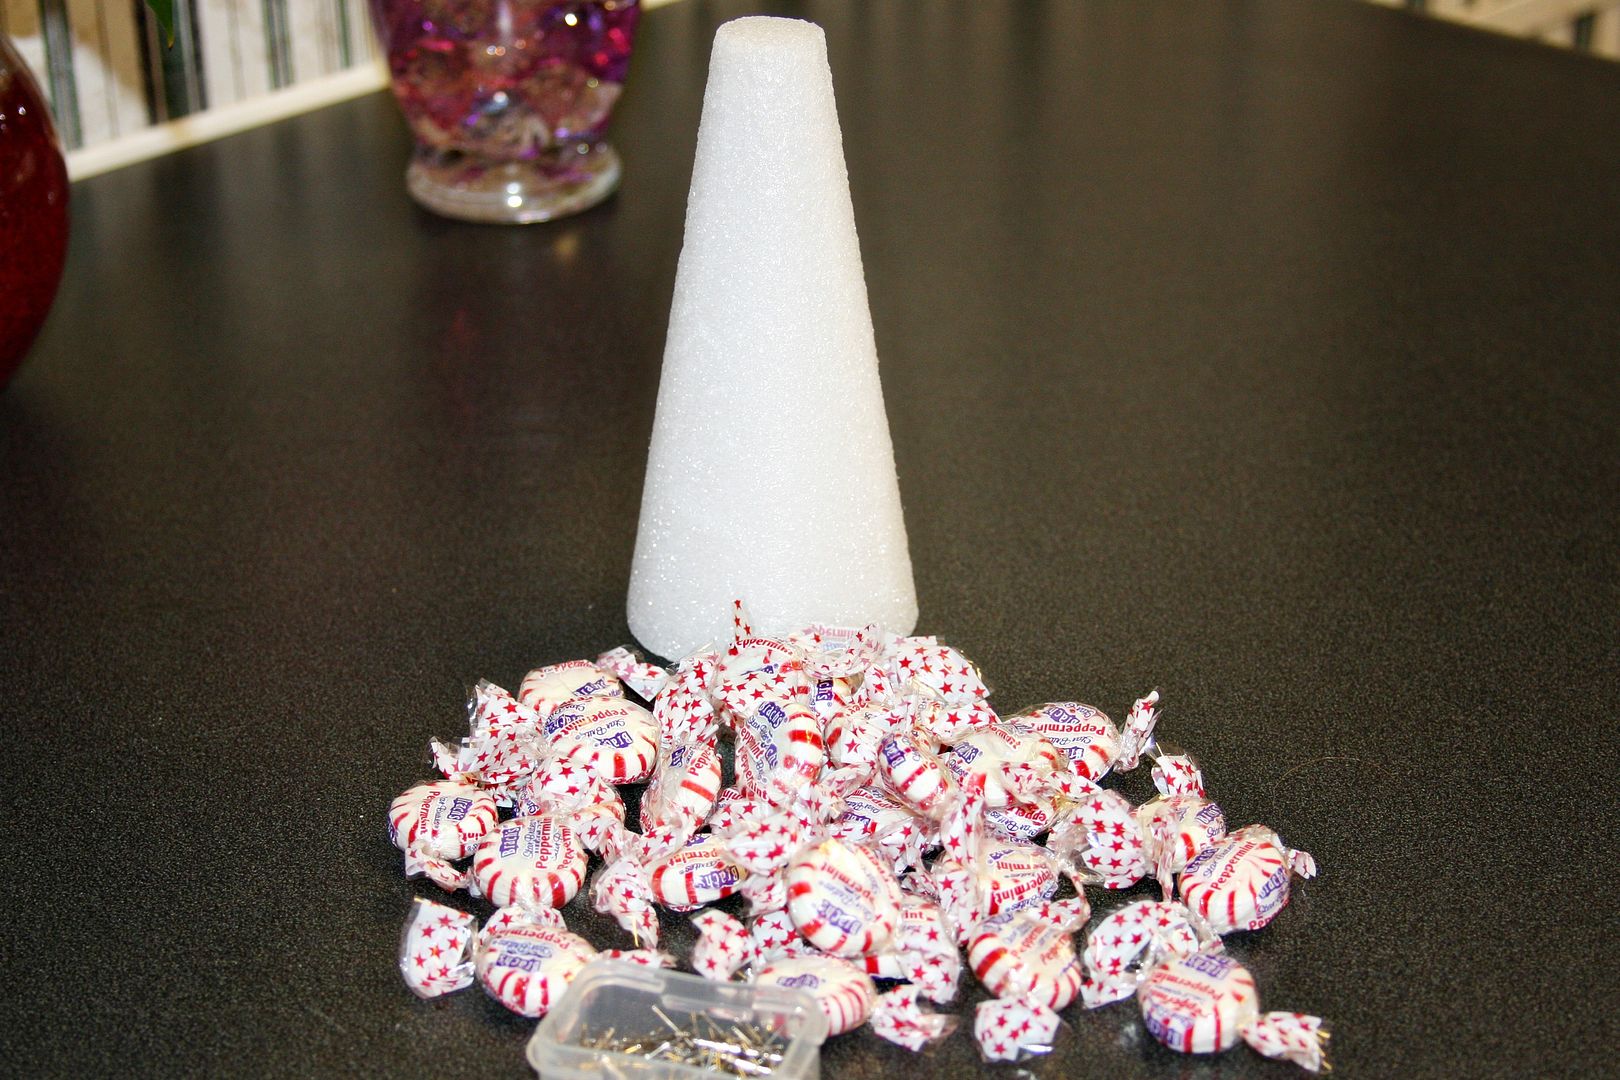
This project is so simple, so that makes it perfect to do with your Darling Stinkers. And really very cheap to make too - less than a $1.
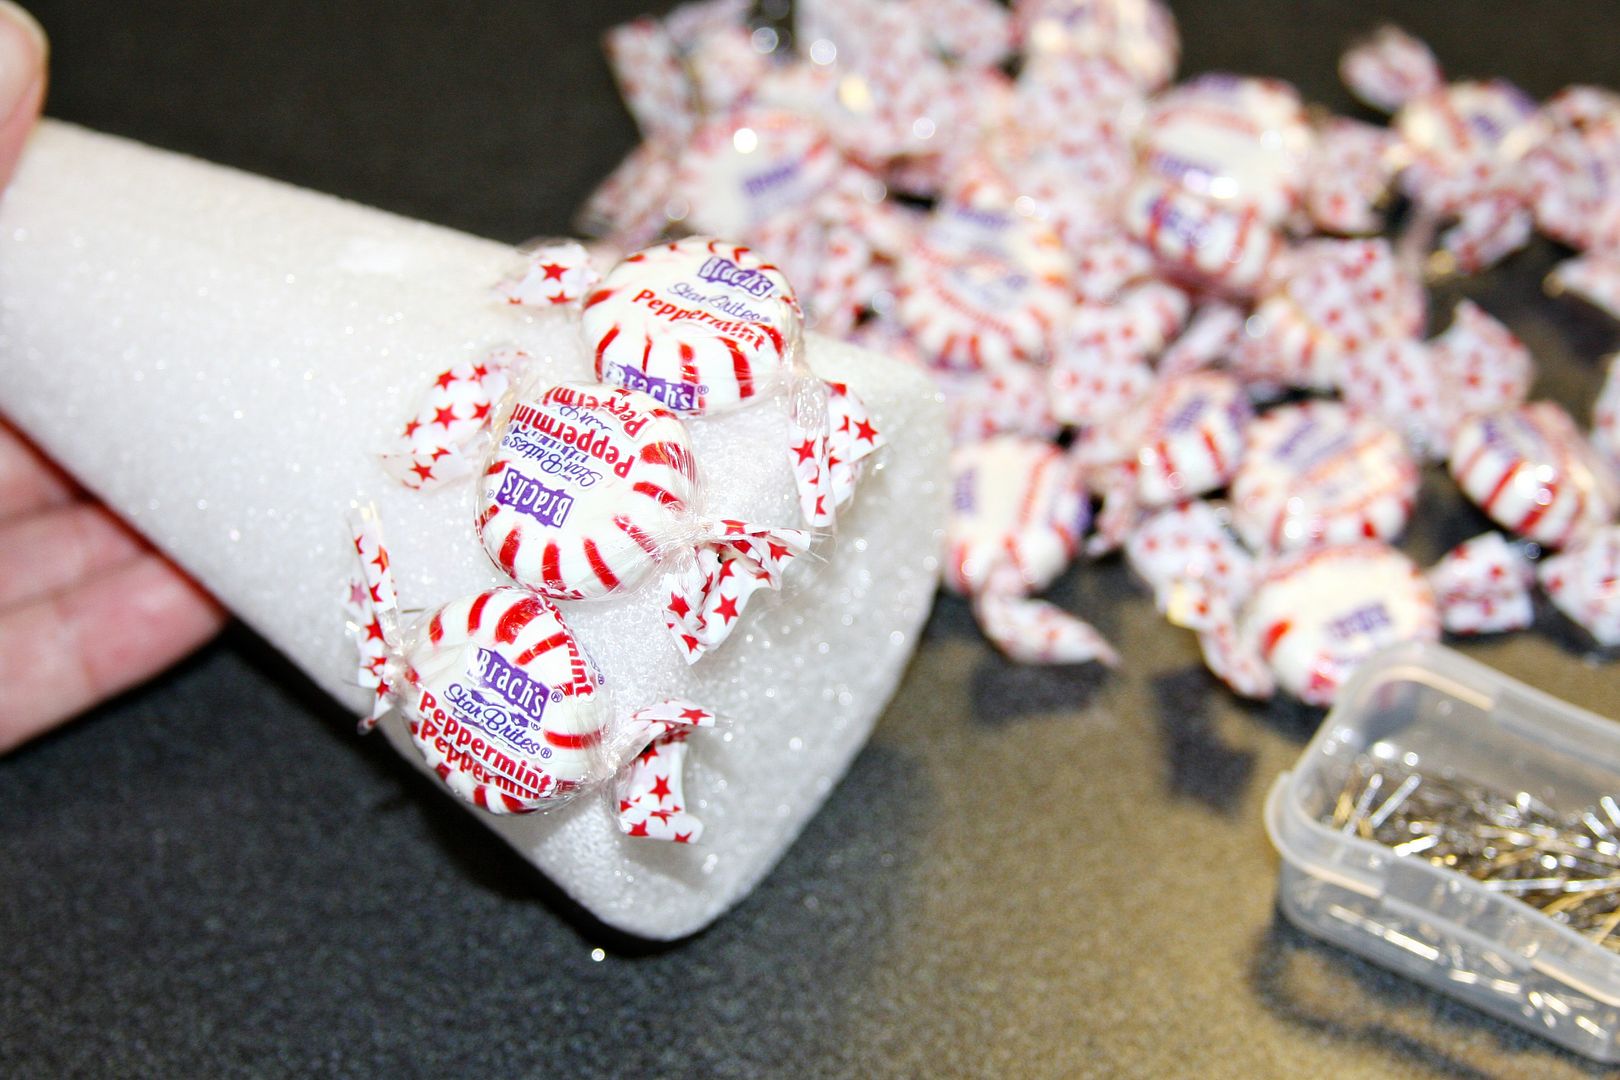
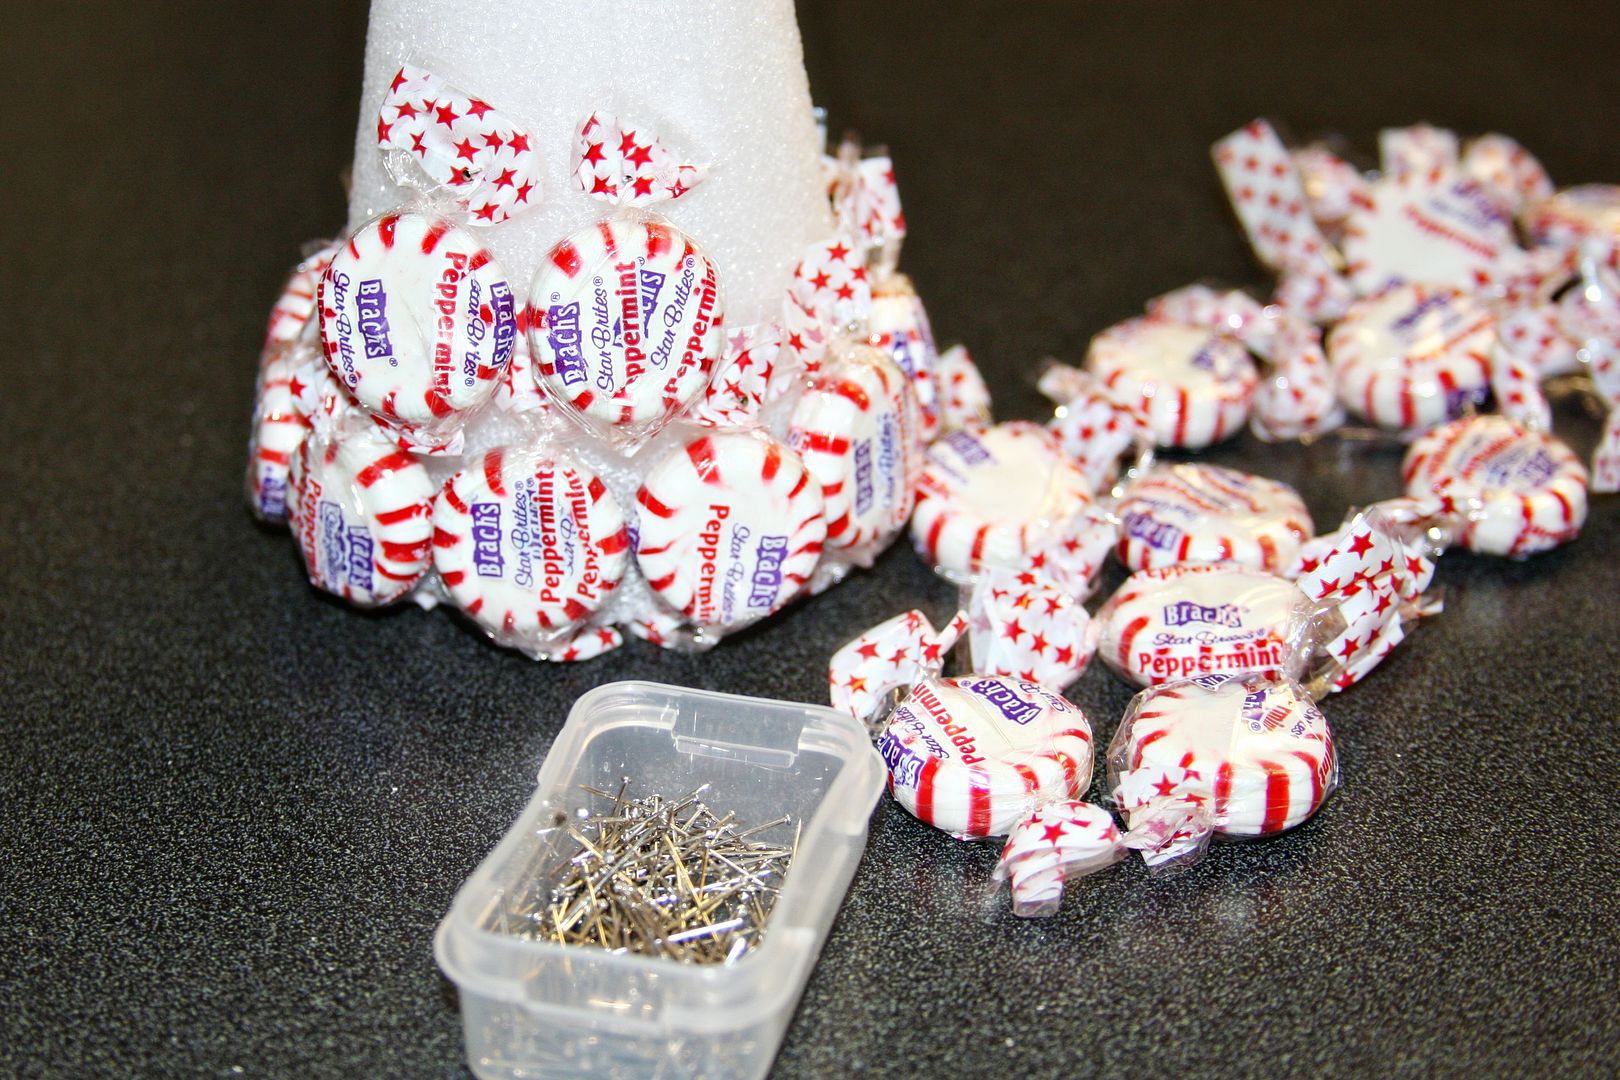
Basically, you just pin the peppermints to the cone in rows, starting at the bottom. Space them out as evenly as possible, and try to keep the wrapper twists hidden.
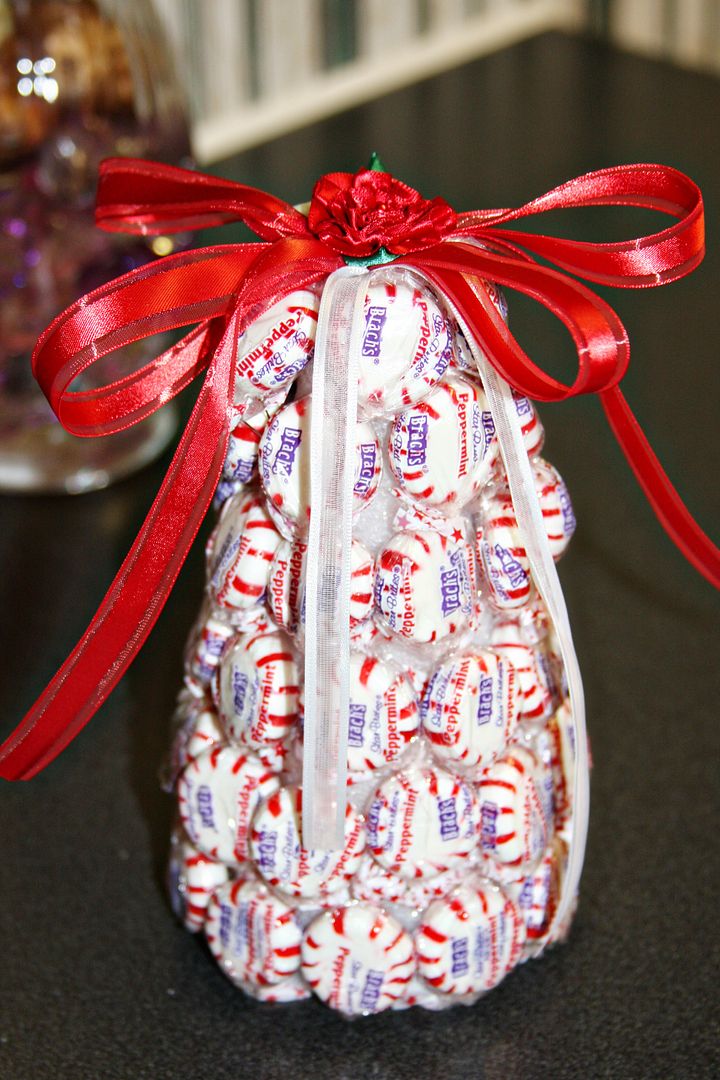
All done! I used the Mini Bowdabra to made a bow for the top and a little satin flower I got from Wal-Mart. It's best if you don't look too closely at my Peppermint tree - that way you can't see all the mistakes!! Oh! And pretend you don't see Brach's stamped all over the tree! That's why this project is perfect for kids - they won't care about all the little details!
There are all kinds of embellishments you can do with this too.
Get a little terra cotta pot, paint it Christmasy colors, and "plant" your little peppermint tree in the pot. Put a little bit of Styrofoam in the pot, poke one end of a wooden dowel in the bottom of the peppermint tree and the other end into the pot. Decorate the top of the pot with felt, or some other materiel to hid the Styrofoam, and add tiny presents under the tree.
Hmm... I might try that one next!
You can also add bells, glitter, and spray paint the cone a pretty Christmasy color.
Tons of possibilities!
Happy Holidays!


13 comments:
Cute idea!
This looks WAY easier than the candy Christmas trees I had bookmarked to do with my kids. . .this one wins!!! Thanks for sharing :)
Angie-I decorate our family room with lots of peppermint--this is a great idea! Thanks for linking to Deck the Halls!
I still think it's really cute, maybe next time you could remove them from their wrappers? Then you wouldn't have to worry about the logo. You'd just need to spray it with something to protect it and keep it from getting too sticky or melty.
Very cute idea. I think it turned out great!
Cute! TFS :)
I love this! I made a candy wreath similar to this a few years ago. it was tons of fun!
Dena
Cute! I would love a whole peppermint forest!
Oh cuteness! I just love the simple look of these peppermint candies. And turning it into a tree is so SWEET! And what do you mean about Brach's being written everywhere...I don't see anything. ;)
So cute and I like that you left the wrappers on!
Those are so cute and festive.
Thanks for posting
Cheri
I love all of your cute ideas. I might even be able to try this one in a year or 2 when my toddler is a little older. He has already destroyed my cute gingerbread houses.
i made these as christmas gifts for family and friends. thanks for the inspiration .... and you tutorial!
Post a Comment