Wednesday, September 30, 2009

Felt Spider Hair Clip

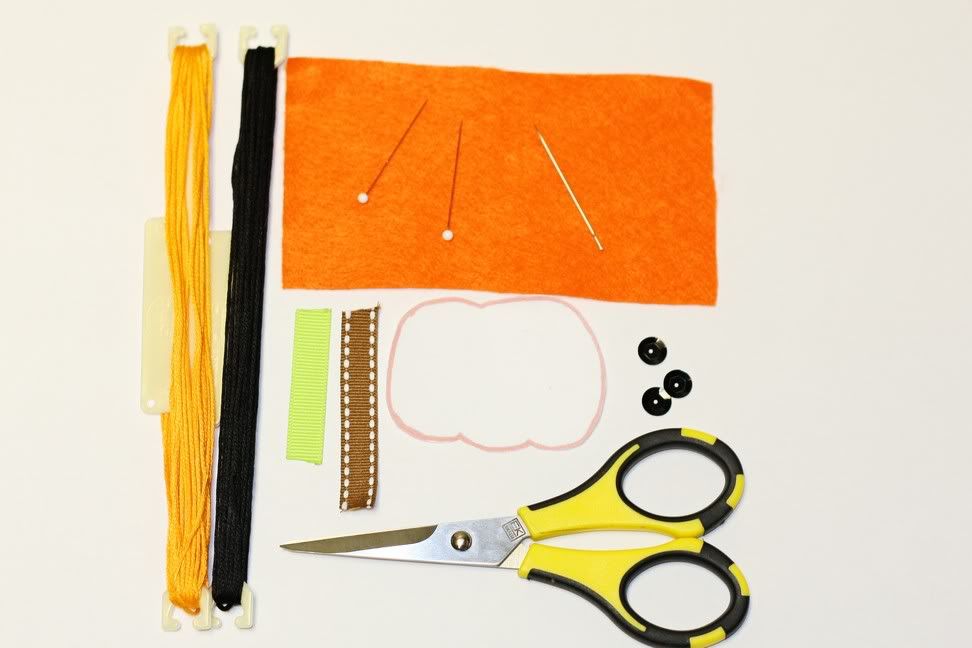
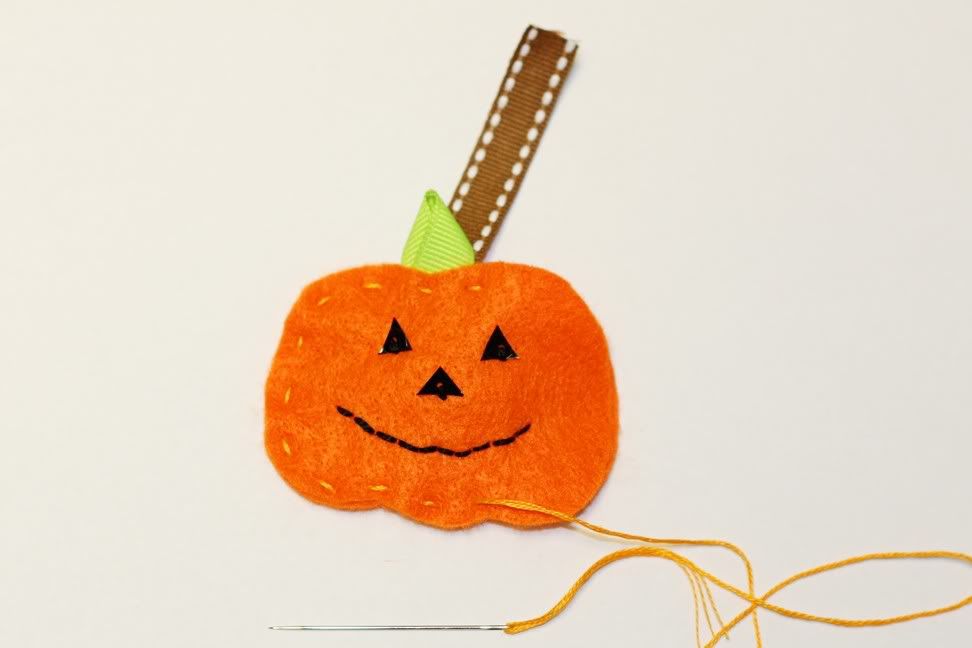
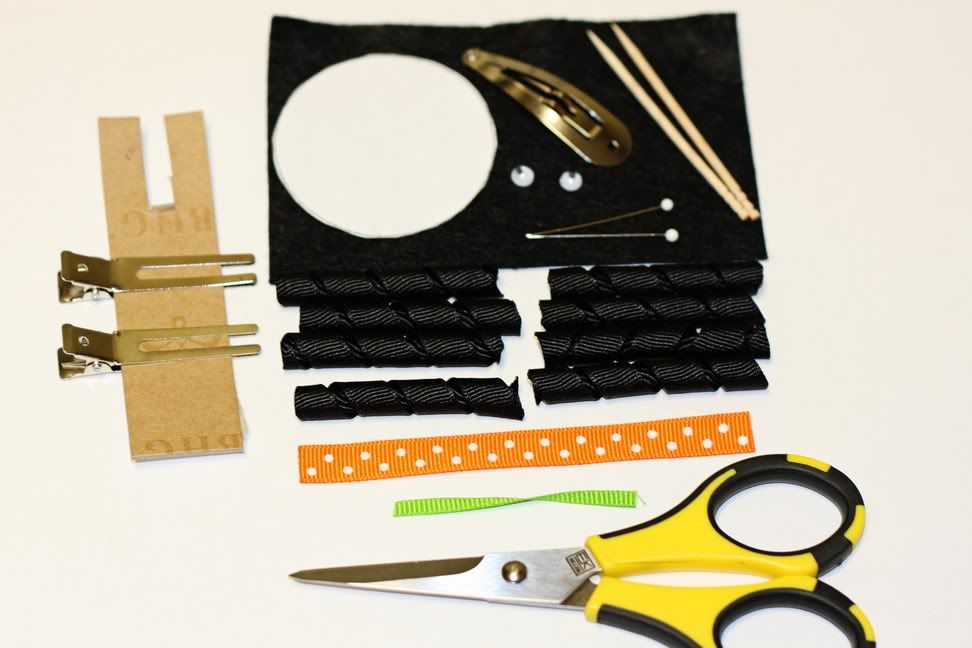
Here's another Halloween hair clip! Hey, I bought a 30 pack of snap clips at Wal-Mart - I gotta use 'em all, right?! Alrighty then! Okay, so here we go with another tute!

For another cute Halloween clip, go check out my Embroidered Felt Pumpkin Hair Clip!

Materials:
8 - 2" korker ribbons (using 3/8" grosgrain ribbon)
1 - 4" (3/8") grosgrain ribbon
1 - 1/2" (1/4") grosgrain ribbon
1 piece of 3/4" x 4 1/2" black felt
2" snap clip
2 5mm wiggly eyes
circle template (download here)
toothpick (I have no idea why I got two pictured!)
mini bow making kit (learn how to make it here)
scissors
hot glue gun (not pictured)
lighter or fray check (not pictured)


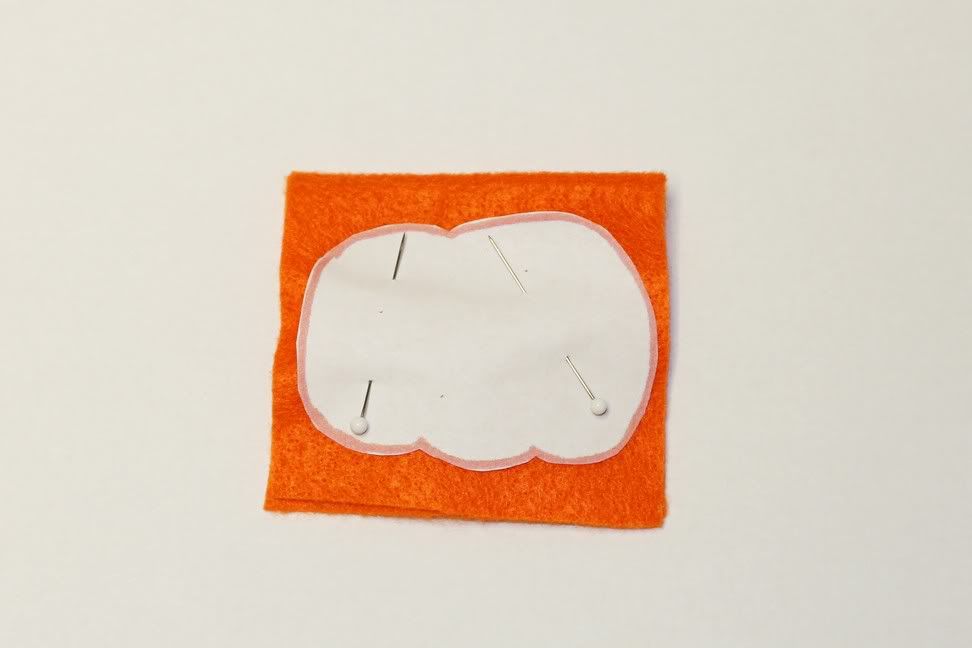
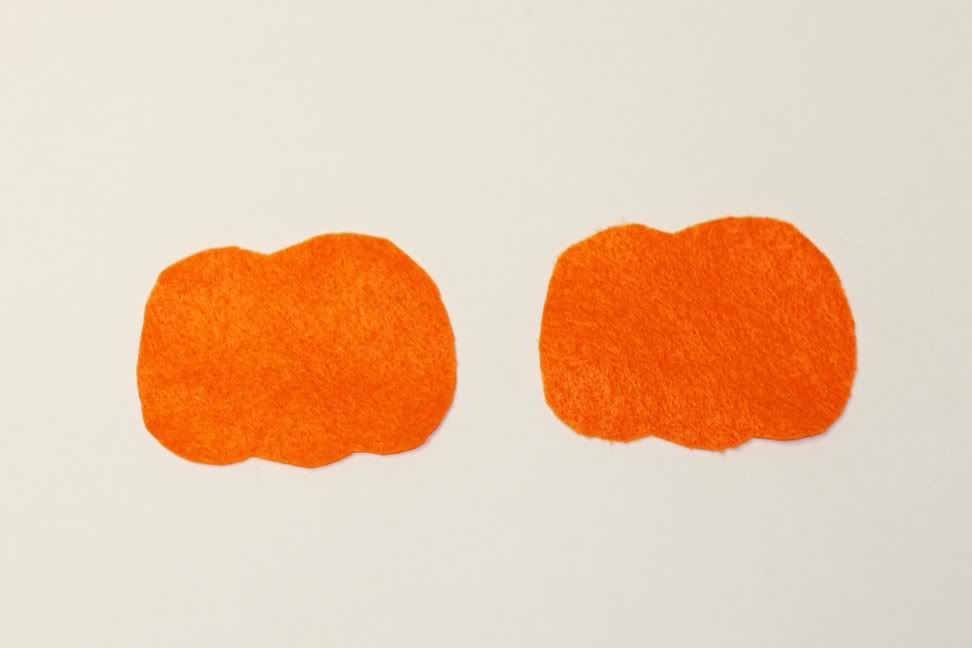
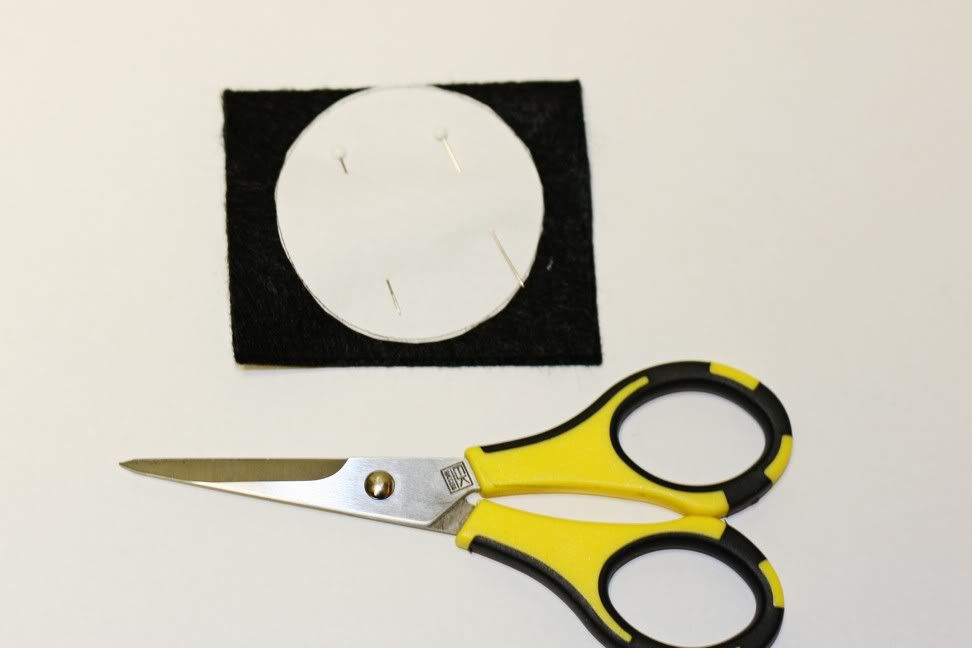
Fold the felt in half, pin the circle template to the felt, and cut. You'll end up with two circle-shaped pieces.


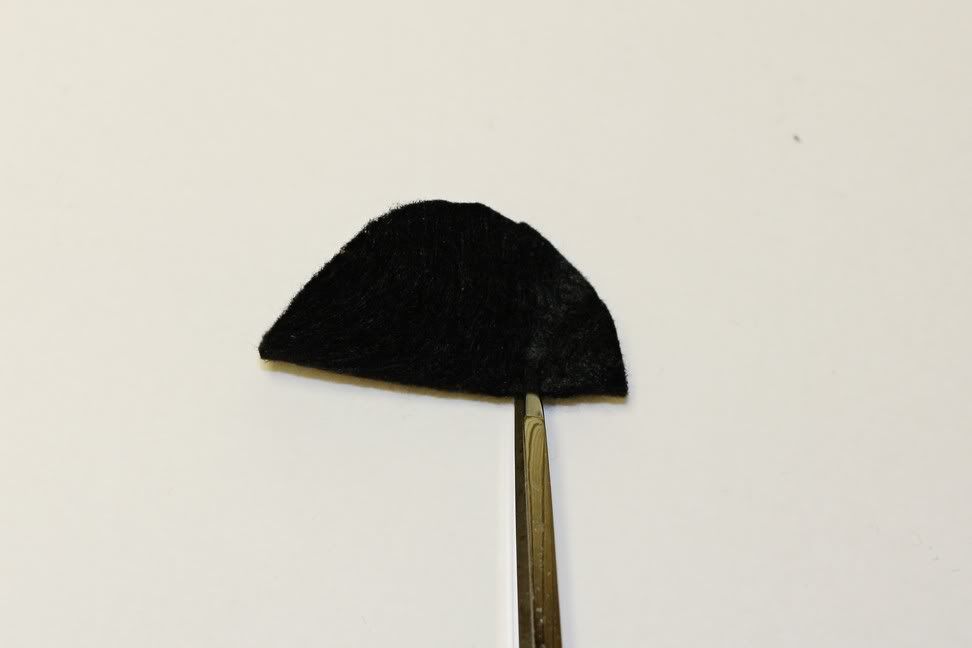
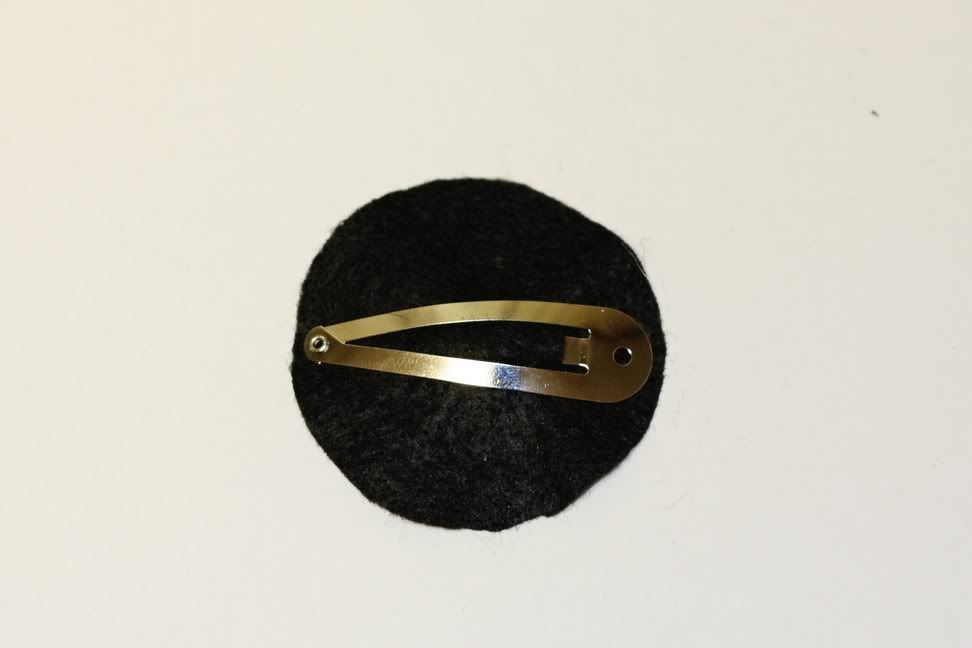
Fold one of the felt circles in half lengthwise and make a small cut near the top of the felt. Slip the hair clip into the cut you just made, center(ish) it, and then snap it closed.


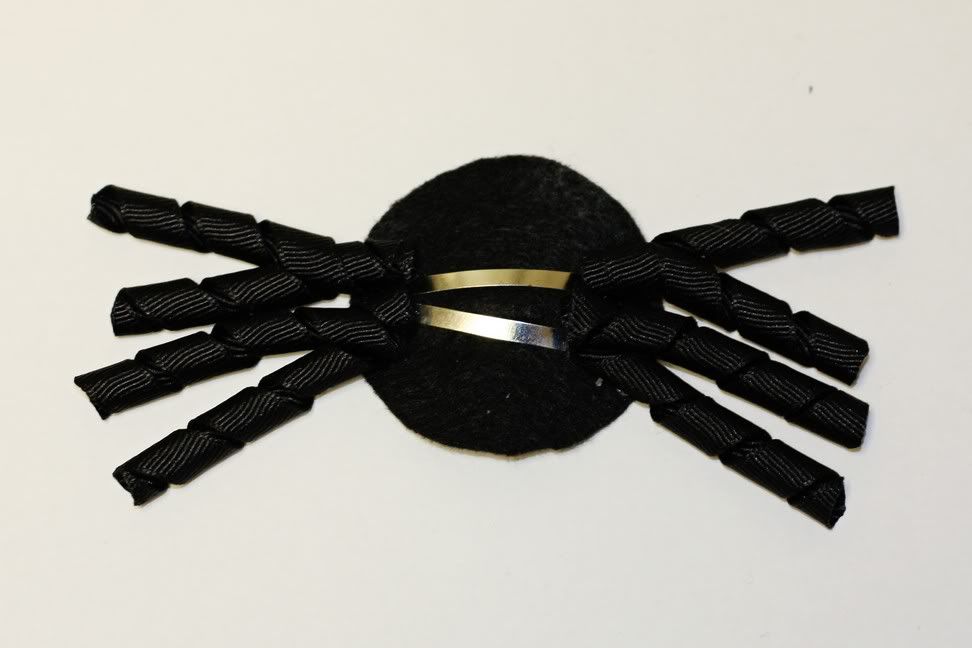
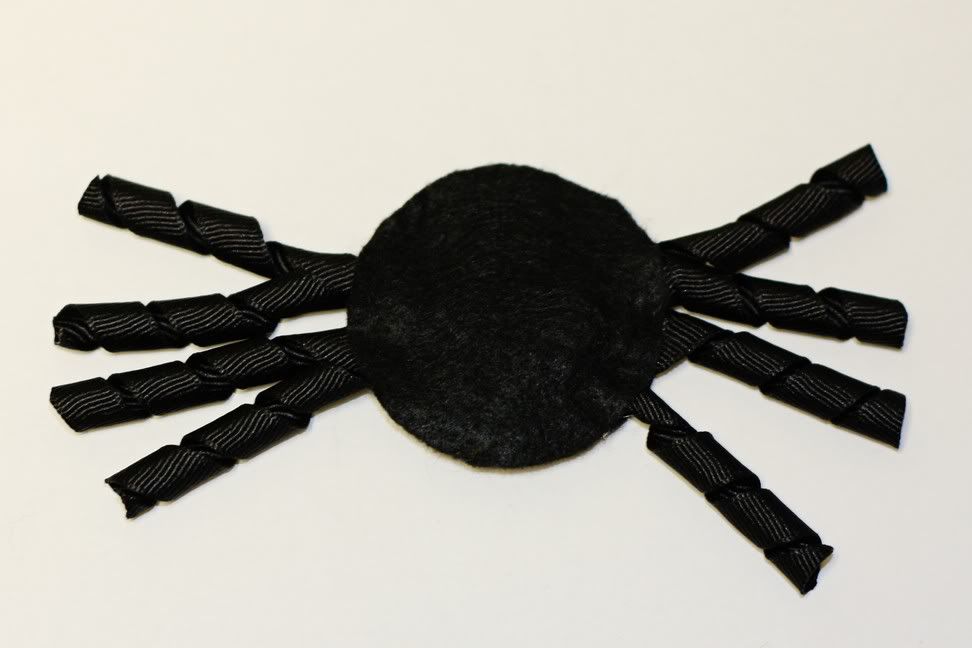
In this next step your going to glue the 2" korker ribbons to make the spider's legs. If you don't know how to make korker ribbons, check out this easy tutorial - it's the one I used! Now hot glue 4 ribbons on each side just like (or kinda like) the picture. Then hot glue the second circle on top - line the pieces up, and press down firmly until the glue sets.


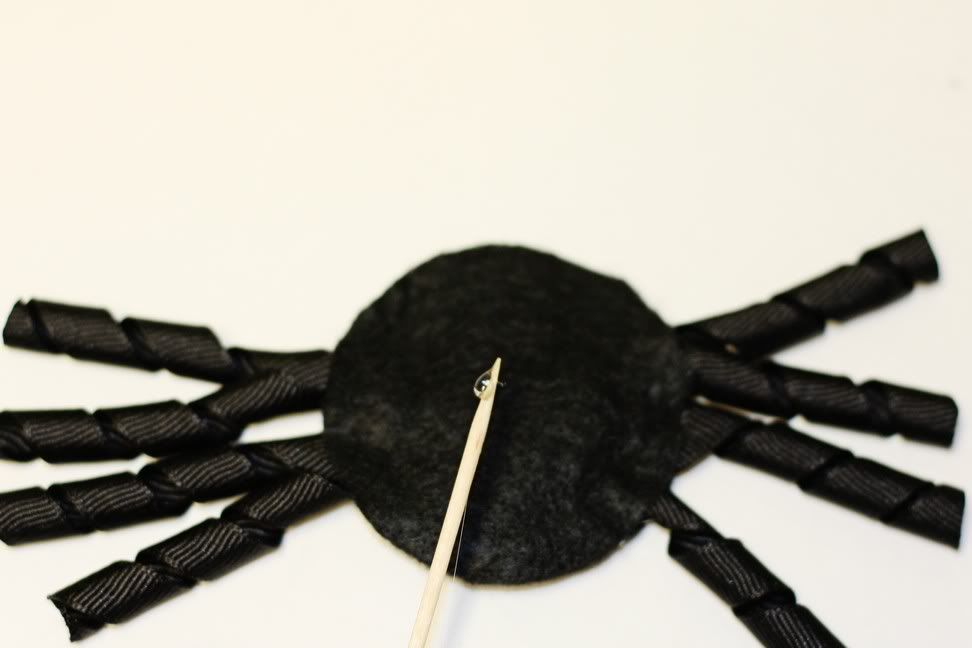
I used a toothpick to grab a bead of glue off the tip of the glue gun and attached the wiggly eyes - that way I didn't ruin my project! After you've got the eyes on, use your mini bow kit to make the spider a girl spider! I learned how to make a mini bow by using this super neat tutorial! Love it! Glue the mini bow wherever you like on the spider.


All done!!


POST-IT-NOTE: Make sure to use a lighter or fray check to seal the ends of the ribbons!

Have fun!


SYS Thurs


StumbleUpon.com

Monday, September 28, 2009

Embroidered Felt Pumpkin Hair Clip


Here's how I made an embroidered felt pumpkin hair clip for Serenity and my friend's little girl, Cobee Lynn.

For another cute Halloween clip, go check out my Felt Spider Hair Clip!

You can click on any of the pictures to ZOOM in!

Materials:
4 3/4" L x 2 1/2" W orange felt (I used craft felt)
orange and black embroidery thread
pins
scissors
skinny embroidery needle
3 smallish round black sequins
green 3/8" grosgrain ribbon 1/2" long
brown 3/8" grosgrain ribbon 2" long
pumpkin template (download here)
2" snap hair clip (I forgot to put it in my picture!)
lighter or fray check (Forgot this one too!)


Fold the felt in half, pin the pumpkin template to the felt, and cut. You'll end up with two pumpkin-shaped pieces.


Next make the leaf and stem. You can hot glue the ribbon or use a couple of stitches. I stitched my stem since I'm not completely reliable with a glue gun - yet! Place the green ribbon on top of the brown ribbon - stitch them together. Fold the green ribbon (as pictured) to form the leaf, then make another small stitch holding it in place. Finish off and set aside for now.


Now you're going to make the pumpkin's eyes and nose using the sequins. Make a cut on a sequin at a slight angle. Do the same thing on the opposite side. You now have a triangle with a curvy bottom! Make a cut straight across the bottom - slicing off that last curve. A perfect triangle! Repeat for the other two sequins.


Attach the sequin eyes and nose to the pumpkin using the black embroidery thread. Still using the black thread, embroidery a mouth with whatever stitch is easiest for you. Finish off. I used a back stitch on one clip and a split stitch on the other one. I like both stitches.


Fold the second felt pumpkin in half lengthwise and make a small cut near the top of the felt. Slip the hair clip into the cut you just made, center(ish) it, and then snap it closed.


Sandwich your clip between both pumpkin pieces, arrange the leaf and stem, then using the orange embroidery thread, make a running stitch around edge and finish off. Trim the stem to your preferred length, and use fray check or a lighter to seal the ribbon.


All done!


How cute is that?!


POST-IT-NOTE: This project took about 15 minutes to whip up, and it was very cheap to make too! I purchased the green ribbon from Hobby Lobby on sale for $1/spool and the brown ribbon from Micheal's on sale for 50¢/spool. The sequins came in a variety pack from Wal-Mart (there are thousands in there) for cheap - I don't exactly how much it was, but I'll try to remember to check and post it here. The clips were around $3 for 30 (Wal-Mart), and I used very little thread - not even 10¢ worth. The felt was 4/$1 at Hobby Lobby and I only used a small rectangle piece.

So if I had to guess how much the clip cost to make, I'd say maybe 50¢? Probably less!

POST-IT-NOTE 2: I found my snap hair clips at Wal-Mart in the sewing notions section. They were right by the Dritz button cover kits and packaged elastic. But if your local Wal-Mart doesn't sell them, the Ebay store, Bonita Girl Shop sells a 100 pack for $4.99 + $2.75 s/h. That's 7¢ apiece!

POST-IT-NOTE 3: I would like give a HUGE thank you to One Pretty Thing and Dollar Store Crafts for linking this post!


UPDATE:
Serenity is still wearing her pretty pumpkin clippies! Click the link below:
Fun Halloween Outfit

Have fun!


SYS Thursmake it wear itDesign Dazzle


StumbleUpon.com

Sunday, September 27, 2009

Cupcake Cones

Kelsey spent a night with us last night, and I wanted to make something special for her. So at 12:00 in the AM, my sweet husband went to the grocery store and bought stuff to make...

Cupcake Cones!

How neat! Kelsey certainly thought so! Serenity thought so too until she realized it
wasn't really ice cream.

Look at the smiles on both of their faces!
Kelsey's face is blurred so I changed positions.


First Serenity tried to lick it.
Kelsey just dug in like she was starving!


Then Serenity looked at the cone with a "what the...?" expression.
Kelsey was still chowing down.


So Serenity tried again. This time she took a big bite.
Kelsey is wondering if Serenity is going to eat it or give it to
her!


Serenity was
not pleased. She's got a sad/mad look on her face that says, "this is so not what I ordered!"
Kelsey, on the other hand, is trying to toss back that cone in less than a minute!


Serenity didn't eat another bite. She abandoned her cone and told Terry, "All done Daddy!"

Kelsey ate another one - just like the one Serenity didn't finish! I'm glad
Kelsey liked them!

I had one with butter cream frosting... mmmm good! I liked them too! I think I'm gonna make some of these for Serenity's 3rd birthday party - even if
she won't touch a single one!

Have fun!

StumbleUpon.com

Saturday, September 26, 2009

Quick & Cheap Chicken Salad

A friend of mine made this while I was at her house a while back (thank you Sissy!), and I loved it. It was so good! It's very easy to make too, but I kinda tweaked it just a tad - gave it a little kick. Ya know?!


Ingredients:
1/4 cup KRAFT sandwich spread (it's the best!)
2 lbs. chicken breasts
Tony C's (or salt & pepper)
2 tbsp. olive oil (not pictured)
bread


Cut the chicken in small cubes, add the olive oil and chicken to
your skillet and add a dash (or two!) of Tony C's (or not!).


Brown the chicken - make sure it's
completely cooked!


Put the chicken in a small mixing bowl and add Kraft
sandwich spread.


Stir. Toast a couple slices of bread and slather on the
chicken salad!


Serve with a couple of Vlasic baby dills. Yum!


It's really good with lettuce and tomatoes too, but I didn't have any. This is another meal Serenity will eat! Yea!!

POST-IT-NOTE: Make sure the salad has cooled down before stashing the leftovers in the fridge. Speaking of leftovers... leftover BBQ or baked chicken would make a delicious chicken salad too.

Have fun!

 http://www.thethriftyhome.com

StumbleUpon.com
Related Posts with Thumbnails