Showing posts with label try outs. Show all posts

Tuesday, November 2, 2010

Simple Lasagna Pan and Recipe


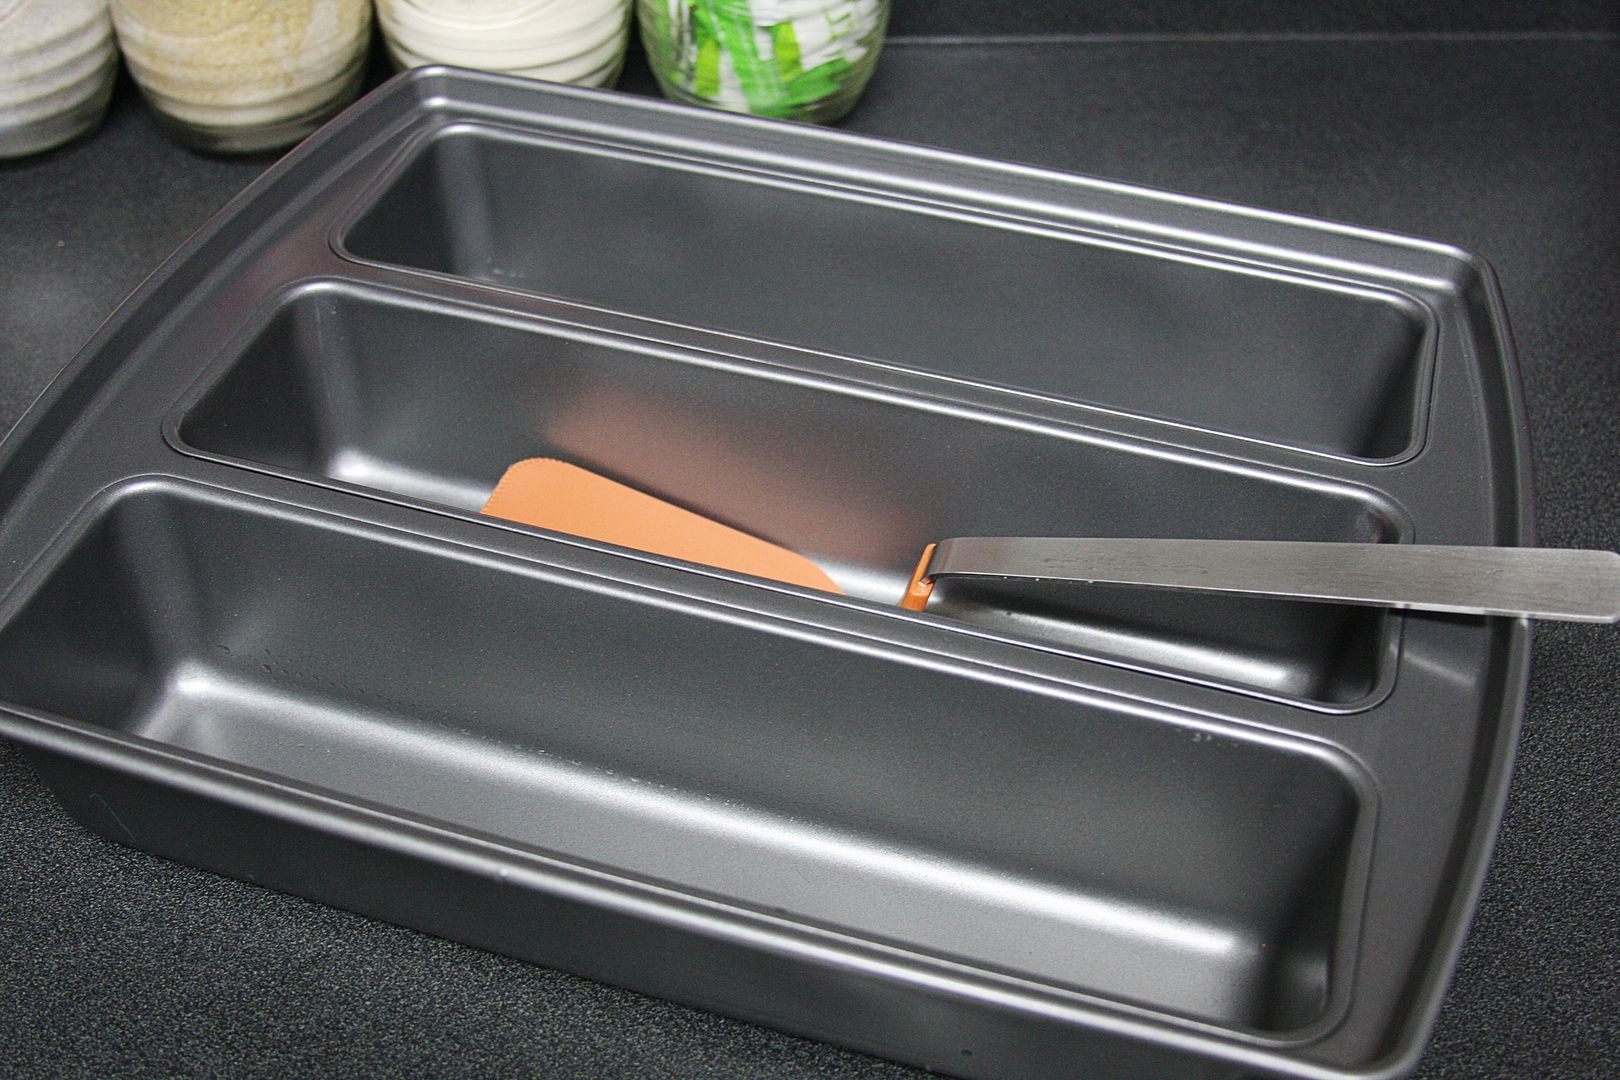
Recently I bought the Baker's Edge Simple Lasagna Pan from Amazon. I like that the pan is divided into thirds - it's easy to cook just a little or a lot and even a variety of lasagnas all at once. The pan is excellent quality and very easy to clean - nothing stuck to it not even the cheese! The custom spatula is perfect for cutting and lifting out the lasagna too.

On the Baker's Edge website, I found three recipes for the pan. Tonight I tried the Quick and Delicious Lasagna. It was so easy to make! It's available to download for free HERE.

I used the middle of the pan to make a small lasagna. Following the recipe from Baker's Edge, I had just a little bit of sauce mixture leftover - not enough to make another one. But I had plenty of the Ricotta mixture to make another small lasagna - so I froze it!


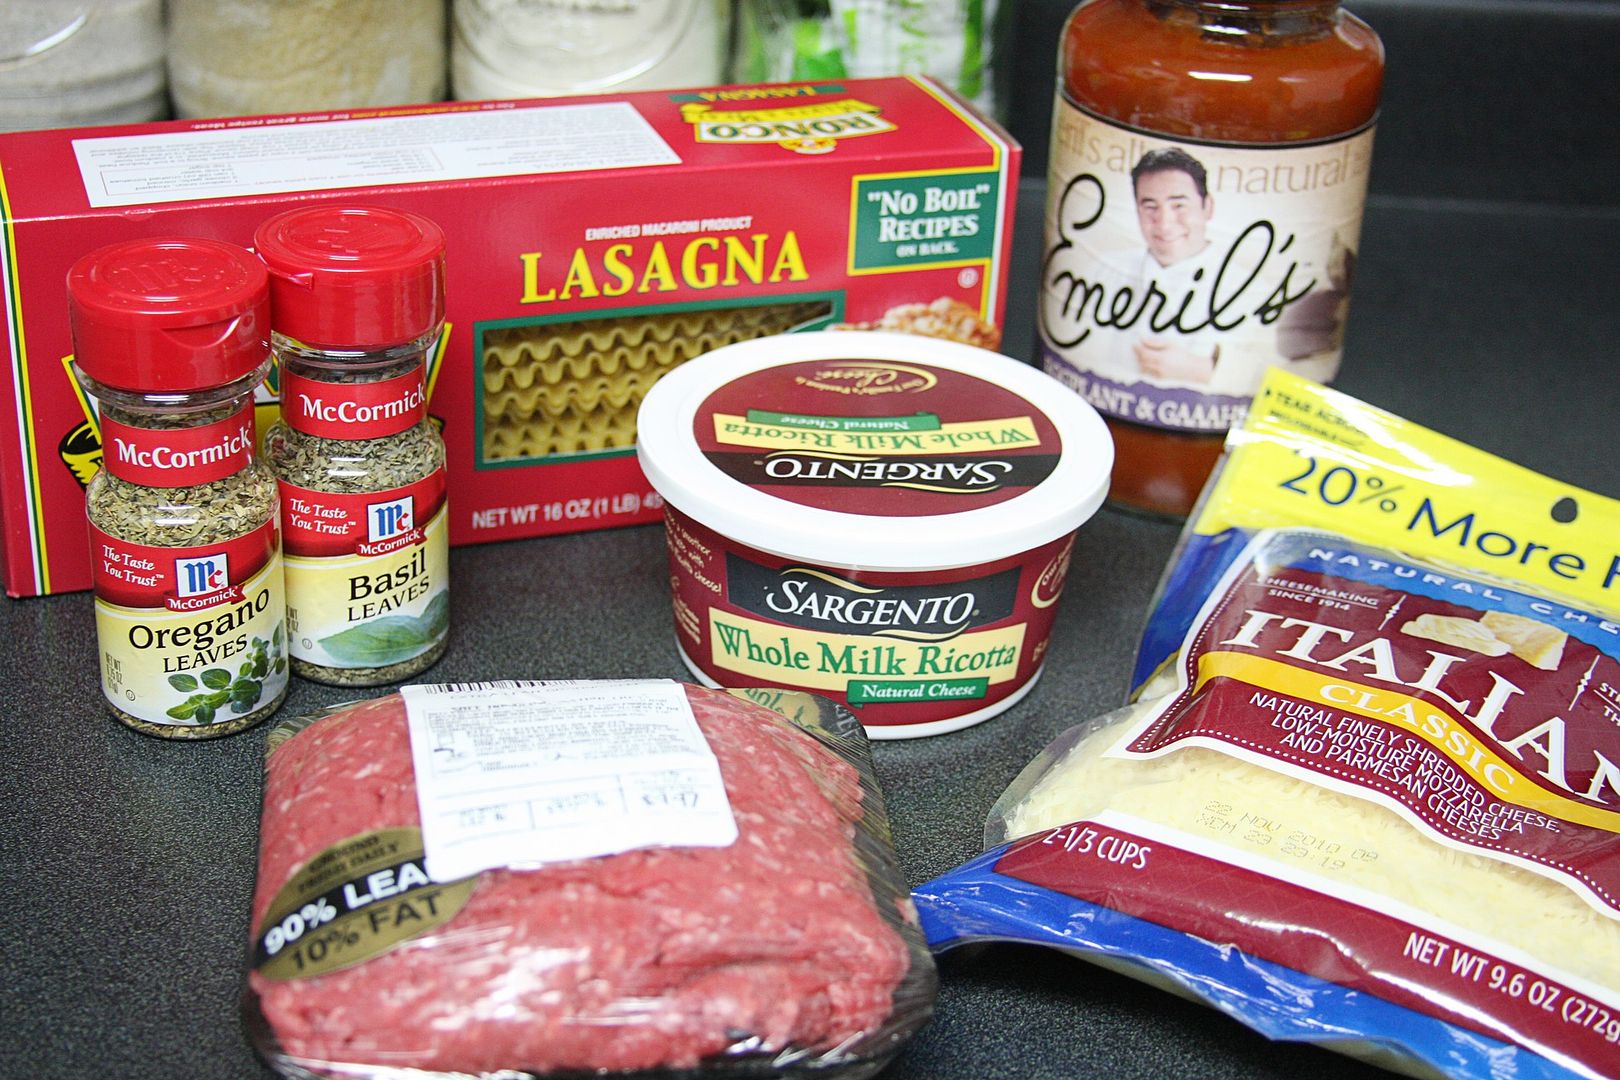
Gather the ingredients (I forgot to put the eggs in the picture):
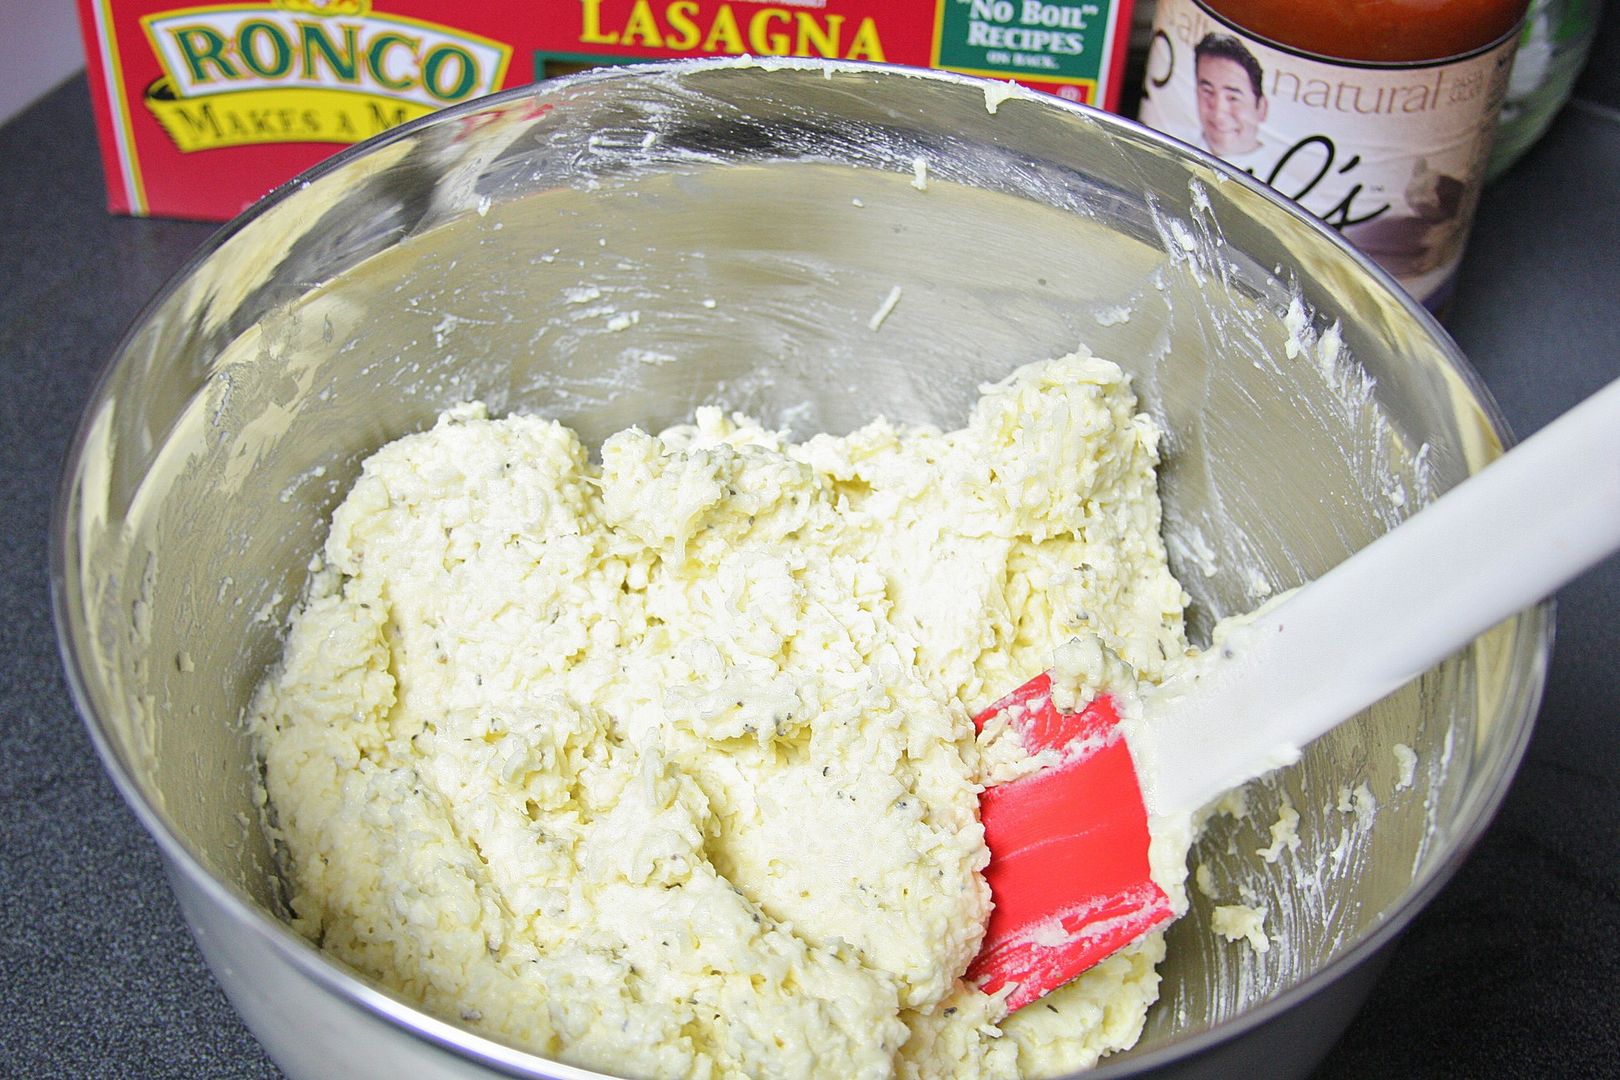
Combine 6 cups of Italian cheese, the Ricotta, seasonings, eggs and mix together.
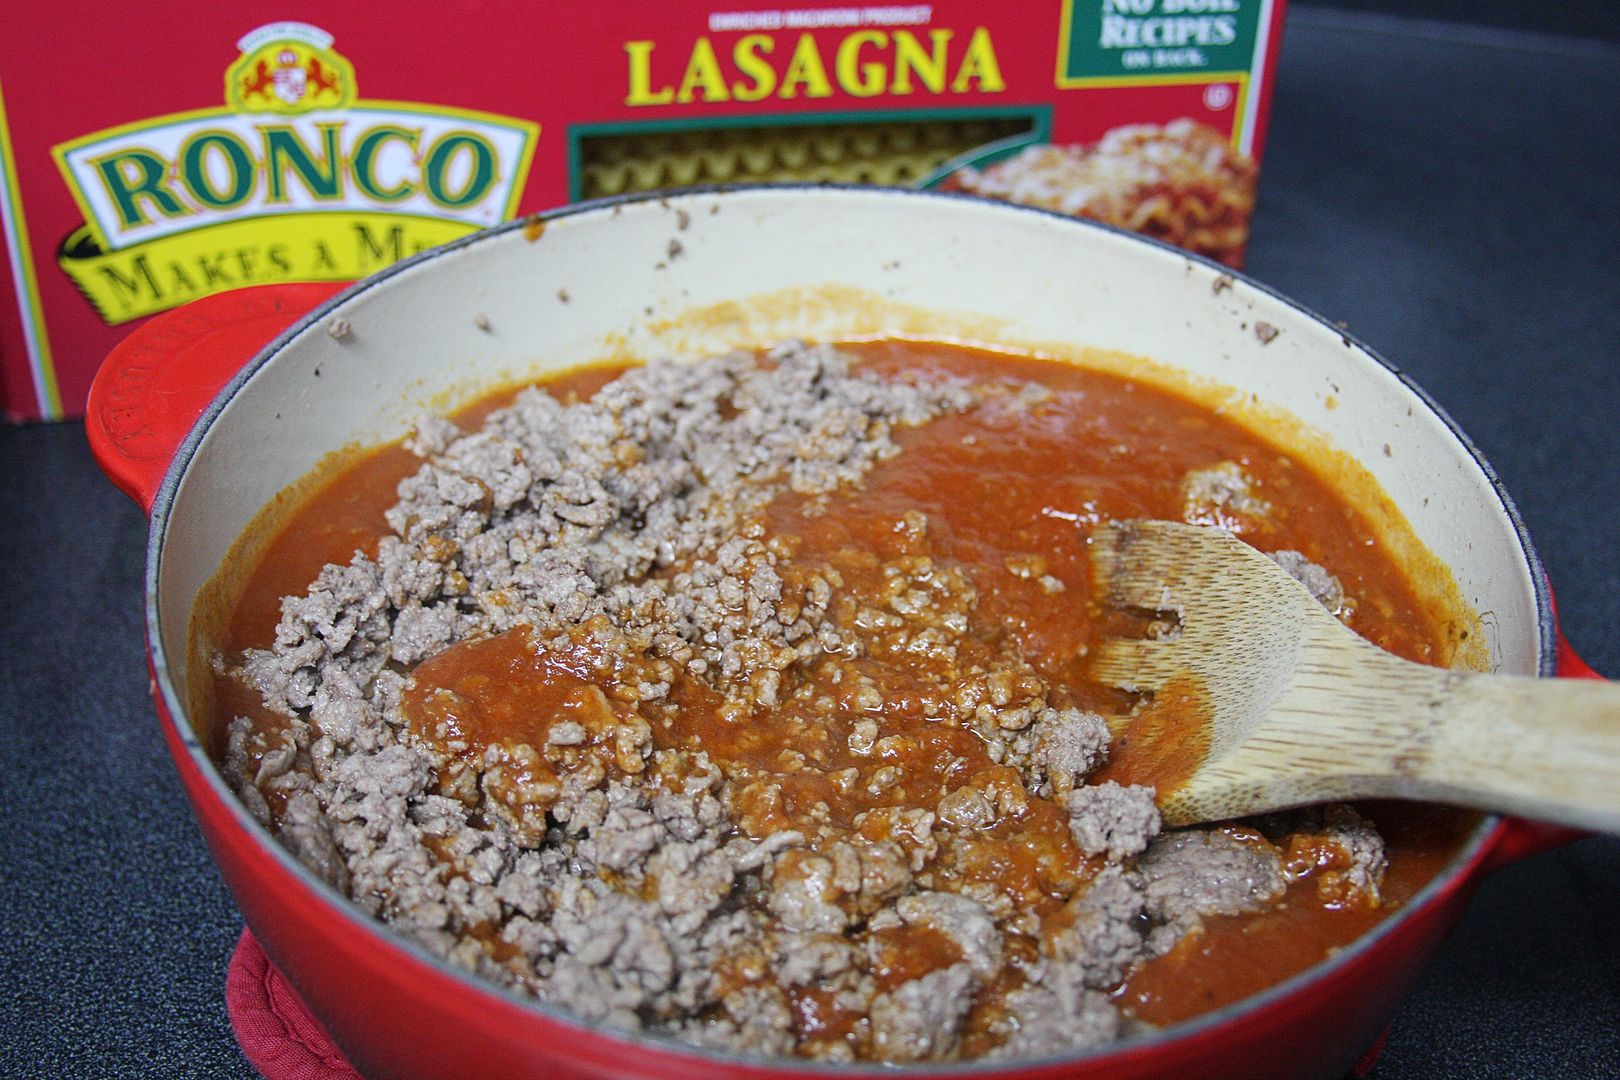
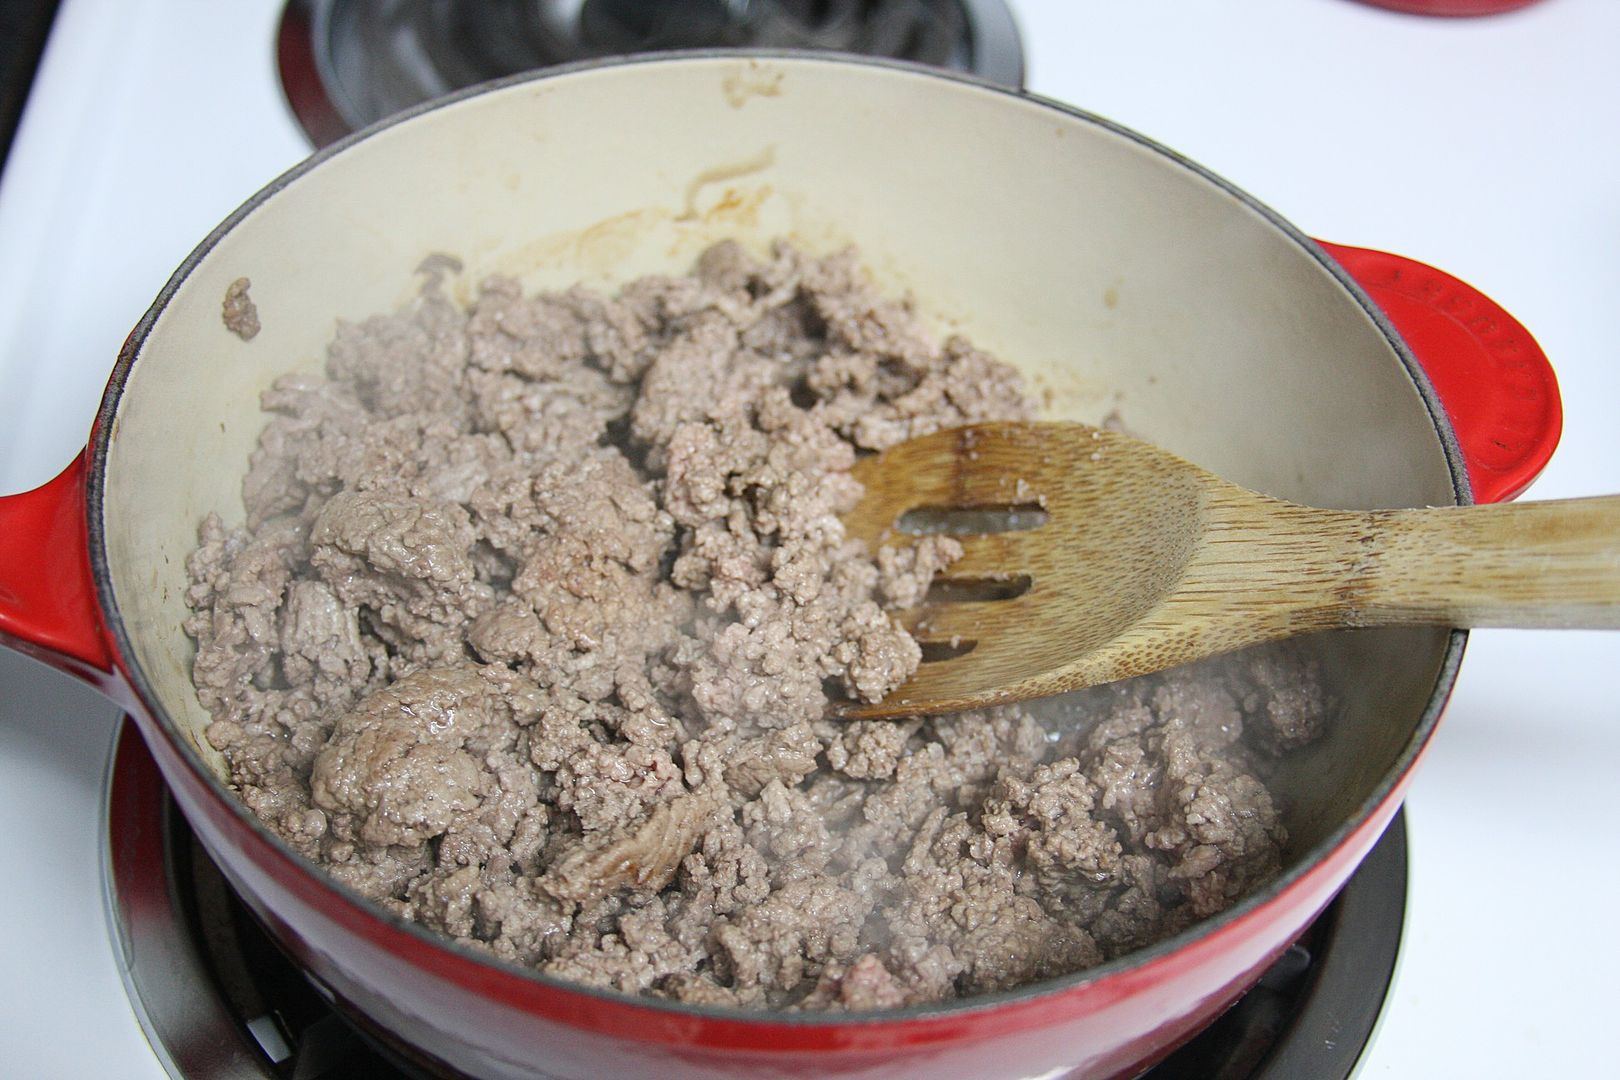
Brown the ground meat, drain, then add the sauce.


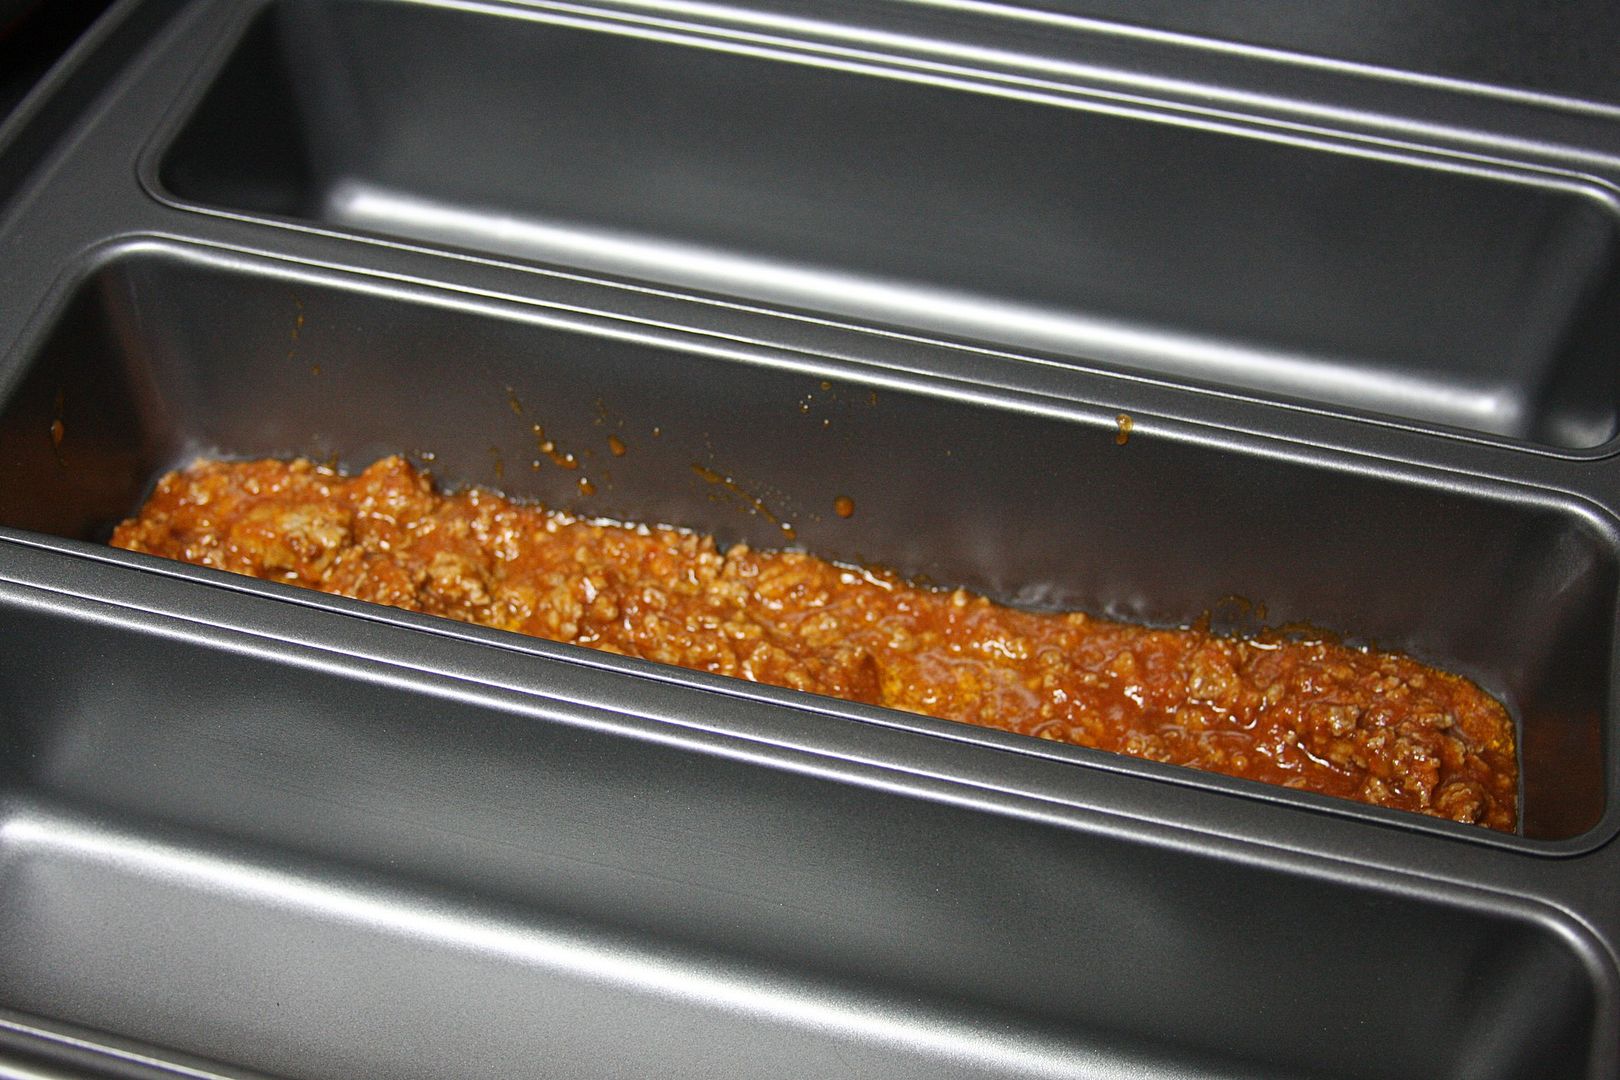
Now you're going to start layering your lasagna.
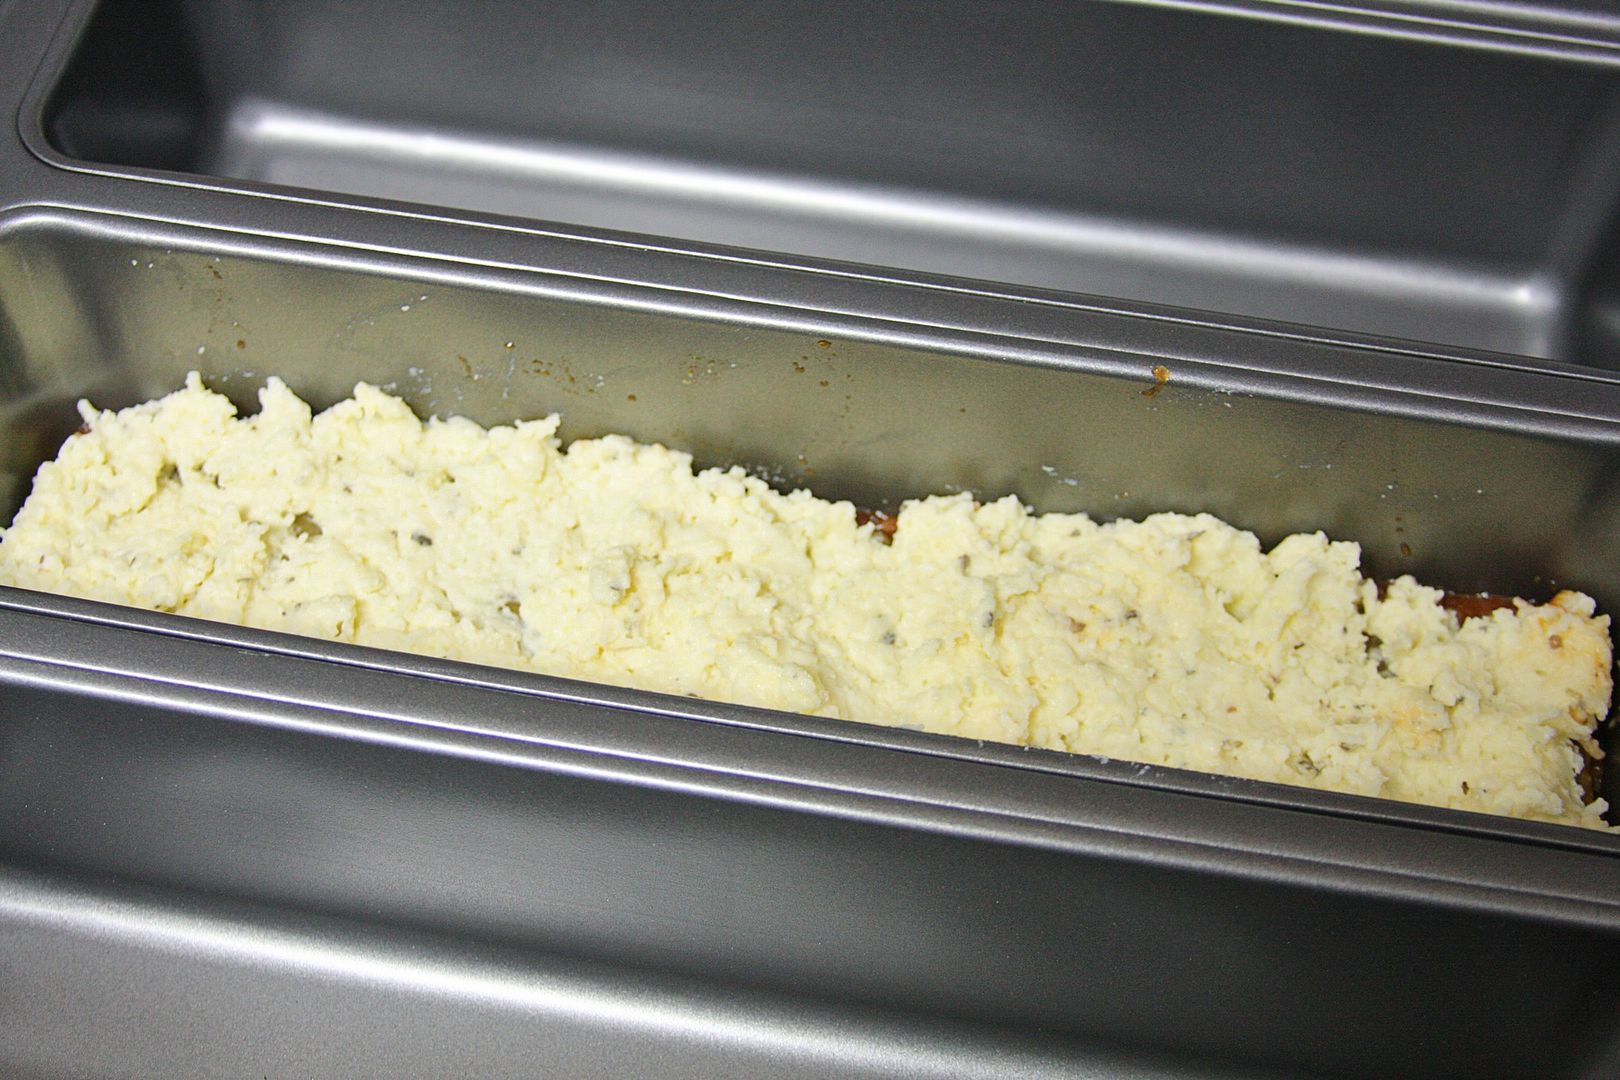
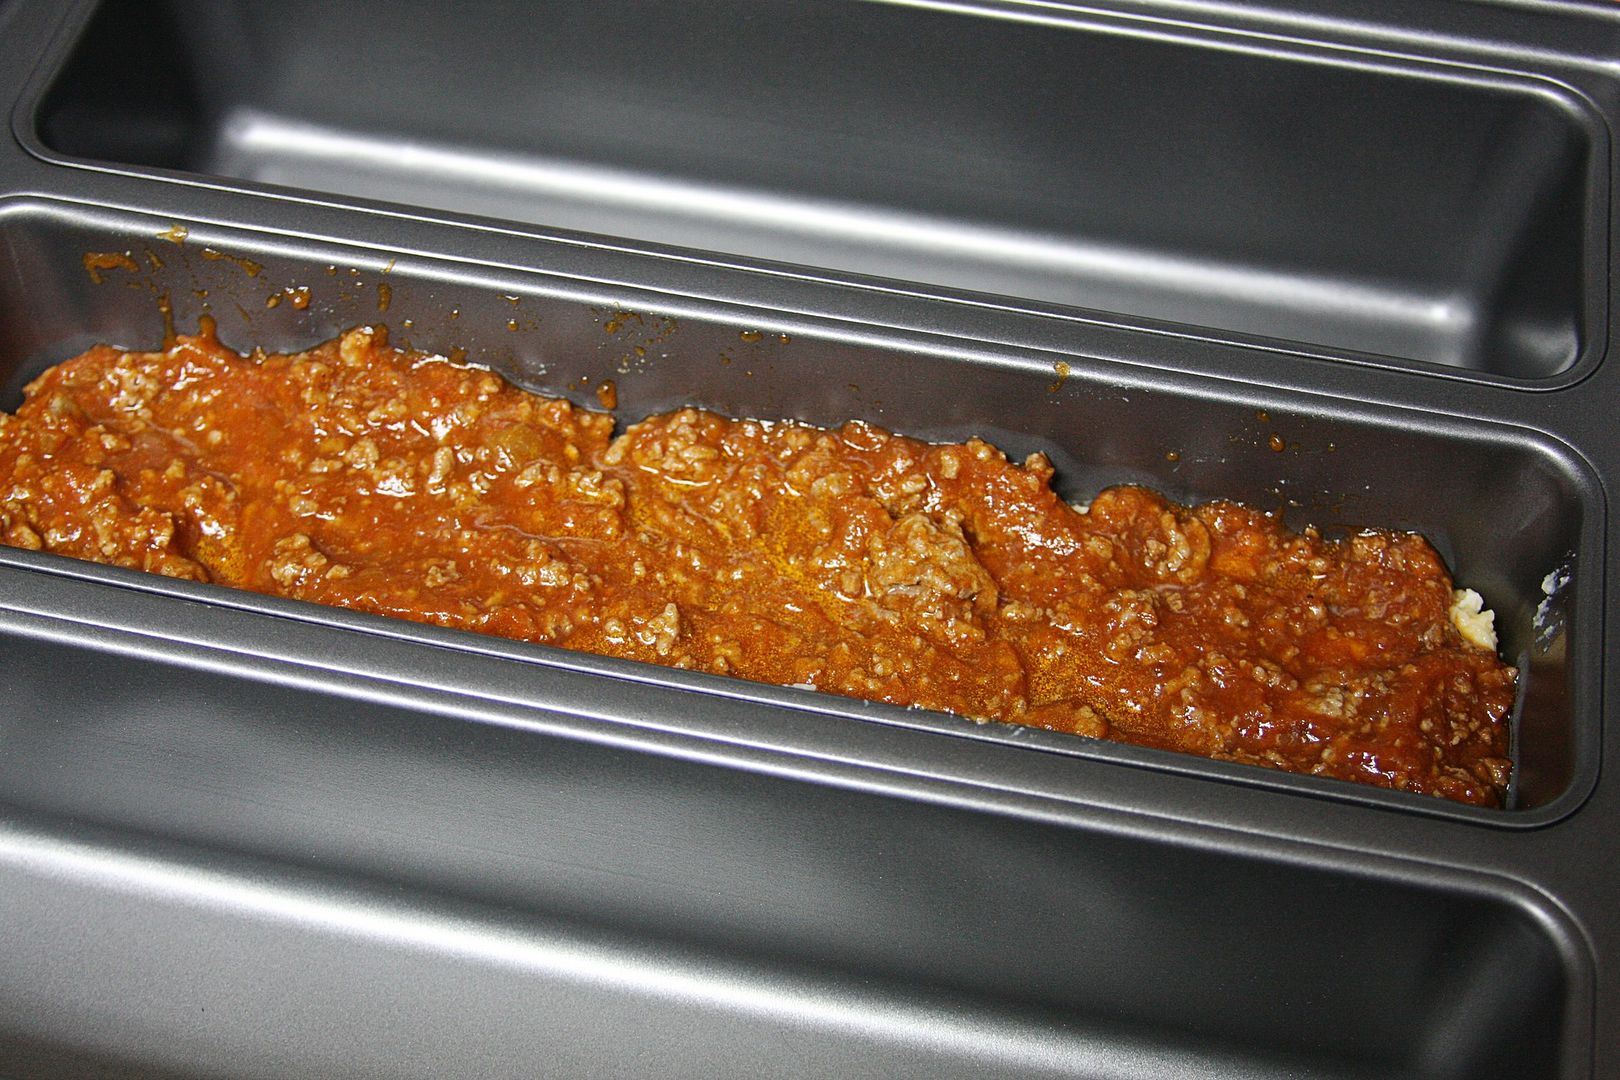
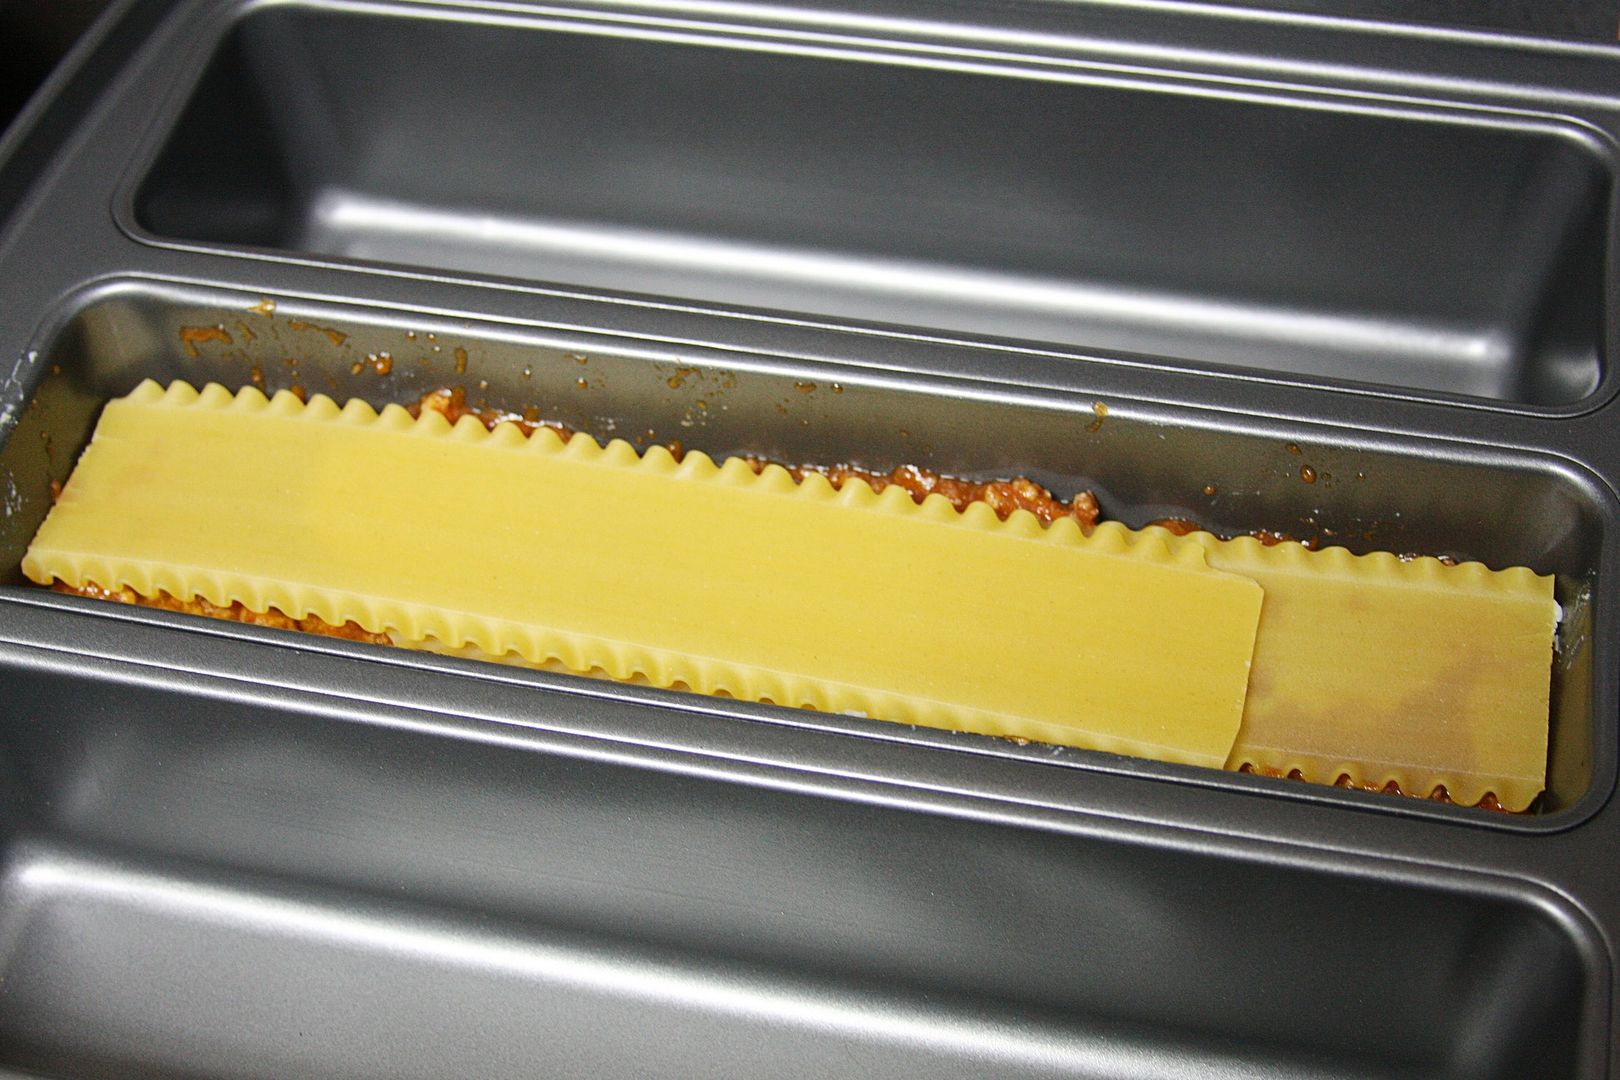
Follow the recipe and add the sauce mixture, dry noodles (I added two per layer), then the Ricotta mixture.


Repeat until the pan is full.


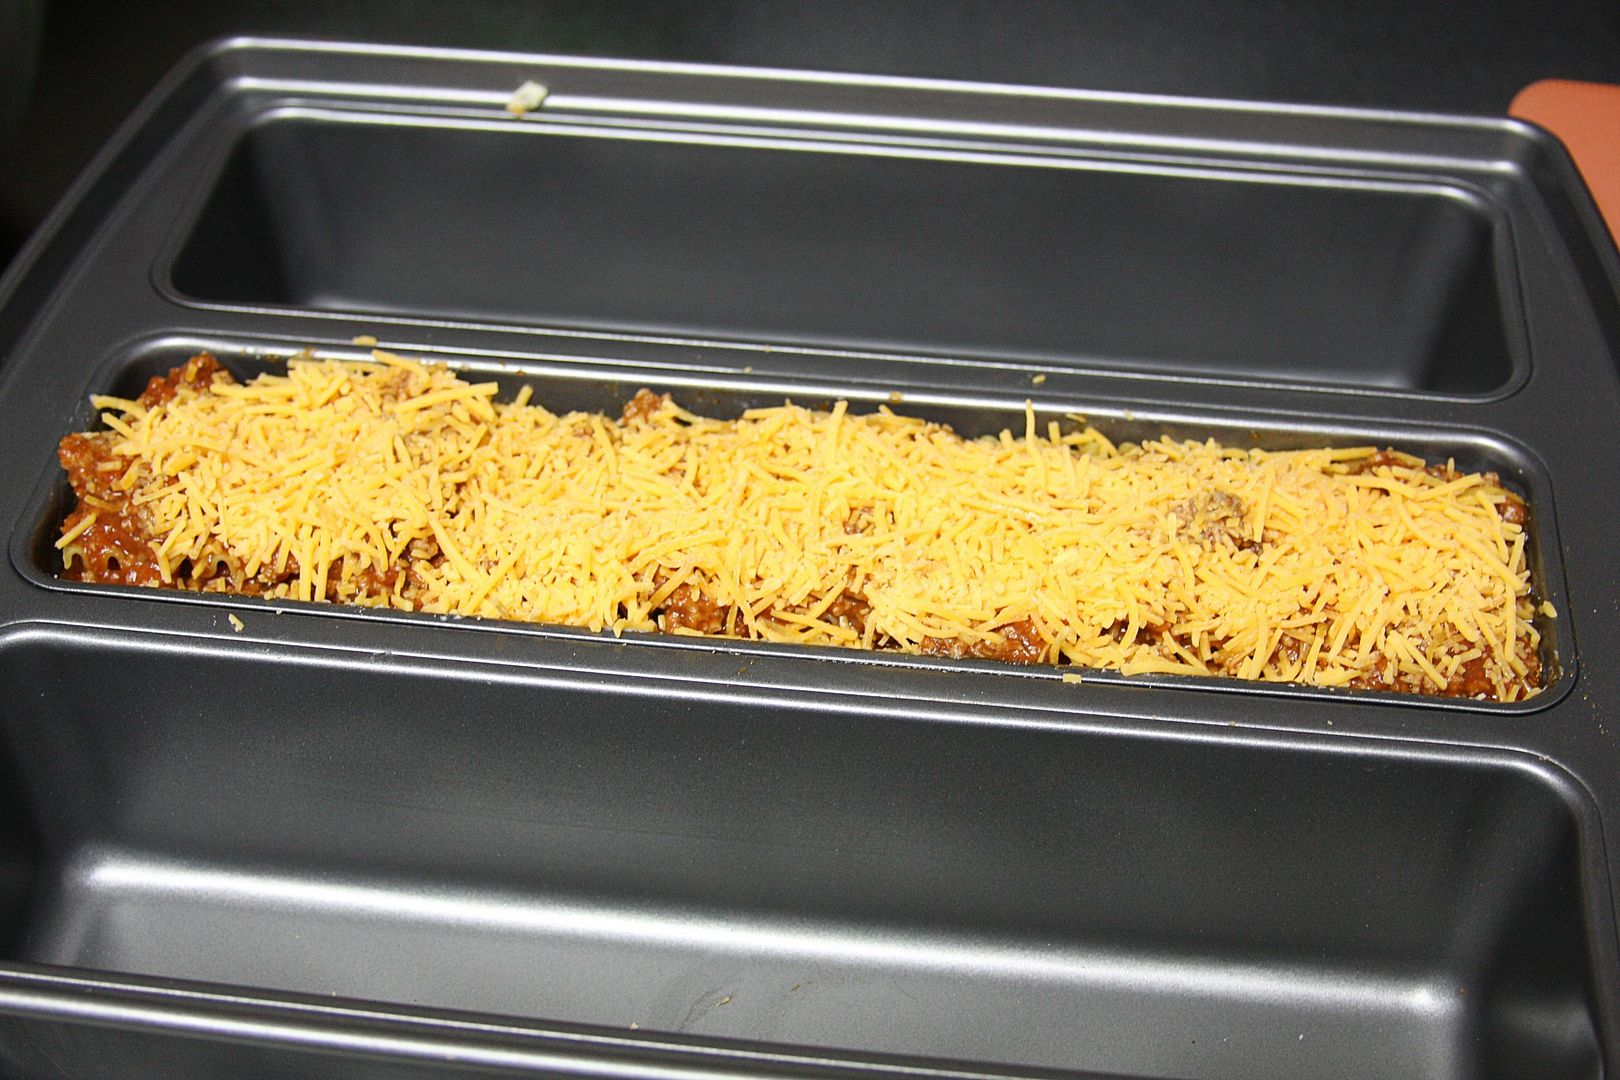
End the layers with the sauce mixture and a cheese topping.
I used Cheddar cheese.
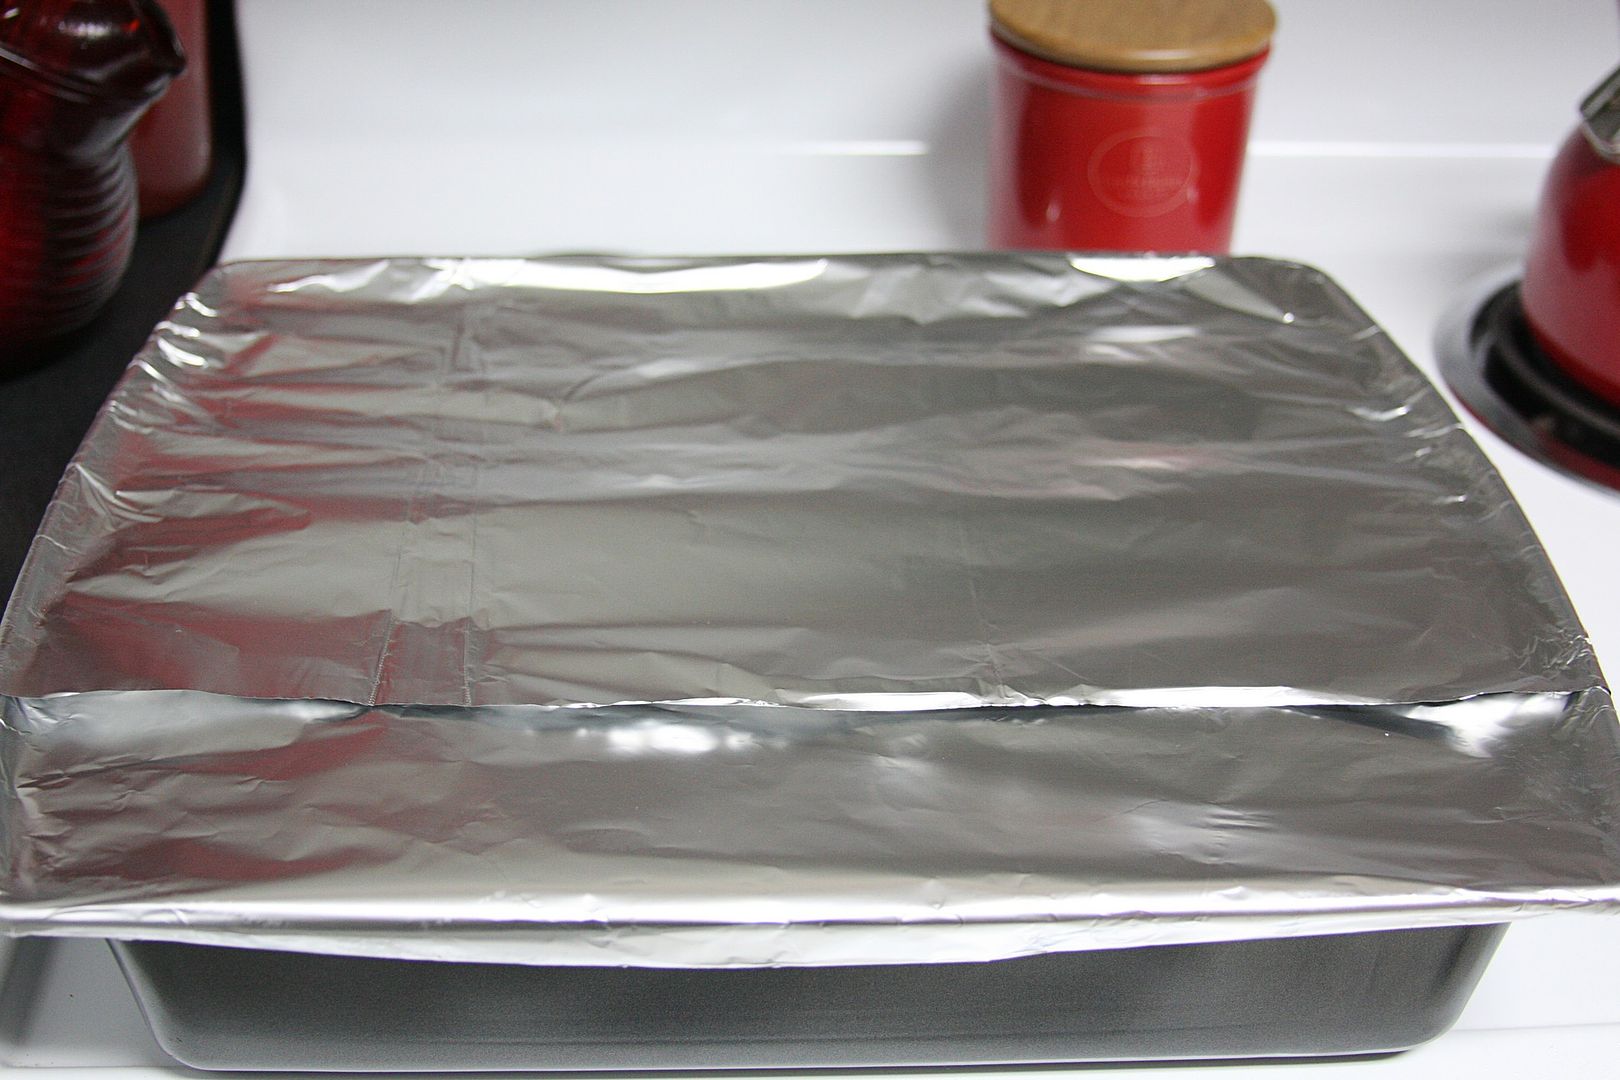
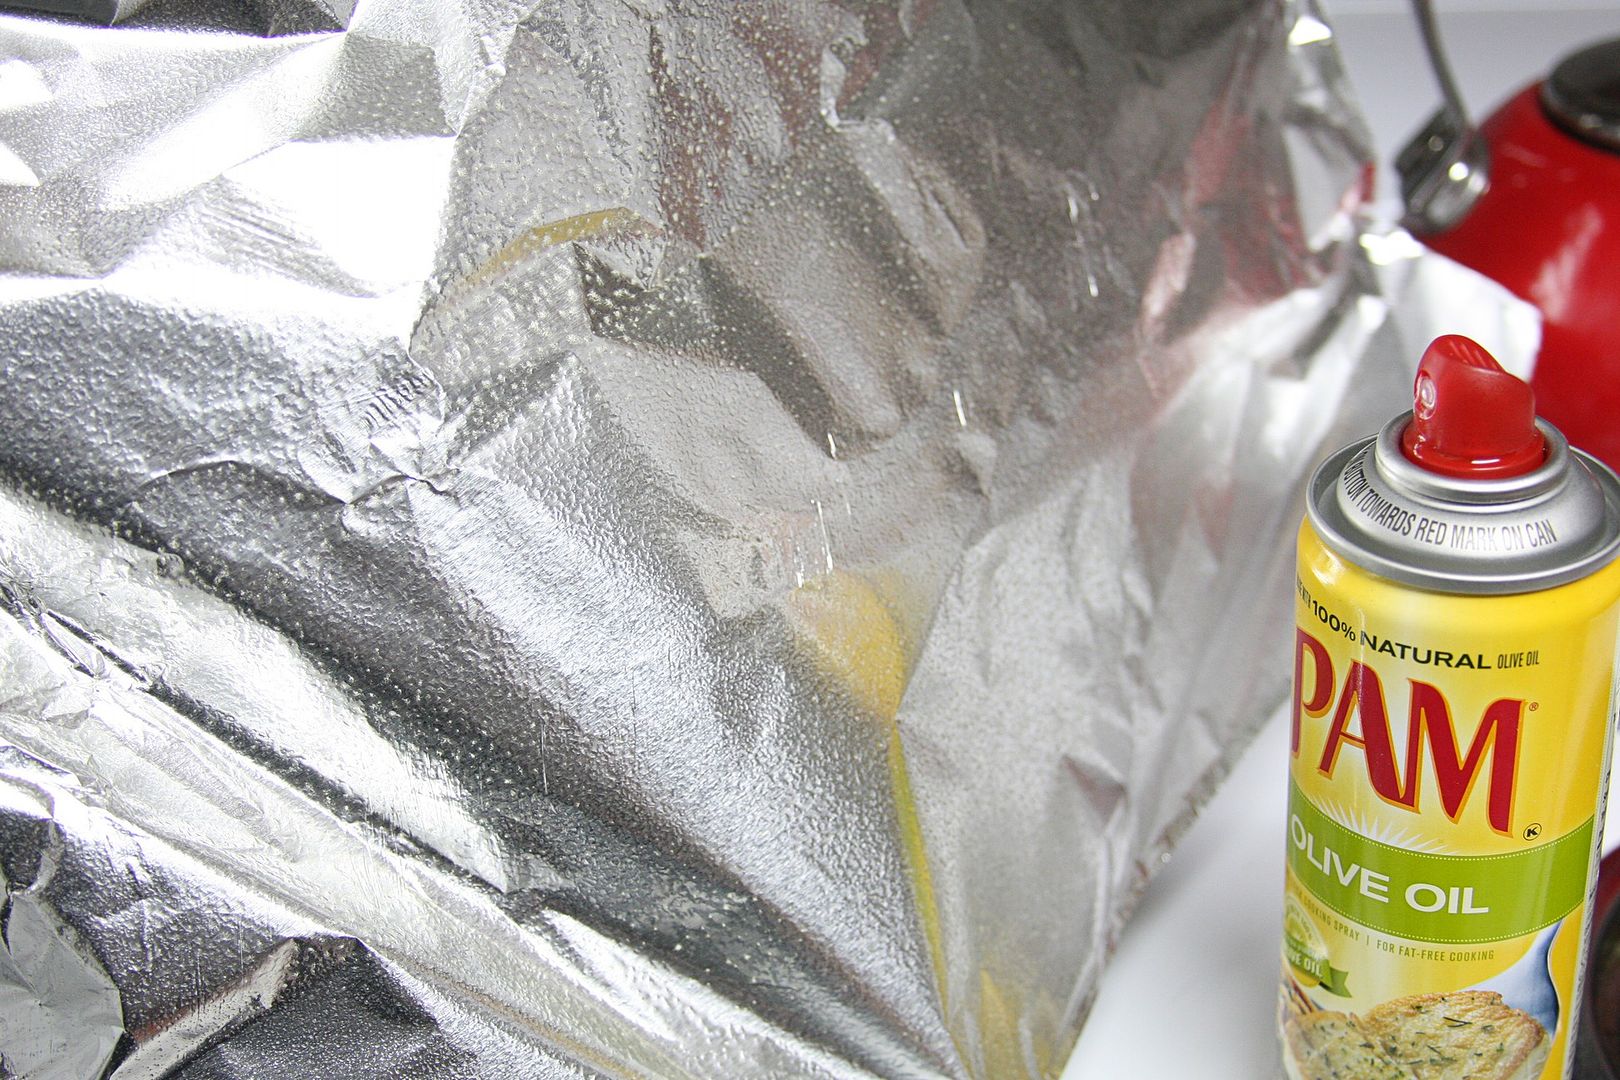
Spray aluminum foil with Pam and cover the pan.


Bake for 60 minutes.
Remove the aluminum foil and bake for another 10 - 15 minutes.
Remove from the oven and let the lasagna rest for about 10 minutes before serving.
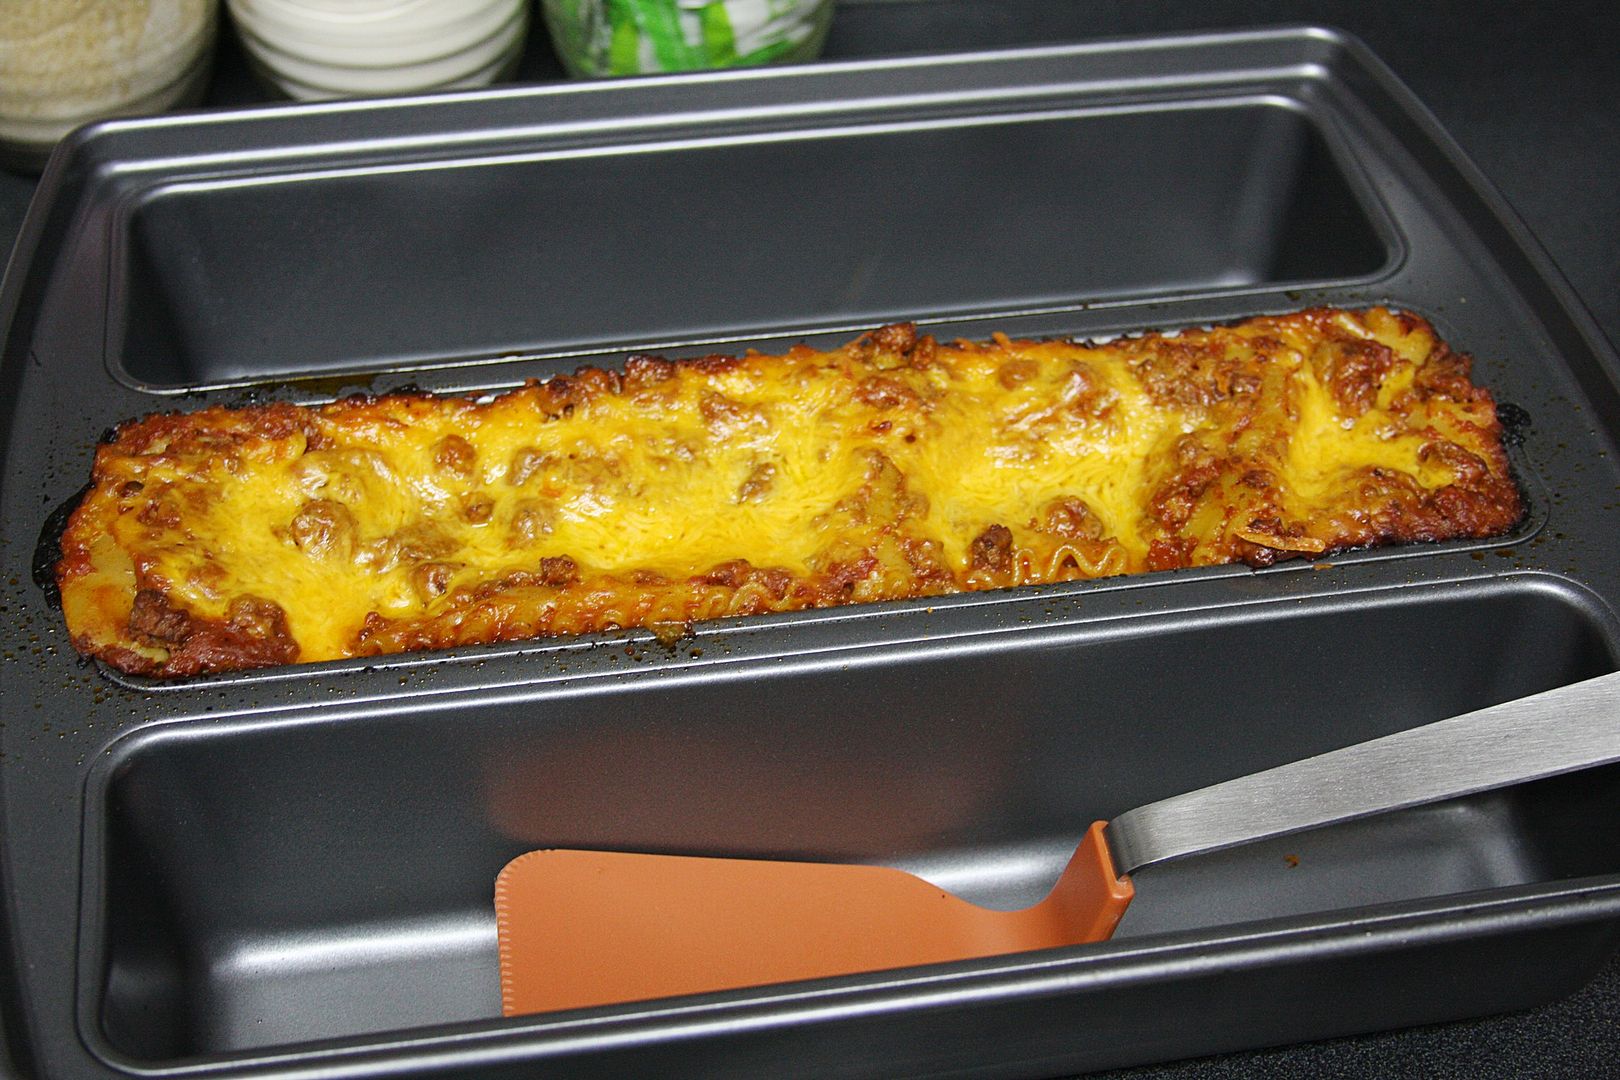

Serve!
I thought it was delicious BUT what's more important - Serenity declared she liked it too and ate it all!
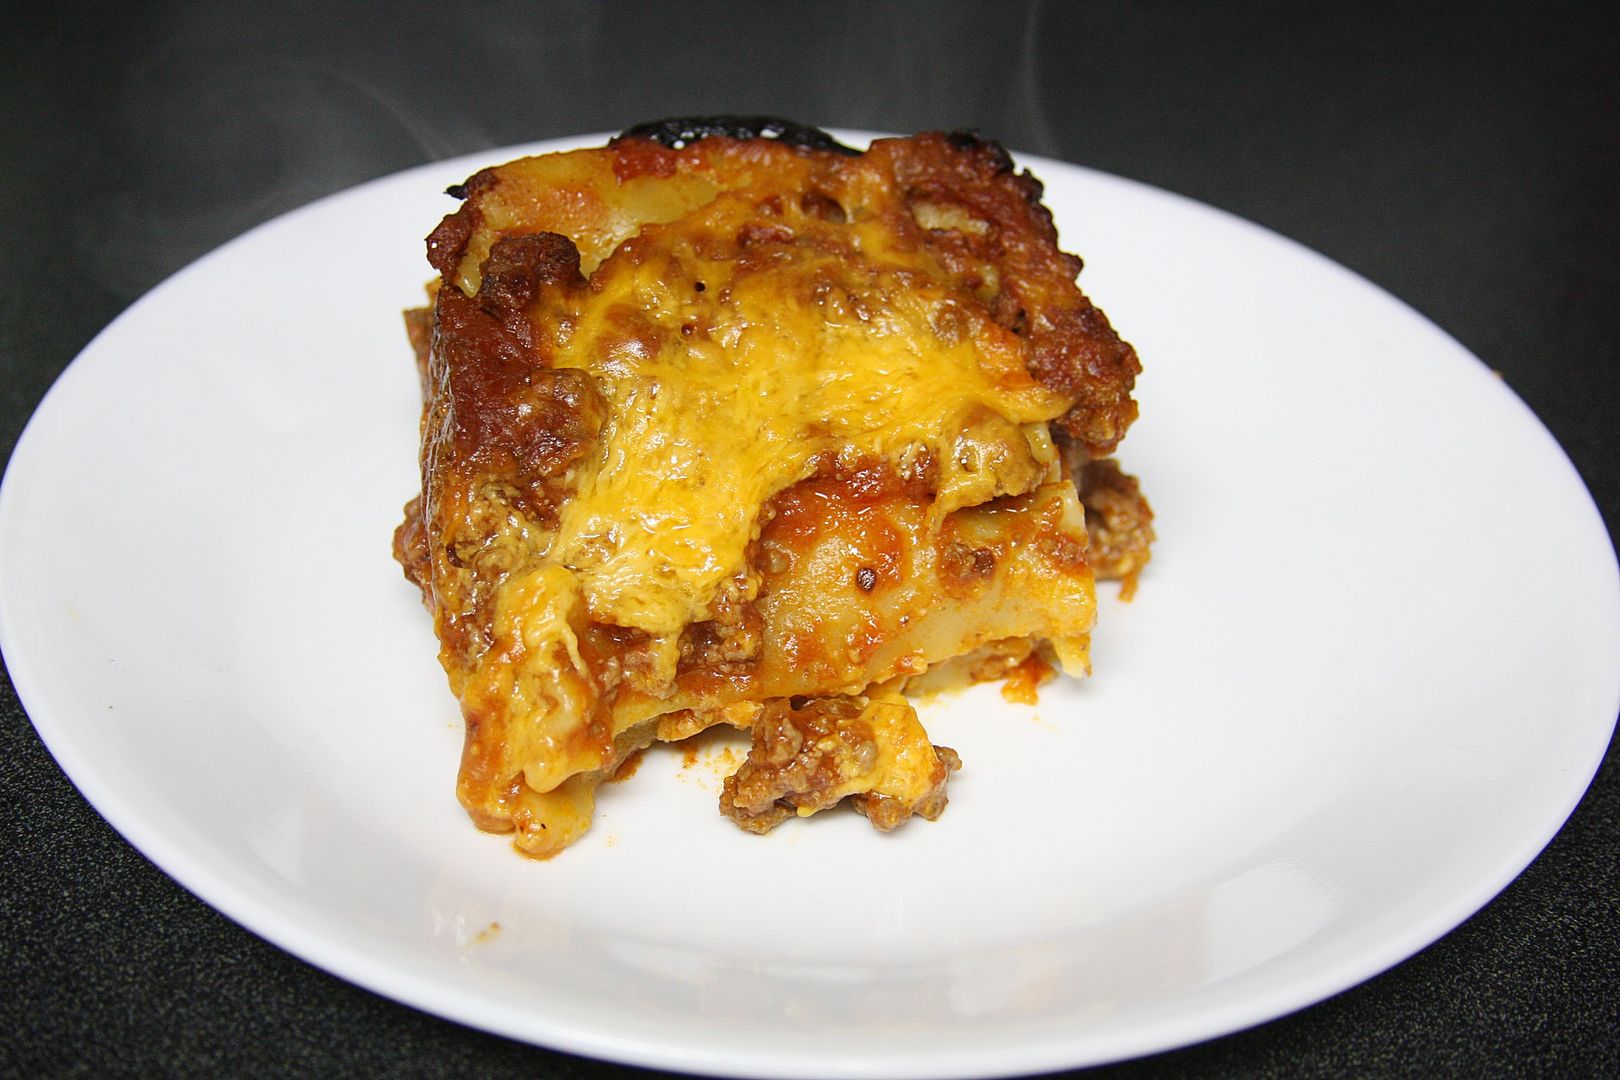

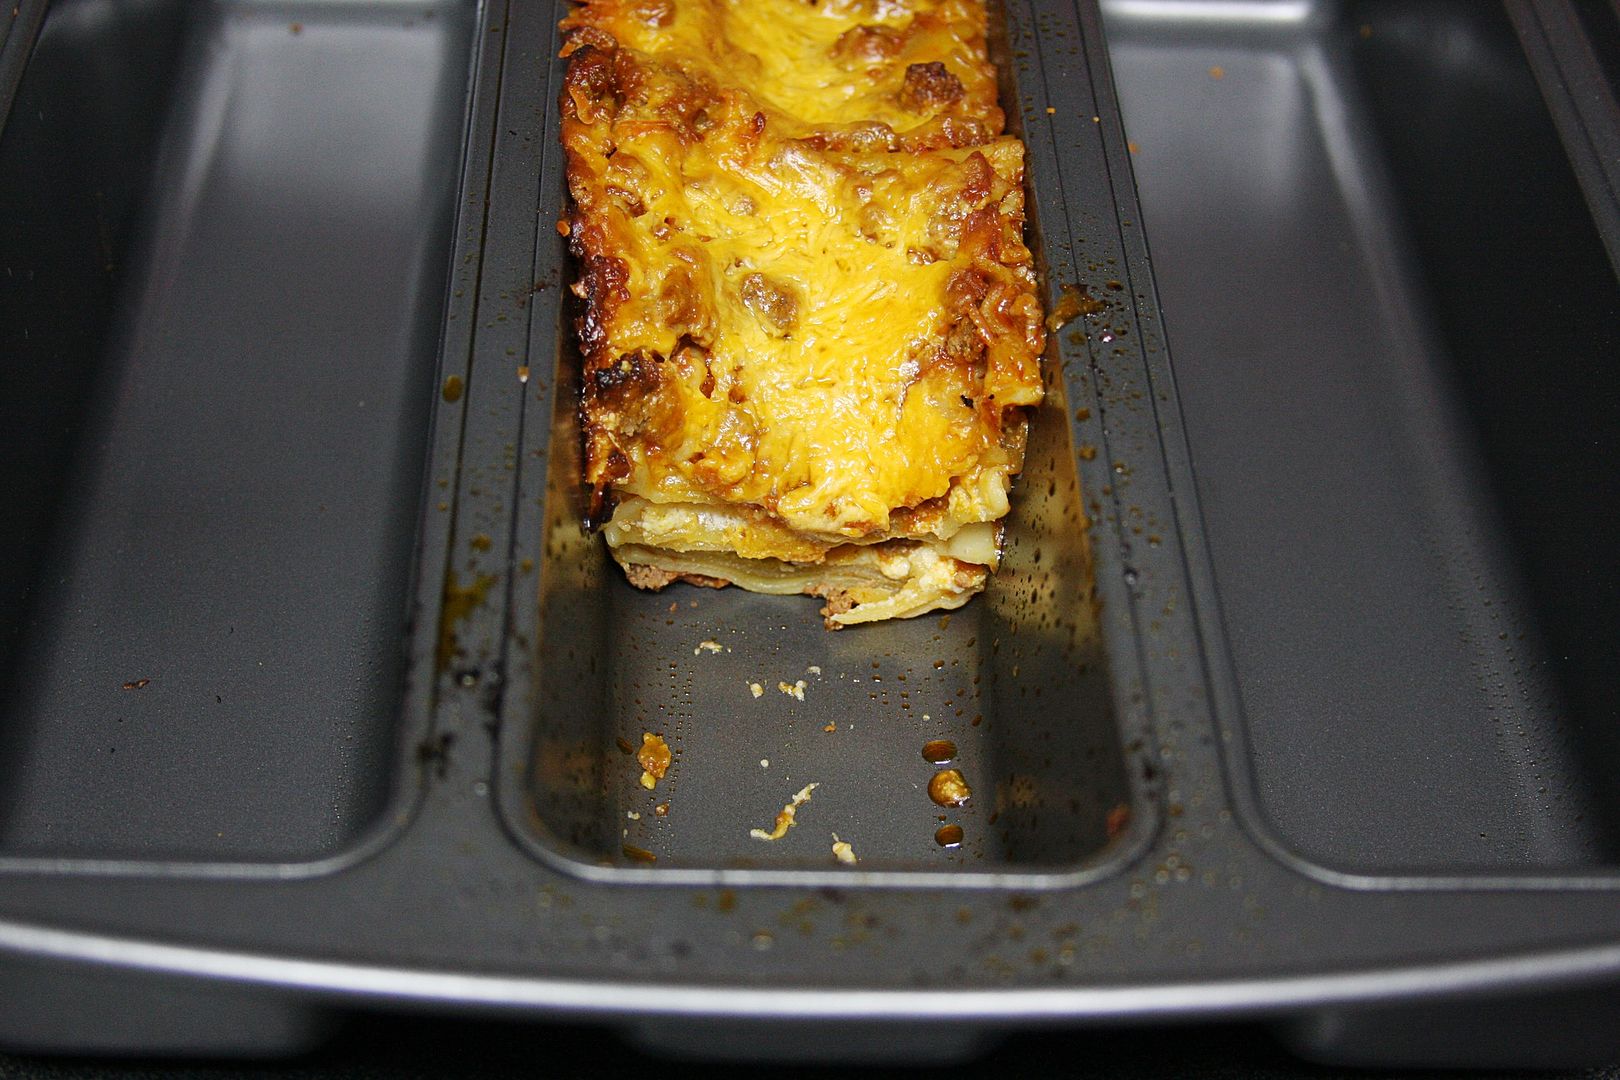
Nothing sticks!
Cleanup is a breeze!
Have fun!

StumbleUpon.com

Thursday, October 28, 2010

Shabby Rolled Fabric Flower


You've seen these everywhere right? They are so popular right now - and can sorta get expensive to buy.

They aren't exactly
hard to make either - a lot of time goes into the more elaborate pieces, but you can make a couple of simple flowers pretty quick once you get the hang of the rolling process.

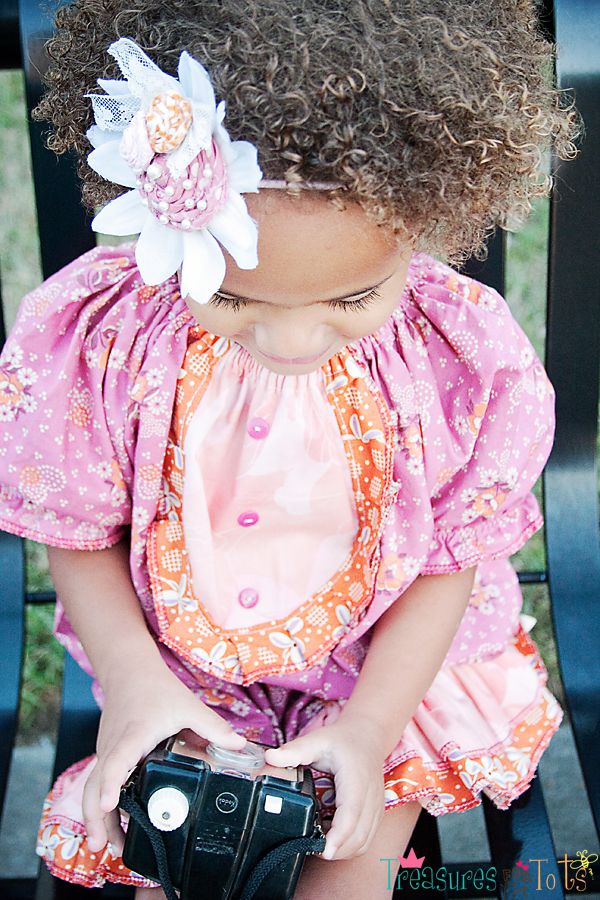
I made the two Shabby Flowers Serenity is wearing in the pictures, and as you can see I definitely wanted to try to create something more than a couple of simple rolled flowers.

These are all the materials I used to create both flowers:

Michael Miller Fairy frost fabric
Designer fabric
Silk flowers
Felt
Ivory vintage lace
Pink lace
Lt. blue tulle
Silk leaves
Swarovski ivory pearls
Stretchy headbands
Glue gun and glue sticks

I found the easiest and most comfortable way for me to roll the fabric was by combining the written and video instructions I found over at Alayne Studio.

1. Cut out a strip of fabric about 1" long x 45" wide (cut selvage to selvage*).
2. Iron the strip in half.
3. Tie a knot at one end.
4. Trim the piece hanging out of the knot.
5. Start rolling the strip snugly over the knot a couple of times.
6. Then holding the piece sideways - like a "wheel" as it says in the video - twist the strip, then roll the "wheel" around in your hand, twist, roll, twist, roll.
7. Stop every inch or so and hot glue (or fabric glue) the bit you've just twisted and rolled.
8. Attach to a stretchy headband using hot glue and a piece of felt.

Here's a very quick video I put together on my iPhone to give you an idea of how I rolled the flowers for Serenity's headbands:


Pretty easy!

You can cut a strip of fabric out however wide you want really - it depends on the look you're trying to achieve.

Try different rolling techniques for different looks too.

It can be fun to get funky and creative with these accessories - so many possibilities! And you can be sure if you make it, no one else will have one quite like it!


*POST-IT-NOTE:
Selvage - When a length of fabric is woven and printed or dyed at the factory it has two finished lengthwise edges. These edges are usually a little stiffer and fimer than the crosswise cut edge of the fabric and these edges will not ravel. When fabric is cut at the fabric store it is cut from selvage to selvage.

Have fun!


monogramPhotobucketPhotobucketPunkin Seed Productionsmake it wear it http://www.thethriftyhome.comMakingSumo Sweet Stuff


StumbleUpon.com

Friday, August 6, 2010

Crocheted Hair Bow


I made this sweet crocheted hair bow by following Happy Together's helpful step-by-step picture tutorial.

Inexpensive and quick - it's a fun project that'll appeal to both beginners and experts.

These would make adorable gifts for any occasion!

I plan to make a few more to giveaway as party favors at Serenity's 4th birthday party.

So click over to Happy Together to make a few for your daughter, granddaughter, niece, or friend today!

UPDATE:
Your hair bow results will depend on the type of yarn and size crochet hook you're using.
My advice would be to practice with different weight yarns and hook sizes.

Have fun!


Birthday Wedding cakes crafts parties http://www.thethriftyhome.comShow and Tell Green

StumbleUpon.com

Thursday, June 24, 2010

2-in-1 Potette Plus Review


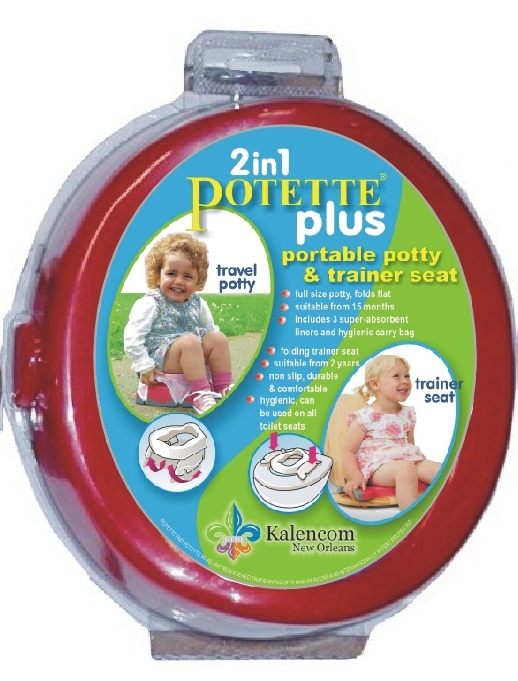
Recently I bought the 2-in-1 Potette Plus travel potty to keep in my minivan. The seat folds up fairly small and flatish, and has it's own carrying baggie. I'll probably use the seat mostly for when I can't find a restroom quick enough, but of course it's perfect for traveling - no matter how long the trip. With Summer here, everybody travels more - I plan to make a few trips too!

I found the price of the travel potty ($16) to be very reasonable and it works great. The plus model doubles as a toilet trainer seat, which I haven't used and really don't plan to. I probably should've just bought the regular seat for $10 instead. Still, the seat is well-made and sturdy. Just make sure you snap the legs in place before your child sits on it.


The seat comes with 3 little bags. They have a small absorbent pad inside each bag. On Amazon, a 10-pack of refills is $5. Now to me, that's pretty expensive - especially when you consider how many you'd need to buy for a single trip!

So, I bought a 60-pack of Evenflo breast pads for less than $5 and gathered a bunch of used Wal-Mart plastic bags. I pre-loaded a dozen bags (don't forget to check for holes!) with 2 breast pads each (you might be able to get away with using just one), and stuck them in the back of my van with the potty seat. I keep cheap flushable wipes back there too.

The homemade bags work perfectly! Make sure you tie the bag tightly and then throw it in the nearest trash can when you're done. Simple and cheap!


Here's a picture of the seat in the back of my van rigged with the Wal-Mart bag/breast pad combo:


Below is a picture of the seat with the refills made to fit it. Can you see the absorbent pad in the bag? I haven't tried the refills yet, since I wanted to see if the Wal-Mart bag/breast pad combo would work first, but from the Amazon reviews they appear to do their job. But they are so expensive!


I like that I can put the seat in the back of my van and not worry about yucky spills. Serenity can also get on and off the potty with a little more privacy too. Although, when the back of my van is full of stuff, it's really not that big of a deal to position the seat next to the van so no one can see Serenity getting on and off the potty.

I think this this is an excellent seat to keep in your car for traveling or long trips around town. It doesn't matter if your toddler is just learning to potty or a pro - or maybe you don't like public restrooms (lets face it, some of them can be pretty nasty), when the time comes - you'll be glad you have this seat in your trunk!


Have fun!!

StumbleUpon.com

Sunday, December 6, 2009

GWMG: A New Beginning!


We started all over with the Grow With Me Gift! Our paperwhites never flowered - they never popped outta the pods. It was okay - the whole point of the activity is to spend time with your child and share with them the fun of growing plants! And we did!

Kim was kind enough to send us some more bulbs though when she heard - how sweet! So we've started again - and Serenity was thrilled! I can't say it enough - this is a wonderful activity to do with your pre-schooler. It's something they can actually do pretty much by themselves - and that's a big thing. Serenity is so proud of her plant!


We used Serenity's pretty jewels and the vase that held mints at her birthday party. She kept saying, "It beautiful Mommy"!

Don't forget to go check out Grow With Me Gifts' Facebook fan page! And remember to buy your own kit

HERE!


POST-IT-NOTE: BTW, if you're wondering what that thing Serenity is standing in is - it's called the Learning Tower by Little Partners. It's probably one of the best purchases I've ever made! Now it comes in a million different colors that they didn't have when I got it! Awww! With it, Serenity can reach the counter and I don't have to worry about her falling off the bar stools. It's very well-made in the USA with good solid wood - no cheap particle board! It has some of the best reviews on Amazon too! You can get two cool accessories to go with the tower, a play-house kit and an art easel!


Below is a picture Serenity drew of our family that I'd like to share with y'all. It's the very first one that she has drawn
all of us together, so of course it's very special to me. Her people are evolving too - they used to look more like potatoes. This is the first time I've seen her draw them this way! It's so cool to watch how she learns and does new stuff!

Can you guess who is who?!


POST-IT-NOTE 2: Well, yeah! That's another dress from courtneycourtney - of course!!

Happy Holidays!

StumbleUpon.com
Related Posts with Thumbnails