Felt Eggplant, Spinach, and Tomato Lasagna
I love making felt food - especially if it's easy, or not too hard to make.
Today I have a delicious addition to my felt food line-up that's very simple to make!
It's a felt eggplant, spinach, and tomato lasagna!
I got the idea from a yummy recipe I found here.
Remember to click on a picture to ZOOM in!
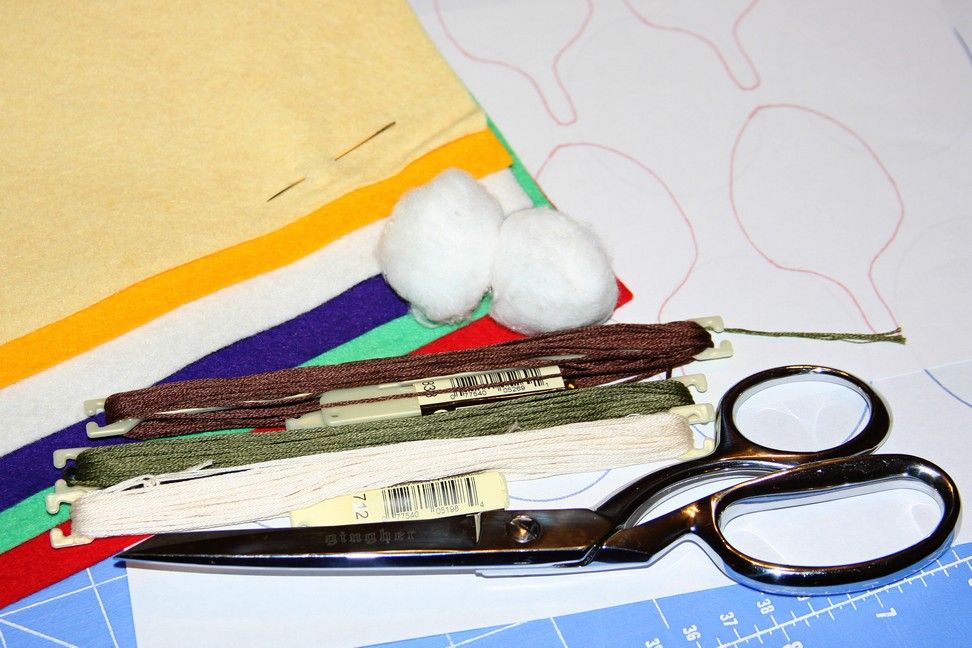
Materials needed:
Red, white, off white (or pale yellow), green, yellow (goldish), and purple felt. I used felt from American Felt and Craft.
Spinach leaf template (download here)
Eggplant template (download here)
Scissors
Rotary blade (optional)
Embroidery thread (beige, dark green, brown)
Embroidery needle
Coordinating thread
2 Cotton balls
Glue gun
Glue sticks
Pins
Lasagna noodles:
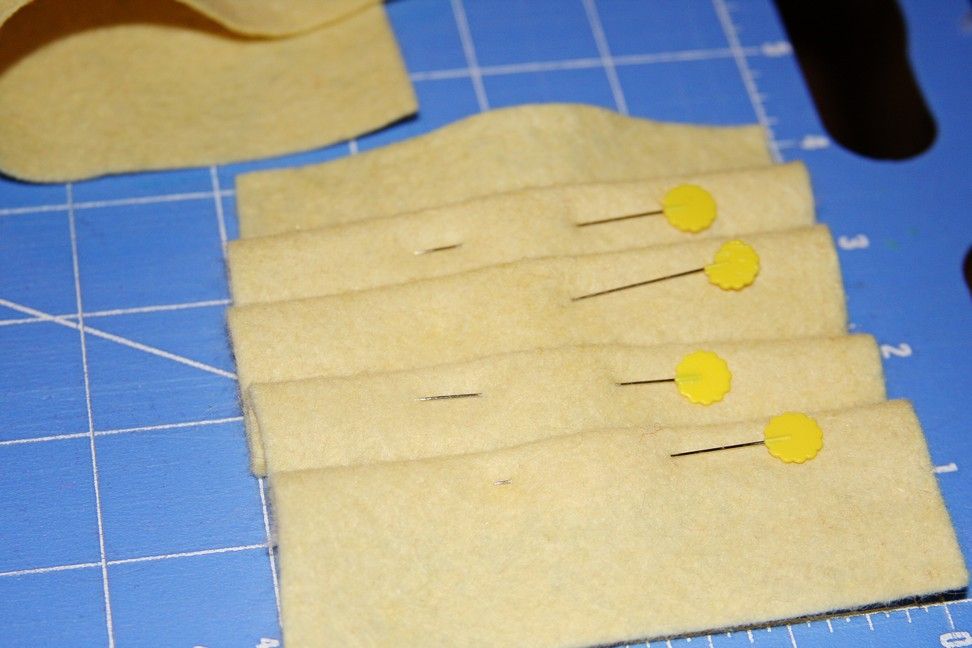
1. Cut a strip off white (or light yellow felt) 4"w x 9"l and a strip 3"w x 9"l.
2. Fold the 4"x"9 felt like the picture below - you're gonna fold it sorta like window blinds.
3. Take the 3"x9" strip and fold over down the center of the 1st strip - make sure the seam is on the bottom.
4. Sew down the sides of the 3"x9" strip.
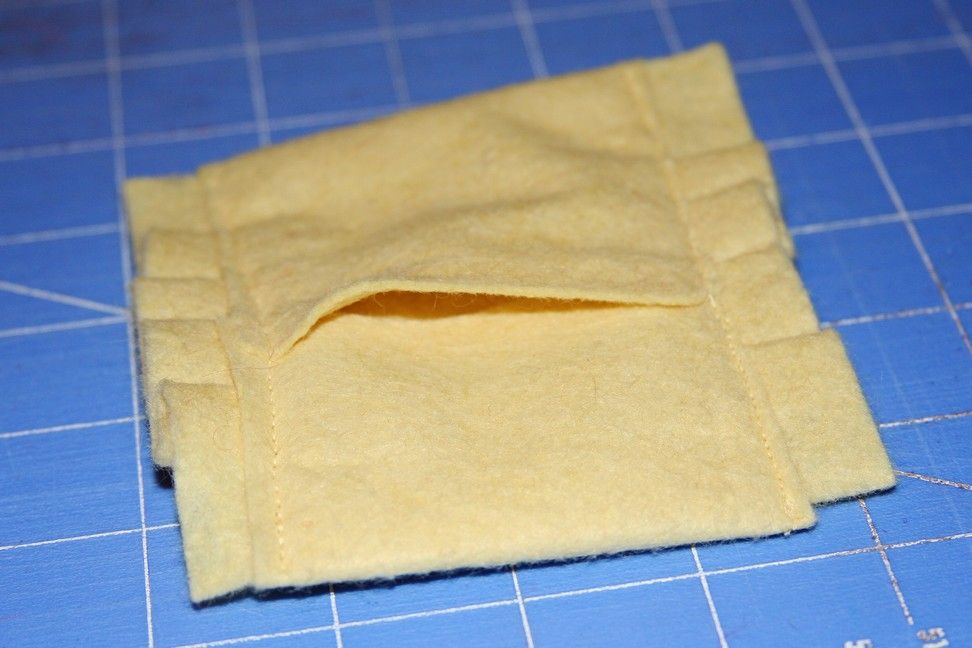
5. Flip over and hot glue the seam opening closed.
You now have lasagna noodles.

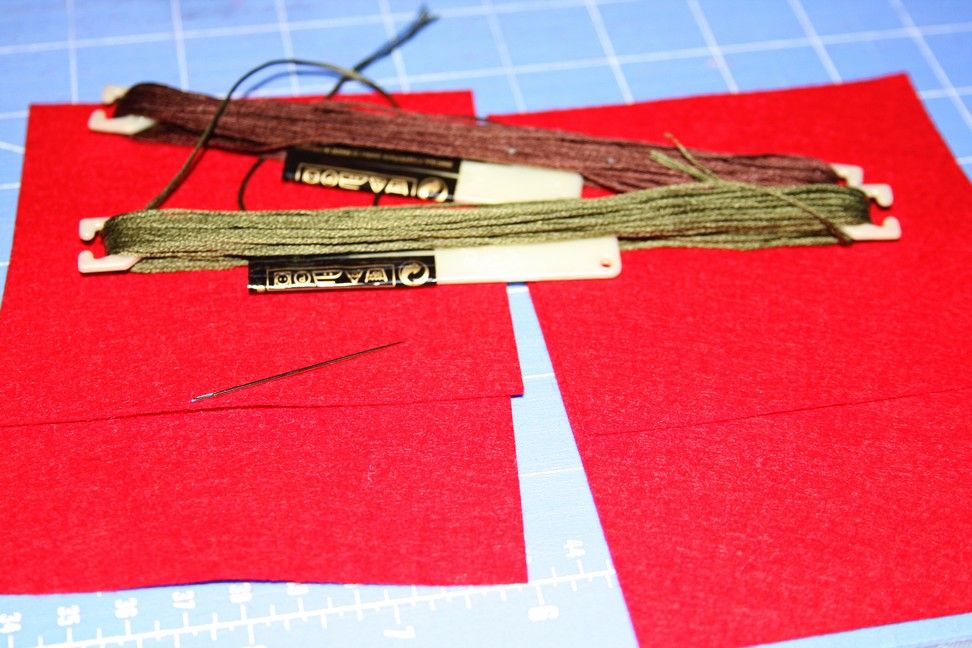
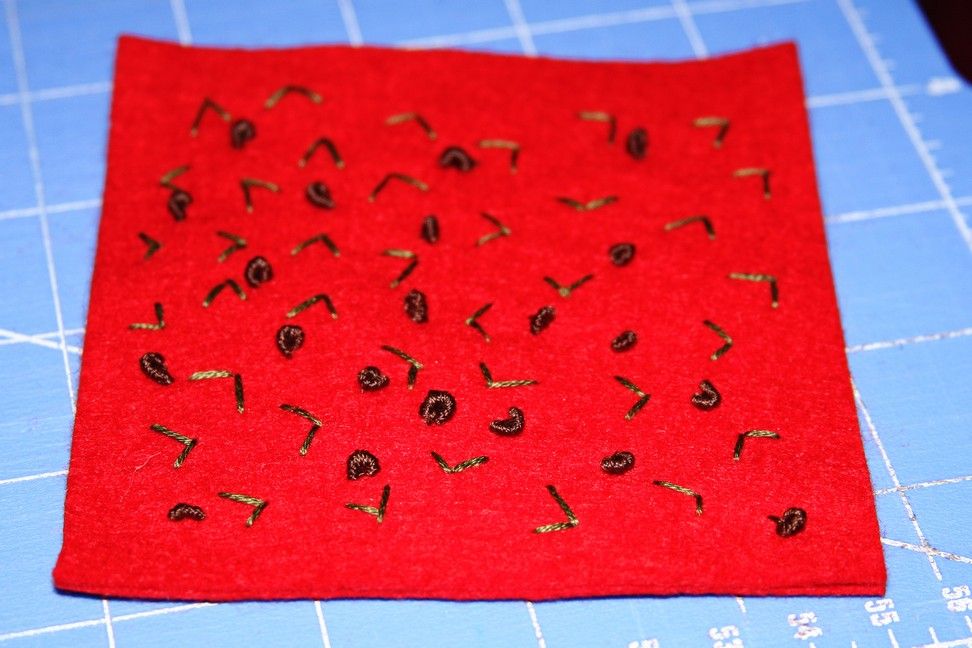
Tomato Sauce:
1. Cut (4) 4"x4" red felt squares.
2. Embroider either a fly stitch or a "V-shaped" stitch for the "herbs", and large french knots for the "meat" on all four pieces of felt. Or you could just embroidery two pieces of felt.
3. Hot glue two pieces of felt together, make sure the embroidered pieces are facing outwards.
4. Repeat step 3 for the last two felt pieces.
You now have two square sauce pieces.
Ricotta Cheese:
1. Cut out two 4"x4" pieces of white felt.
2. Carefully pull apart the two cotton balls and hot glue them to the top of one piece of felt.
3. Trim any cotton that is hanging off the edges.
4. Hot glue the pieces of white felt together.
You now have one square ricotta cheese piece.


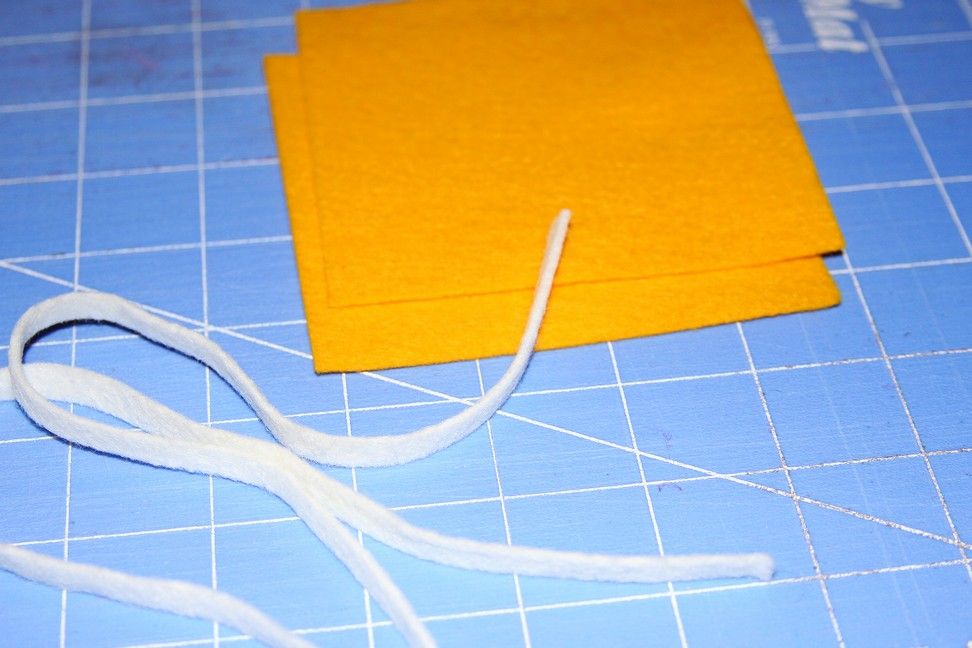
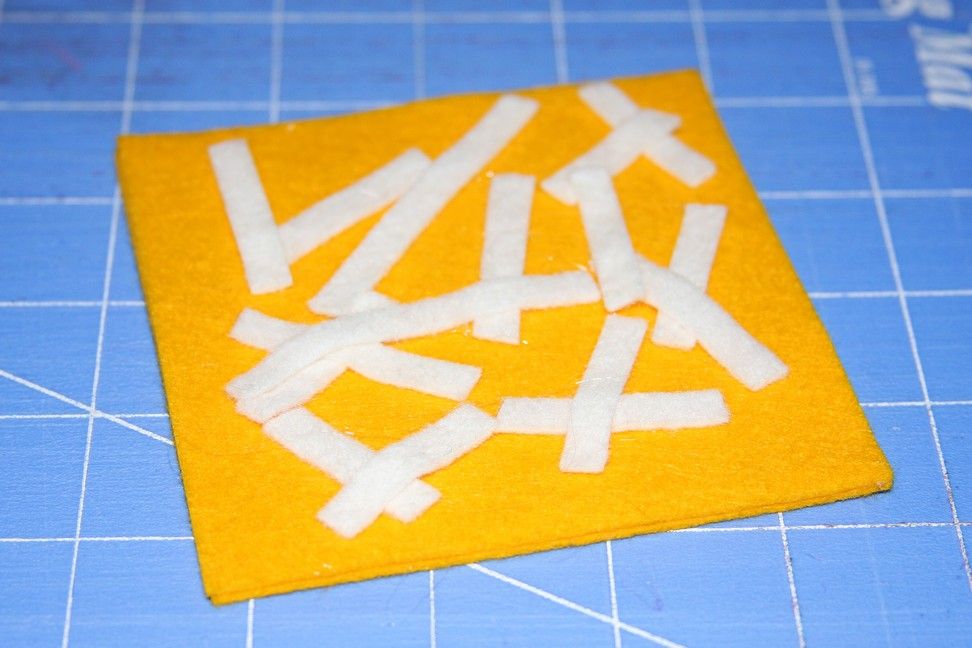
Cheese & Shredded Mozzarella:
1. Cut out (2) 4"x4" pieces of yellow felt and 3 1/4"w x 9"l strips of white felt.
2. Hot glue the the yellow felt squares together.
3. Cut the white strips into random sized pieces.
4. Hot glue the white strips haphazardly to the top of the yellow felt square.
You now have one square cheese & shredded mozzarella piece.
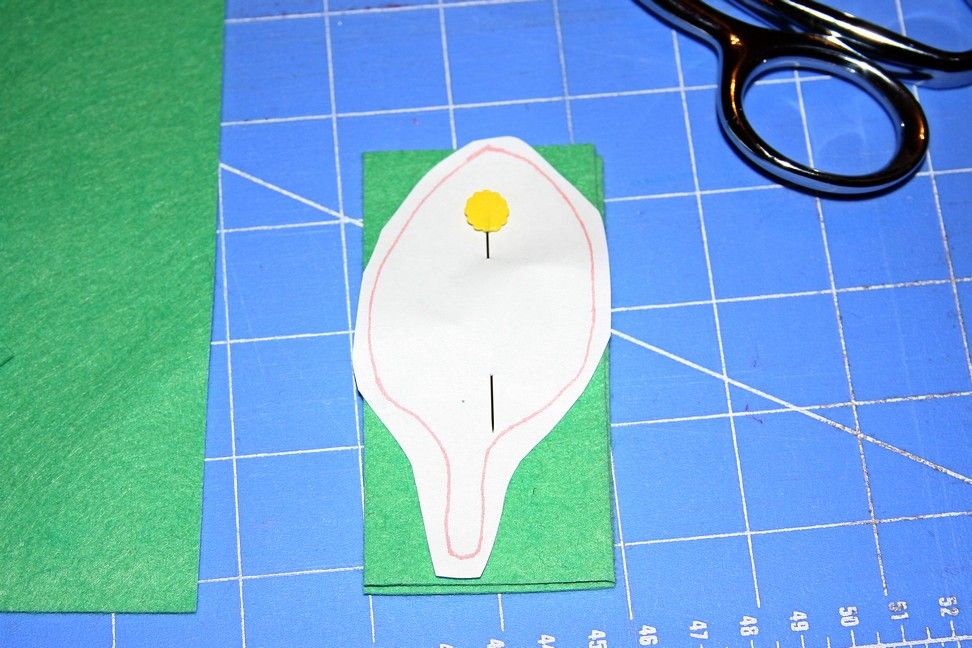
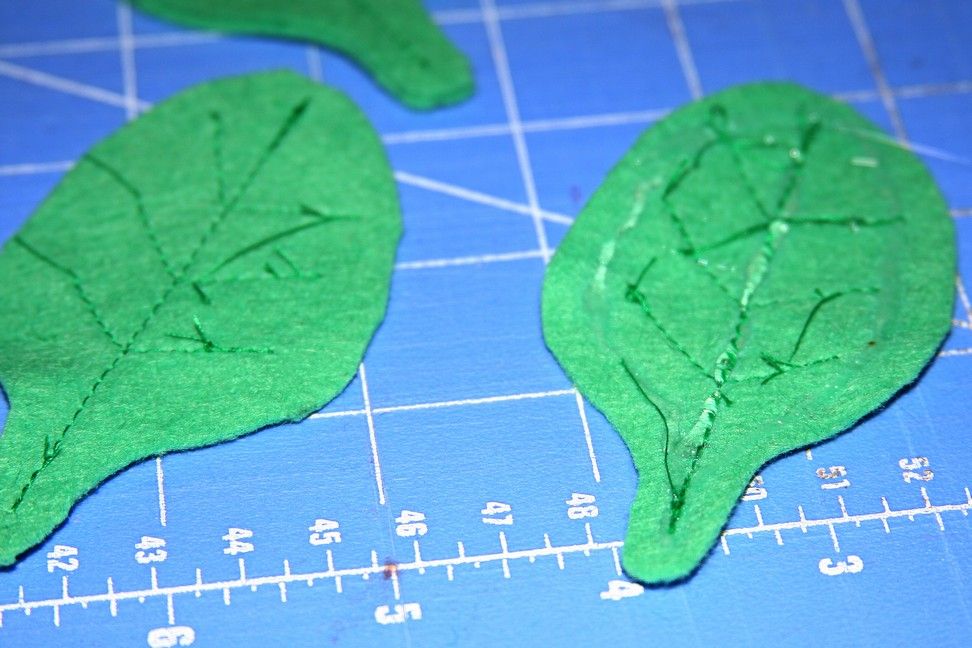
Spinach leaves:
1. Cut out a spinach outline from the template. Pin to the green felt. Make sure to fold the felt so you'll be cutting out two pieces at a time.
2. Sew "veins" onto both pieces of the felt spinach and trim the threads.
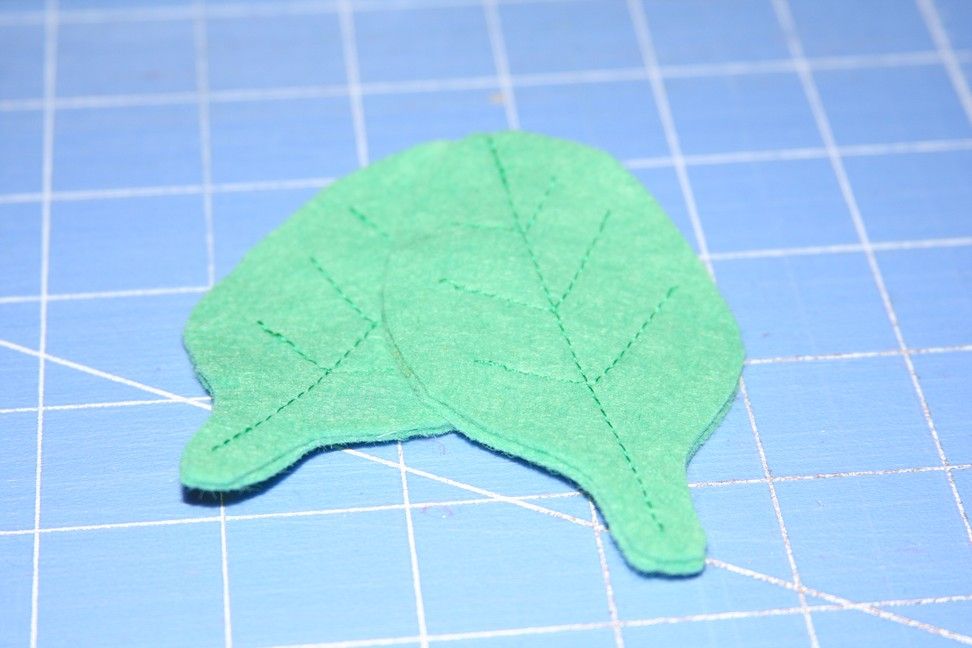
3. Hot glue the spinach leaf together.
4. Repeat steps 1-3.
You now have two spinach leaves.
Eggplant slices:
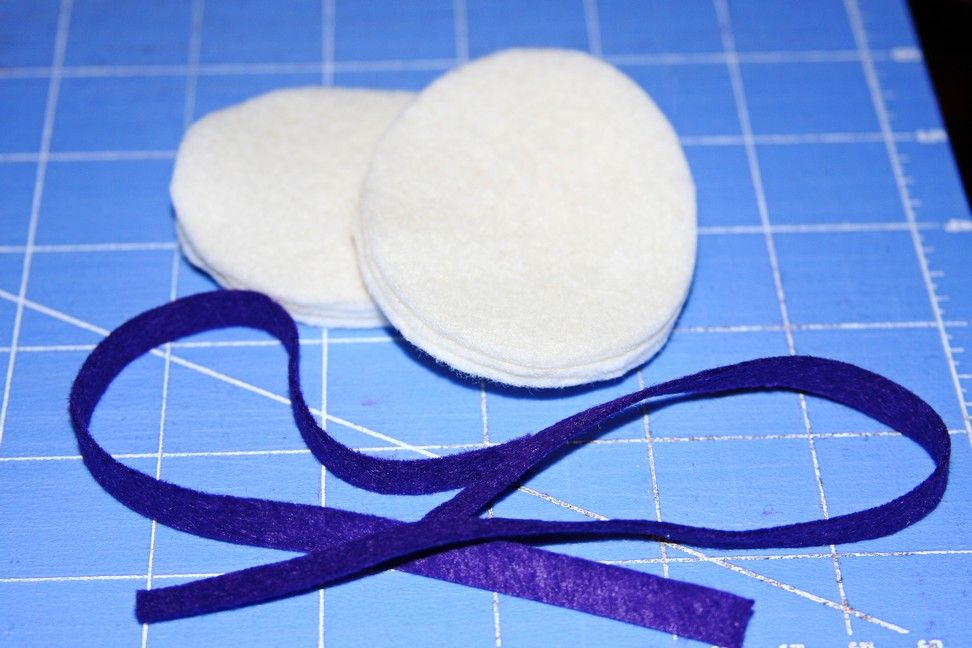
1. Cut out an eggplant oval from the eggplant template. Pin to a piece of white felt. Make sure to fold the felt so you'll be cutting three pieces out at a time.
2. Cut a 1/4"w x 9"l strip of purple felt.
2. Embroidery a running stitch using the beige thread - follow the shape of the eggplant slice.
3. Hot glue all three pieces together - make sure your embroidered pieces are facing out.
4. Hot glue the purple felt strip around the edges of the eggplant slice.
5. Repeat steps 1-4.
You now have two eggplant slices.


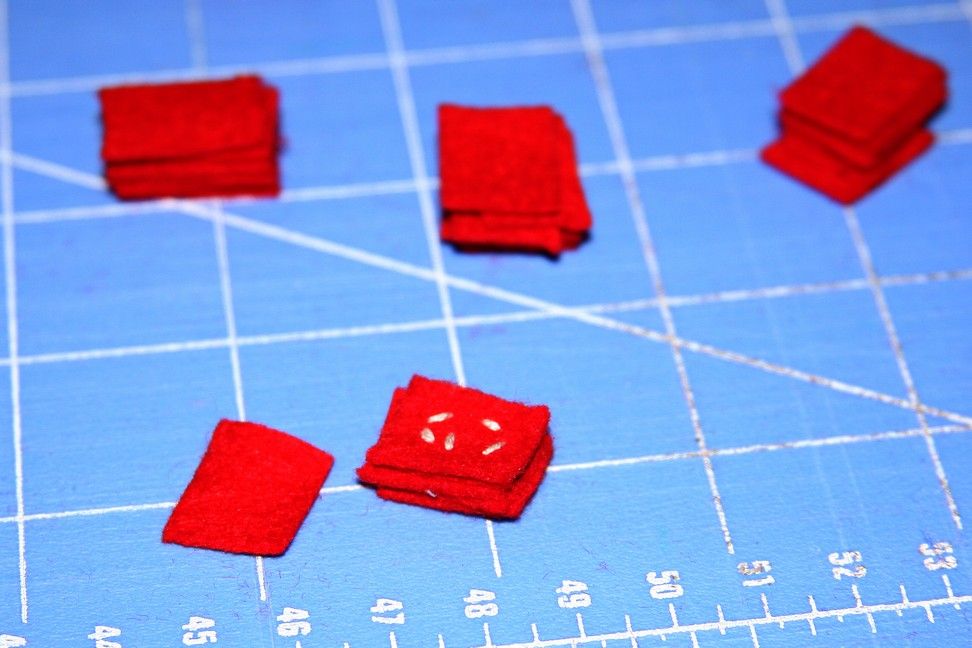
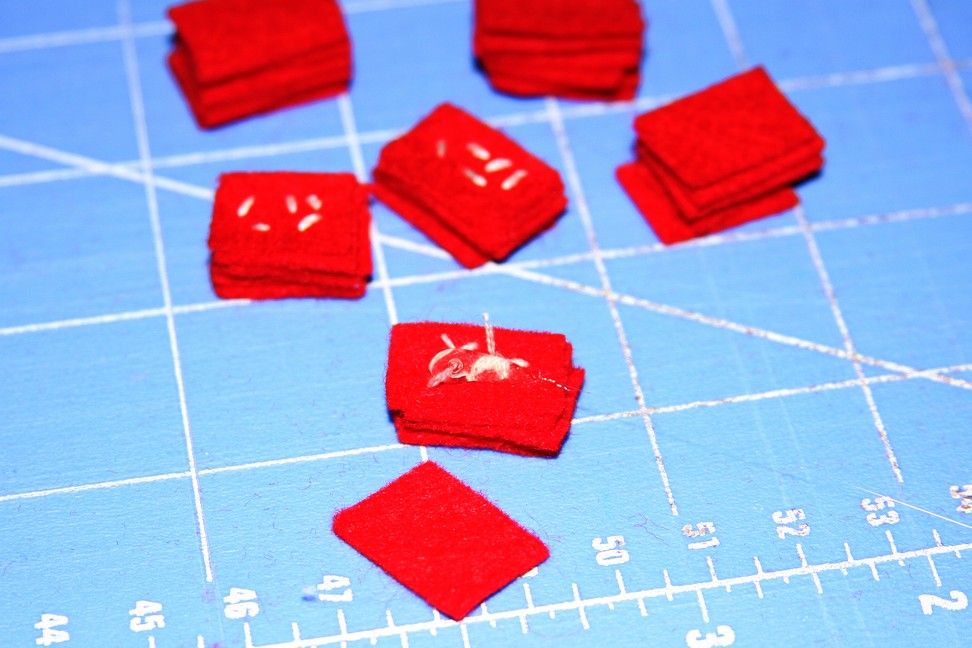
Chopped Tomatoes:
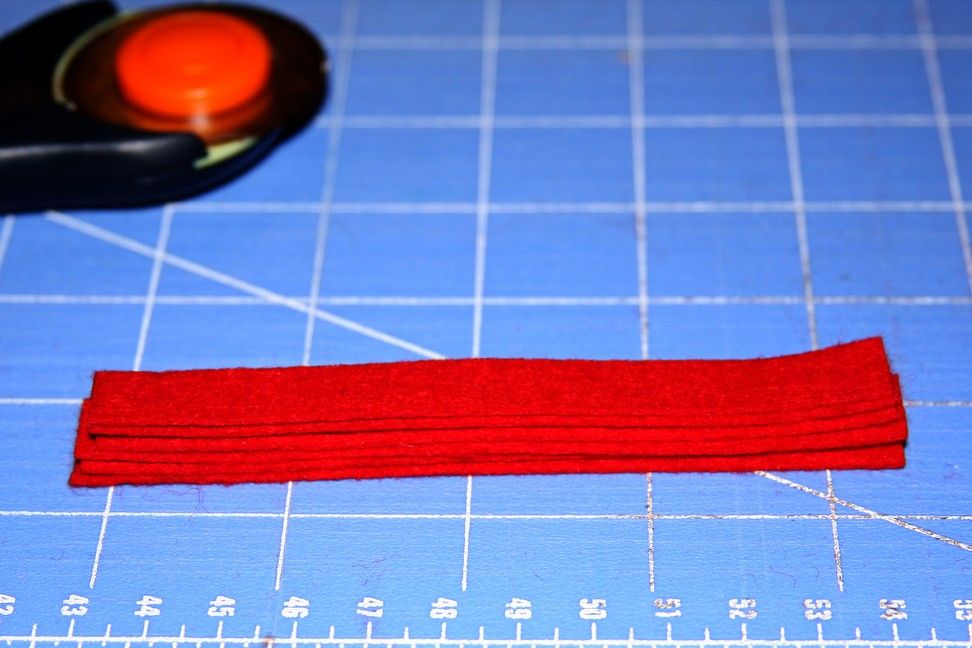
1. Cut out (3) 1/2"w x 9"l strips of red. Then cut the strips in half.
2. Pile the strips on top of each other and cut out (6) 1/2"-3/4" (roughly) pieces.
3. Sewing through 5 cut pieces at a time, make a few small embroidery stitches using the beige thread - these are the tomato seeds.
4. Place a bit of hot glue on the bottom of the 5-piece felt set, and then put the 6th piece on top.
5. Repeat steps 2-4 (5) times.
You now have 6 chopped tomatoes.
Here are the completed lasagna pieces:
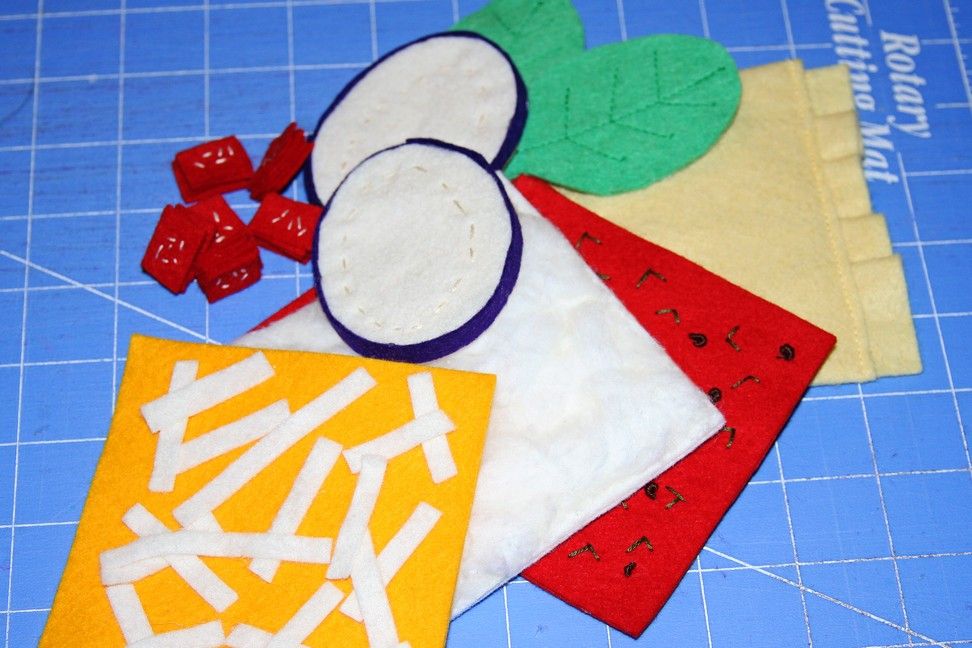
Pile them together to create a delicious Felt Eggplant, Spinach, and Tomato Lasagna!

More felt foods I've made:
Pop-Tarts
Felt Bow-Tie Pasta
Felt Agnolotti Pasta
Felt Tortelloni Pasta and Tin
Felt Valentine's Day Fortune Cookies
NO-SEW Felt Cheese & Spinach Ravioli
I hope y'all like this latest felt-food addition!
Have Fun!
I love making felt food - especially if it's easy, or not too hard to make.
Today I have a delicious addition to my felt food line-up that's very simple to make!
It's a felt eggplant, spinach, and tomato lasagna!
I got the idea from a yummy recipe I found here.
Remember to click on a picture to ZOOM in!
Materials needed:
Red, white, off white (or pale yellow), green, yellow (goldish), and purple felt. I used felt from American Felt and Craft.
Spinach leaf template (download here)
Eggplant template (download here)
Scissors
Rotary blade (optional)
Embroidery thread (beige, dark green, brown)
Embroidery needle
Coordinating thread
2 Cotton balls
Glue gun
Glue sticks
Pins
Lasagna noodles:
1. Cut a strip off white (or light yellow felt) 4"w x 9"l and a strip 3"w x 9"l.
2. Fold the 4"x"9 felt like the picture below - you're gonna fold it sorta like window blinds.
3. Take the 3"x9" strip and fold over down the center of the 1st strip - make sure the seam is on the bottom.
4. Sew down the sides of the 3"x9" strip.
5. Flip over and hot glue the seam opening closed.
You now have lasagna noodles.
Tomato Sauce:
1. Cut (4) 4"x4" red felt squares.
2. Embroider either a fly stitch or a "V-shaped" stitch for the "herbs", and large french knots for the "meat" on all four pieces of felt. Or you could just embroidery two pieces of felt.
3. Hot glue two pieces of felt together, make sure the embroidered pieces are facing outwards.
4. Repeat step 3 for the last two felt pieces.
You now have two square sauce pieces.
Ricotta Cheese:
1. Cut out two 4"x4" pieces of white felt.
2. Carefully pull apart the two cotton balls and hot glue them to the top of one piece of felt.
3. Trim any cotton that is hanging off the edges.
4. Hot glue the pieces of white felt together.
You now have one square ricotta cheese piece.
Cheese & Shredded Mozzarella:
1. Cut out (2) 4"x4" pieces of yellow felt and 3 1/4"w x 9"l strips of white felt.
2. Hot glue the the yellow felt squares together.
3. Cut the white strips into random sized pieces.
4. Hot glue the white strips haphazardly to the top of the yellow felt square.
You now have one square cheese & shredded mozzarella piece.
Spinach leaves:
1. Cut out a spinach outline from the template. Pin to the green felt. Make sure to fold the felt so you'll be cutting out two pieces at a time.
2. Sew "veins" onto both pieces of the felt spinach and trim the threads.
3. Hot glue the spinach leaf together.
4. Repeat steps 1-3.
You now have two spinach leaves.
Eggplant slices:
1. Cut out an eggplant oval from the eggplant template. Pin to a piece of white felt. Make sure to fold the felt so you'll be cutting three pieces out at a time.
2. Cut a 1/4"w x 9"l strip of purple felt.
2. Embroidery a running stitch using the beige thread - follow the shape of the eggplant slice.
3. Hot glue all three pieces together - make sure your embroidered pieces are facing out.
4. Hot glue the purple felt strip around the edges of the eggplant slice.
5. Repeat steps 1-4.
You now have two eggplant slices.
Chopped Tomatoes:
1. Cut out (3) 1/2"w x 9"l strips of red. Then cut the strips in half.
2. Pile the strips on top of each other and cut out (6) 1/2"-3/4" (roughly) pieces.
3. Sewing through 5 cut pieces at a time, make a few small embroidery stitches using the beige thread - these are the tomato seeds.
4. Place a bit of hot glue on the bottom of the 5-piece felt set, and then put the 6th piece on top.
5. Repeat steps 2-4 (5) times.
You now have 6 chopped tomatoes.
Here are the completed lasagna pieces:
Pile them together to create a delicious Felt Eggplant, Spinach, and Tomato Lasagna!
More felt foods I've made:
Pop-Tarts
Felt Bow-Tie Pasta
Felt Agnolotti Pasta
Felt Tortelloni Pasta and Tin
Felt Valentine's Day Fortune Cookies
NO-SEW Felt Cheese & Spinach Ravioli
I hope y'all like this latest felt-food addition!
Have Fun!