Showing posts with label tutorials. Show all posts

Monday, January 16, 2012

DIY Fabric Organizers


These are super easy to make and won't cost you a dime!


I first saw fabric organizers over at The Cottage Home:

Aren't they great?
But so expensive!
$131.62 for 75 large (10" x 14") organizers!
I have a lot of fabric and I just can't afford to wrap my whole collection.

Then I found a DIY fabric organizers using cardboard from Kandra's Corner.

Nice!

She used rubberbands to secure the fabric, but I really liked the tabs on the expensive ones:

I  wanted to make my own using tabs not rubberbands or pins.
So I grabbed an Amazon box to "upcycle" and started cutting!

I tried out a few ways  to position the tabs that would hold the fabric in place, but I ran into a problem.
You can't cut too many tabs like the expensive organizers because the cardboard becomes weak and floppy. 
So then I tried only two tabs in the center. 
It worked great!

Here's how I made my fabric organizers:

Materials:
fabric
cardboard
X-Acto or sharp knife


Cut out a board 7 1/2" w x 11 1/2" l
Using a X-Acto or a very sharp knife, cut one tab 2" from the top in the center of the board.
Flip the board around and cut out another tab the same way.
Look at the picture for reference:

Start wrapping the fabric around the board:

When you've finished wrapping, pop out the tabs to secure the fabric.

That's it!
It will stack on shelves just as neatly as the fabric organizers too.
It's not as pretty as the expensive ones, but it is free.
You could spray paint the cardboard to match your sewing room - one can of paint would cover a lot of boards.

Here's the front of the organizer:

I read on Kandra's Corner that she's using comic book boards now.
I believe some people were worried the cardboard (she actually used tag board) wasn't acid-free.

So with a little searching, I found 100 magazine boards (8 1/2" x 11") for only $12.45 on Amazon - plus free shipping!
The boards on Amazon have only one preview - from a lady that is using them as fabric organizers!

I'm hoping I can cut tabs on them without the board becoming weak.
Maybe narrower tabs?
The tabs on the expensive boards appears to be more narrow than the ones I made. 
I'll be sure to update with pictures when I've tried the magazine boards!

Have fun!

StumbleUpon.com

Thursday, November 24, 2011

Happy Thanksgiving!!

!

Happy Thanksgiving!
Hope y'all had a wonderful day!

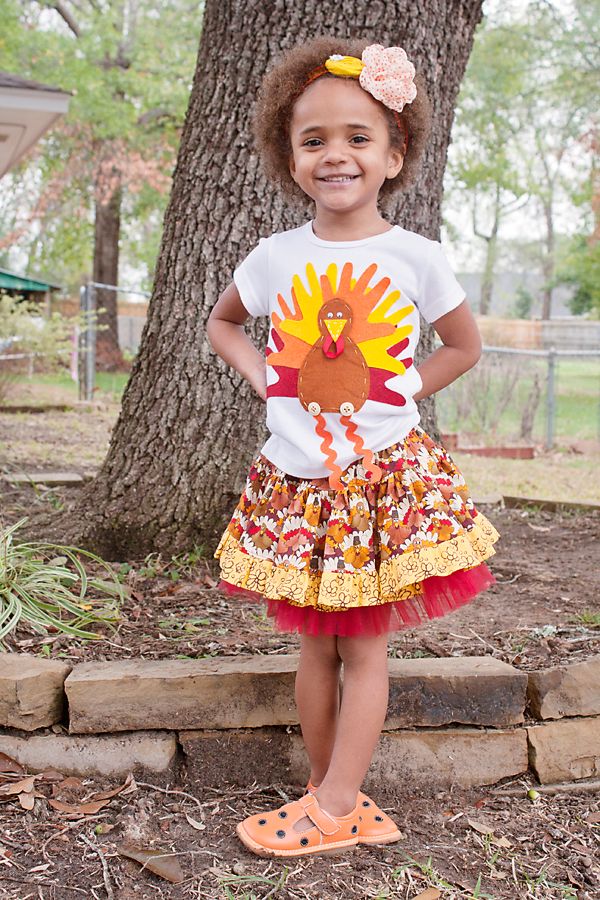
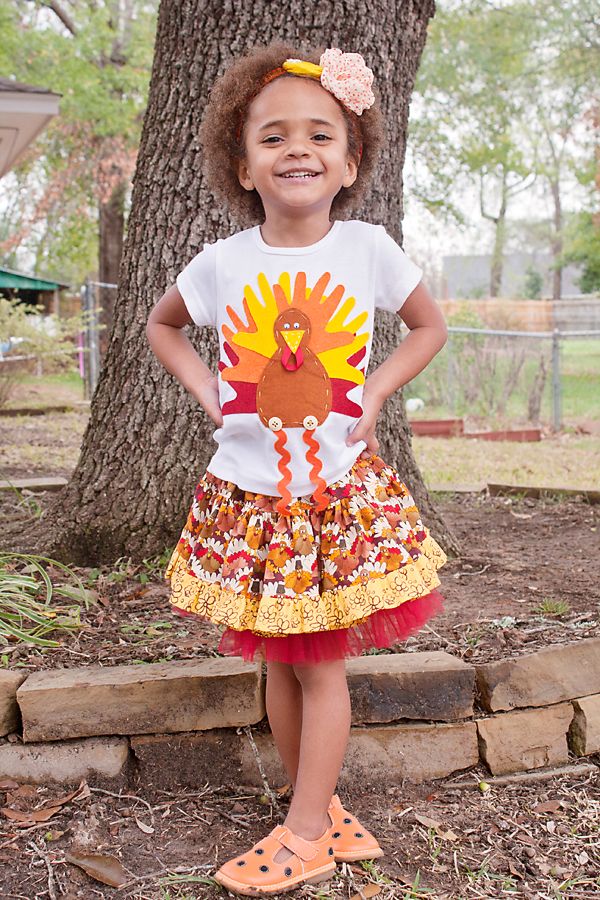
You can find my tutorials for Serenity's Thanksgiving Day outfit by clicking the links below:


Serenity's lovey matching headband is from Giella on Etsy
Shyloe's work is beautiful - such sweet personal touches!

 
Have fun!

StumbleUpon.com

Friday, November 18, 2011

Twirly Skirt Tutorial - sort of!


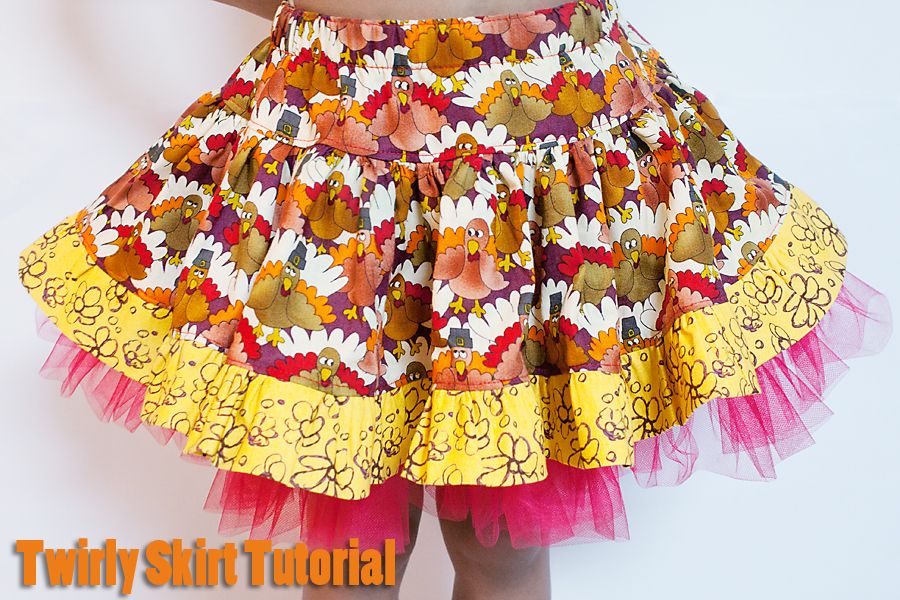
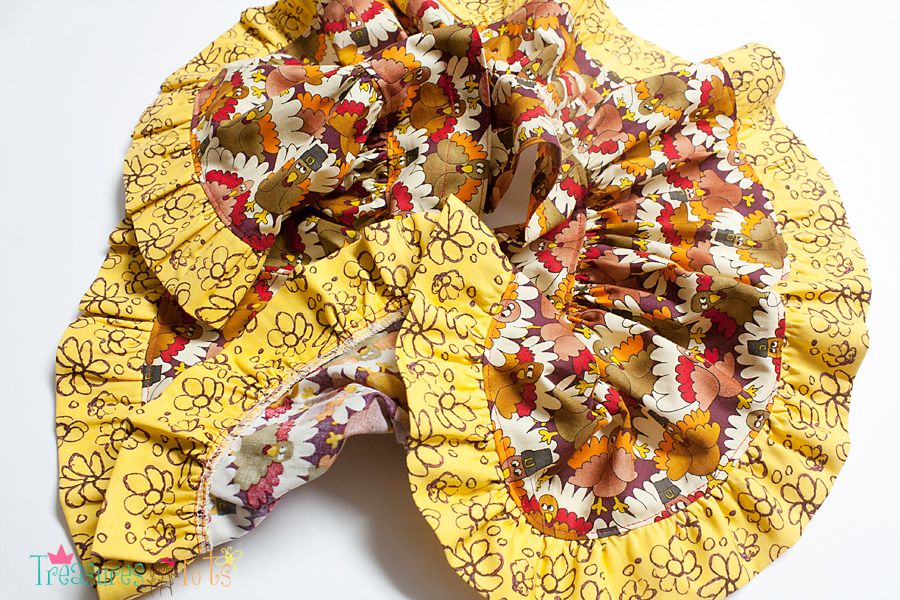
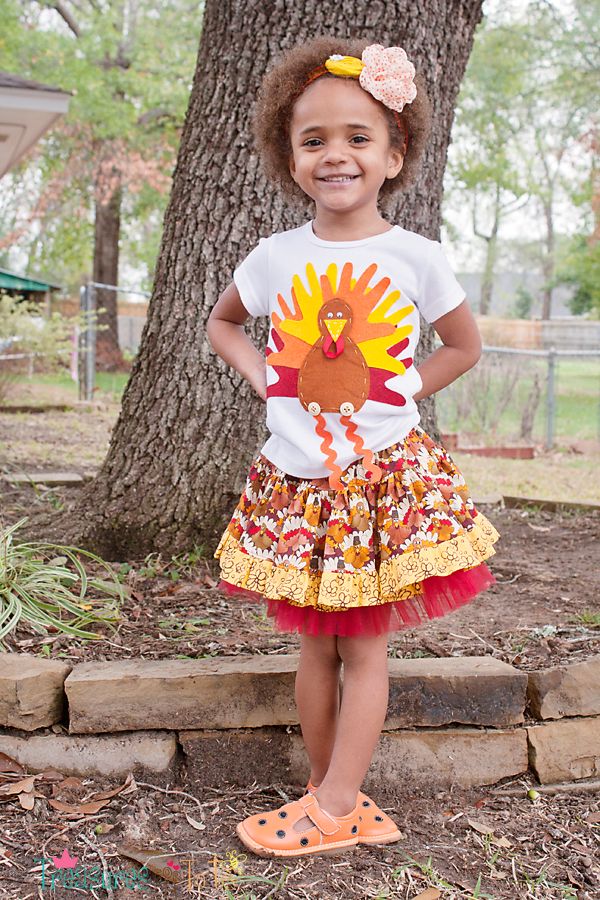
I made this cute twirly skirt for Serenity to wear on Thanksgiving Day.
You can find the tutorial for the little faux petti underneath the skirt, HERE.
I made a tiny hand felt applique tee to match the outfit too.
You can find that tutorial HERE.
---------------
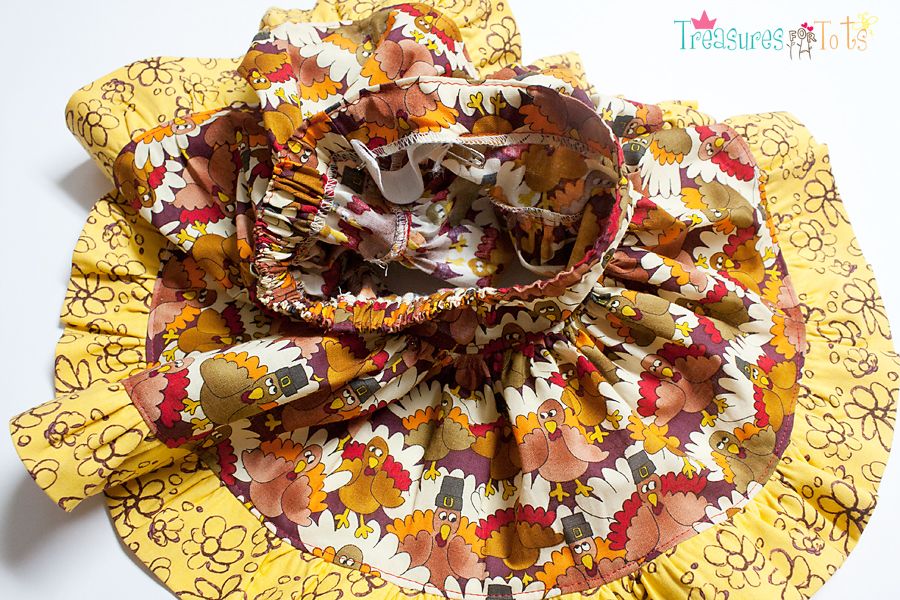
As I was making the skirt, I was completely oblivious to the fact I was actually putting the skirt together wrong.
I know better - you assemble a skirt like this from the bottom up.
But I was watching TV, taking pictures, talking to Serenity and sewing and I had a complete brain freeze!

I decided to go ahead and post the tutorial.
Even though I messed up, it wasn't a total loss and I can show the mistake I made and what I did to correct it!
---------------
The measurements below are for Serenity.
She's a very small 3T, plus I was putting it over the faux petti, and I made it shorter than normal so the tulle ruffles would show.
To determine your daughter's size, try this:

Yoke:
1.5 x your child's waist measurement divided by 2.
Add 1" for the seam allowances.
For example: 1.5 x 18" = 27" / 2 = 13.5" + 1" = 14.5"
So you're going to cut 2 pieces of fabric that are 14 1/2" wide.
As far as the length of the yoke, 4" or 5" is usually good for toddlers and little girls.
You can decide if this length works best for you.

Main Body:
The length is whatever you need really.
Just cut 2 pieces selvage to selvage (usually 45" wide) to make a really twirly skirt.

Ruffle:
The length of the ruffle is again as long as you like.
The width is at least three times the width of the skirt.
---------------


Materials:
2 pieces 4"l x 14 1/2"w - yoke
2 pieces 5" l x 45"w - main body
3 pieces 4"l x 45"w - ruffle
bobbin with upholstery thread
straight pins and safety pins
3/4" elastic
scissors

Seam allowances are 1/2" throughout.
---------------
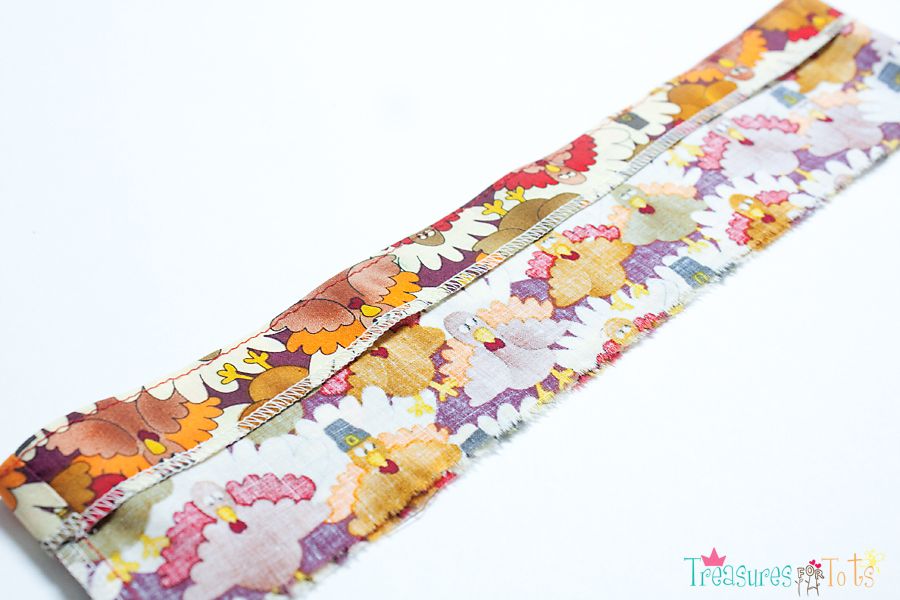
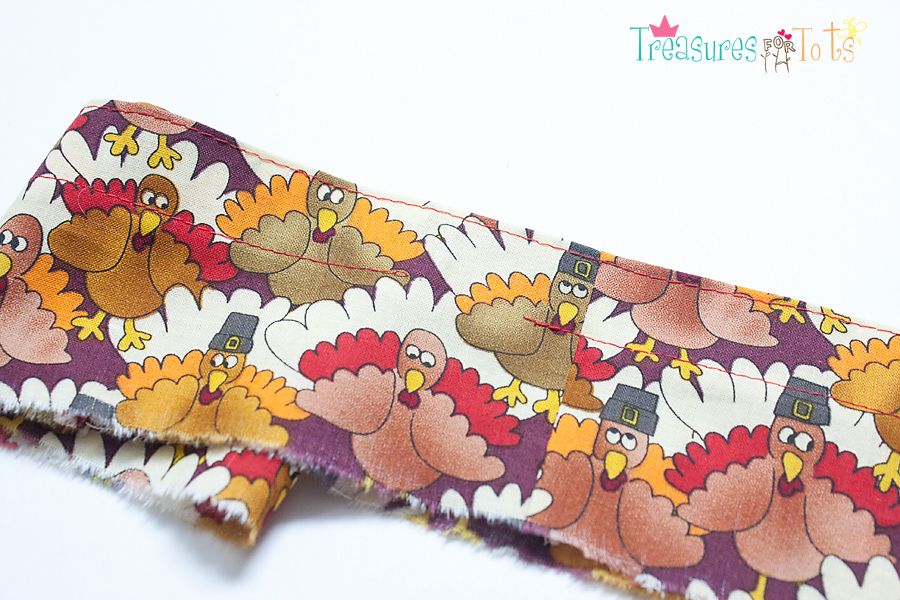
For the yoke, serge the tops of both pieces.
Place them right sides together, sew the sides and serge the seams.
Make a 1" hem at the top.

Top stitch 1/4" from the edge.
Then top stitch 1" from the edge, leaving a 2" opening for the elastic.
Set aside.

Now for the main body.
Place right sides together, sew the sides, then serge the seams.
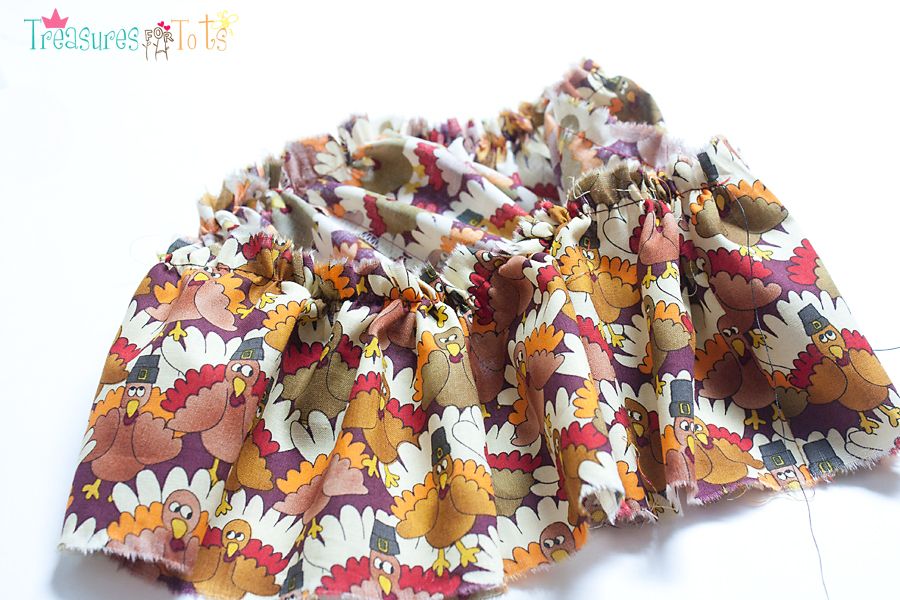
Using the bobbin of upholstery thread, sew a gather stitch 3/4" from the top of the main skirt body.

Gather the main body of the skirt until it's the same width as the yoke.

With right sides together, line up the side seams, and pin the main body to the yoke.

Sew the two pieces together.
Serge the seam.
Iron the seam UP, and then top stitch.

I was feeling very good about the skirt at this point.
UNTIL I realized I didn't attach the ruffle first!
I should have done that BEFORE I attached the main body to the yoke!


Geez!!

Okay so I could keep going from here without yanking out all that hard work.
It's just going to take more than twice as long to get that ruffle on right.
But it can be done - just with loads of patience!
----------------
On to the ruffle....
Attach all the pieces together until you form a large circle.
Serge the seams, iron flat.
Fold the entire piece in half, raw edges together, and iron.
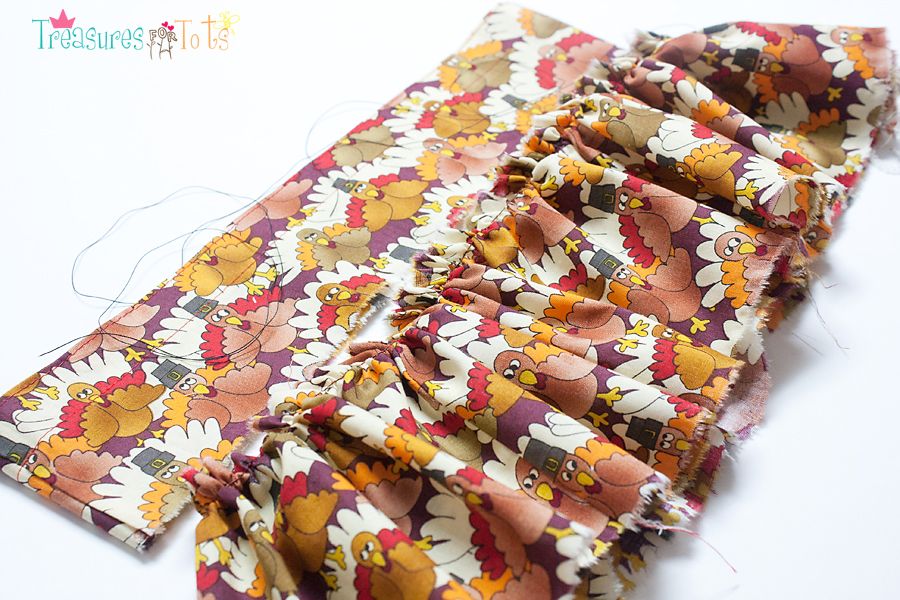
Using the upholstery thread, run a gather stitch 3/4" from the raw edges of the ruffle.
The upholstery thread makes gathering that ruffle so much easier!

Now this is the time consuming, pain-in-the-neck part.
Because the main body is very twirly, it's going to take forever to determine how much I'll need to gather the ruffle.
But - still much easier than pulling out all my previous hard work or starting completely over!
---------------
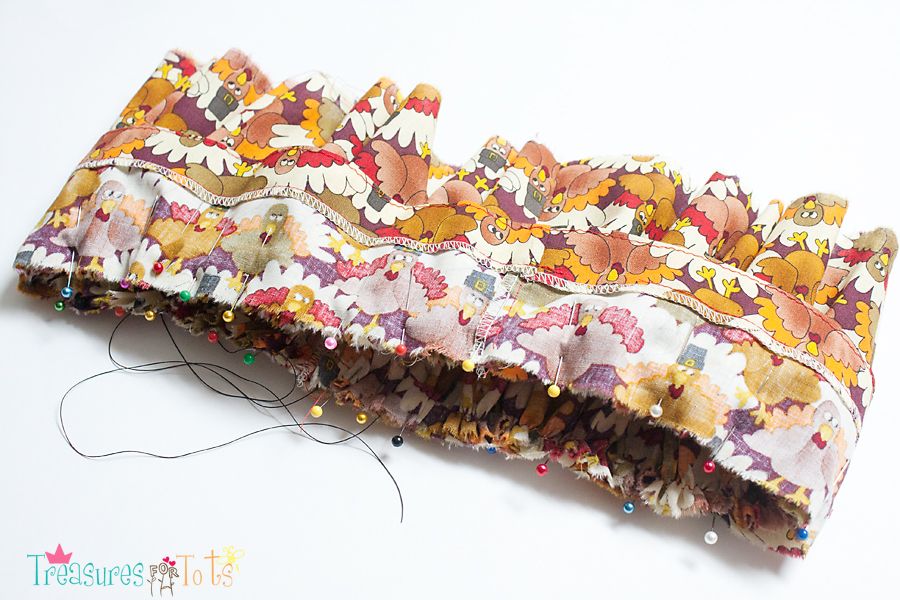
Gather the ruffle until it's the same width as the main body.
Pin together.

Sew the pieces together, serge the seams.
Iron the seam UP, then top stitch.

Whew!
Gotta remember to never forget the ruffle again!

Almost done now...

Cut the elastic 1" longer than your child's waist.
Attach to a safety pin (or bodkin), and pass it through the waistband.
Overlap the ends about 1", sew a triple stitch to secure.
Tuck into the waistband and close the opening with a triple stitch.

All done!
Very twirly turkey skirt!


Have Fun!!

StumbleUpon.com

Wednesday, November 16, 2011

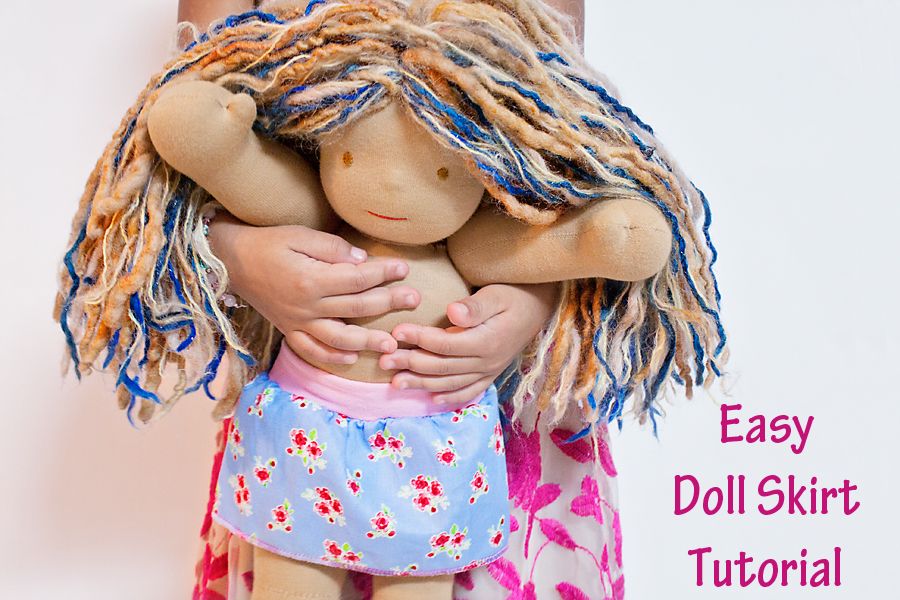
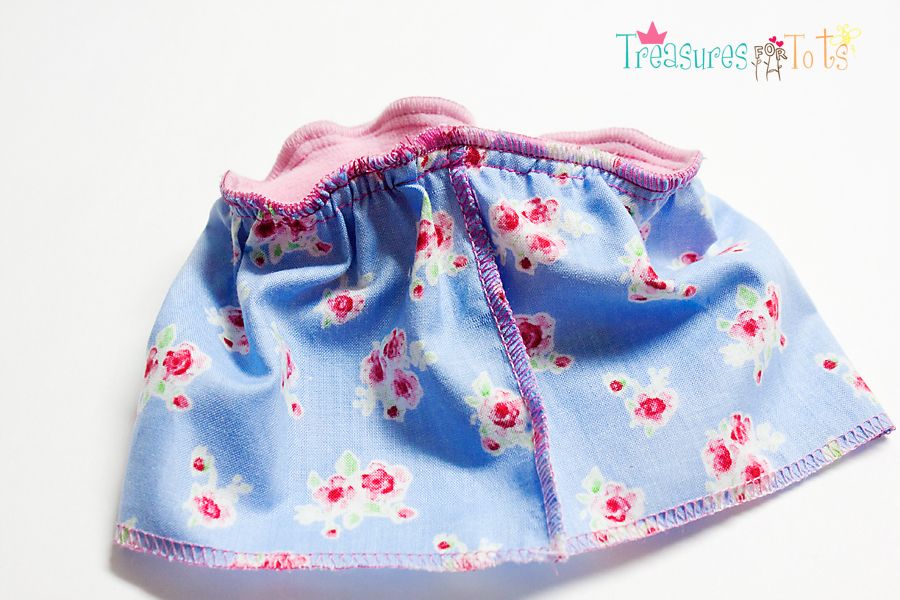
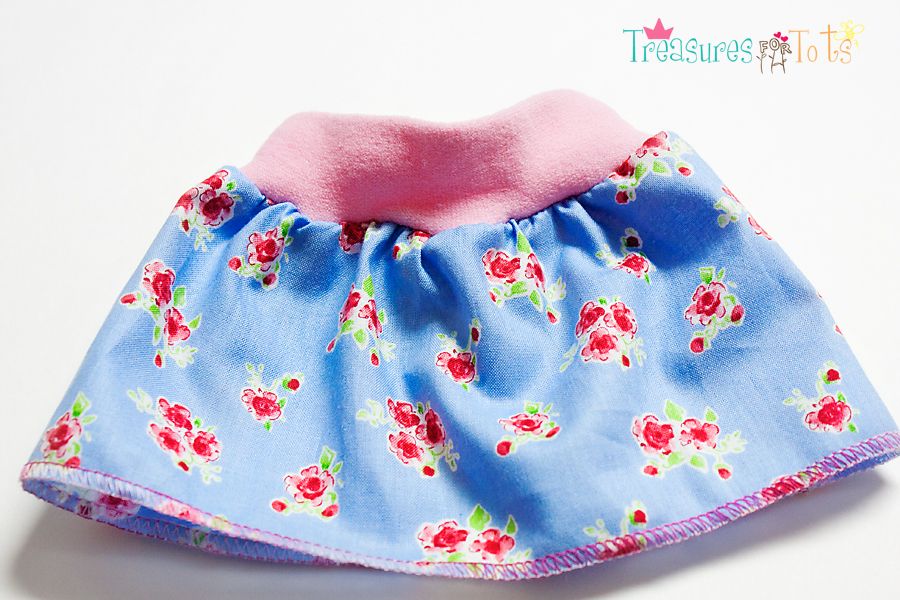
Easy Waldorf Doll Skirt Tutorial


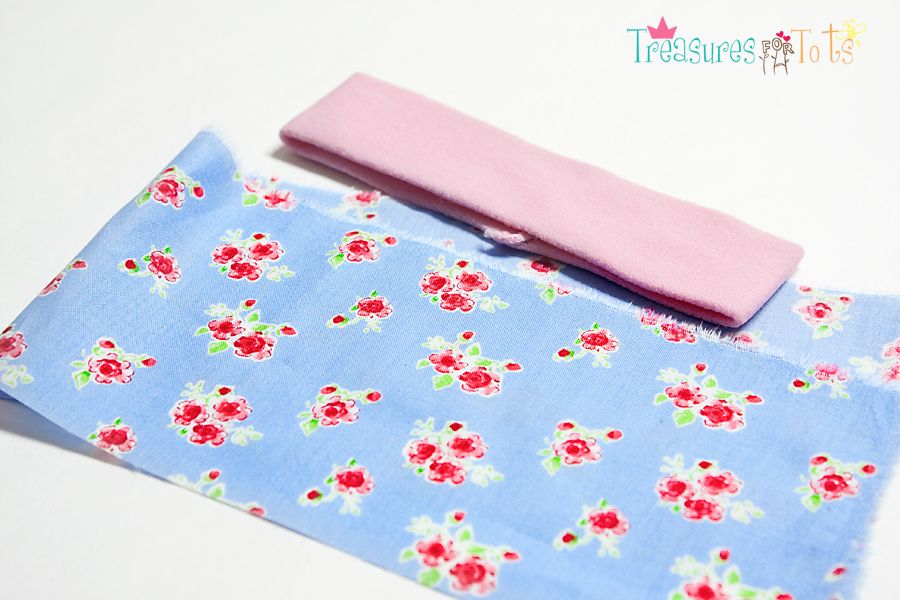
I was cleaning and organizing my sewing room today when I came across a bunch of child-sized soft stretchy headbands.

I bought them months ago and never got around to doing anything with them.

I had scrap fabric on one side of me... and the headbands on the other side...

It was a light bulb moment!

This is super easy to sew and only takes about 15 minutes or less to complete!
Materials:
6" long baby/toddler stretchy headband
4 1/2" l x 18" w scrap fabric
pins

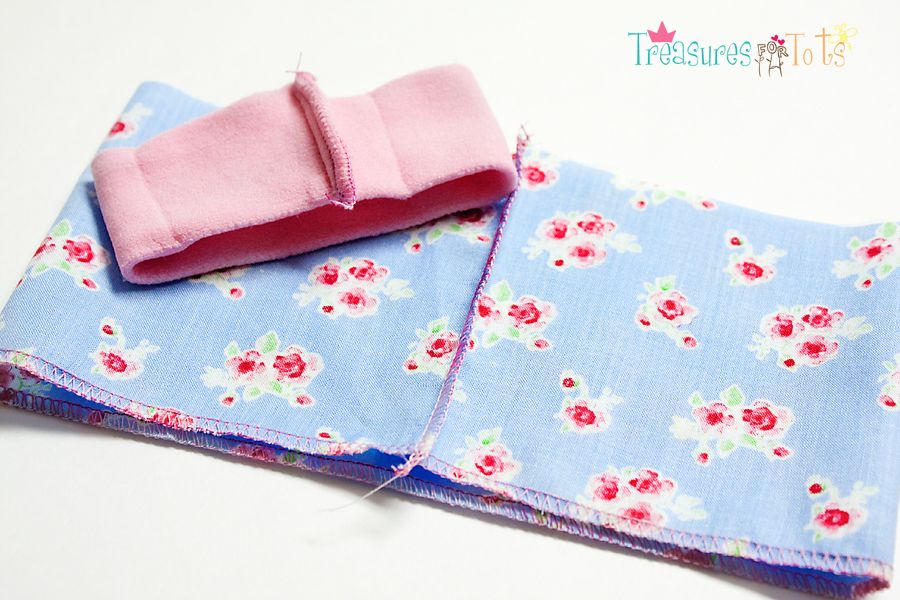
Hem, serge or roll hem the bottom of the fabric.
With right sides together, sew a 1/2 seam down the raw edges.
Serge or zig-zag the seam of the skirt.
--------------
Starting at the seam, cut a 1 1/2" piece off the headband.
Sew a new 1/2" seam so that it now measures 4" long.
Serge or zig-zag the seam.
This piece is now the waistband!

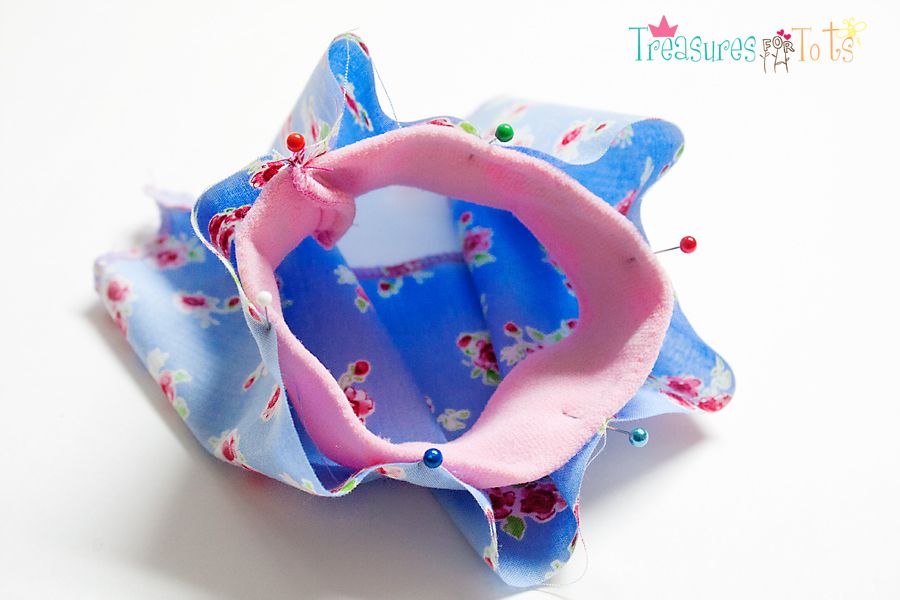
With right sides together, stretch and pin the headband to the skirt.

Carefully stretch the waistband while sewing a 1/2" seam around.
---------------
If you're having difficulty, try sewing a quick gathering stitch 3/4" from the top.
Gather the skirt piece until it's the same width as the waistband.
Pin the waistband to the skirt, right sides facing, then sew a 1/2" seam around.

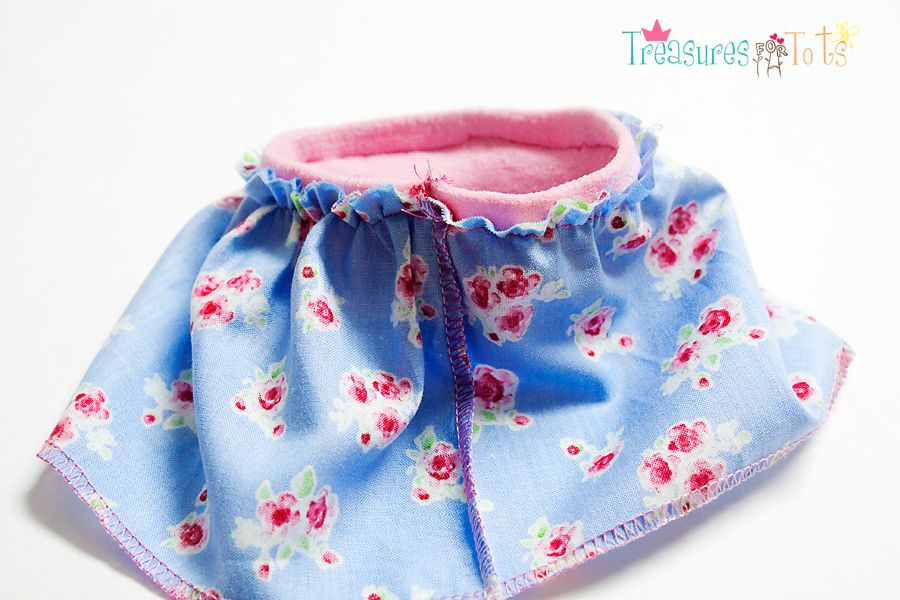
Serge the raw edges or zig-zag the edges.

All done!
See how quick that was?!
The skirt fits Serenity's Bamboletta, American Girl and other dolls that are around the same size.

Have Fun!

IhookedupwithHoHlamespiceWhat I'm Making Monday

StumbleUpon.com

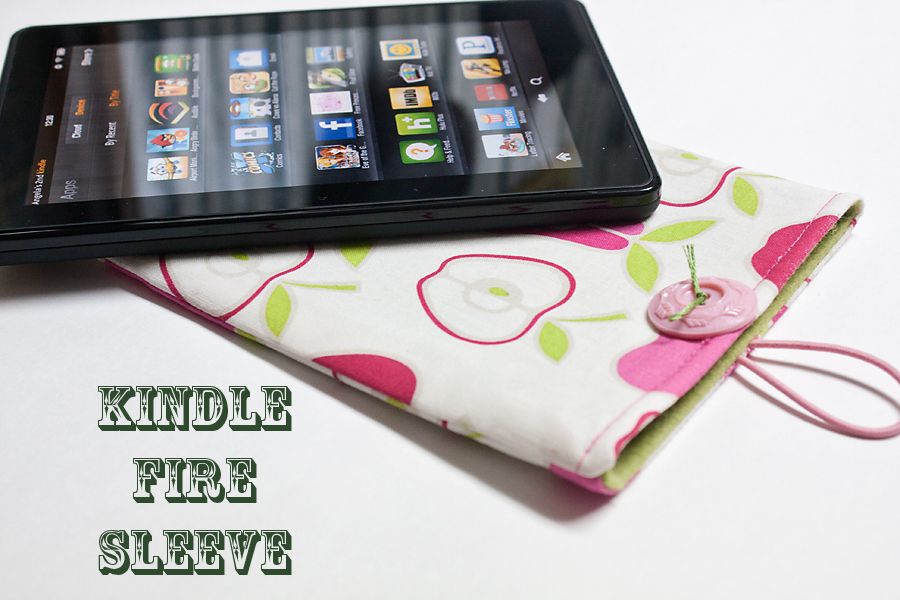
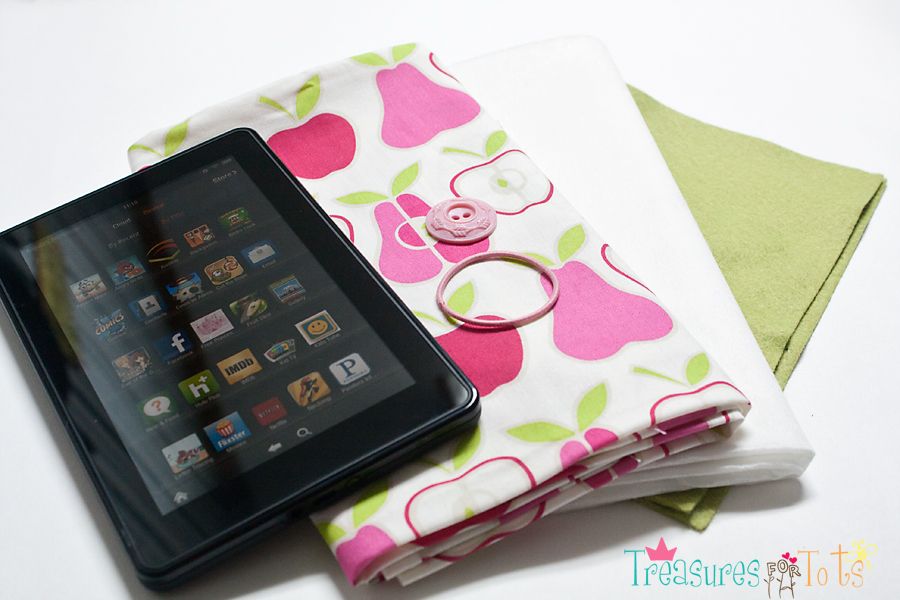
DIY: Kindle Fire Sleeve Tutorial


Our Kindle Fire arrived!
So far, it's living up to all the hype.
Serenity and I played on it all day yesterday and totally love it!
You can't find quite as many Apps as the iPad yet, but then it's only holds 8GB of content.
It's mostly for accessing your Amazon purchases, and if you're an Amazon Prime customer (like me!), you'll find it very convenient.
I'll do a more in-depth post about it once Serenity and I have had a chance to play on it a little longer.

I tried to find a DIY sleeve tutorial for it, but it's so new I couldn't find anything.
I did however find this great Patchwork Kindle Cover tutorial for the Kindle Keyboard from Elizabeth's Whimsies.

It wasn't quite what I was looking for, but close enough!

I had to change the measurements because the Fire is a little smaller than the Kindle Keyboard.
I made a few more adjustments too since I was looking for something that was quick and easy to sew.

Materials:
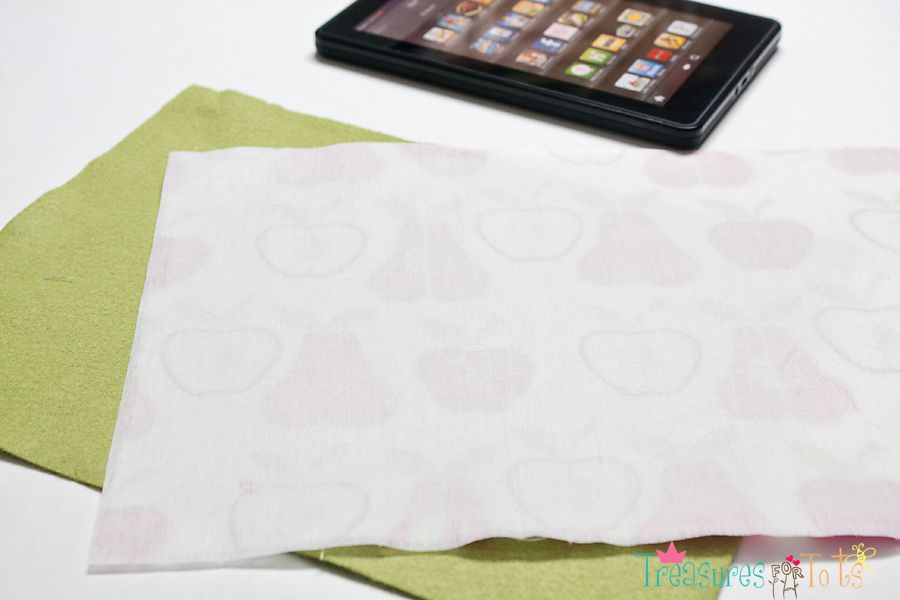
1 piece of 9" x 12" wool felt blend
fabric
light fusible web
elastic pony
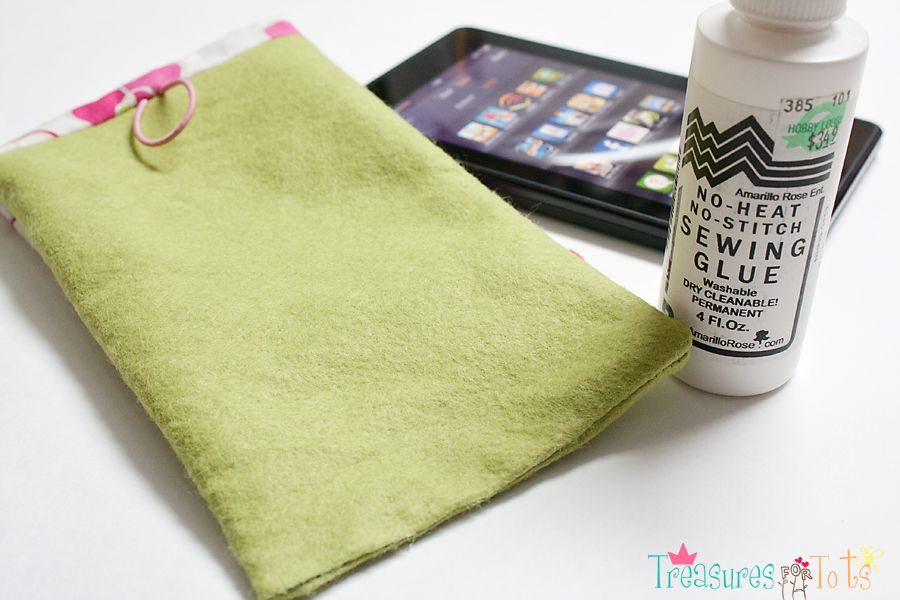
permanent sewing glue
embroidery floss
button

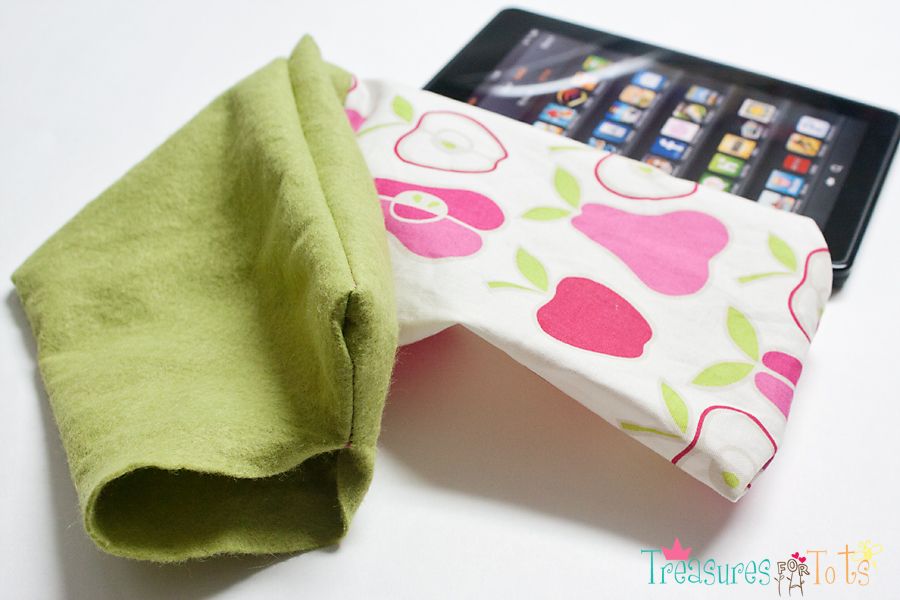
Iron the fusible web on a 9" l x 12" w piece of fabric.

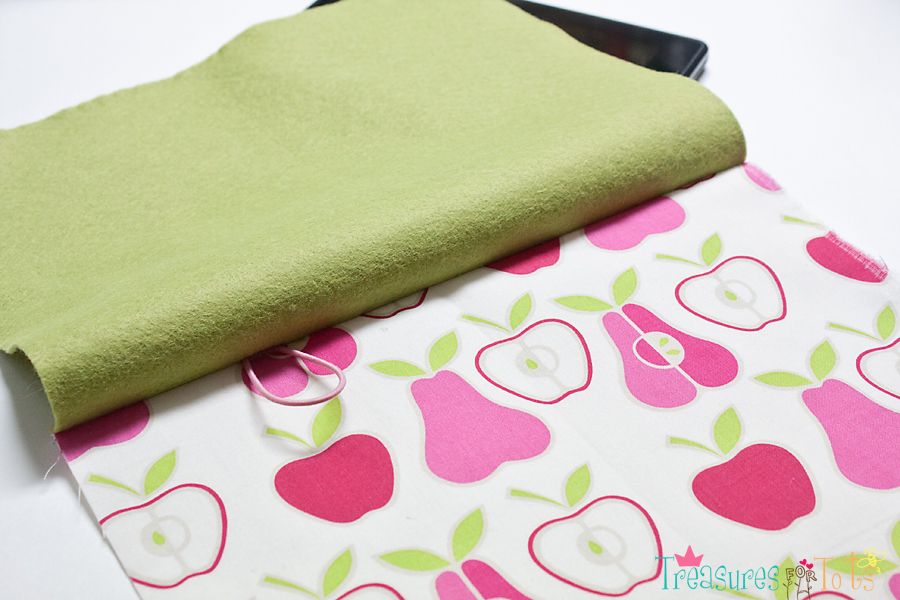
On the right side of the fabric, place the elastic pony at the top edge, 3" from the side (it doesn't matter which side).
Place the felt on top of the fabric, sandwiching the elastic pony in the middle.
Sew across the top using a 1/2" seam allowance to attach the two pieces of material together.
Your project is now one big piece with a "center" seam.

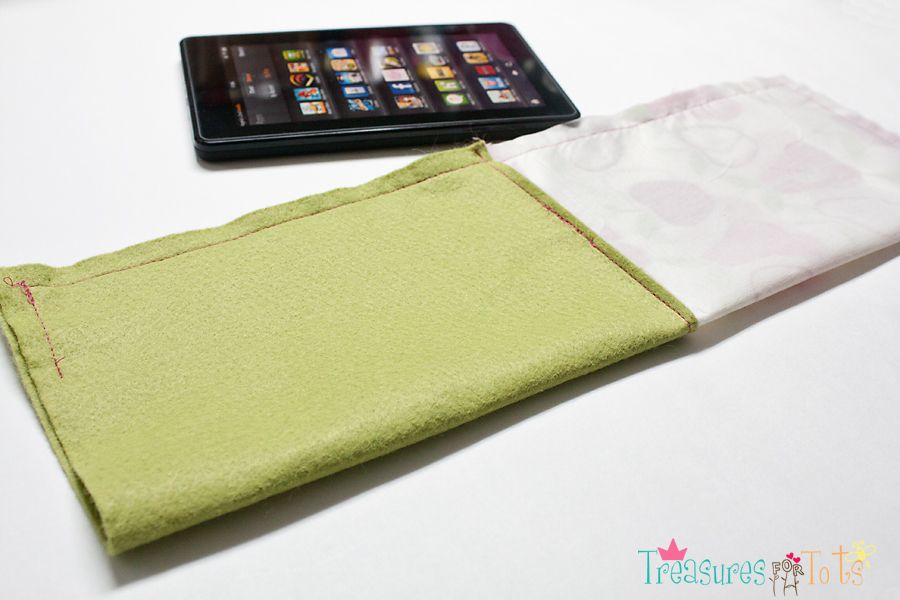
With right sides facing, fold the entire piece in half - it'll be about 6" wide and 18" long.
Using 1/2" seam allowance, sew around the raw edges leaving a 3" opening in the felt.

Turn fabric inside-out by gently pulling the entire sleeve through the opening in the felt.

Carefully fold the raw edges of the opening inside and glue closed.
Allow time for the glue to dry before handling the sleeve.

TIP:
You could use hot glue or a ladder stitch to close the opening too.

Put the felt lining inside the sleeve while trying to get everything to lay as flat as possible.
It takes a little pinching and pulling to arrange it neatly.
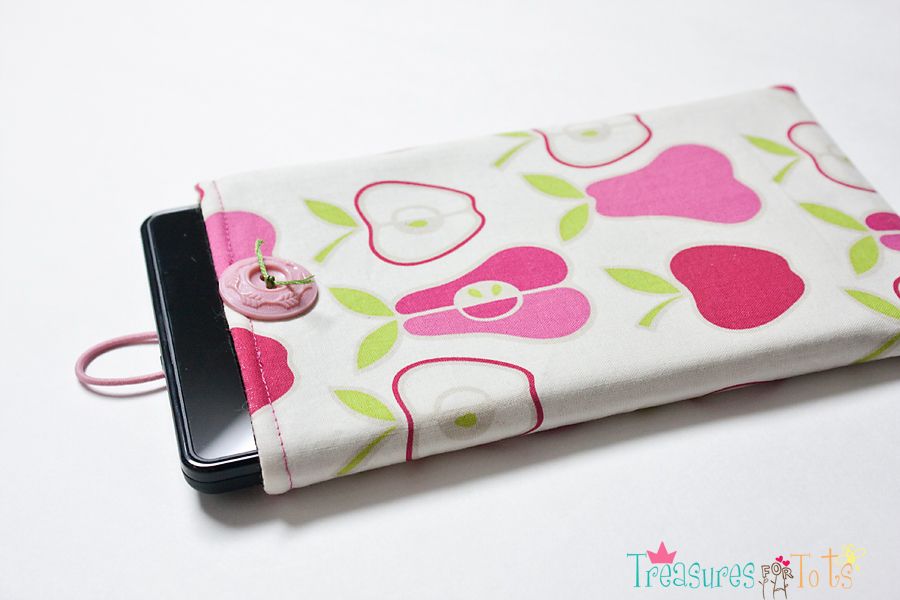
Iron, then top stitch around the opening.
Sew on the button using embroidery floss.
---------------
All done!

Have Fun!

What I'm Making Monday

StumbleUpon.com

Tuesday, November 15, 2011

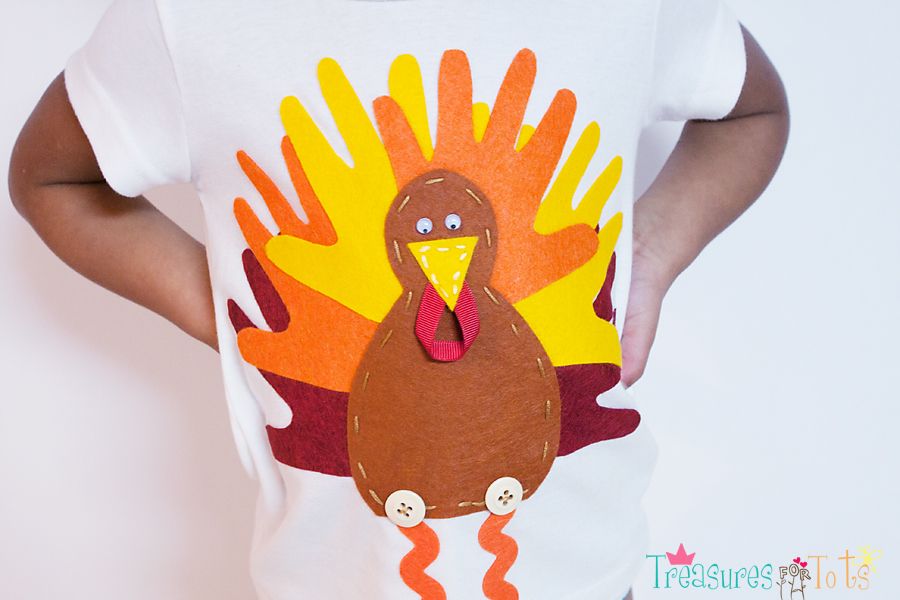
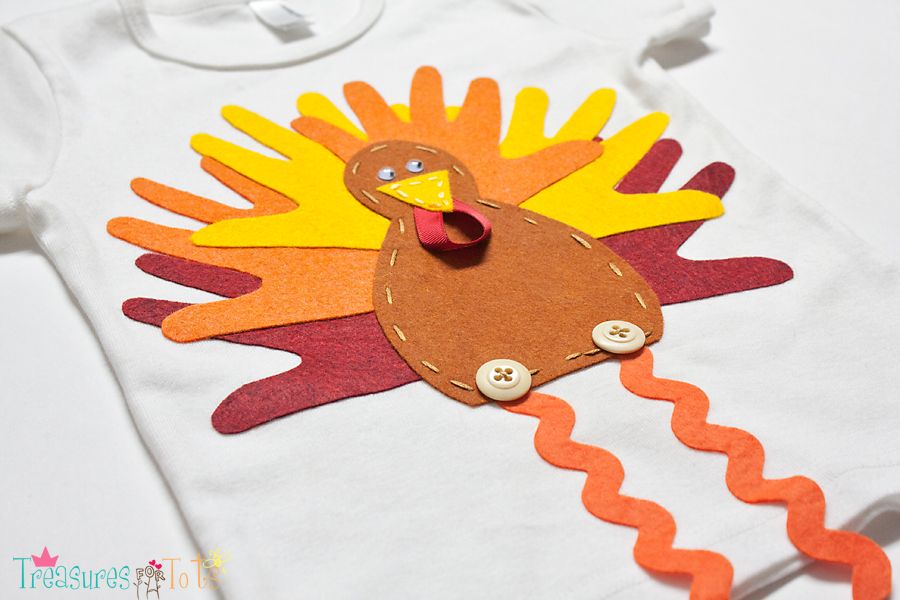
Tiny Hands Turkey FELT Applique

I wanted to make another Tiny Hands Turkey shirt for Serenity, but wanted to do it little differently this year.

So I decided to use felt!
I've made a Gingerbread House shirt for Serenity using eco-fi felt and it work out great.
You can find a huge selection of eco-fi felt at Wal-Mart for only 20¢ each or in bundles for less than $4.

For the Turkey shirt I wanted to try wool blend felt.
It's nicer than eco-fi, but more expensive too.
Both types can be washed in cold water, but I suggest hanging it to dry only.

I also tried to do a tiny bit of embroidery, but I messed up on the beak.
It was a little hard to go through two thick pieces of wool felt!
Maybe next time some little french knots all over the beak would look cute?
Embellishments on the turkey's belly and the hands would look adorable, but I was worried I'd mess up.
I used the last of my orange and yellow felt on this shirt!

I do like how the felt shirt turned out.
Sewing of any kind isn't required, but small extras are fairly easy to do.
It's going to look great with the Thanksgiving outfit I'm planning for Serenity.
---------------

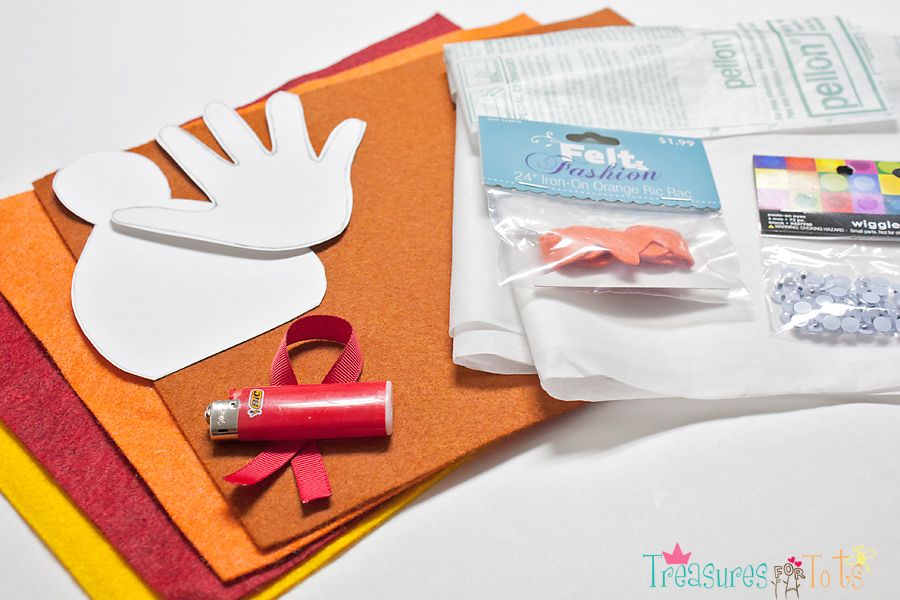
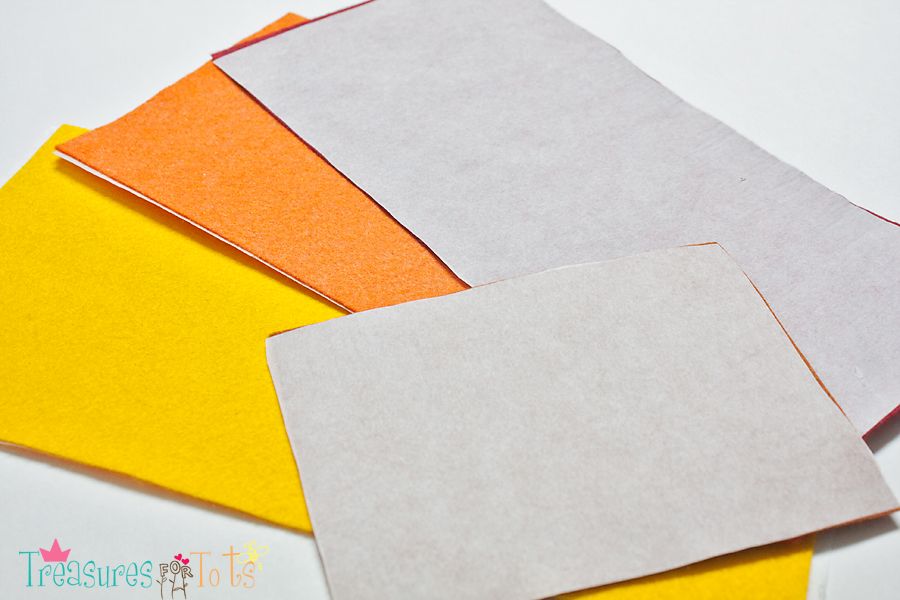
Materials:
yellow, orange, red and brown felt
iron-on transfer web (I used Pellon)
permanent sewing glue (Hobby Lobby $3.49)
2 wiggly eyes (Hobby Lobby 99¢)
felt ric-rack (Hobby Lobby $1.99)
a template of your child's hand
turkey template (I used this picture)
lighter or fray check
red ribbon
2 buttons

Iron the transfer web to the felt.
Use a hot iron (wool or medium setting), NO steam.

Cut out all the pieces.
2 hands of red, yellow and orange, and a brown turkey.
Make sure the flip the hand templates so you have a right and left hand of each color.

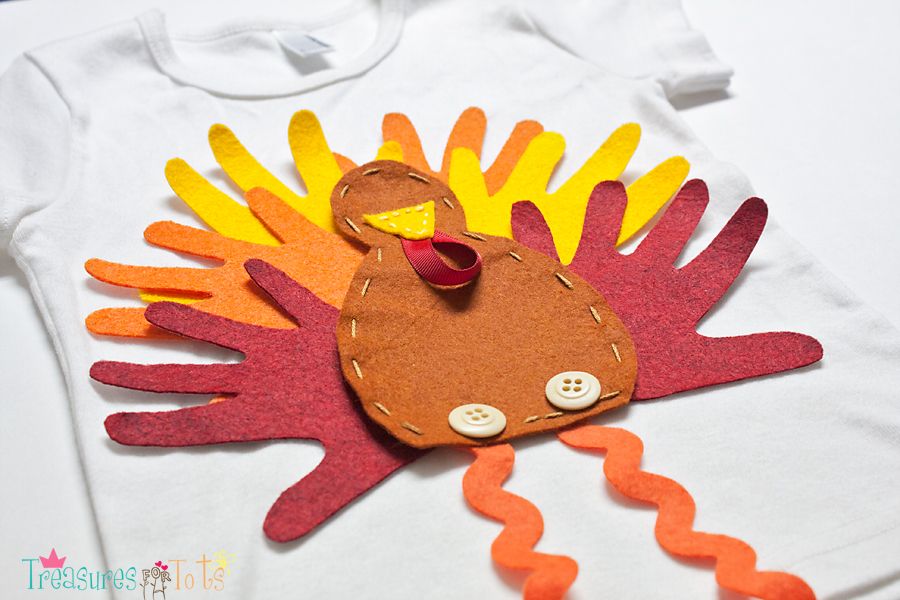
I embroidered around the turkey's body and beak using a running stitch, and then attached the ribbon wattle.
I thought about making a running stitch around the fingers too, then realized I would probably be in for a huge headache if I tried!
I think it would look nice, but that's beyond my skills - for now!
------------
Before ironing the felt pieces to the shirt, try moving them around until you've decided you like the placement.

Iron down.
Take your time, press down firmly, and move slowly over the pieces.
Sew on the buttons using embroidery floss.
Glue down the eyes and give them time to dry before handling the shirt.

All done!

Update:
I forgot to put the glue I used in the list of materials picture.
I found this at Hobby Lobby for only $3.49.
It worked very good, it's cheap, dries quickly and bonds permanently without heat and can be washed.
So far I like it better than the liquid stitch I used previously, but I still have to try the wash test to be sure.

Have Fun!!


IhookedupwithHoHlamespiceWhat I'm Making Monday
Making Monday Marvelous Linky Party


StumbleUpon.com
Related Posts with Thumbnails