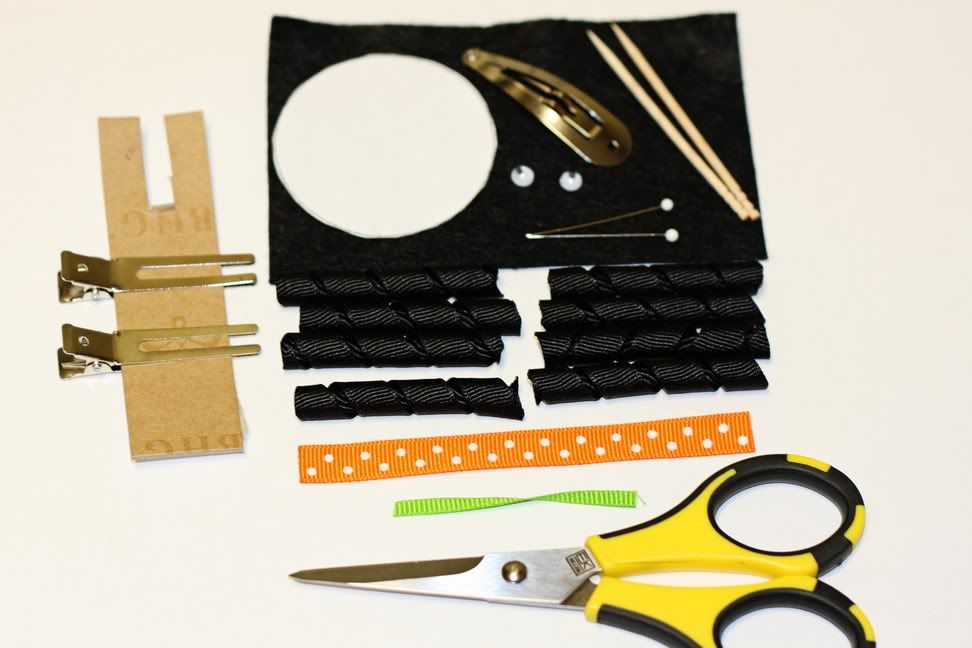
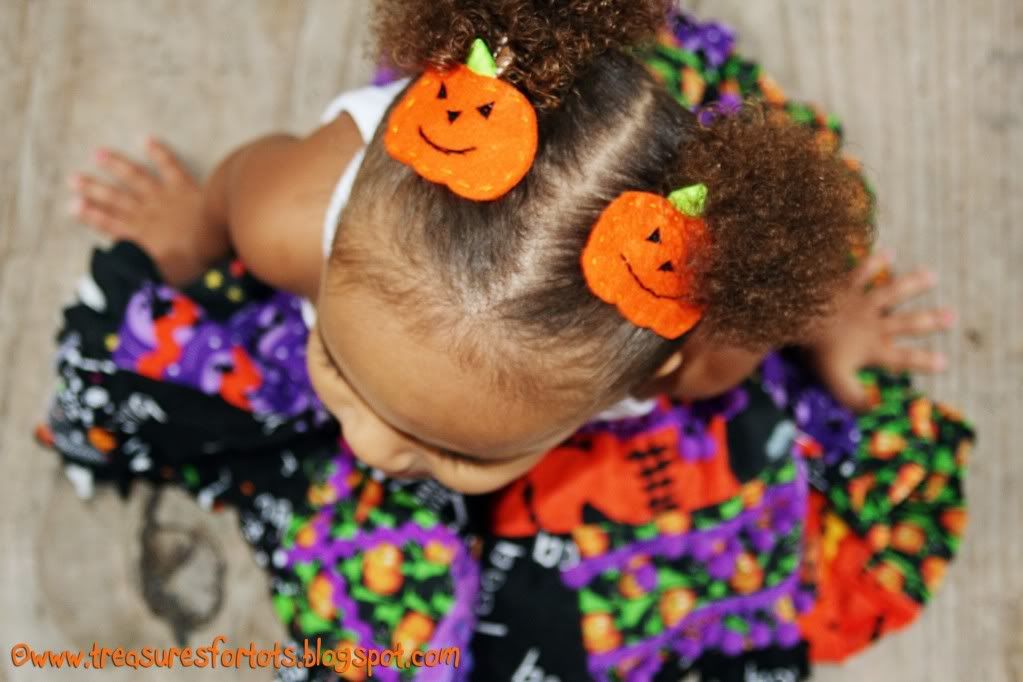
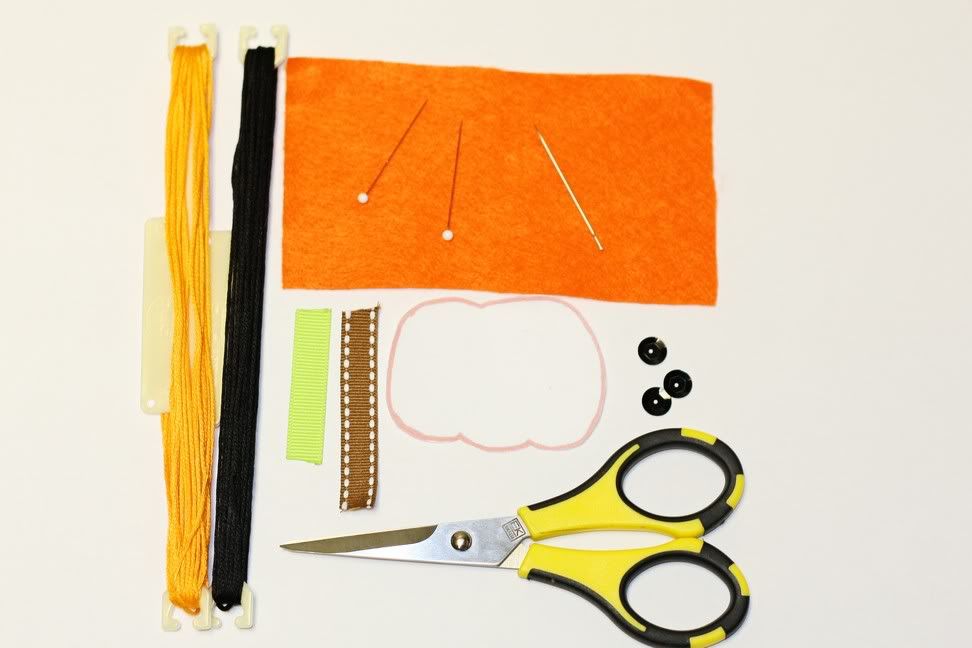
 Here's another Halloween hair clip! Hey, I bought a 30 pack of snap clips at Wal-Mart - I gotta use 'em all, right?! Alrighty then! Okay, so here we go with another tute!For another cute Halloween clip, go check out my Embroidered Felt Pumpkin Hair Clip!Materials:8 - 2" korker ribbons (using 3/8" grosgrain ribbon)1 - 4" (3/8") grosgrain ribbon1 - 1/2" (1/4") grosgrain ribbon1 piece of 3/4" x 4 1/2" black felt2" snap clip2 5mm wiggly eyescircle template (download here)toothpick (I have no idea why I got two pictured!)mini bow making kit (learn how to make it here)scissorshot glue gun (not pictured)lighter or fray check (not pictured)
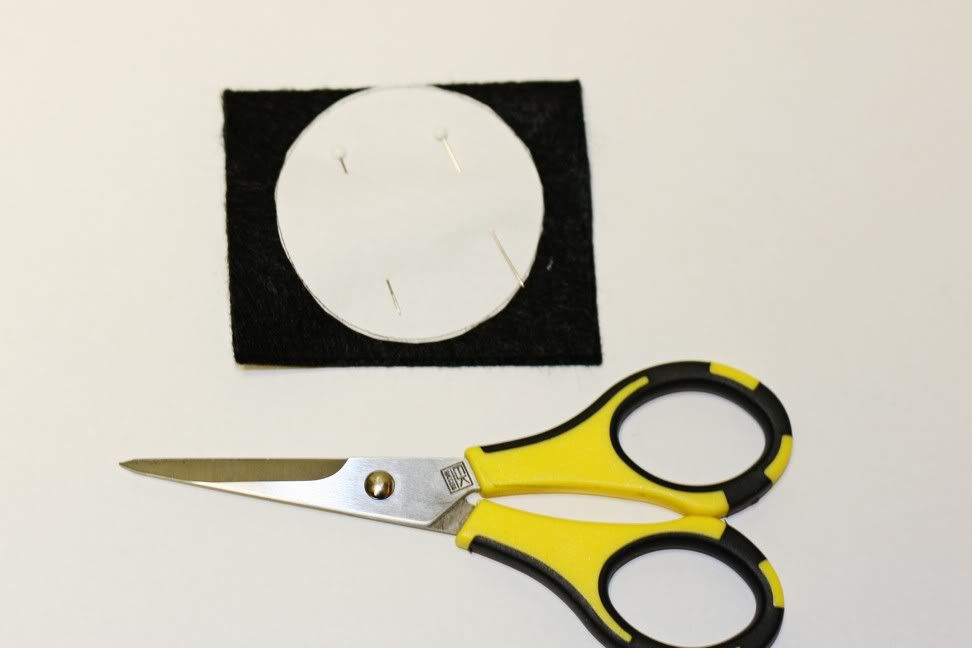
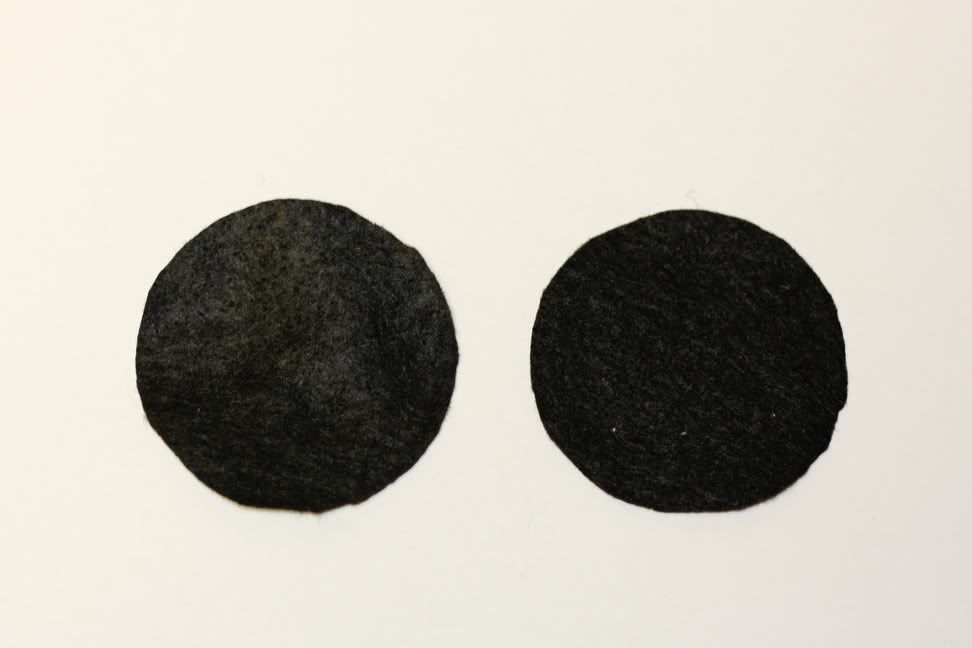
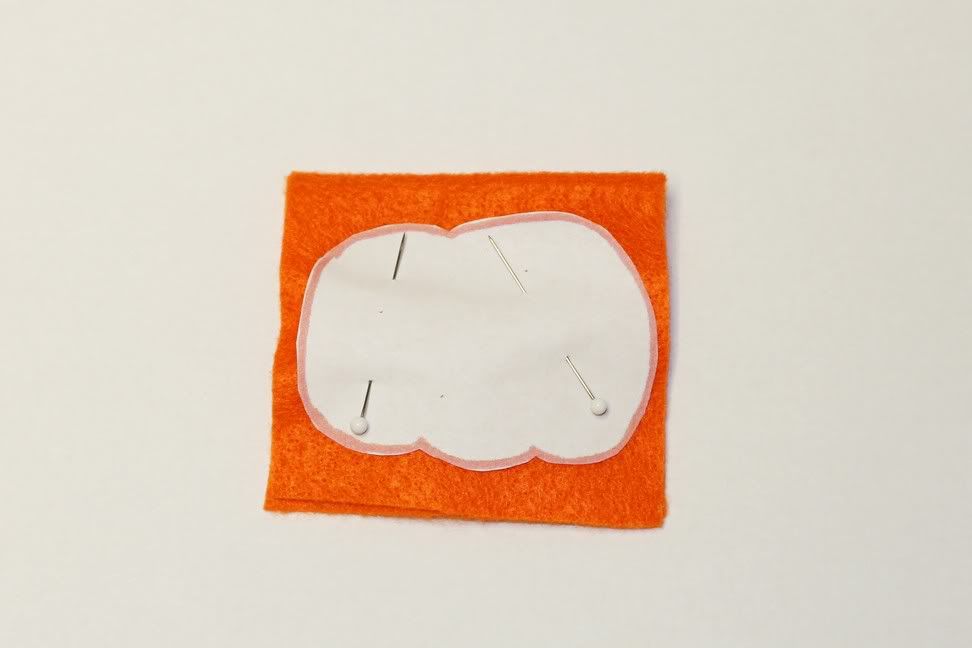
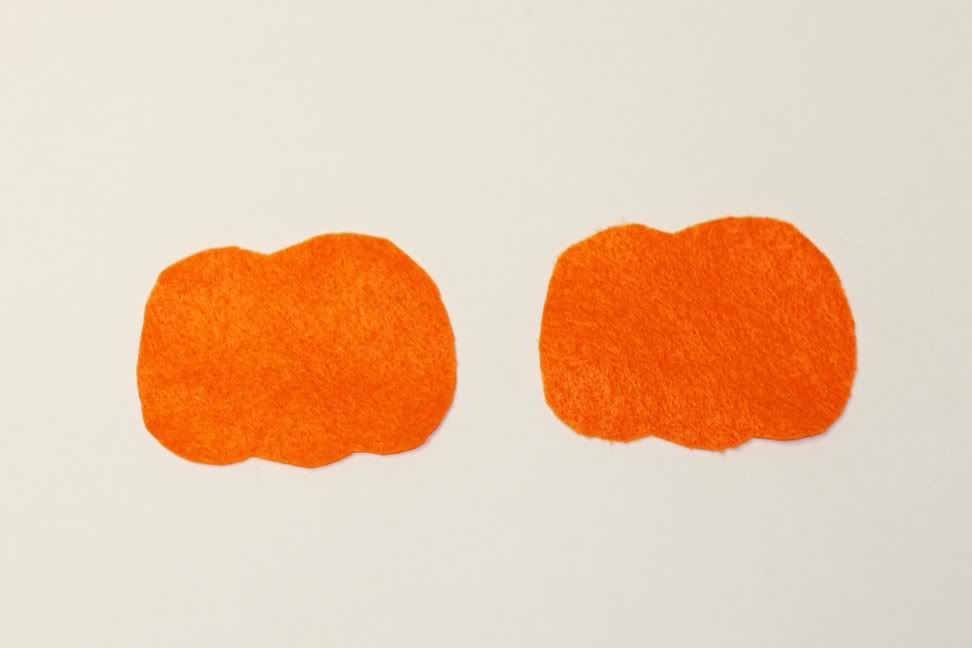
Fold the felt in half, pin the circle template to the felt, and cut. You'll end up with two circle-shaped pieces.
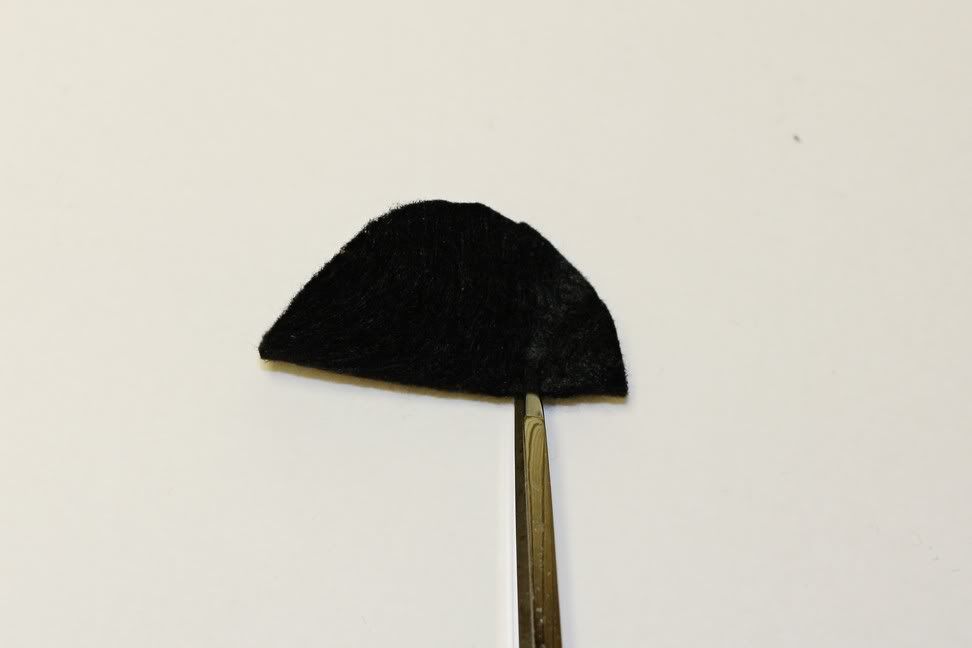
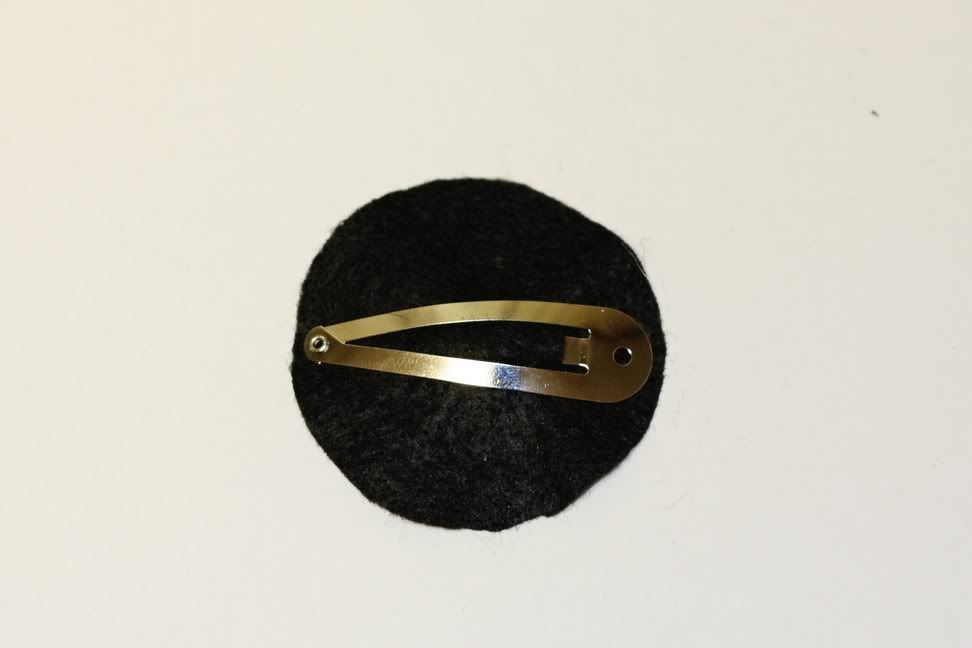
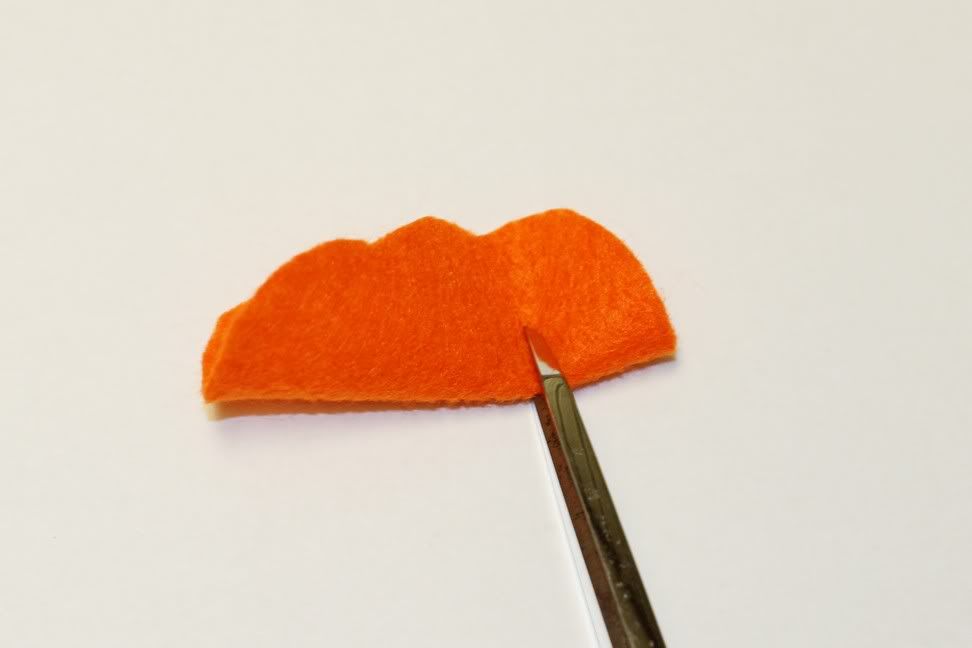
Fold one of the felt circles in half lengthwise and make a small cut near the top of the felt. Slip the hair clip into the cut you just made, center(ish) it, and then snap it closed.
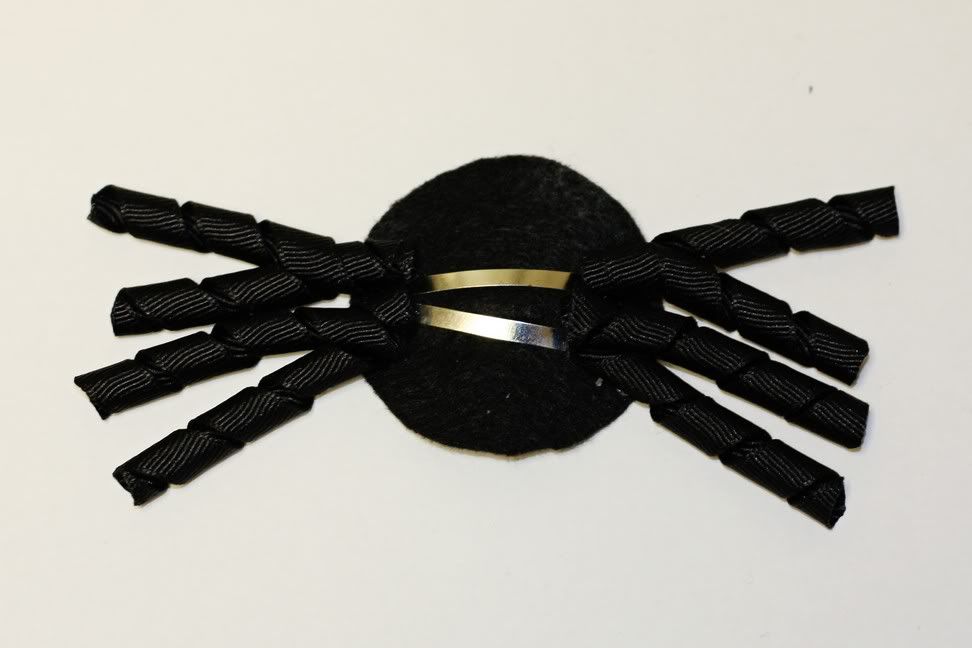
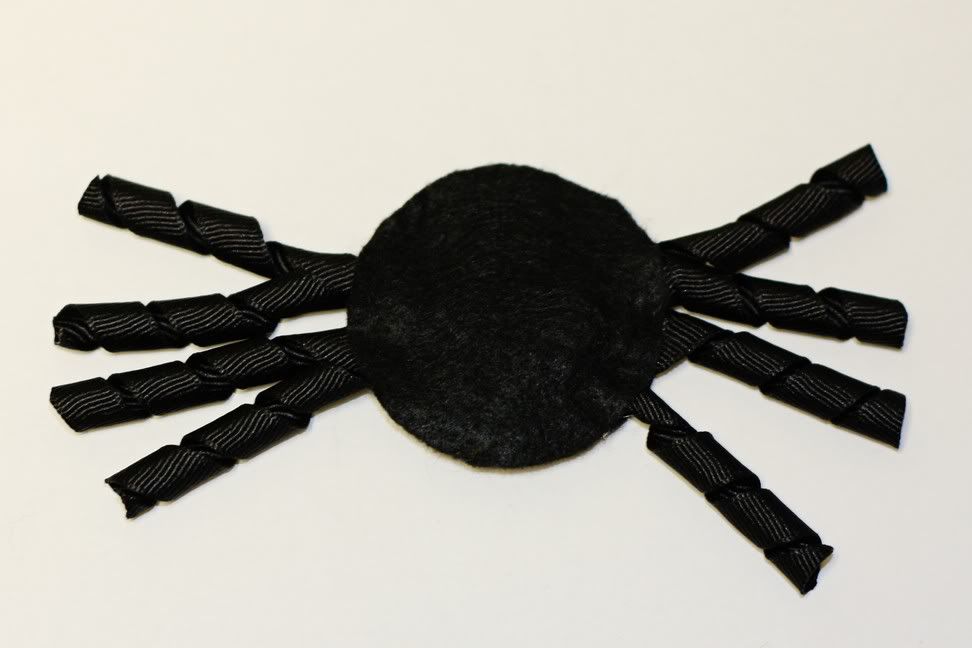
In this next step your going to glue the 2" korker ribbons to make the spider's legs. If you don't know how to make korker ribbons, check out this easy tutorial - it's the one I used! Now hot glue 4 ribbons on each side just like (or kinda like) the picture. Then hot glue the second circle on top - line the pieces up, and press down firmly until the glue sets.
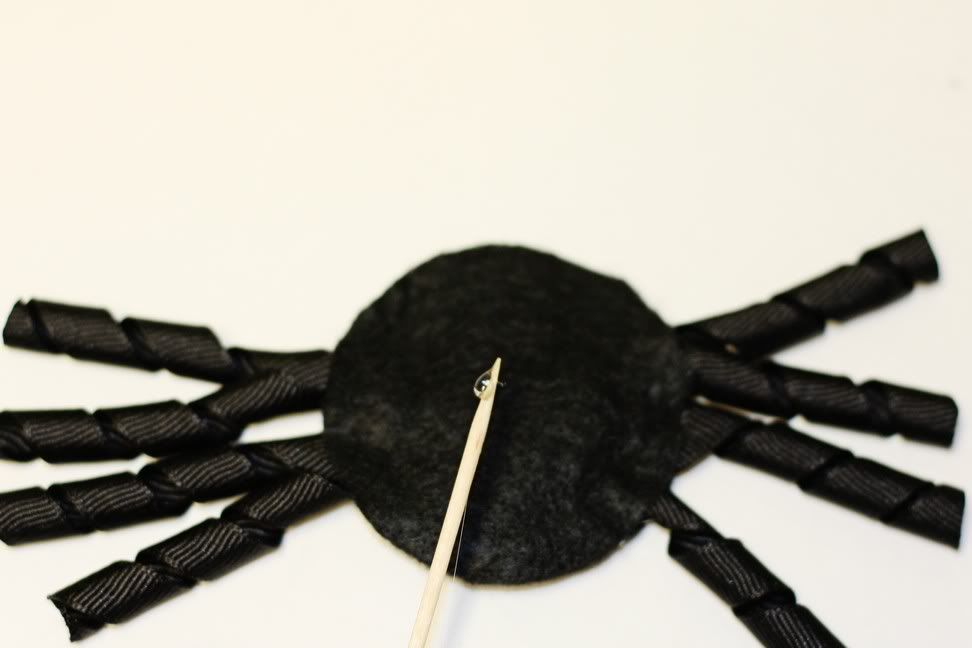
I used a toothpick to grab a bead of glue off the tip of the glue gun and attached the wiggly eyes - that way I didn't ruin my project! After you've got the eyes on, use your mini bow kit to make the spider a girl spider! I learned how to make a mini bow by using this super neat tutorial! Love it! Glue the mini bow wherever you like on the spider.
All done!!
POST-IT-NOTE: Make sure to use a lighter or fray check to seal the ends of the ribbons!
Have fun!


