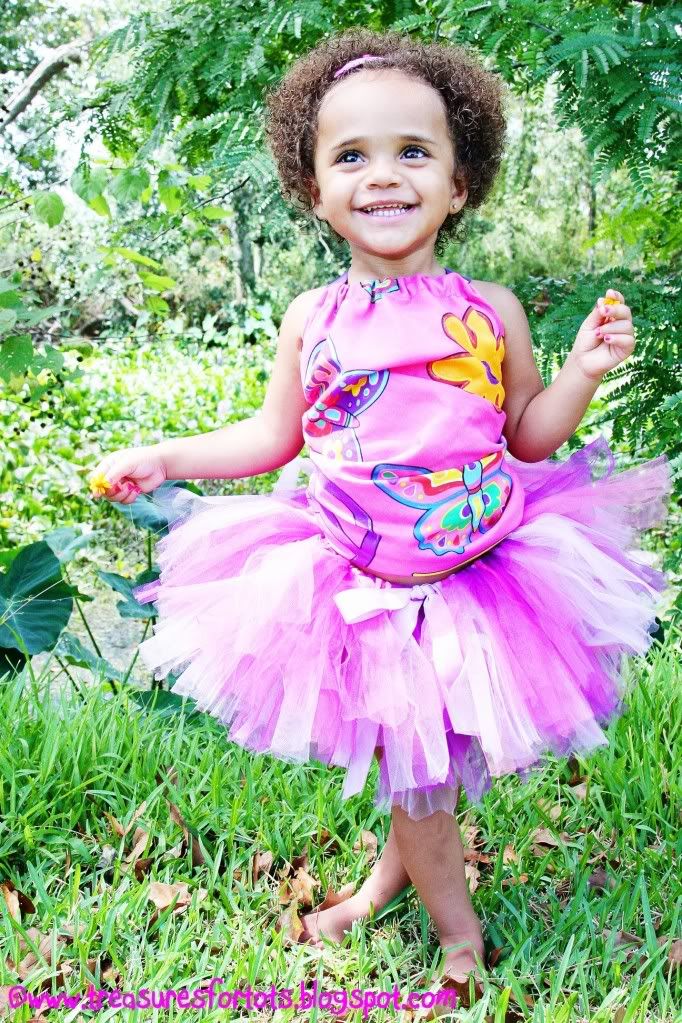
Bandana Halter Top Tutorial
I live in the South - it's very hot down here and Serenity is still wearing her Summer clothes.
I bought a few bandanas earlier this Summer and finally got around to making a halter top for her.
It's so simple and quick to sew and you only use one bandana!
I bought the pretty glitter butterfly bandana I'm using in my project at Hobby Lobby for around $1.99.
What I like best about this halter top is how easy it will adjust to fit a growing child!
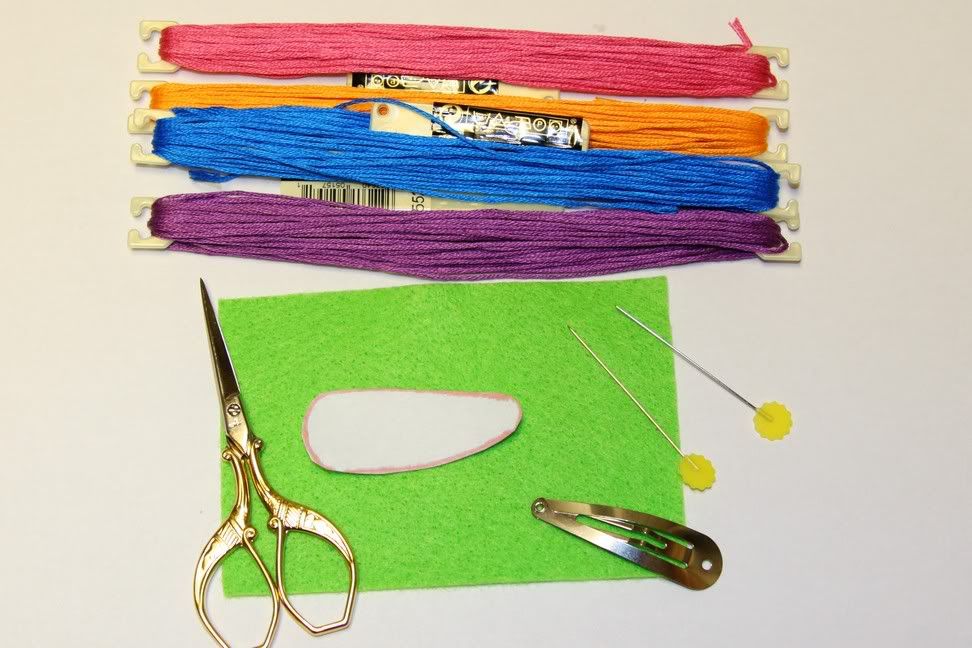
Materials:
1 bandana (or piece of fabric aprox. 20" x 20")
thread to match
needle
1"W x 60"L of ribbon
fray check
bodkin (or safety pin)
rotary blade (or scissors)
cutting mat
ruler
dritz ezy-hem (optional)
lighter (optional)
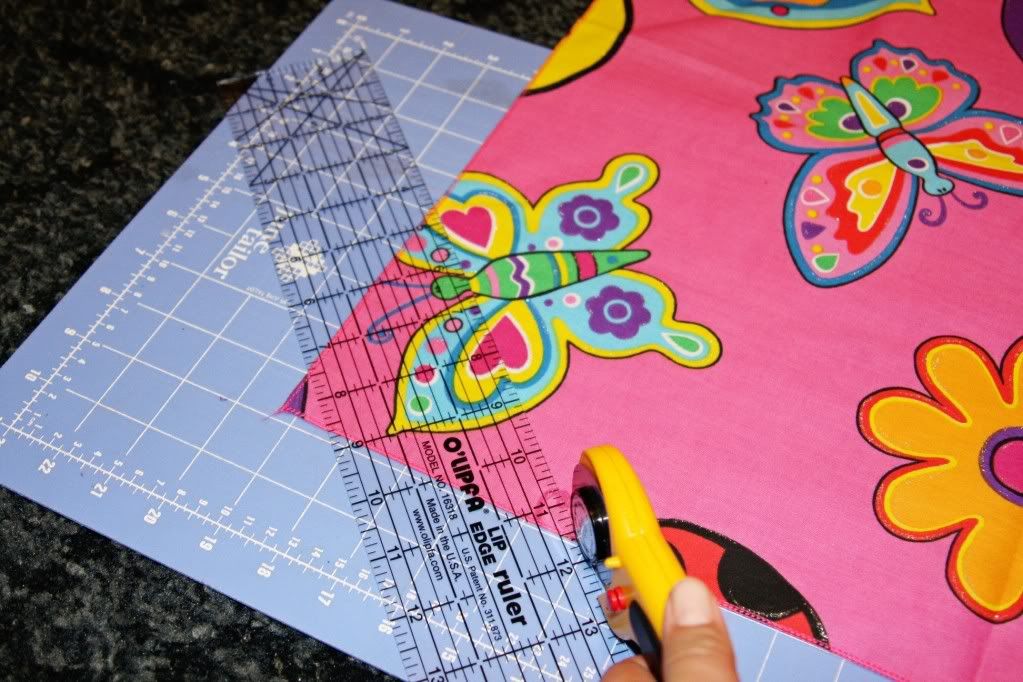
On a corner, cut off a 5" triangle on a 45° angle.
Repeat the
cut on 2 more corners.
Leave one corner alone!
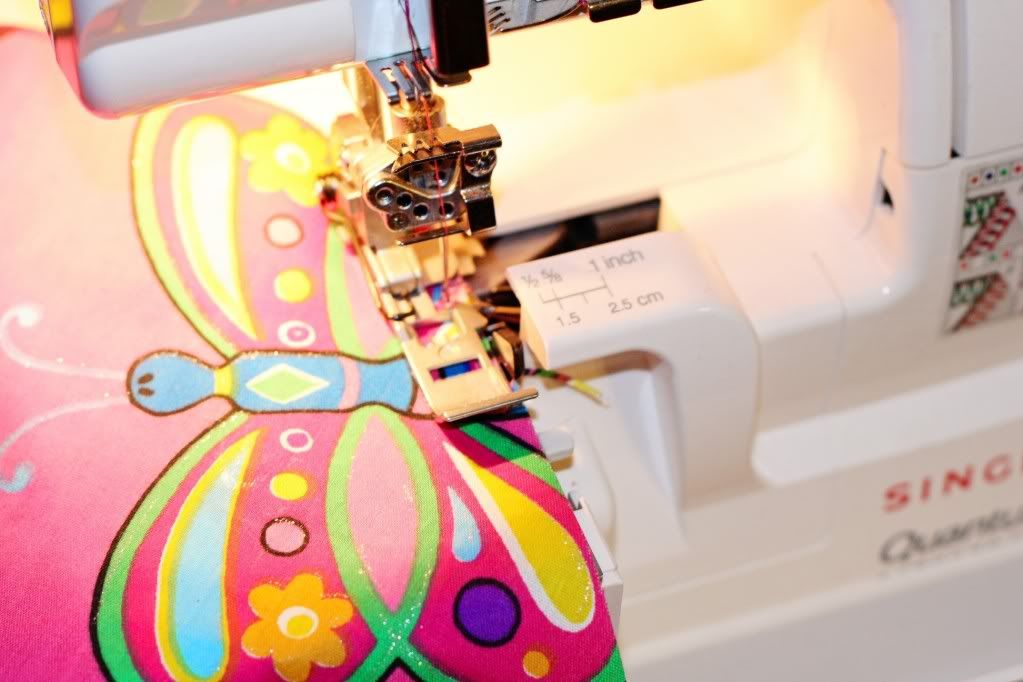
Serge the cut edges. Or make a rolled hem or a double-turned hem.
If you are using a 20" x 20" piece of fabric, make sure to serge or
sew a hem on all your sides!
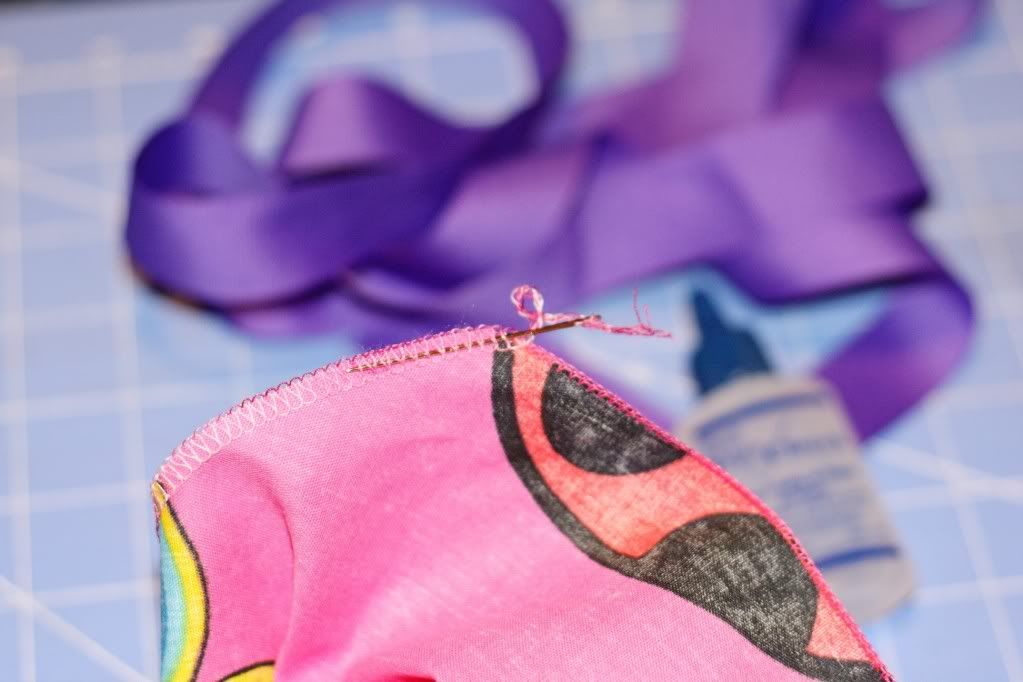
If you serged or rolled hemmed the edges, thread all the
"tails" back through.
Add a dot of fray check.
The neckline will be the cut edge opposite the only uncut
edge!
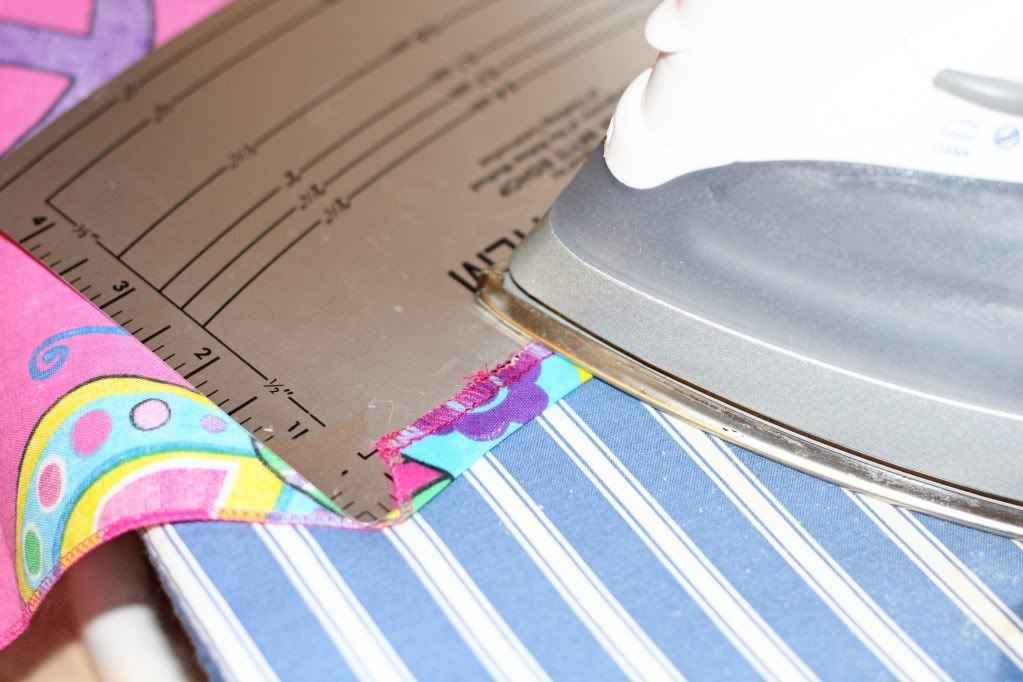
Fold down 1" & iron.
Fold over once more & iron.
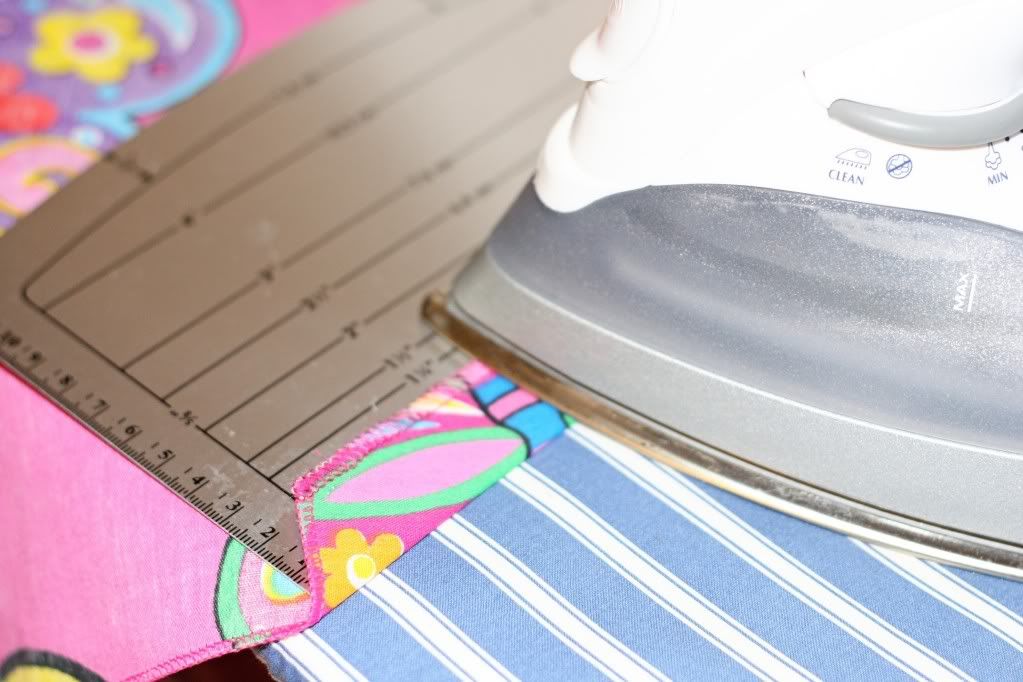
On both of the remaining cut edges, (these will be your sides),
fold down 1/2" & iron.
Fold over once more & iron.
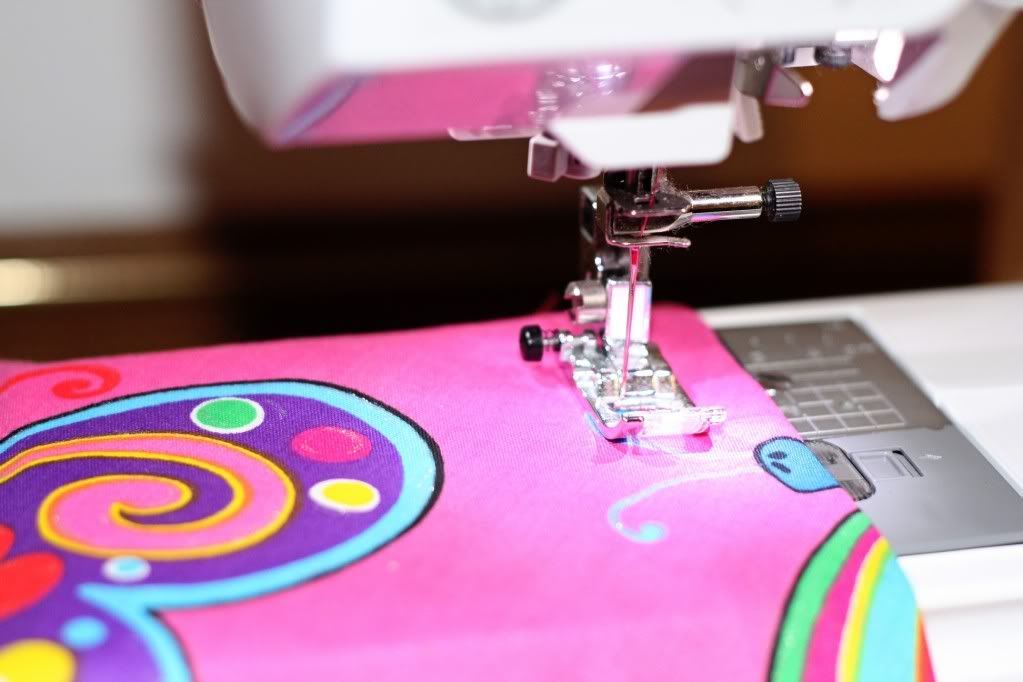
Stitch all the folds you just made near the edges to form a casing.
Don't forget to back stitch!
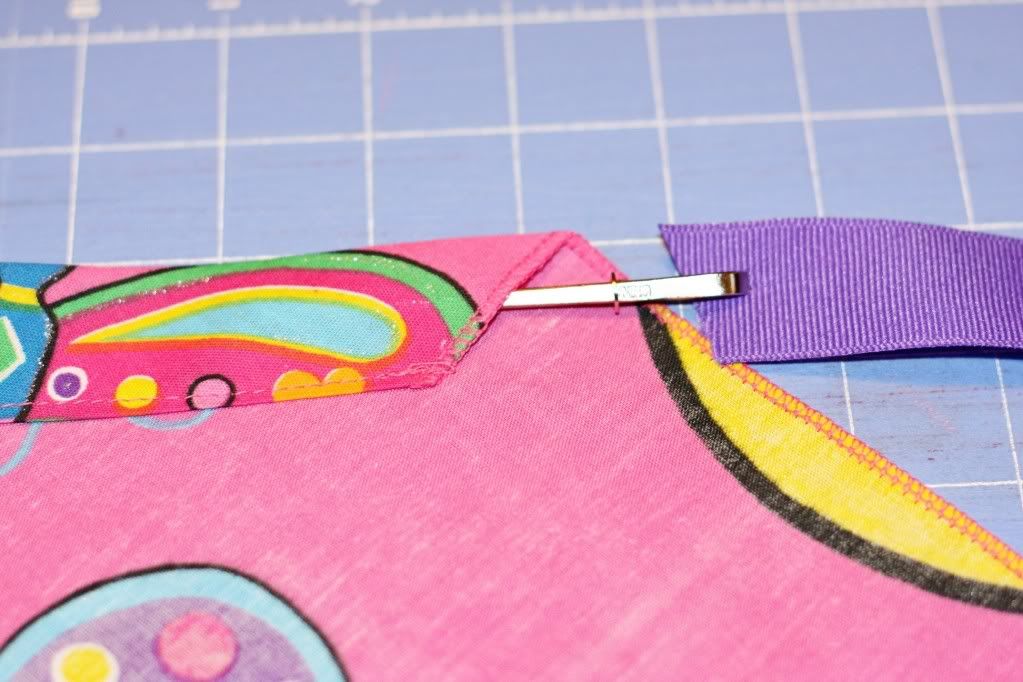
Using a bodkin (or a safety pin), "thread" the ribbon through the
casings.
Adjust to fit.
Cut off some of your ribbon if it's too long.
Use a lighter or fray check on the ends.
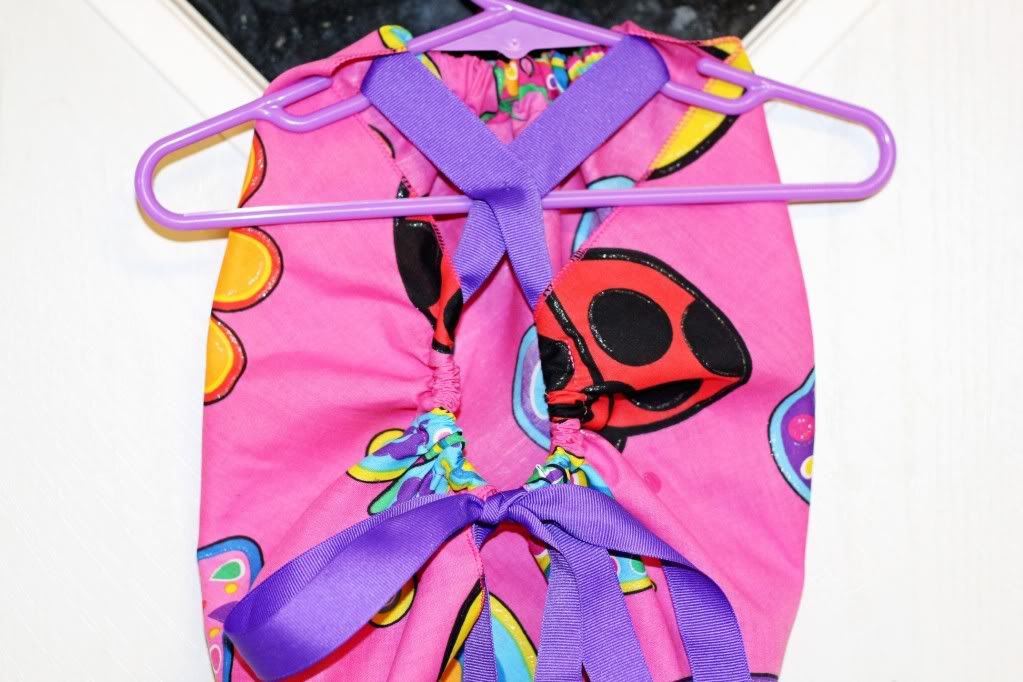
All done!
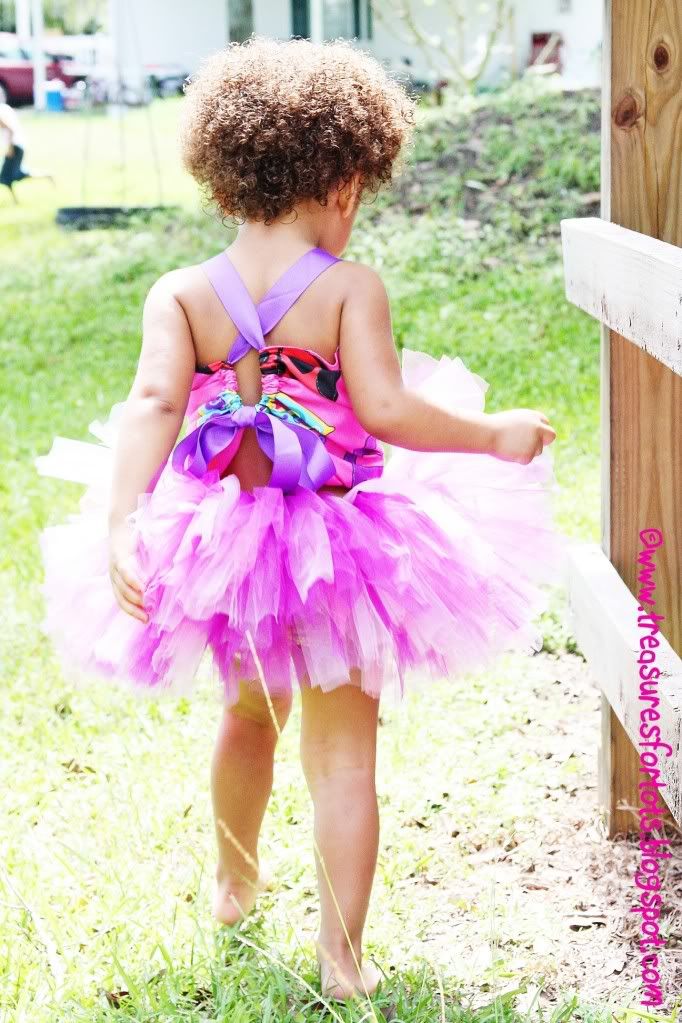
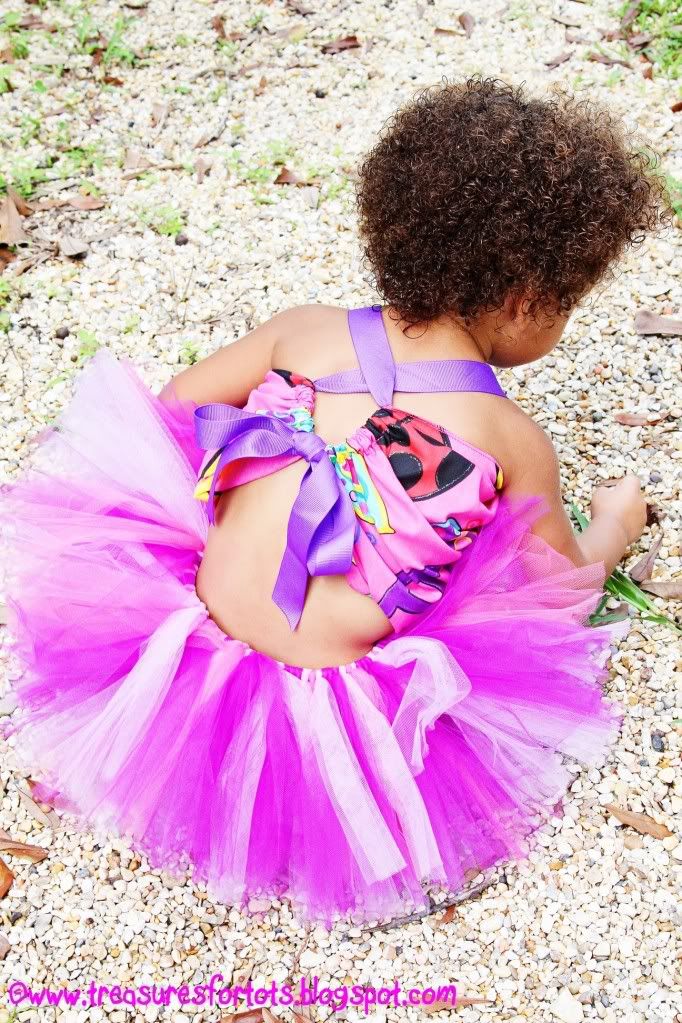
You're going to tuck the remaining corner (in the front), under the top.
You can crisscross the ribbon in the back or not.
It's up to you!
The top looks great with a pair leggings too!
Learn how to:
Make an Easy No Sew Tutu Tutorial
DIY: Satin Wrap A Tutu
Cut Tulle for a Tutu QUICK and EASY!
Have fun!
I bought a few bandanas earlier this Summer and finally got around to making a halter top for her.
It's so simple and quick to sew and you only use one bandana!
I bought the pretty glitter butterfly bandana I'm using in my project at Hobby Lobby for around $1.99.
What I like best about this halter top is how easy it will adjust to fit a growing child!
Materials:
1 bandana (or piece of fabric aprox. 20" x 20")
thread to match
needle
1"W x 60"L of ribbon
fray check
bodkin (or safety pin)
rotary blade (or scissors)
cutting mat
ruler
dritz ezy-hem (optional)
lighter (optional)
On a corner, cut off a 5" triangle on a 45° angle.
Repeat the
cut on 2 more corners.
Leave one corner alone!
Serge the cut edges. Or make a rolled hem or a double-turned hem.
If you are using a 20" x 20" piece of fabric, make sure to serge or
sew a hem on all your sides!
If you serged or rolled hemmed the edges, thread all the
"tails" back through.
Add a dot of fray check.
The neckline will be the cut edge opposite the only uncut
edge!
Fold down 1" & iron.
Fold over once more & iron.
On both of the remaining cut edges, (these will be your sides),
fold down 1/2" & iron.
Fold over once more & iron.
Stitch all the folds you just made near the edges to form a casing.
Don't forget to back stitch!
Using a bodkin (or a safety pin), "thread" the ribbon through the
casings.
Adjust to fit.
Cut off some of your ribbon if it's too long.
Use a lighter or fray check on the ends.
All done!
You're going to tuck the remaining corner (in the front), under the top.
You can crisscross the ribbon in the back or not.
It's up to you!
The top looks great with a pair leggings too!
Learn how to:
Make an Easy No Sew Tutu Tutorial
DIY: Satin Wrap A Tutu
Cut Tulle for a Tutu QUICK and EASY!
Have fun!