
Similar yes, but I find my way flows better - less steps than the old way, so that means it's faster and easier to crochet.
Well, for me it is and maybe for you too.
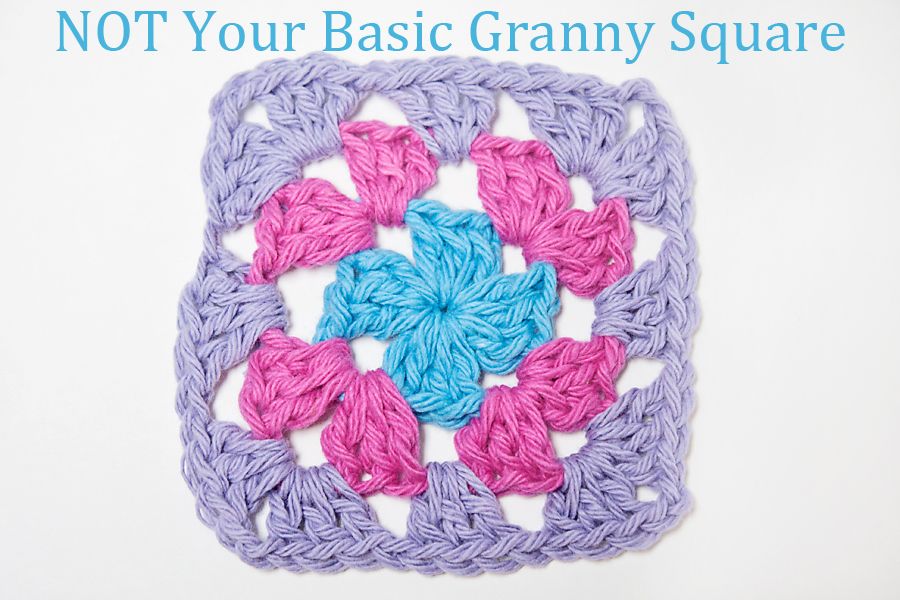
Below is a step-by-step picture guide how I crochet a basic Granny Square - my way!
Abbreviations:
ch = chain
sp = space
yo = yarn over
dc = double crochet
Abbreviations:
ch = chain
sp = space
yo = yarn over
dc = double crochet
Materials:
crochet hook
yarn
scissors
tapestry needle
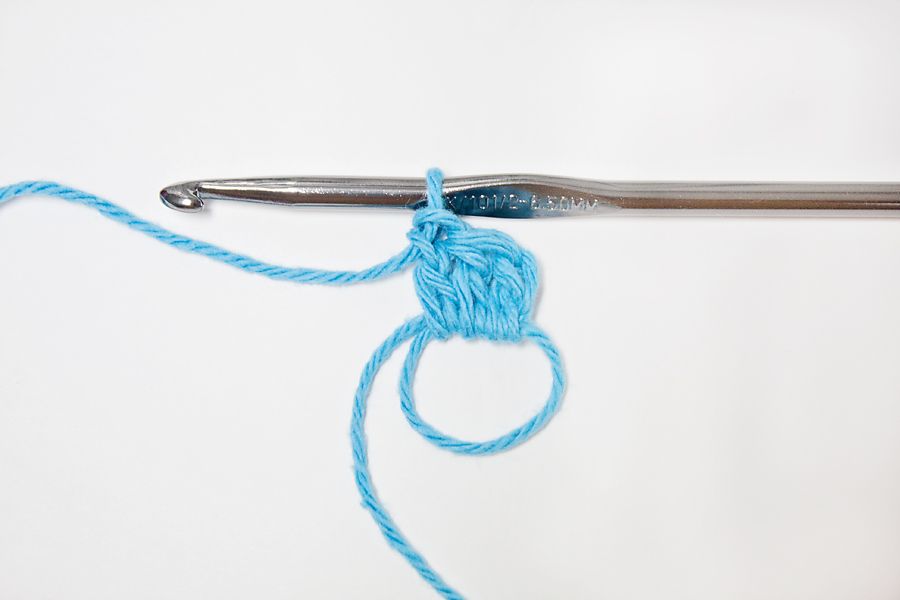
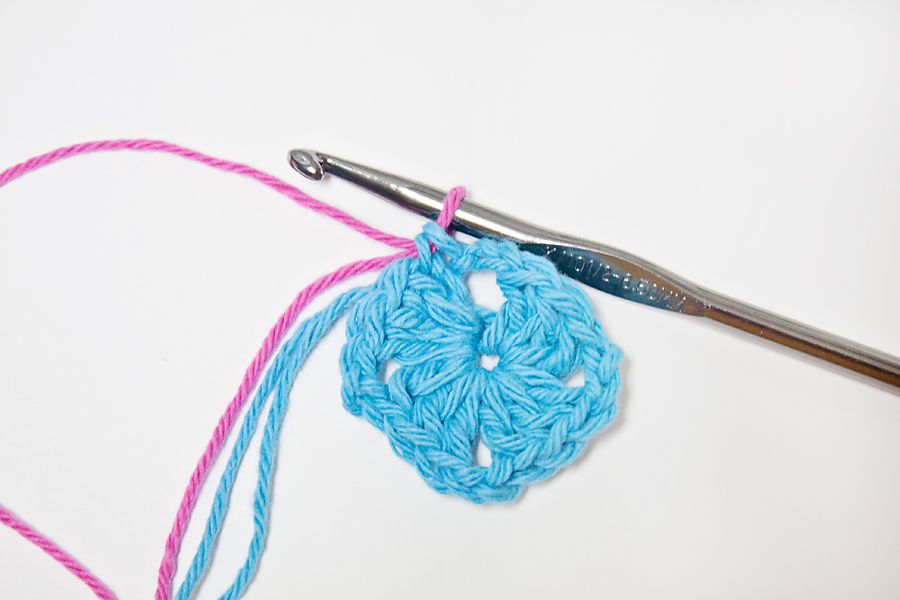
Start with a Magic Adjustable Ring, ch2
3dc into ring
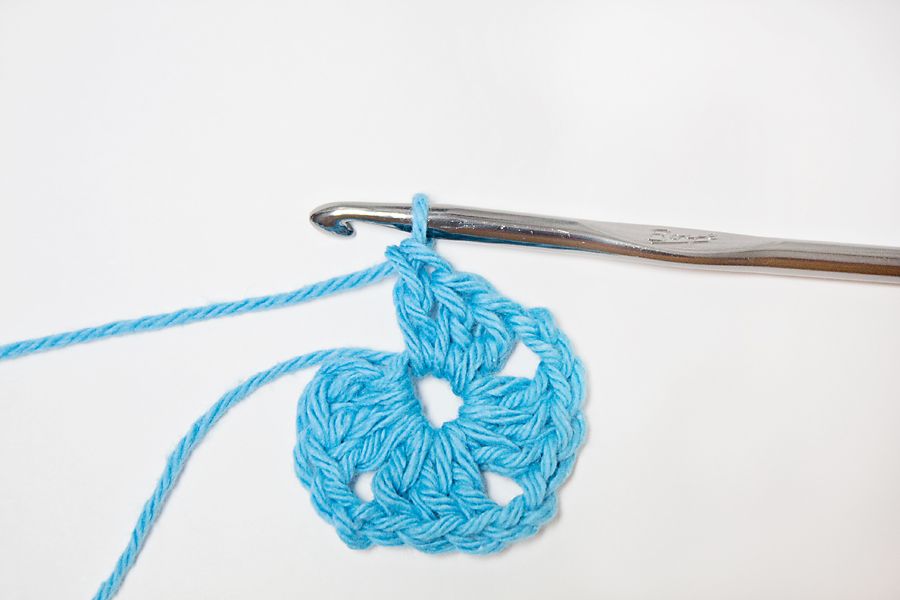
*ch1, 3dc* 3 times around.
Gently pull adjustable ring closed.
The center "O" can be any size you like; I pull my in small.
The center "O" can be any size you like; I pull my in small.
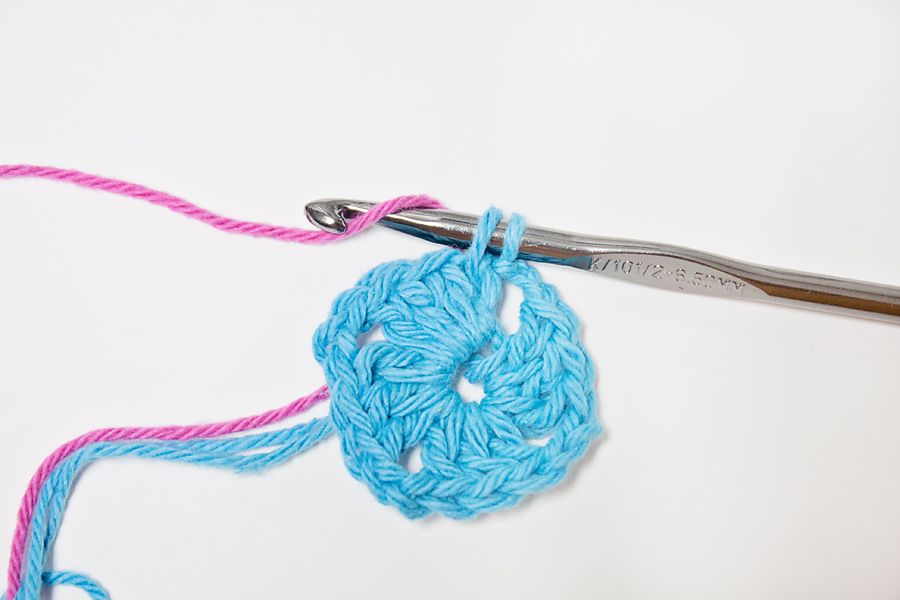
The next step is to change colors - but don't fasten off!
First ch1, put the hook into the top of the first dc, yo and pull through.
You should have two loops on your hook.
Change colors the traditional way by dropping the old color, and then picking up the new.
Now pull the new color through both loops on the hook.
Cut off the old color leaving a 3" tail.
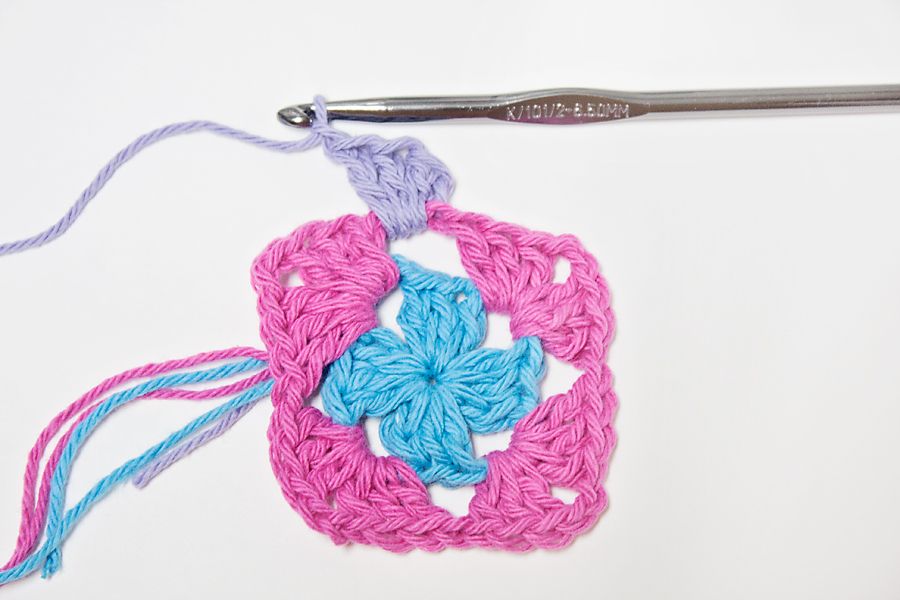
Next ch2, 3dc in same sp, ch1, 3dc in same space.
First corner made.

*ch1, 3dc, ch1, 3dc in next ch1 sp* repeat 3 times around.
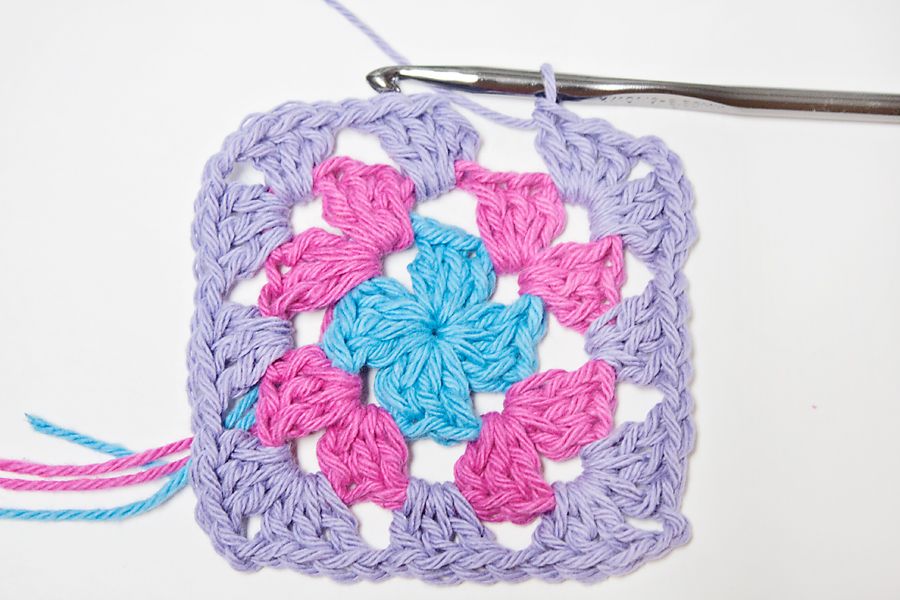
ch1 and put the hook into the top of the first dc.
Change colors like before.

ch2, 3dc in same sp, ch1
*3dc, ch1, 3dc* in corner, ch1, 3dc in next sp, ch1
Repeat 2 more times.
*3dc, ch1, 3dc* in last corner, ch1
Finally, cut the yarn leaving a 3" tail.
Join to the first dc using futuregirl's method.
Weave in and secure all those tails with a tapestry needle - snip off the extra.
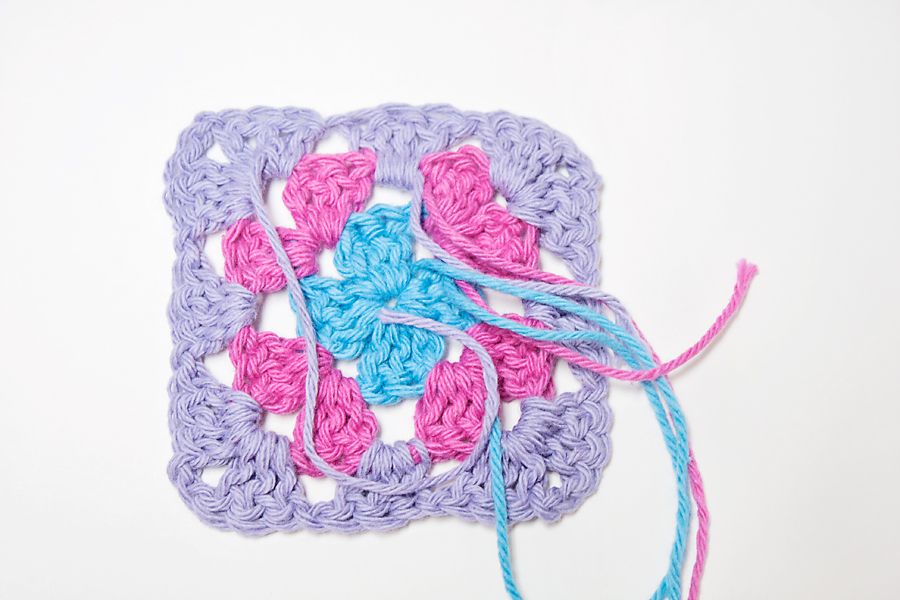
All done!

Post-It-Note:
You can keep going around and around by remembering:
At each corner: 3dc, ch1, 3dc
In each ch 1 space in-between corners: 3dc, ch1
Update:
1/18/12
I updated this post because I had a few typos.
Sorry about the mistakes, but the instructions should be error-free now!
Have fun!


1 comment:
I love how it looks pinwheel-ish :-)
Post a Comment