
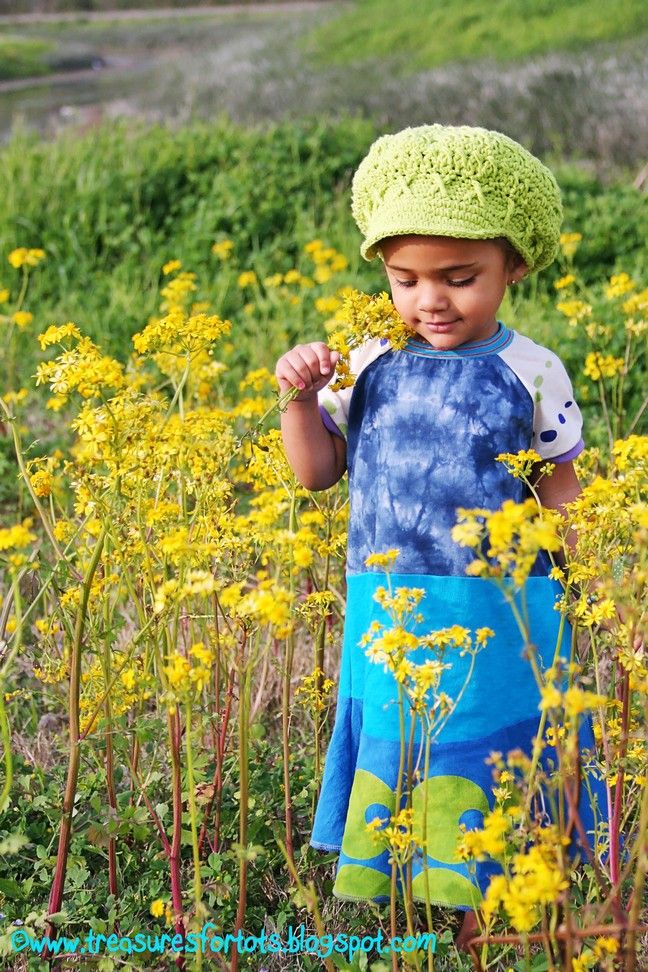
 Serenity's crochet Apple Cap was designed and handmade by NuxieMade, her dress was designed
and hand-sewn by courtneycourtney, and the photography was done by ME!
This is so incredibly easy to do! I like to make sure I put a watermark on Serenity's pictures partly for safety reasons, but it also lets people know that the picture is protected and can't be used without my permission. I started doing it well over a year ago, and even though people can (and have) cropped it off, having a watermark does help.
I don't mind Serenity's picture up, but it needs to have my watermark on the photo before it travels to another blog or website. Especially if it's a picture that's being used to promote a someone's business or something along those lines. I've had a few issues with that already, and it really doesn't matter how small the picture may be, or how insufficient someone else might think it is - it's important to me that my child's picture has a watermark on it, and of course not being used somewhere I wouldn't approve.
Most people, especially parents, are very understanding!
A watermark also helps to advertise your blog and/or Etsy store. If someone likes your photography, clothes you've made or your pretty model, having a watermark is a good way for them to contact you.
People can get really creative with their watermarks too, and try to make them as uniquely their own and artful as their clothing line, photography, or whatever they happen to be selling!
Like your blog banner and buttons, usually a watermark is a personal distinct brand, something that will advertise to potential buyers who you are as an artist, designer, or crafter. They can be quite clever and require a healthy imagination to design. But sadly, as it is it with some things that have become so popular, I've seen even the personal style of an especially ingenious watermark being copied and claimed as someone else's inspiration! Of course not everybody does it, but some out there do.
Ah well, whatcha' gonna do? Create another one even MORE unique!
Okay here's the step-by-step how to create the plain old watermark like I use. For a more visual tutorial, you can play the video I made below.
- 1. Open a picture in Photoshop.
- 2. On your Actions sidebar, turn the Button Mode off.
- 3. Click the "Create New Action" button at the bottom.
- 4. When the "New Action" window pops up, name it whatever you like. I'm calling mine, "New Watermark". I also clicked to make the color red. All this does is make the action red in the Button Mode. Then click "Record".
- 5. Now you want to make sure your horizontal type tool is selected. It's the capital "T" button.
- 6. Left-click and drag your mouse until your box is around the width and height you want it. You can always fine-tune the size of the box later.
- 7. Before you type in your watermark, make sure to choose the color, font, and size of your watermark first. You can always adjust it later too.
- 8. I like using the copyright symbol "©" before my blog site. To type the symbol, I hold down the ALT key and type 0169 and it pops right up!
- 9. This is the step you can make any adjustments you like to the watermark.Moving, resizing, changing the color, font, etc. You can also adjust the opacity to make it more transparent.
- 10. Now click the "Stop" button on the Actions sidebar.
- 11. Turn Button Mode back on.
- 12. You'll see your New Watermark button (mine is red)! Let's try it out.
- 13. Open a new photo.
- 14. Click your New Watermark button.
- 15. It works! All done!
You can made the video bigger by clicking on the directional arrows before the word "vimeo".
I hope this tutorial has been helpful!
UPDATE:
Kelly has asked how to do this for the non-Photoshop people and what would be the best free program. My friend Kira told me she uses GIMP and it's totally free. And from I've been reading, is supposed to be as powerful as Photoshop! It's supposed to even open Photoshop files.
Gotta love free!
So right now I'm trying it out, seeing how it works, and hopefully learn how to make a watermark quick and easy. Once I do, I'll either update this post or create a new one just for GIMP users!
While you're here, check out my other tutorials too!
Have fun!


3 comments:
Thanks for this! I usually just create one and save it as a pdf file then use that every time but this will be much easier! :)
Saw your SITS! ;) Happy Wednesday!
Any ideas for us non-photoshop folks? I have tried a handful of free programs but none were spectacular.
Yay! ...great tutorial! ...and what an excellent photo! I hopped over from Blue Cricket and am so happy that I did. Please accept my invitation to drop in at my place one day this week when you get a moment. until later...
Post a Comment