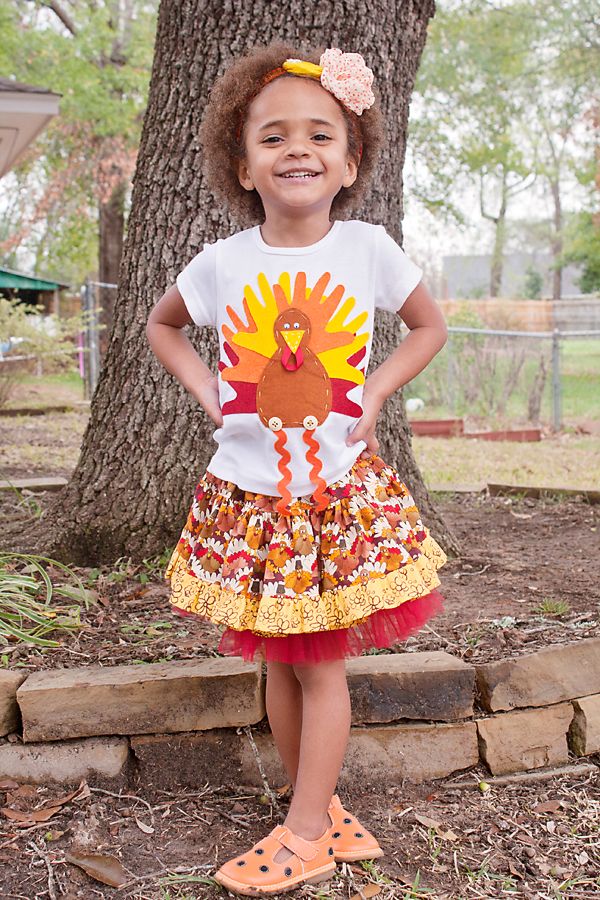
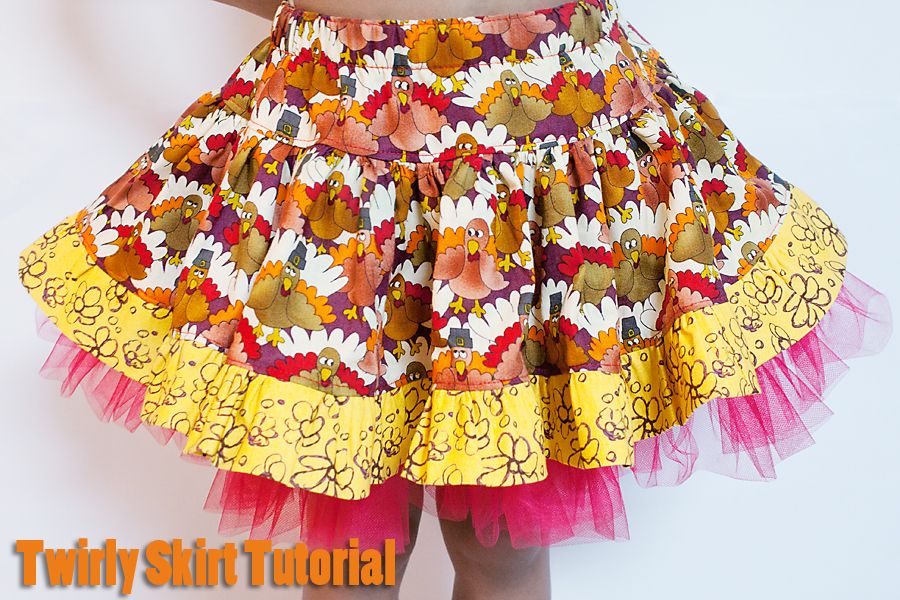
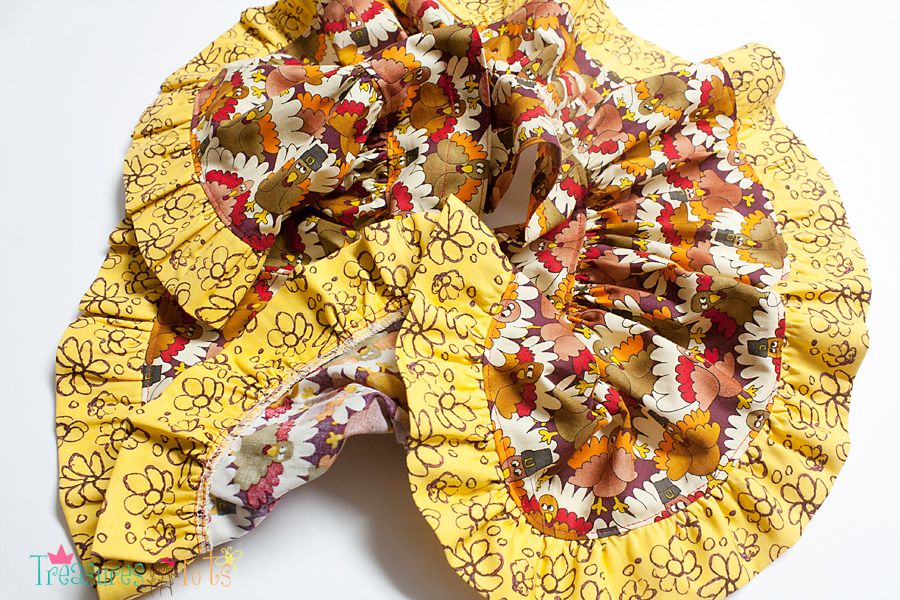
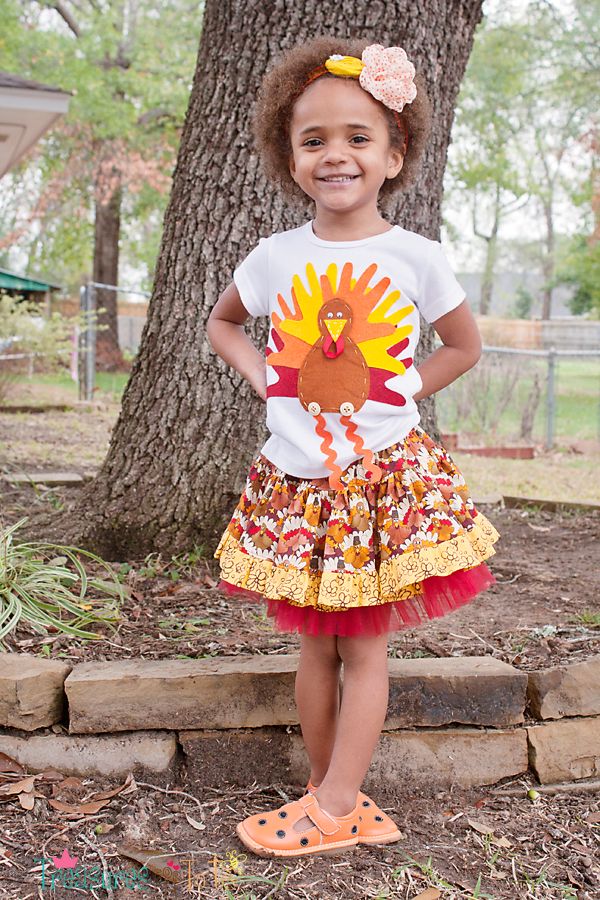
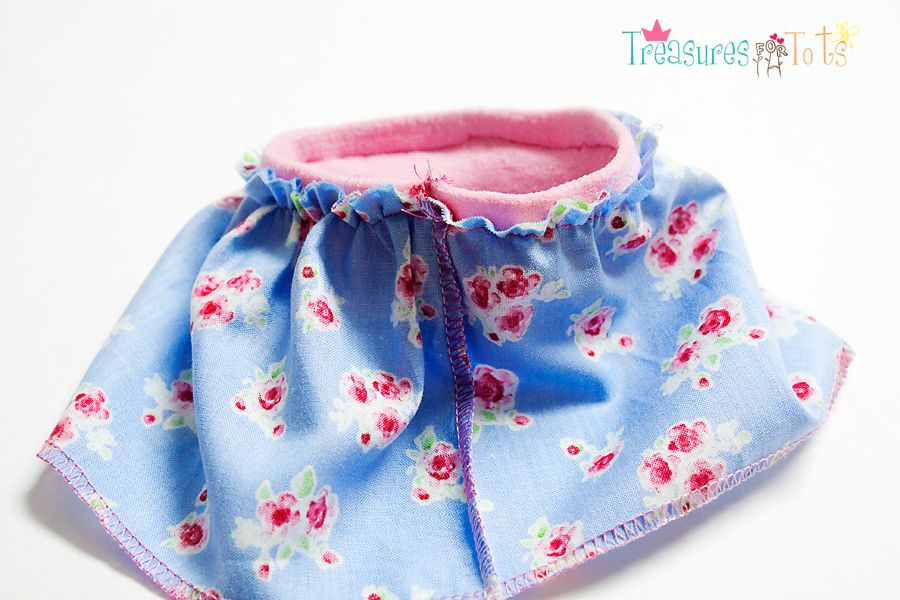
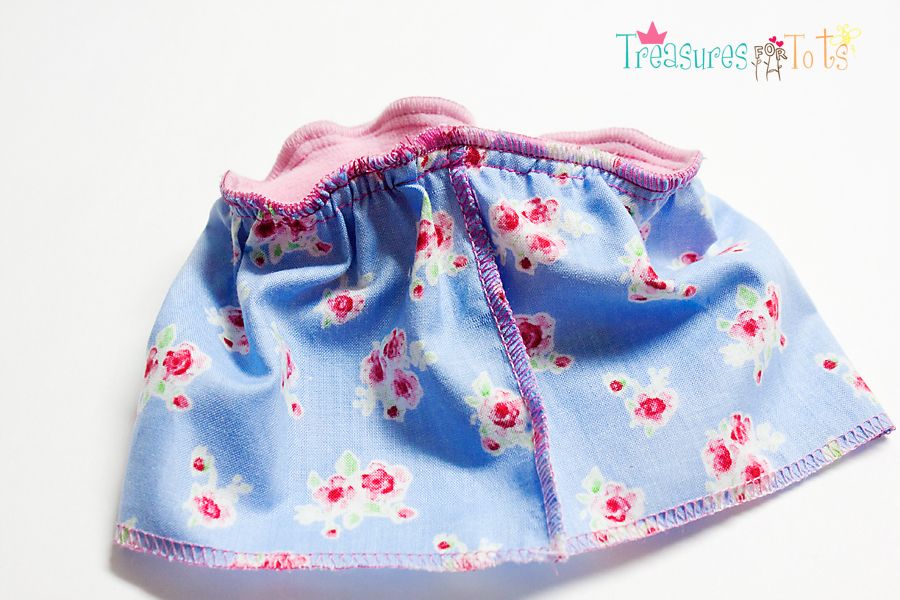
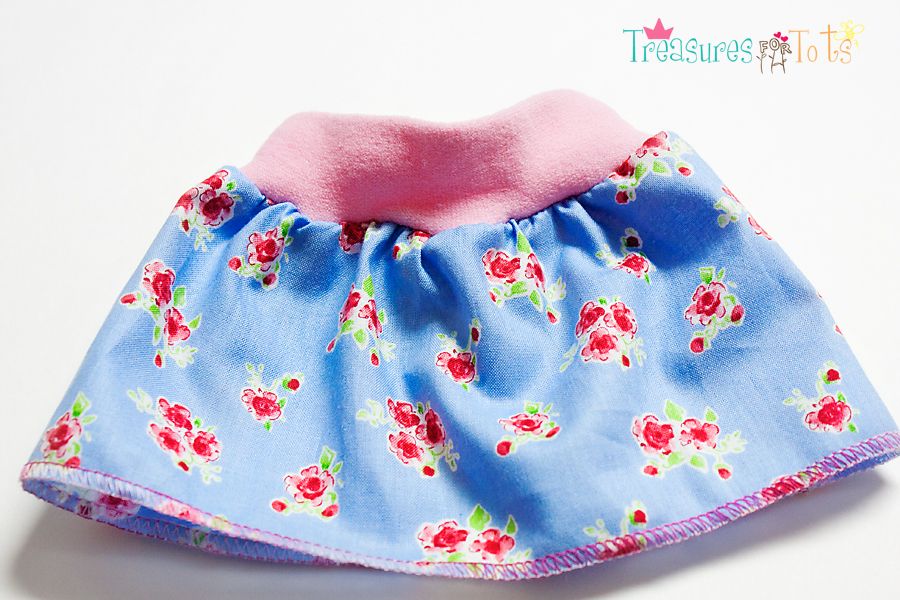
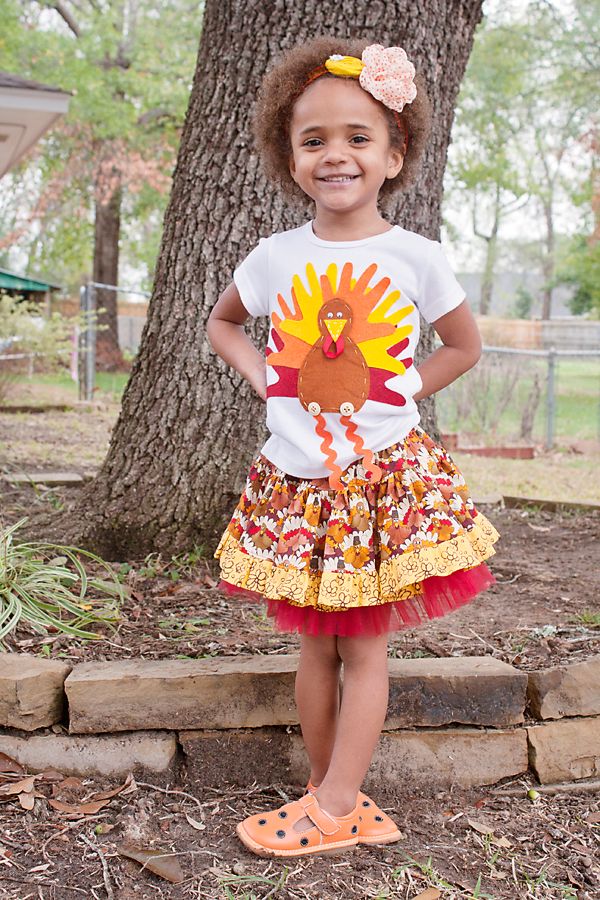
I made this cute twirly skirt for Serenity to wear on Thanksgiving Day.
You can find the tutorial for the little faux petti underneath the skirt, HERE.
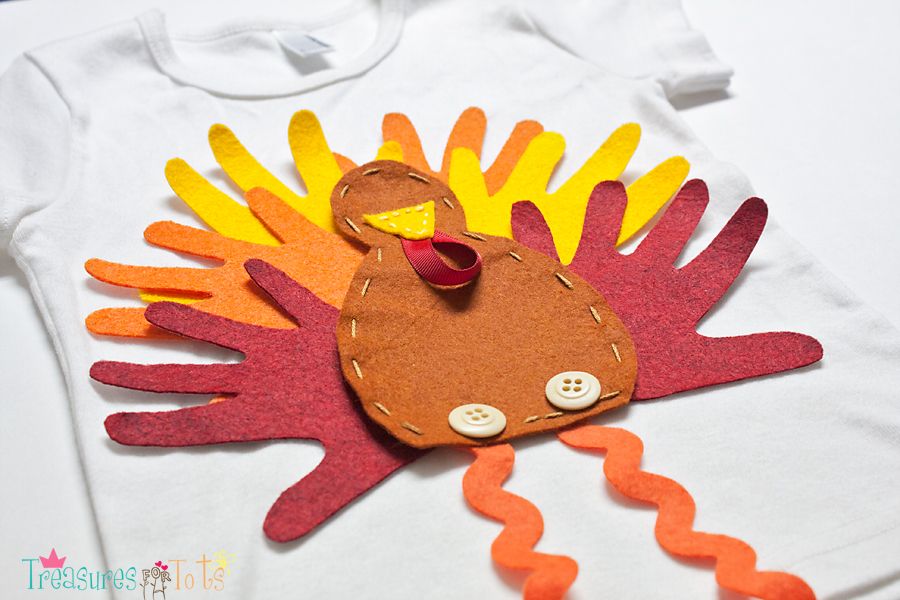
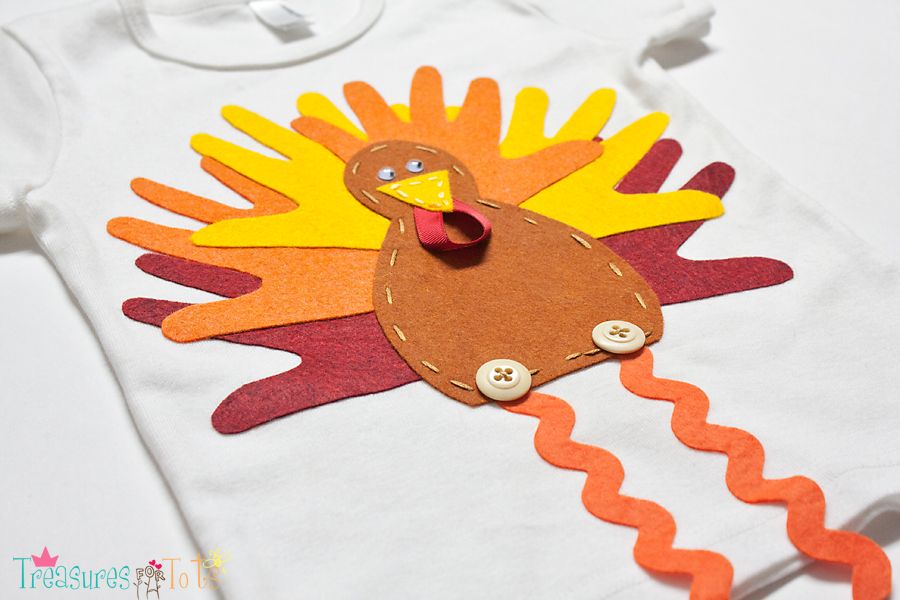
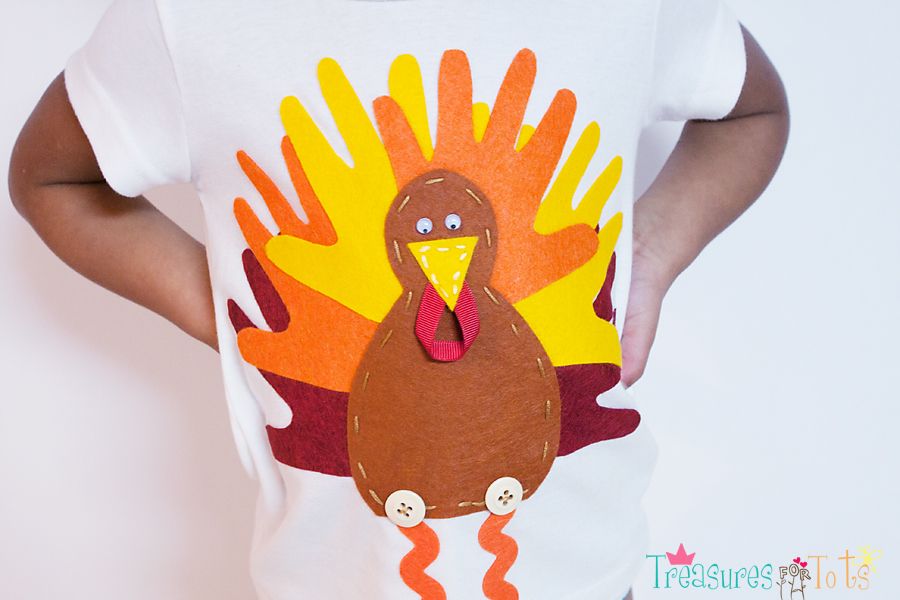
I made a tiny hand felt applique tee to match the outfit too.
You can find that tutorial HERE.
---------------
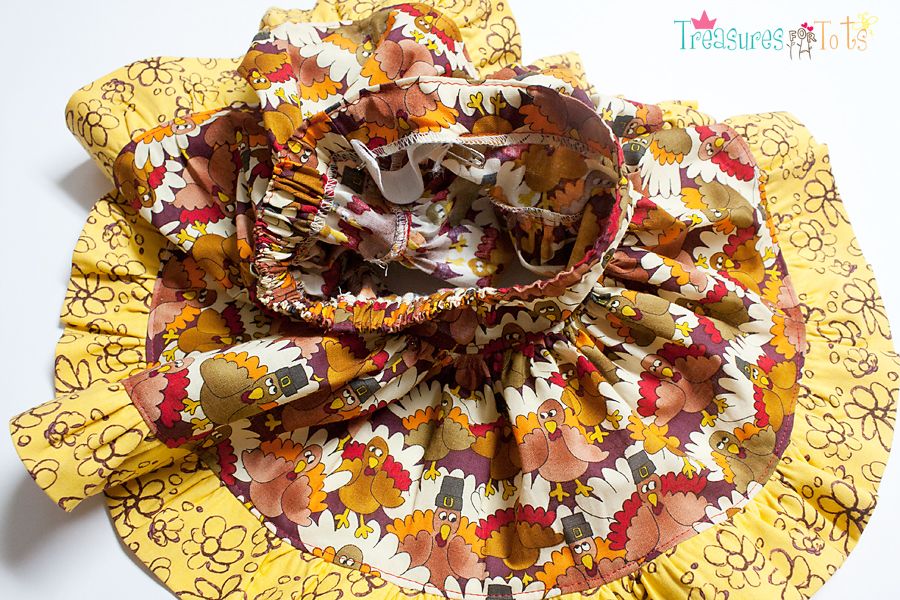
As I was making the skirt, I was completely oblivious to the fact I was actually putting the skirt together wrong.
I know better - you assemble a skirt like this from the bottom up.
But I was watching TV, taking pictures, talking to Serenity and sewing and I had a complete brain freeze!
I decided to go ahead and post the tutorial.
Even though I messed up, it wasn't a total loss and I can show the mistake I made and what I did to correct it!
---------------
The measurements below are for Serenity.
She's a very small 3T, plus I was putting it over the faux petti, and I made it shorter than normal so the tulle ruffles would show.
To determine your daughter's size, try this:
Yoke:
1.5 x your child's waist measurement divided by 2.
Add 1" for the seam allowances.
For example: 1.5 x 18" = 27" / 2 = 13.5" + 1" = 14.5"
So you're going to cut 2 pieces of fabric that are 14 1/2" wide.
As far as the length of the yoke, 4" or 5" is usually good for toddlers and little girls.
You can decide if this length works best for you.
Main Body:
The length is whatever you need really.
Just cut 2 pieces selvage to selvage (usually 45" wide) to make a really twirly skirt.
Ruffle:
The length of the ruffle is again as long as you like.
The width is at least three times the width of the skirt.
---------------
Materials:
2 pieces 4"l x 14 1/2"w - yoke
2 pieces 5" l x 45"w - main body
3 pieces 4"l x 45"w - ruffle
bobbin with upholstery thread
straight pins and safety pins
3/4" elastic
scissors
Seam allowances are 1/2" throughout.
---------------
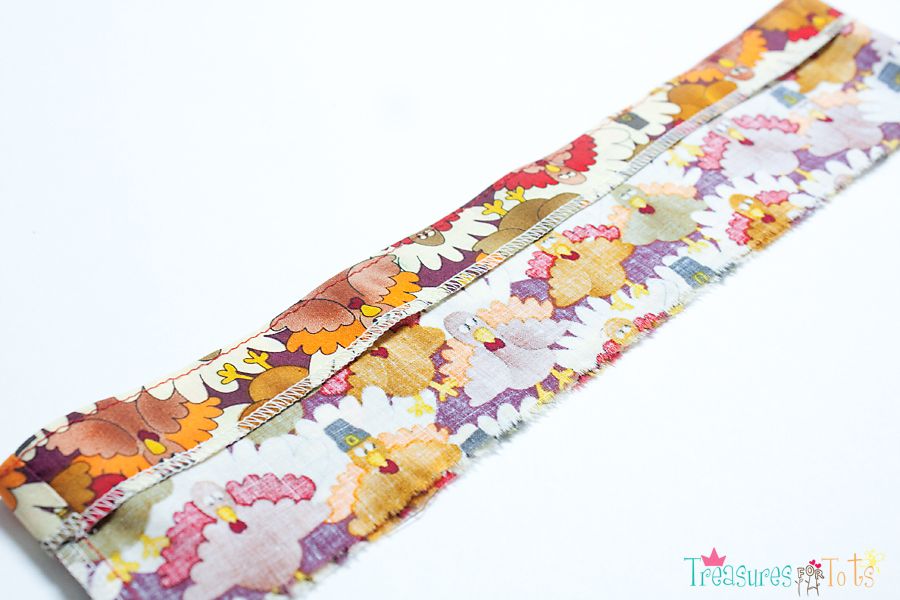
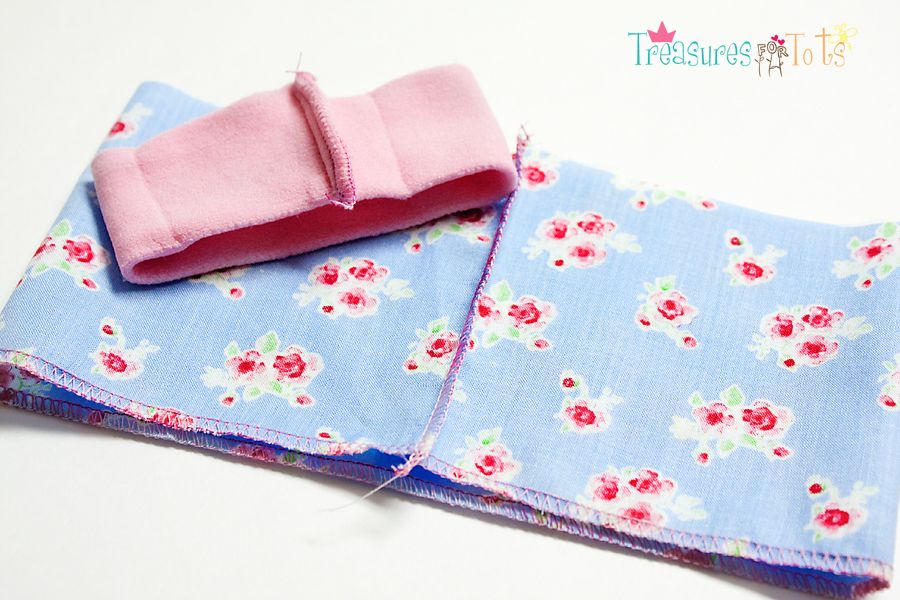
For the yoke, serge the tops of both pieces.
Place them right sides together, sew the sides and serge the seams.
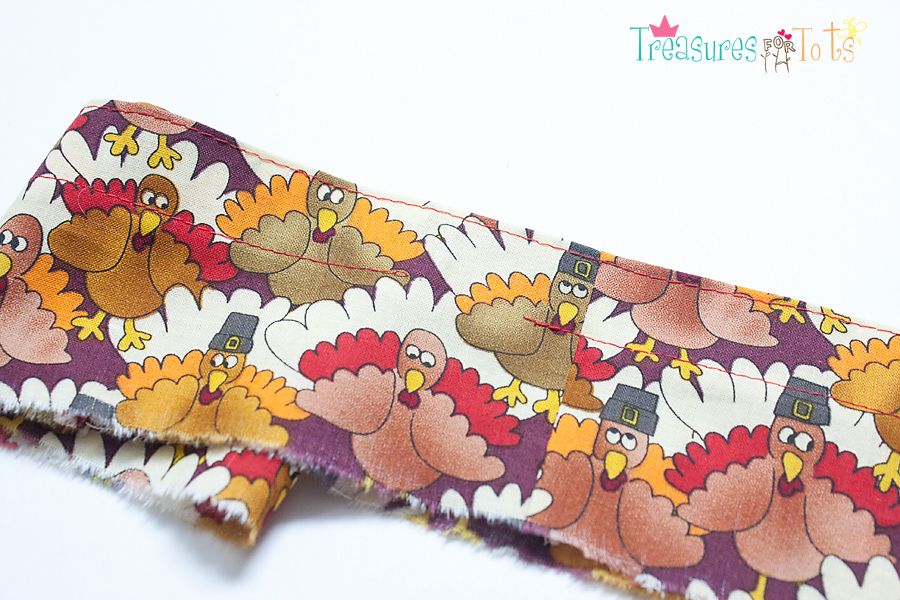
Make a 1" hem at the top.
Top stitch 1/4" from the edge.
Then top stitch 1" from the edge, leaving a 2" opening for the elastic.
Set aside.
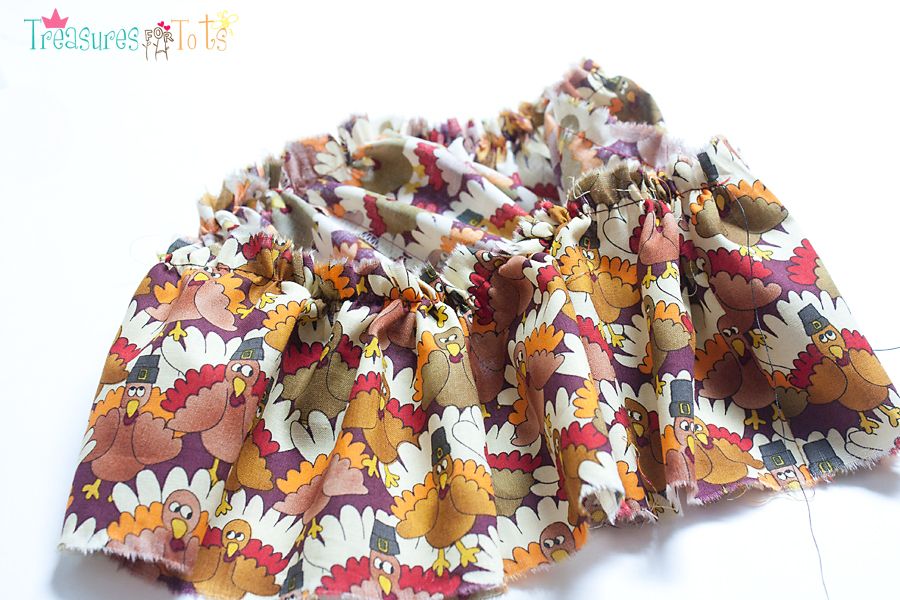
Now for the main body.
Place right sides together, sew the sides, then serge the seams.
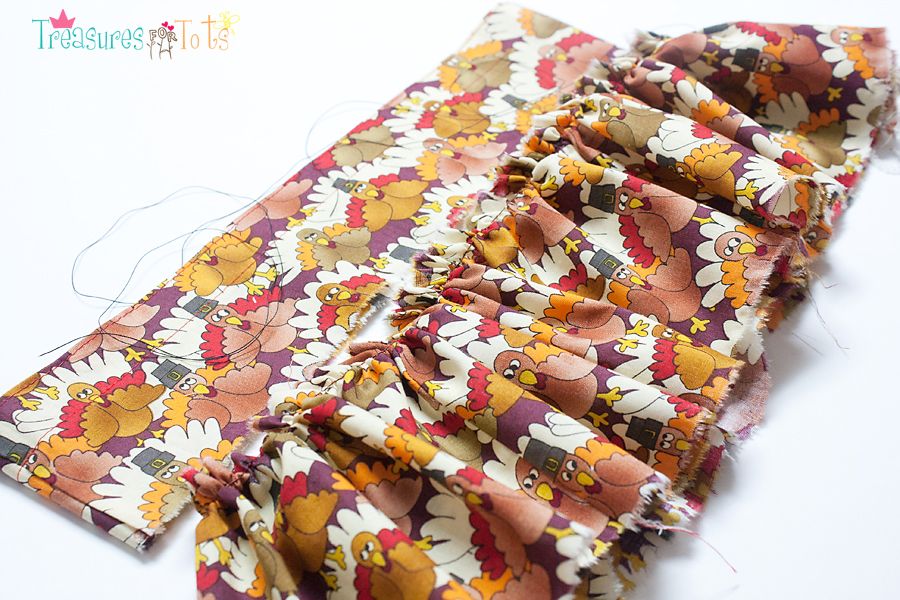
Using the bobbin of upholstery thread, sew a gather stitch 3/4" from the top of the main skirt body.
Gather the main body of the skirt until it's the same width as the yoke.
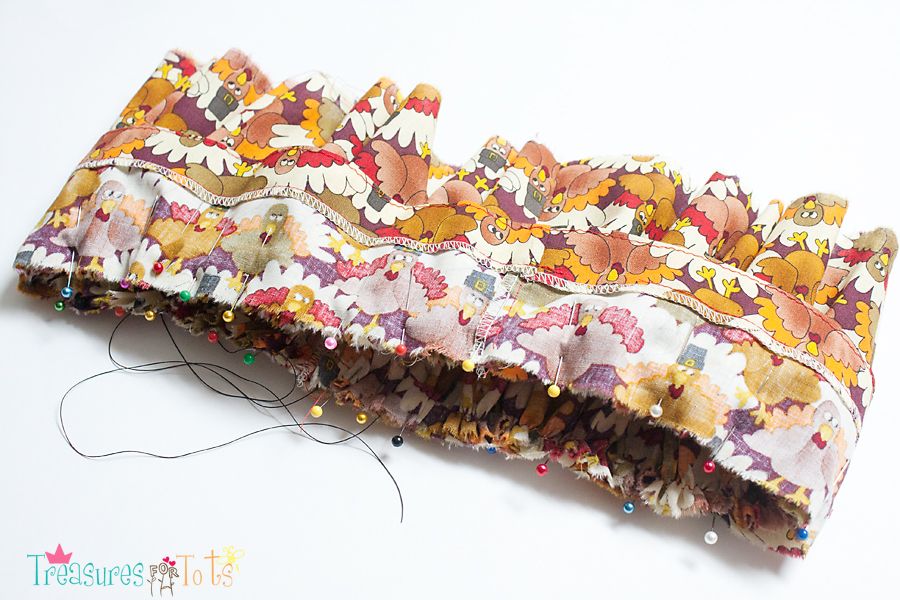
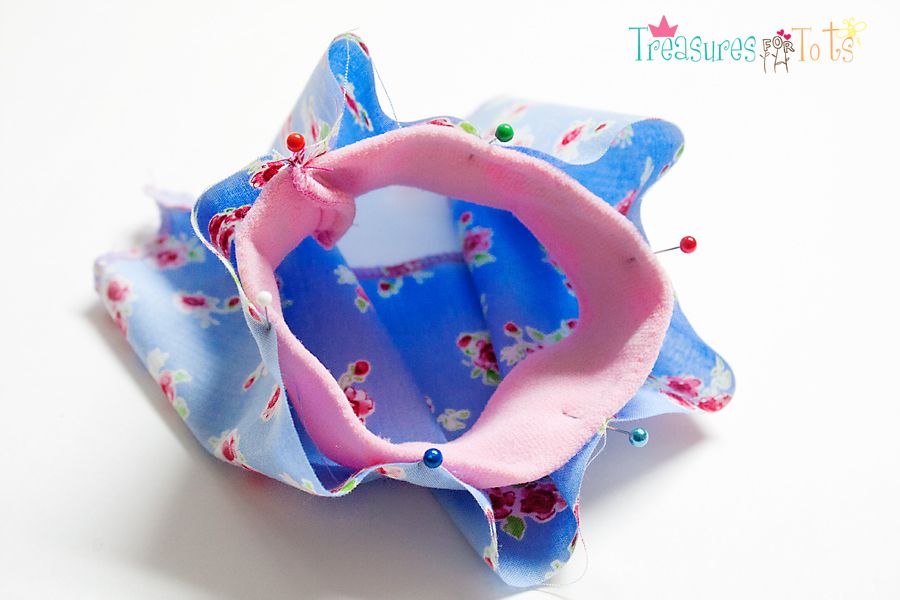
With right sides together, line up the side seams, and pin the main body to the yoke.
Sew the two pieces together.
Serge the seam.
Iron the seam UP, and then top stitch.
I was feeling very good about the skirt at this point.
UNTIL I realized I didn't attach the ruffle first!
I should have done that BEFORE I attached the main body to the yoke!
Geez!!
Okay so I could keep going from here without yanking out all that hard work.
It's just going to take more than twice as long to get that ruffle on right.
But it can be done - just with loads of patience!
----------------
On to the ruffle....
Attach all the pieces together until you form a large circle.
Serge the seams, iron flat.
Fold the entire piece in half, raw edges together, and iron.
Using the upholstery thread, run a gather stitch 3/4" from the raw edges of the ruffle.
The upholstery thread makes gathering that ruffle so much easier!
Now this is the time consuming, pain-in-the-neck part.
Because the main body is very twirly, it's going to take forever to determine how much I'll need to gather the ruffle.
But - still much easier than pulling out all my previous hard work or starting completely over!
---------------
Gather the ruffle until it's the same width as the main body.
Pin together.
Sew the pieces together, serge the seams.
Iron the seam UP, then top stitch.
Whew!
Gotta remember to never forget the ruffle again!
Almost done now...
Cut the elastic 1" longer than your child's waist.
Attach to a safety pin (or bodkin), and pass it through the waistband.
Overlap the ends about 1", sew a triple stitch to secure.
Tuck into the waistband and close the opening with a triple stitch.
All done!
Very twirly turkey skirt!
Have Fun!!


 !
!