
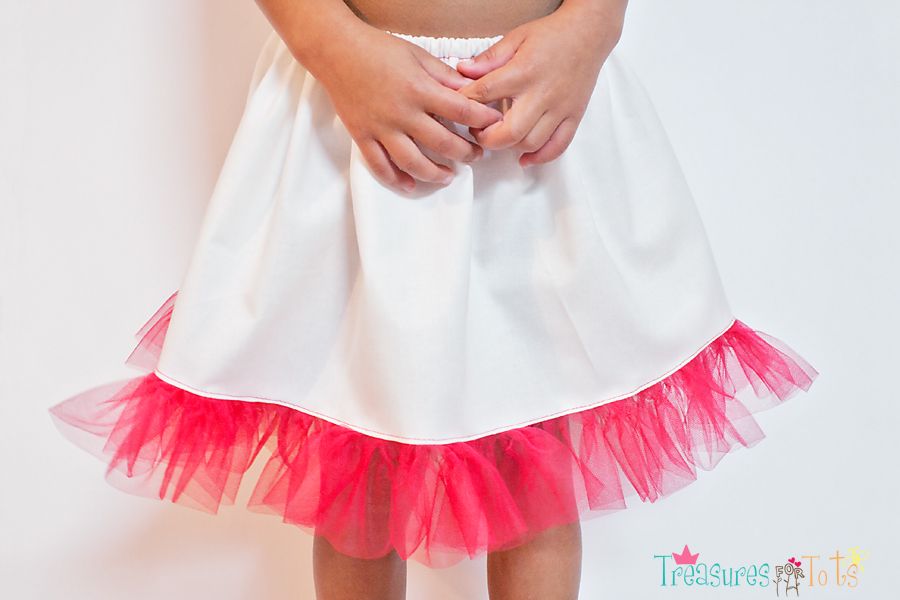
I made this super simple "petti" to fit under another skirt I'm making.
But it would look very cute all by itself.
It's basically very easy to sew, but the tulle ruffles can be time-consuming.
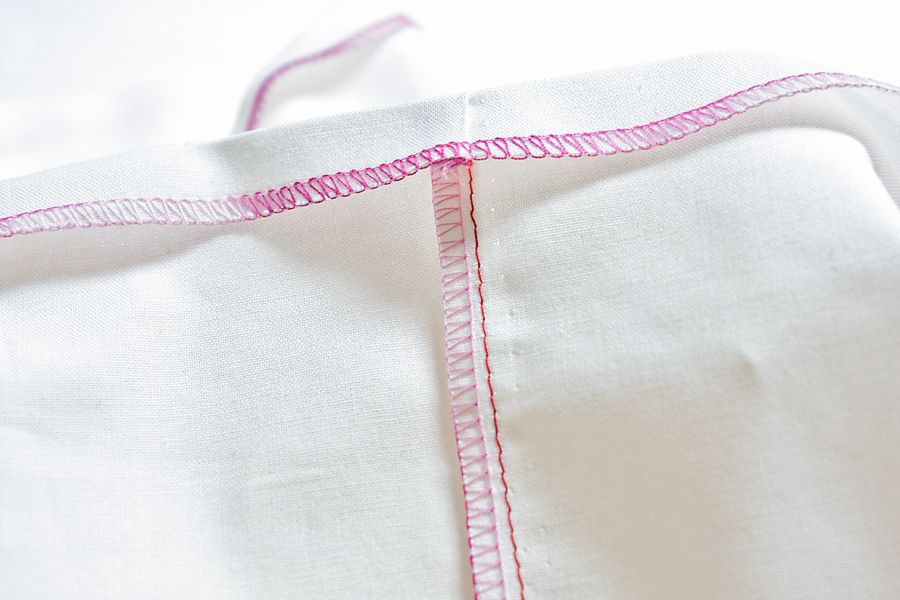
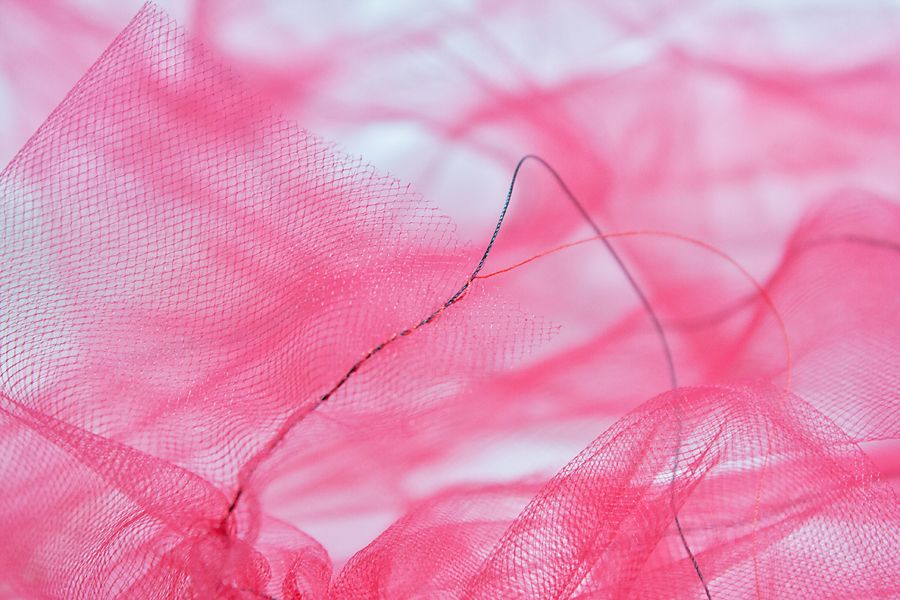
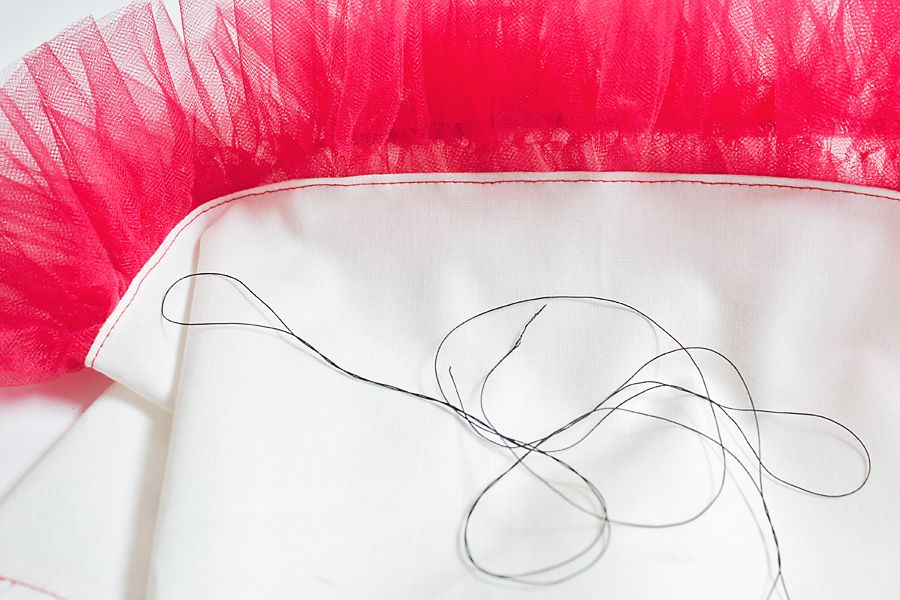
Please ignore my thread - none of it matches!
I always forget to buy more white thread when I'm at the store.
I also didn't feel like changing the thread in my serger.
Oh well!
Since this will be under another skirt, I didn't worry about it.
Please ignore my thread - none of it matches!
I always forget to buy more white thread when I'm at the store.
I also didn't feel like changing the thread in my serger.
Oh well!
Since this will be under another skirt, I didn't worry about it.
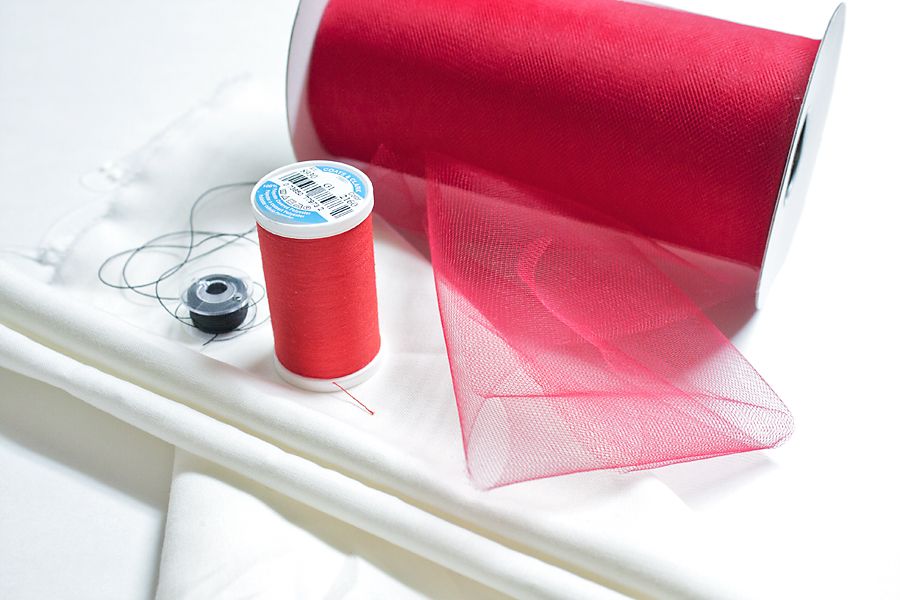
Materials Needed:
spool of tulle (6" x 25 yards)
1/4" elastic (not pictured)
safety pins or bodkin (not pictured)
coordinating thread
bobbin with upholstery thread
1 piece of fabric 10" long, cut selvage to selvage
Serge the top of the material or zig-zag the edges.
Fold down 1/2" and iron.

Unfold the hem you just ironed.
Fold the material in half, right sides facing.
Sew down the length of the material.
Serge the seams (or zig-zag the edges).
Iron the seam flat, fold the hem back down and iron.

Top stitch to creating a casing.
Make sure to leave a 1" opening for the elastic.

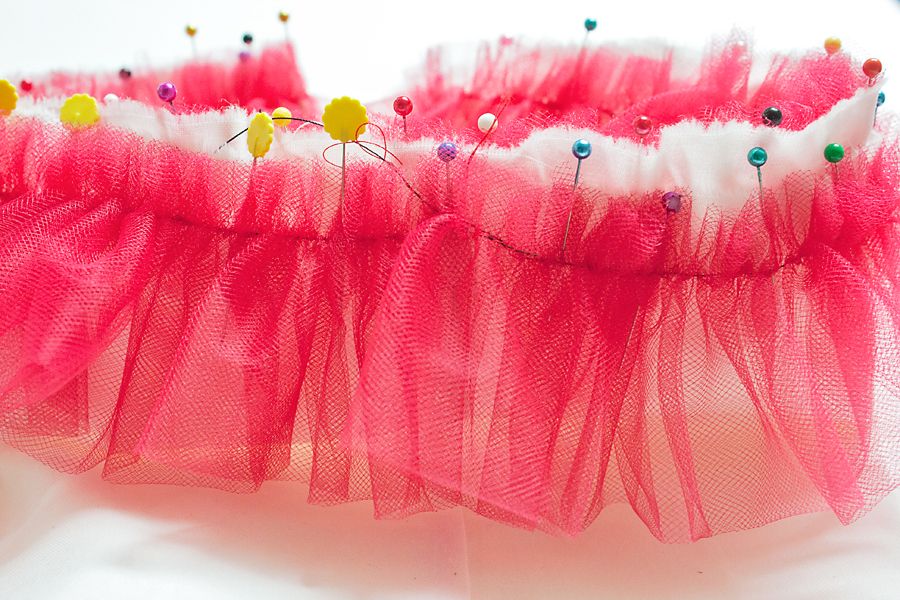
Load your machine with the bobbin of upholstery thread.
Set your machine to it's longest stitch, or gathering stitch.
Run the gathering stitch about 1/2" from the top of the tulle.

Unfold the hem you just ironed.
Fold the material in half, right sides facing.
Sew down the length of the material.
Serge the seams (or zig-zag the edges).
Iron the seam flat, fold the hem back down and iron.
Top stitch to creating a casing.
Make sure to leave a 1" opening for the elastic.
Load your machine with the bobbin of upholstery thread.
Set your machine to it's longest stitch, or gathering stitch.
Run the gathering stitch about 1/2" from the top of the tulle.
---------------
I folded the tulle in half before sewing a gathering stitch.
If you'd like the tulle longer, don't worry about folding it.
I gathered almost 5 yards of tulle - or 3 times the width of my fabric.

Because you'll be using upholstery thread instead of regular thread, you won't have to worry about it breaking.
To gather the ruffles, simply pull on the upholstery thread not the regular thread.

Carefully straighten out the ruffles.
This will take some time, but be sure to go slow and do a good job.
I always want to rush ruffles and I end up making mistakes that take forever to fix!
I folded the tulle in half before sewing a gathering stitch.
If you'd like the tulle longer, don't worry about folding it.
I gathered almost 5 yards of tulle - or 3 times the width of my fabric.

Because you'll be using upholstery thread instead of regular thread, you won't have to worry about it breaking.
To gather the ruffles, simply pull on the upholstery thread not the regular thread.
Carefully straighten out the ruffles.
This will take some time, but be sure to go slow and do a good job.
I always want to rush ruffles and I end up making mistakes that take forever to fix!
---------------
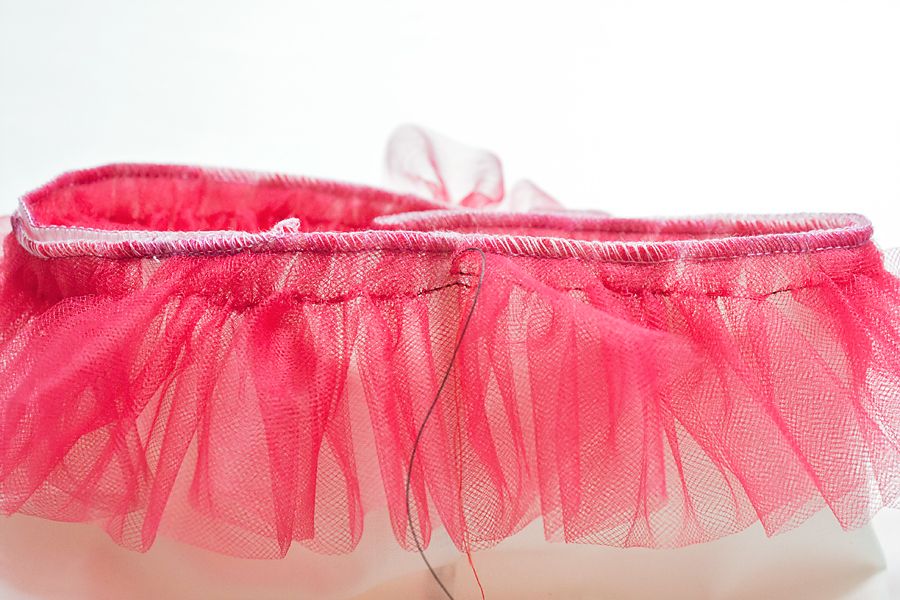
Pin the ruffled tulle to the right side of the skirt.
Pin the ruffled tulle to the right side of the skirt.
When you've come around back to the beginning, overlap the ruffles about 1" or so.
Serge or zig-zag the edges.
Being very careful not to scorch the tulle, work on the right side and iron the seam you just created UP.
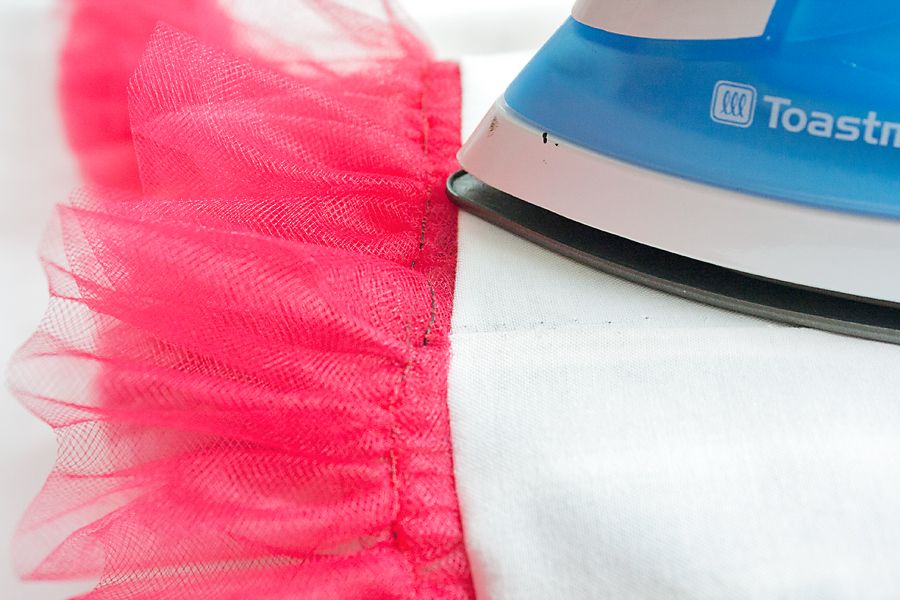
Top stitch to hold the bottom seam in place and for a nice, finished look.
Carefully remove the gathering stitch from the tulle.
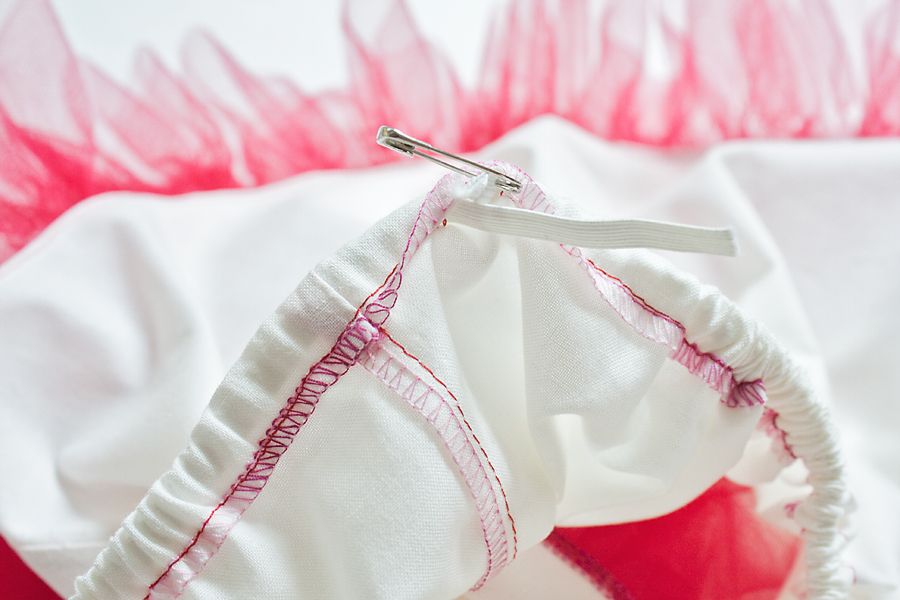
Measure your child's waist and cut the elastic 1/2" longer.
Attach it to a safety pin (or bodkin) and run it through the waistband.
Overlap the ends of the elastic 1" and secure with a triple stitch.
Tuck the elastic into the waistband, and then triple stitch the opening in the waistband closed.

All Done!

Have Fun!!
All Done!
Have Fun!!


5 comments:
Just a quick note to let you know that a link to this post will be placed on CraftCrave today [12 Nov 02:00am GMT]. Thanks, Maria
This is so adorable! What a great idea. :)
Stopping by from Weekend Wrap-up,
Theophanie of ourjubilantnest.com
Very cute! My daughter would love this!
Thanks y'all!!
cute! does doubling the tulle make it less itchy?
Post a Comment