
Materials Needed:
Crayons (new or used)
Razor blade or X-Acto knife
Silicone or metal baking tray
Preheat your oven to 200°.
Peel the labels off all the crayons.
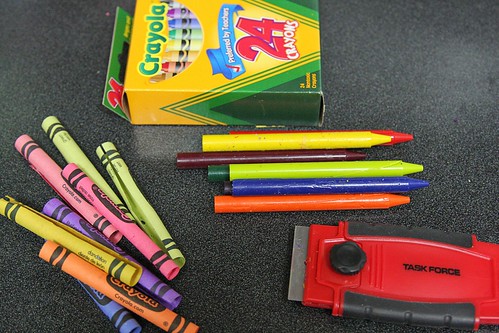
Break the crayons into pieces.
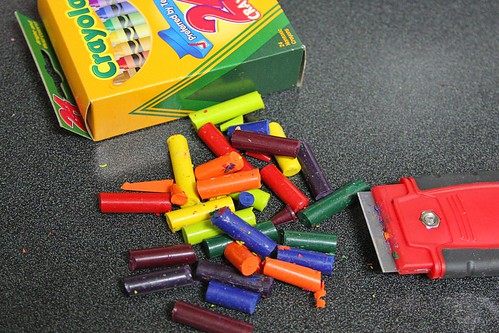
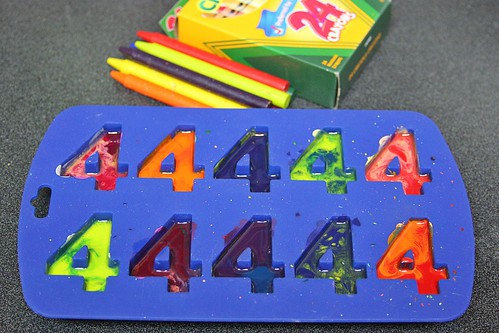
Arrange them in a baking tray.
I used a number "4" silicone tray.
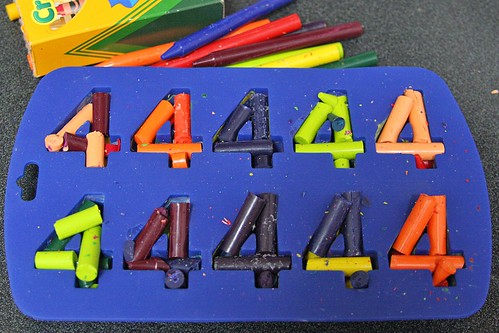
Put in the tray in the oven for 25 minutes.
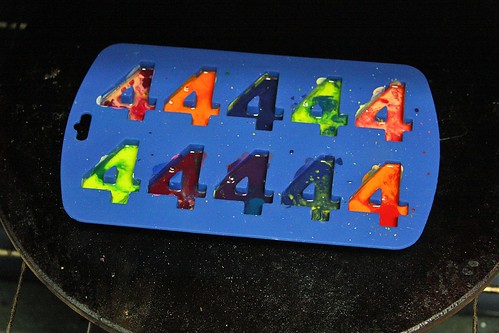
Allow the crayons to cool for about a hour.
I stuck mine in the ice box to cool 'em off faster!
If you used a silicone tray, try turning it inside-out (be careful!) before popping the crayons off.

All done!

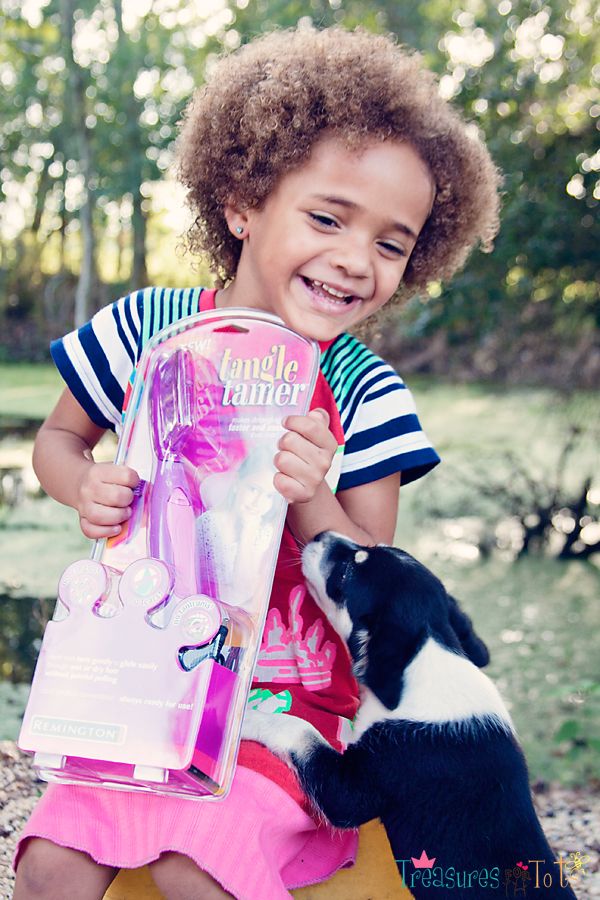
I made these for Serenity's upcoming 4th birthday party!
Crayons (new or used)
Razor blade or X-Acto knife
Silicone or metal baking tray
Preheat your oven to 200°.
Peel the labels off all the crayons.
Break the crayons into pieces.
Arrange them in a baking tray.
I used a number "4" silicone tray.
Put in the tray in the oven for 25 minutes.
Allow the crayons to cool for about a hour.
I stuck mine in the ice box to cool 'em off faster!
If you used a silicone tray, try turning it inside-out (be careful!) before popping the crayons off.
All done!
I made these for Serenity's upcoming 4th birthday party!
POST-IT-NOTE: This formula worked perfectly for me, but ovens vary so you might need to tweak it a bit.
BTW, the crayons I used for this project are the crayons I bought last year for only 25¢ a box!
POST-IT-NOTE 2: For those of you looking for inexpensive silicone trays to make crayons, here's a pretty pink heart tray for only $6.95 & FREE shipping!
Check out other silicone molds on Ebay by clicking HERE.
Have fun!


10 comments:
I love these! I tried to do these this afternoon with the microwave and it just didn't work. I was using chocolate molds, so I don't think I can put them in the oven... :(
I have a bunch of broken crayons i have been saving, but can't find any cheap molds.
My 3yr old is hard on crayons and I'm tired of buying so many crayons !!!
I tried buying some molds off ebay but ended up getting outbid. Don't want to pay alot for something to make crayons with.
Haven't seen anything used at the flea market in town worth buying.
This is a great idea for a fourth birthday!
CUTE! I was thinking of making Mia some crayons at one point but couldn't find the trays. I can't believe Miss Serenity is already turning 4! Time flies doesn't it? We're back in the States-not sure how I feel about it yet ;-) I think I'm having a tough time adjusting...
So I tried this 2 weeks ago with a little heart tray...an ice cube tray. NOT a baking tray. Does that matter? Here is why we had to evacuate the house...I am rather impatient and did it at 300 degrees. I used different kinds of crayons. Which I can only assume have different kinds of wax that melted differently. So because there were still chunks...I left it in the oven. Then forgot. Result? Melted tray and stinky wax all over the baking sheet. Gross fumes and overly sensitive smoke alarm made for some mild chaos. I am so happy I stuck it on a baking sheet or I would have it all over my oven. So my point is I am so happy for this easy, concise post. Next time I will follow directions instead of winging it! THANK YOU!
I have made these for Valentine's cards. I found the silicone ice trays at Target (in their bins by the door) work great for this.
Also, I found that CRAYOLA works much better than any other brand! Cheap brands will have a wax that comes to the surface that does not color.
Here is how mine went:
http://yadiwyatt.blogspot.com/2010/02/valentine-cards.html
Newest follower. Great blog! I love it.
Kristen
alltheproofineed.blogspot.com
I make these with GD, i found a flower mold in baking isle wal-mart, rubber i think,like the one's shown here, bendable i melt mine in microwave 12-18 mins. let set 5mins. then put in freezer for 15mins. and just pop out pushing on bottom. clean up is so easy too. I am glad i found this site,love it. can't wait to try more craft's.
@Rowanmayfairs
I recently bought one at Micheal's for only 5$
I love that you found a silicone tray with the number 4! How awesome- I have made crayons into Christmas trees, but I love the number idea :)
Post a Comment