Sunday, October 11, 2009

DIY Party Favors: Princess Packs

I'm putting together Princess Packs for Serenity's birthday party and I wanted to share some of the amazing tutorials I'm using to do it.

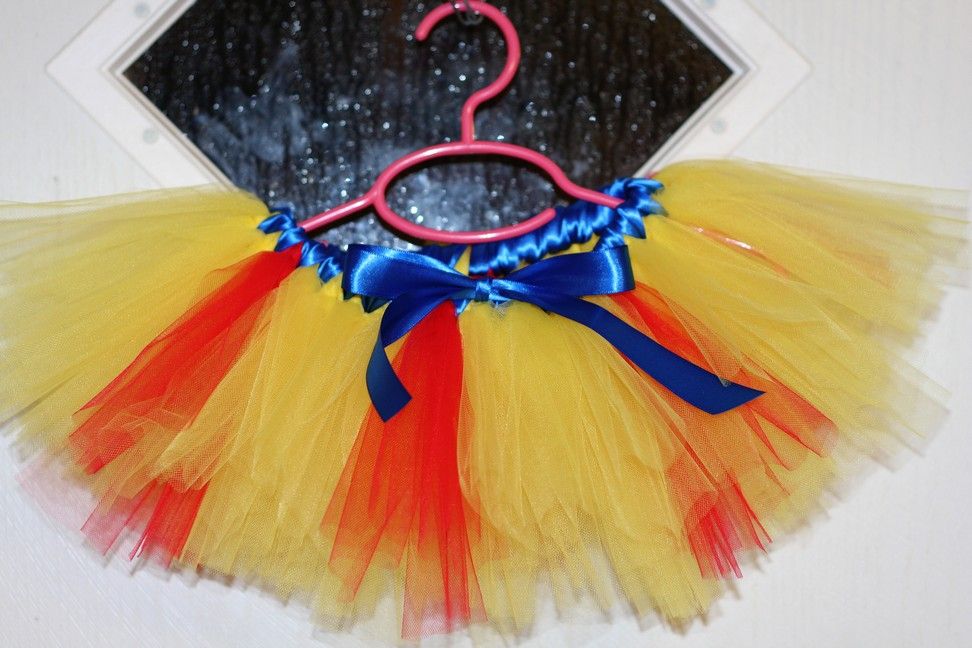
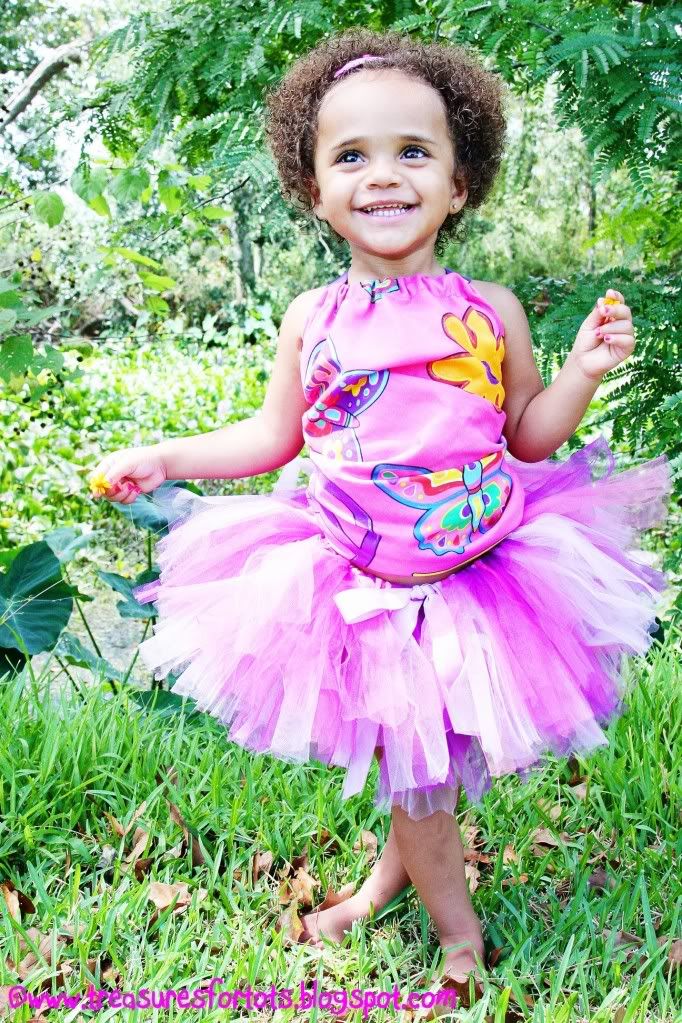
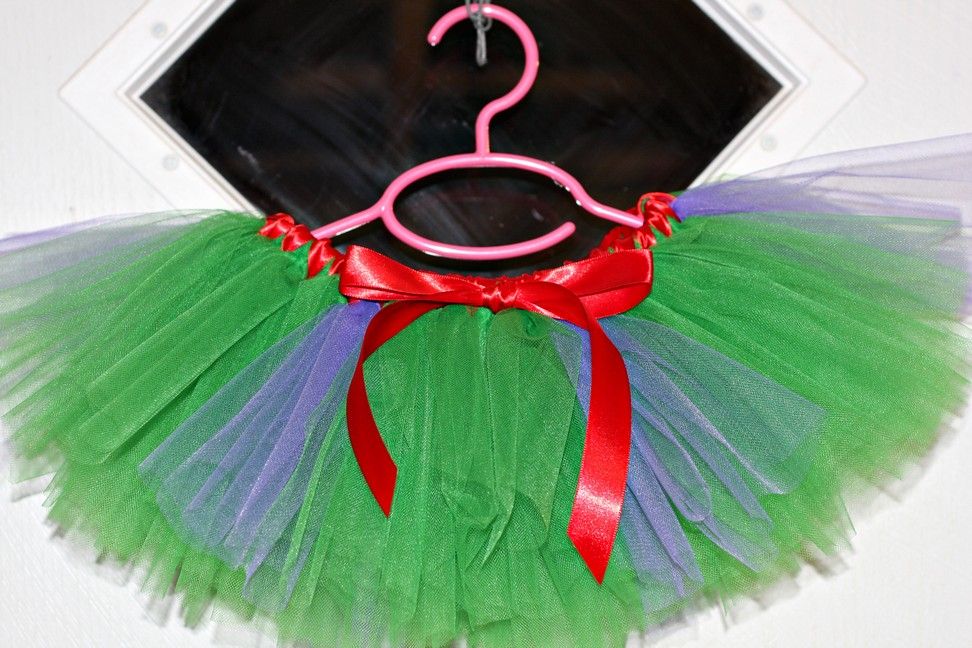
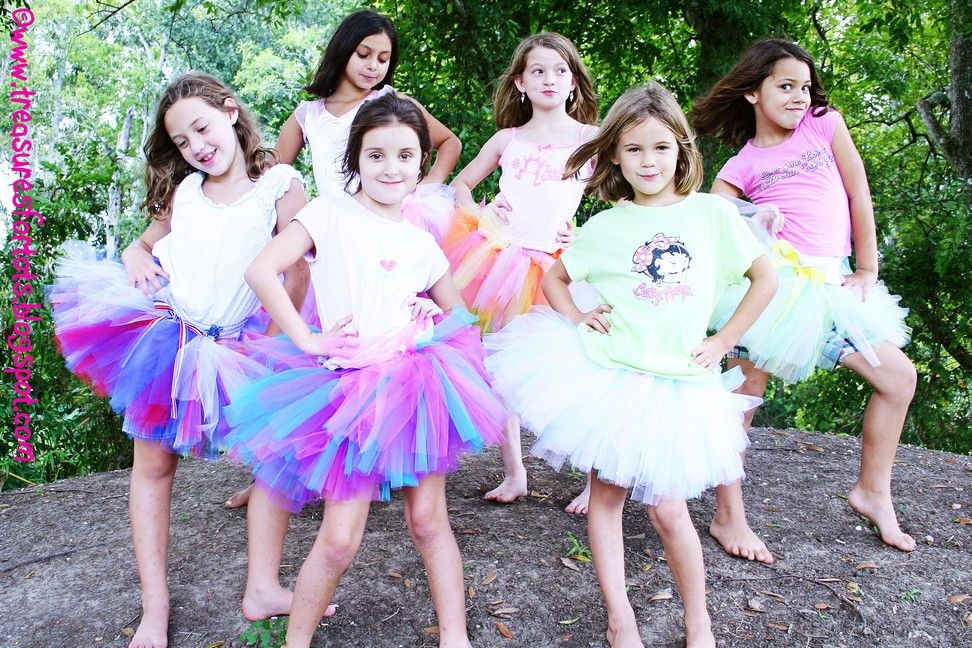
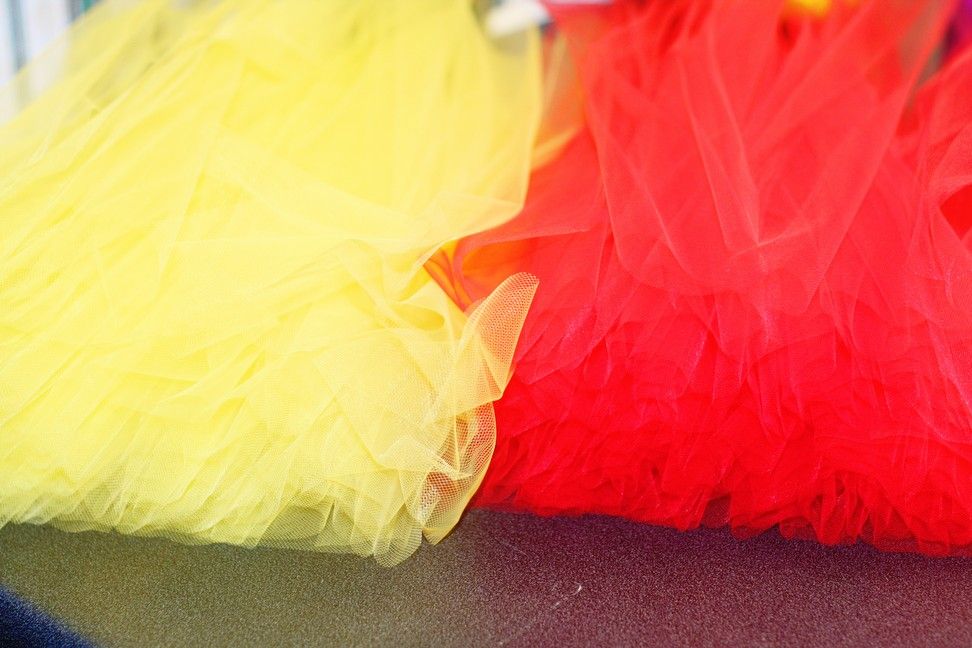
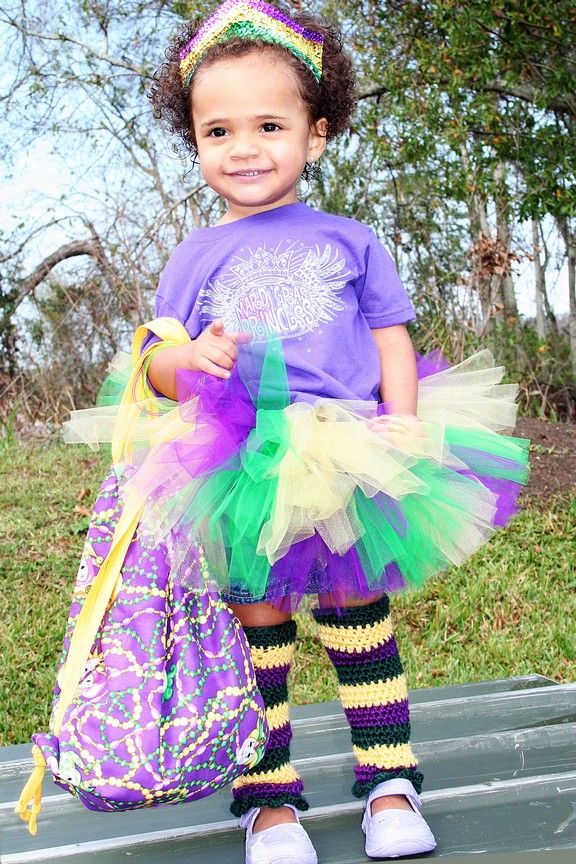
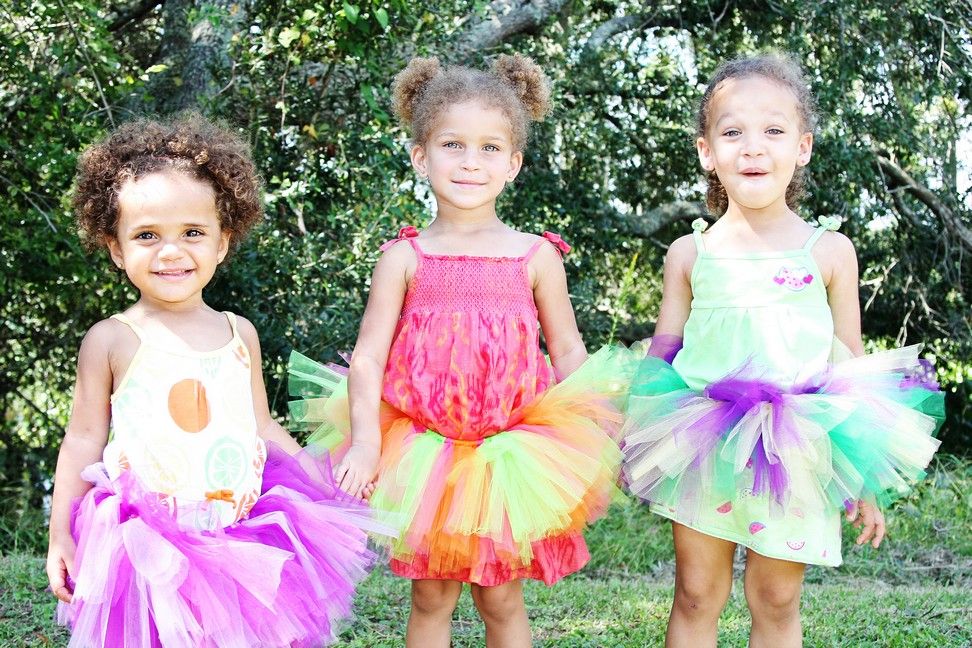
First up are the tutus. I'm making tutus based on
all the Disney Princesses! I'm not quite finished with all of them yet, I ran out of tulle! But I ordered more from Nashville Wraps, and it'll be in next week. I'll post pictures of all the completed tutus later this week!

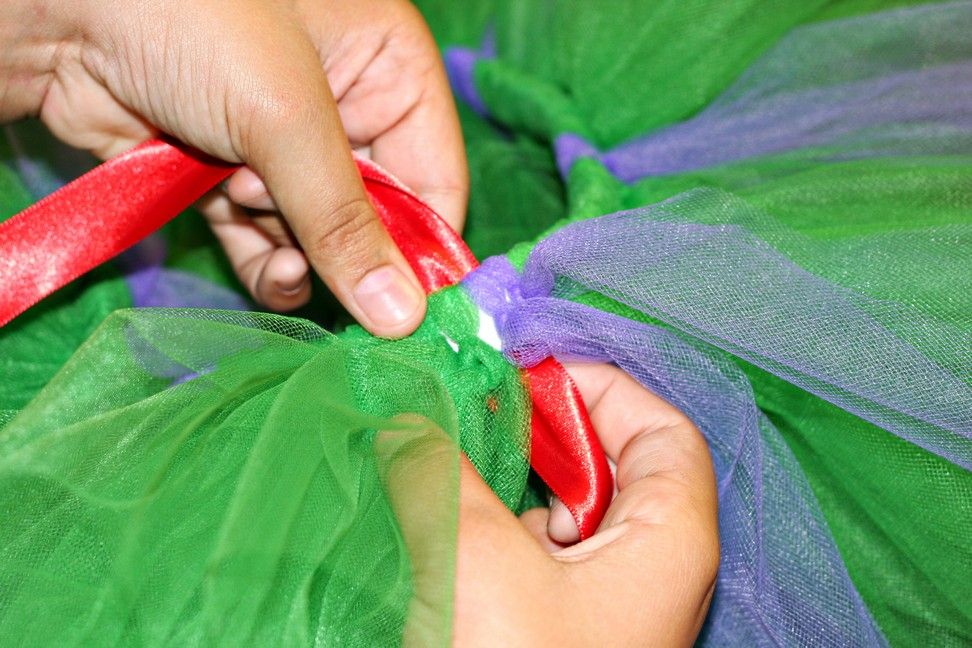
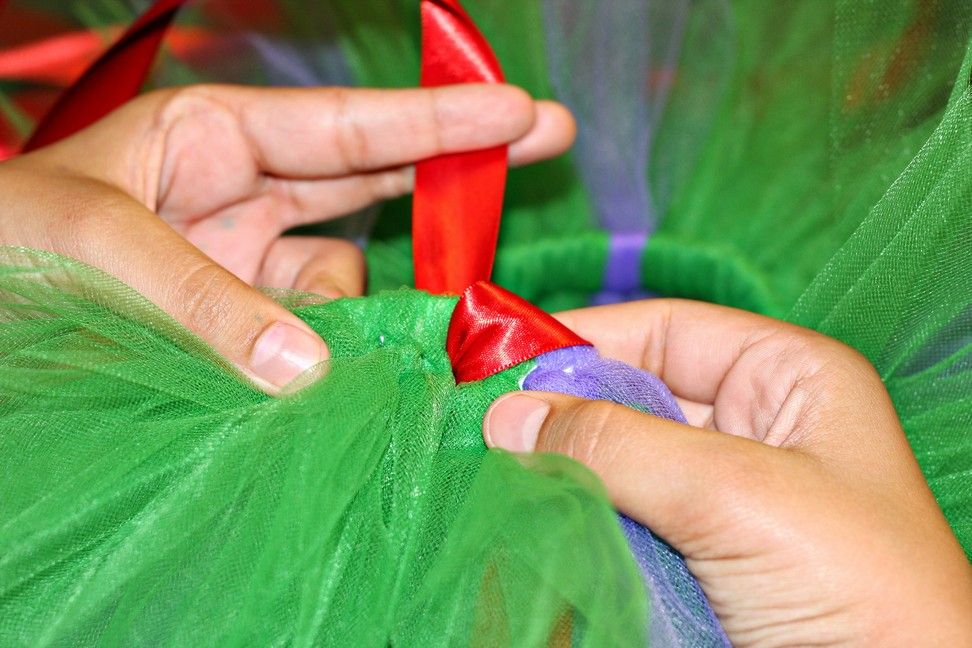
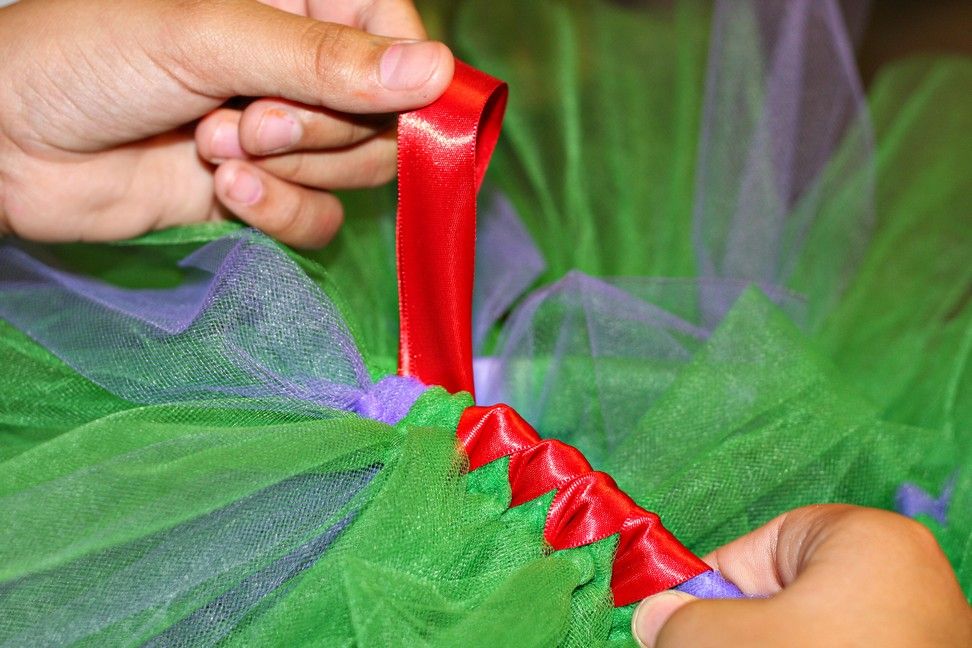
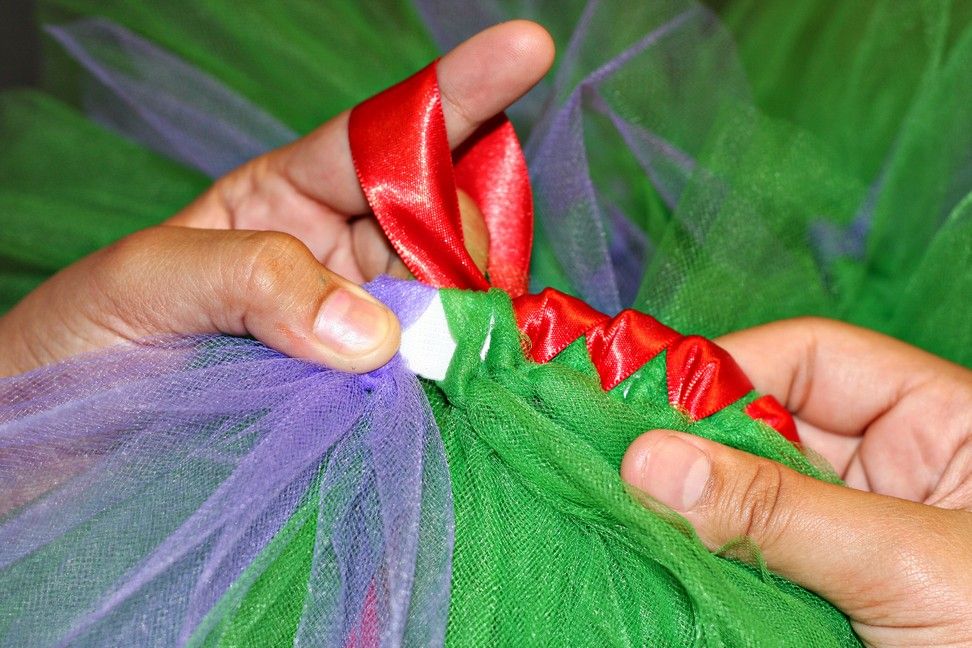
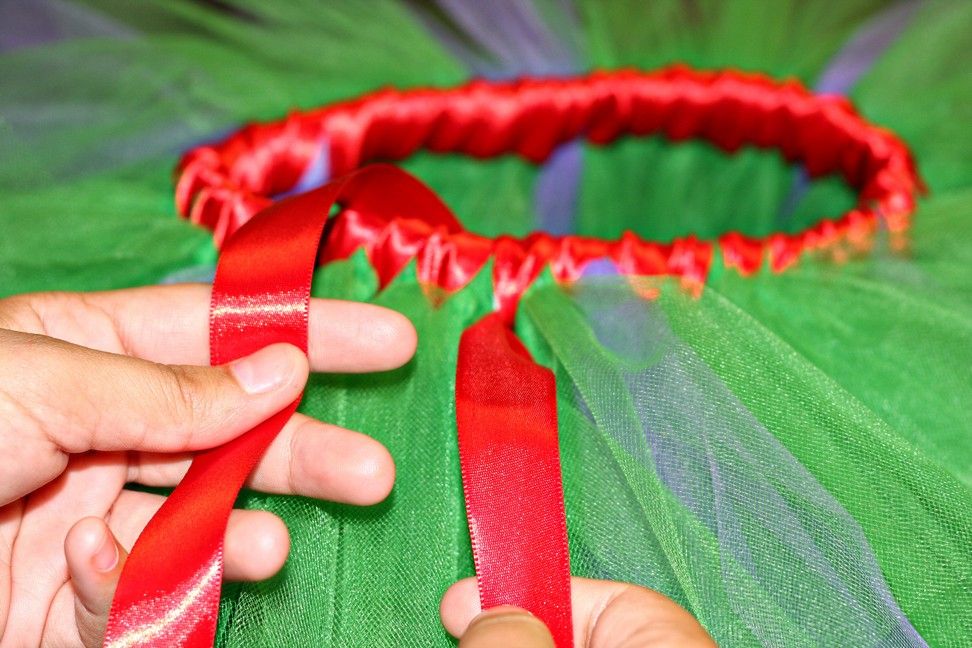
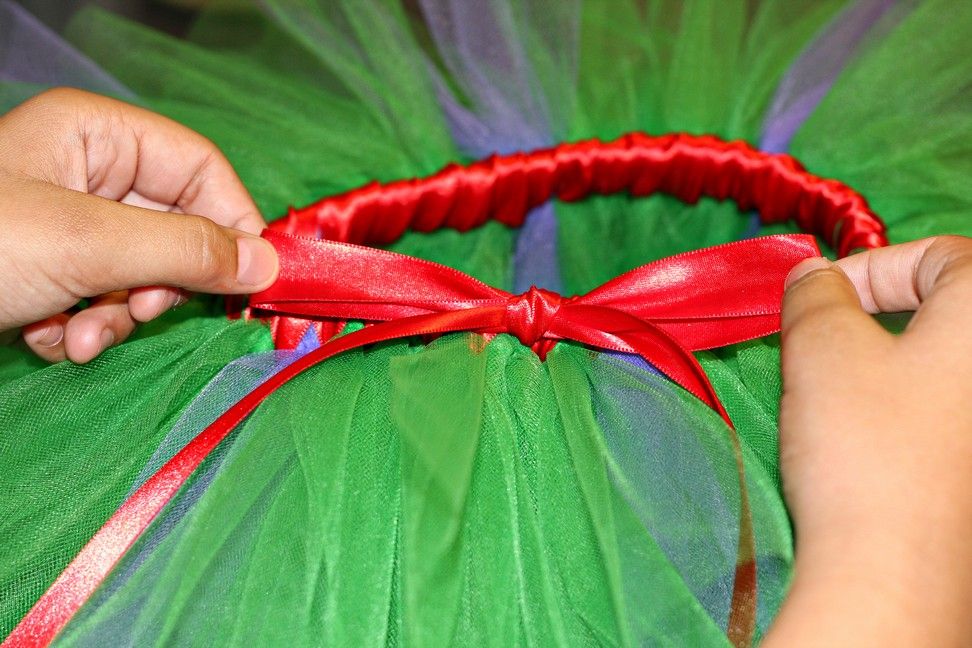
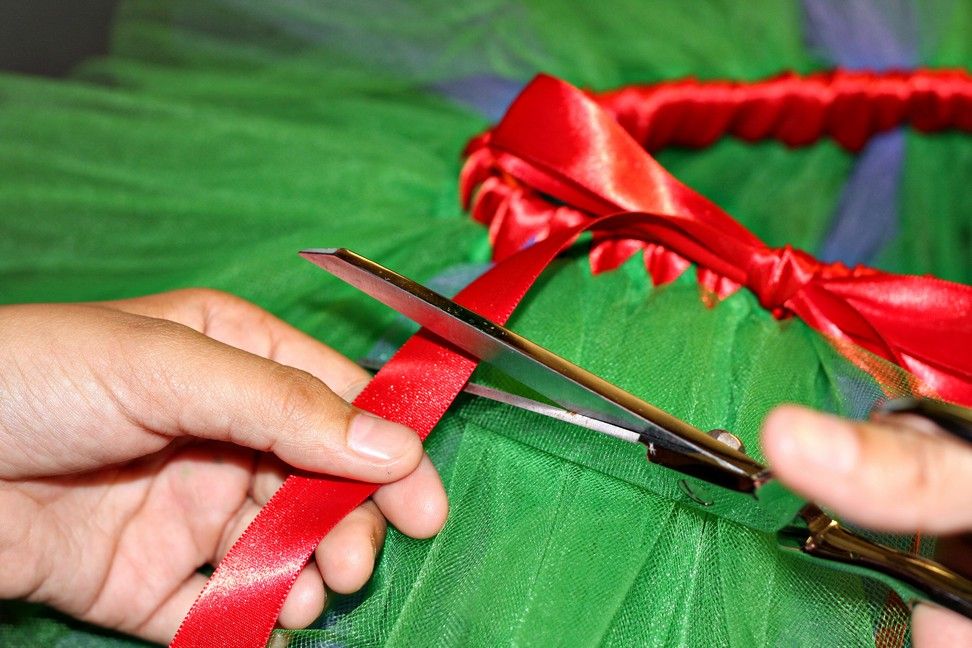
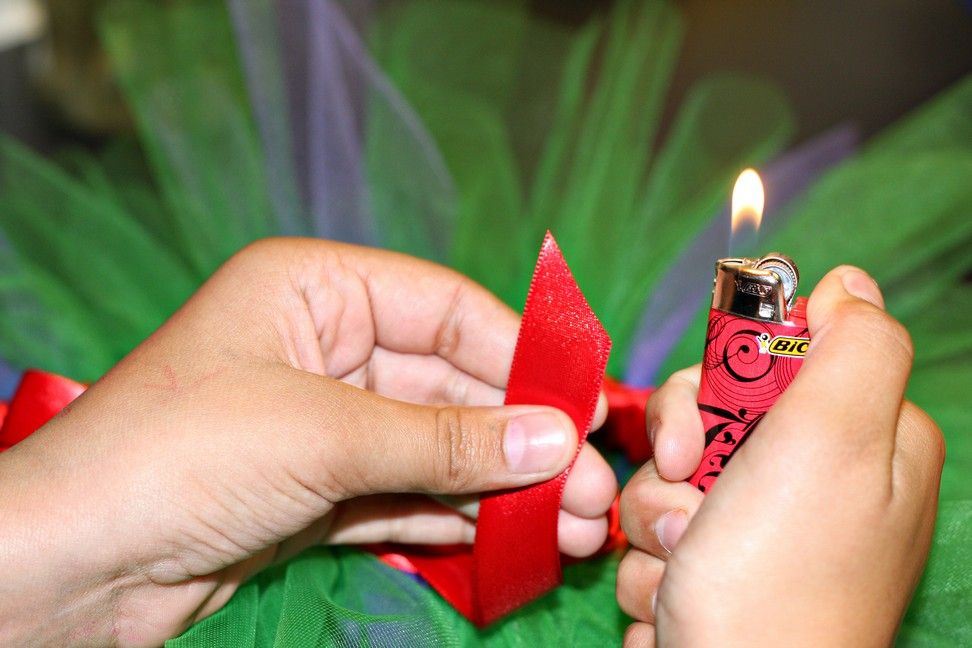
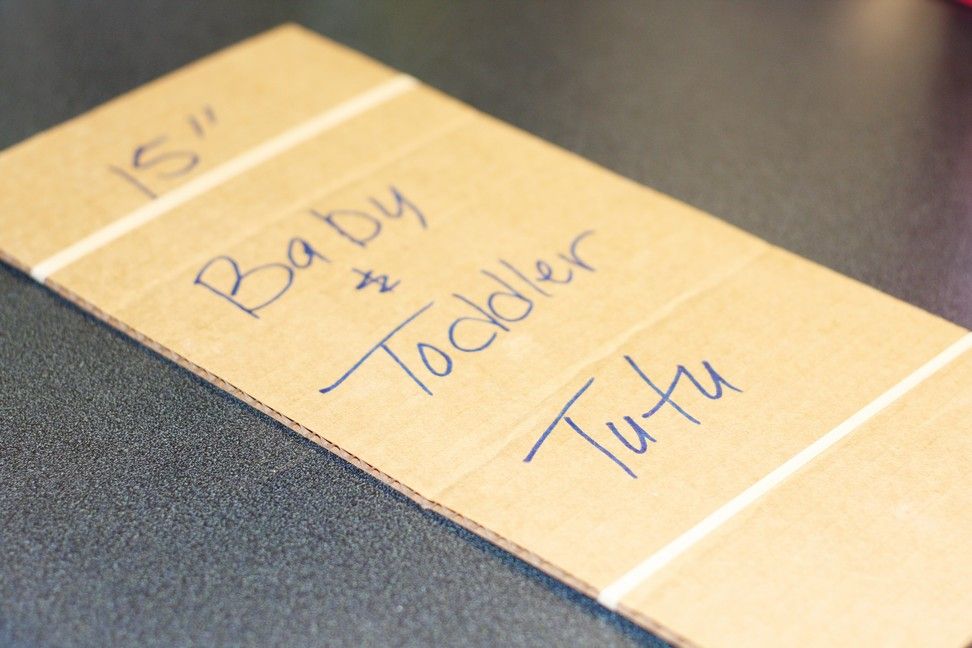
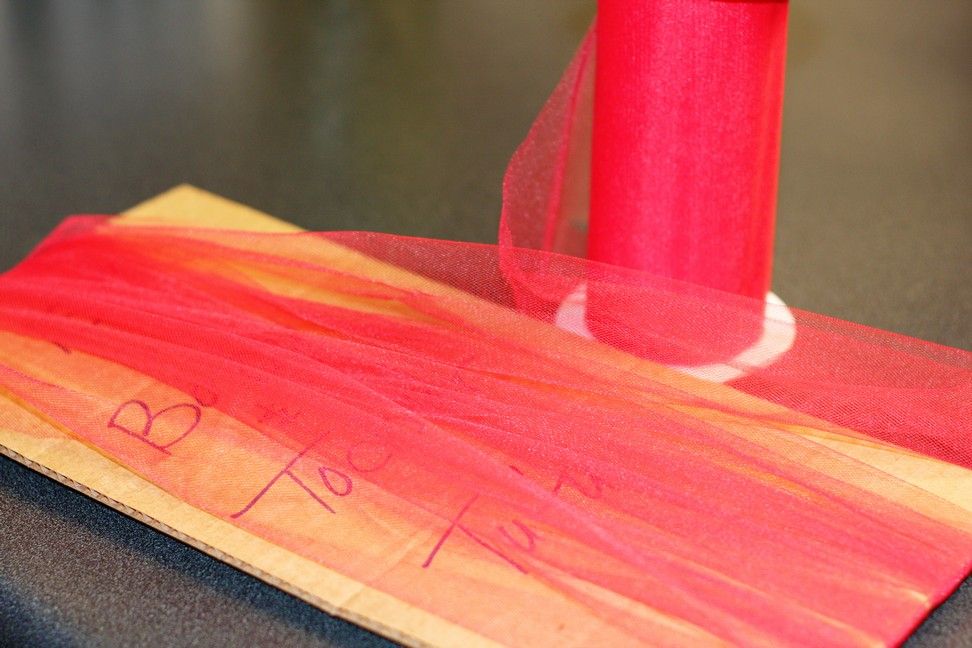
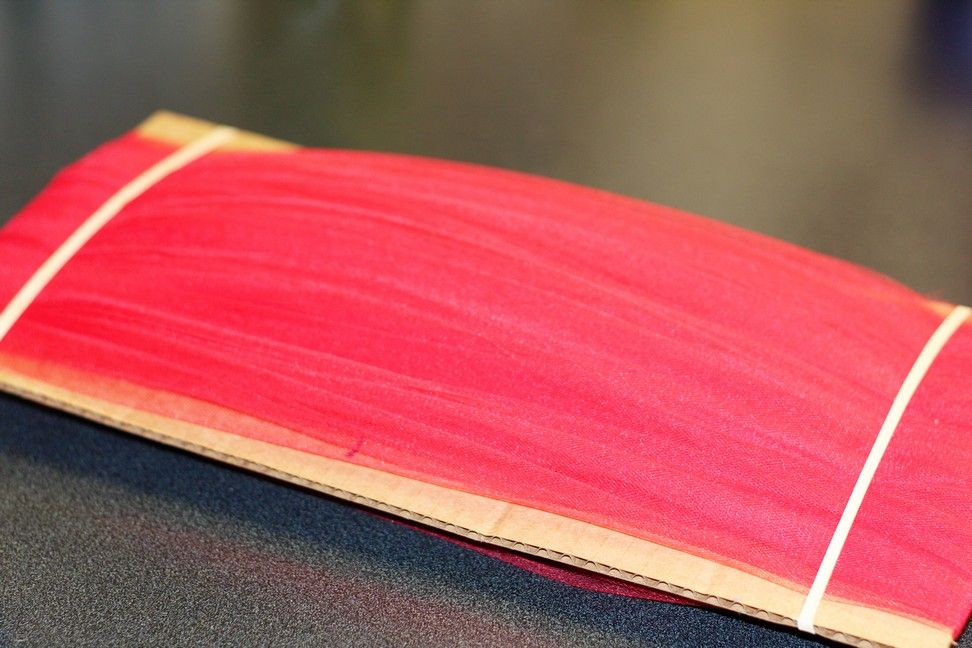
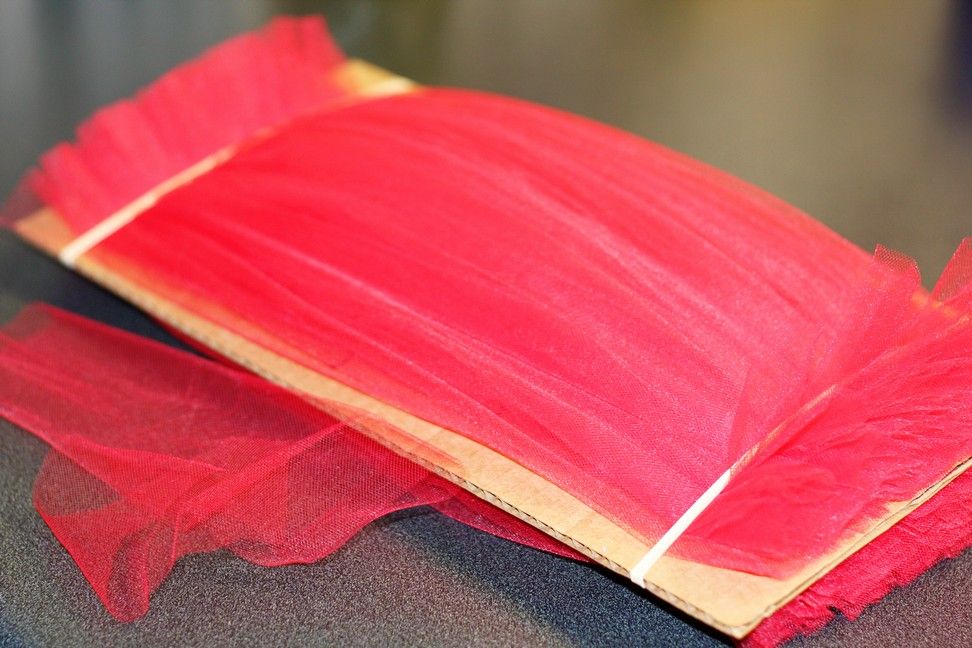
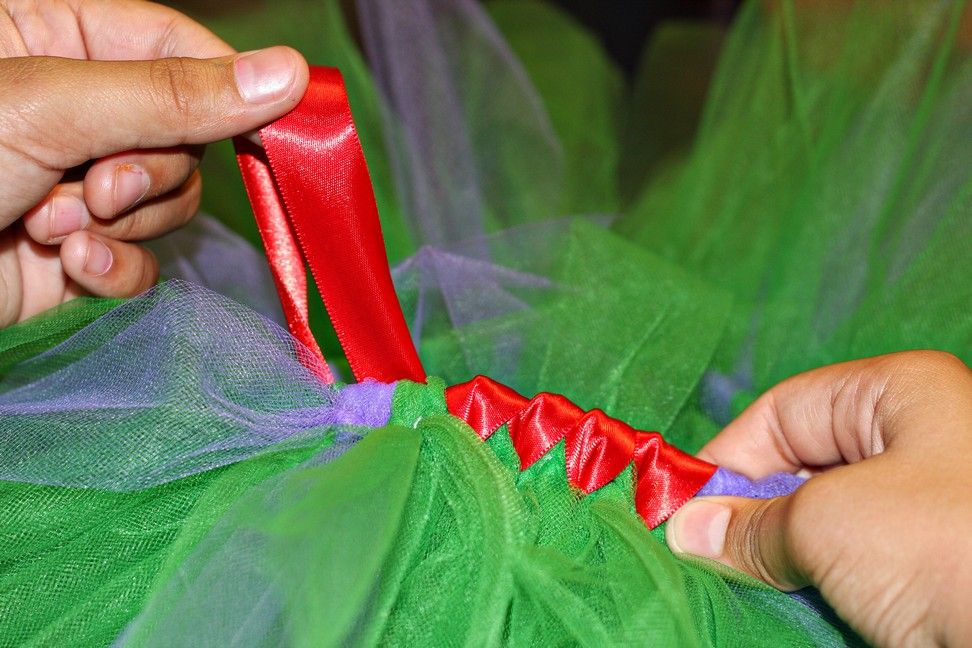
Go check out my posts how to Satin Wrap A Tutu and how to Cut Tulle for a Tutu Using a QUICK and EASY Method. You'll find some links to different tutu making tutorials too!


The Felt Crown by Juicy Bits


The Princess Wand by Zakka Life:
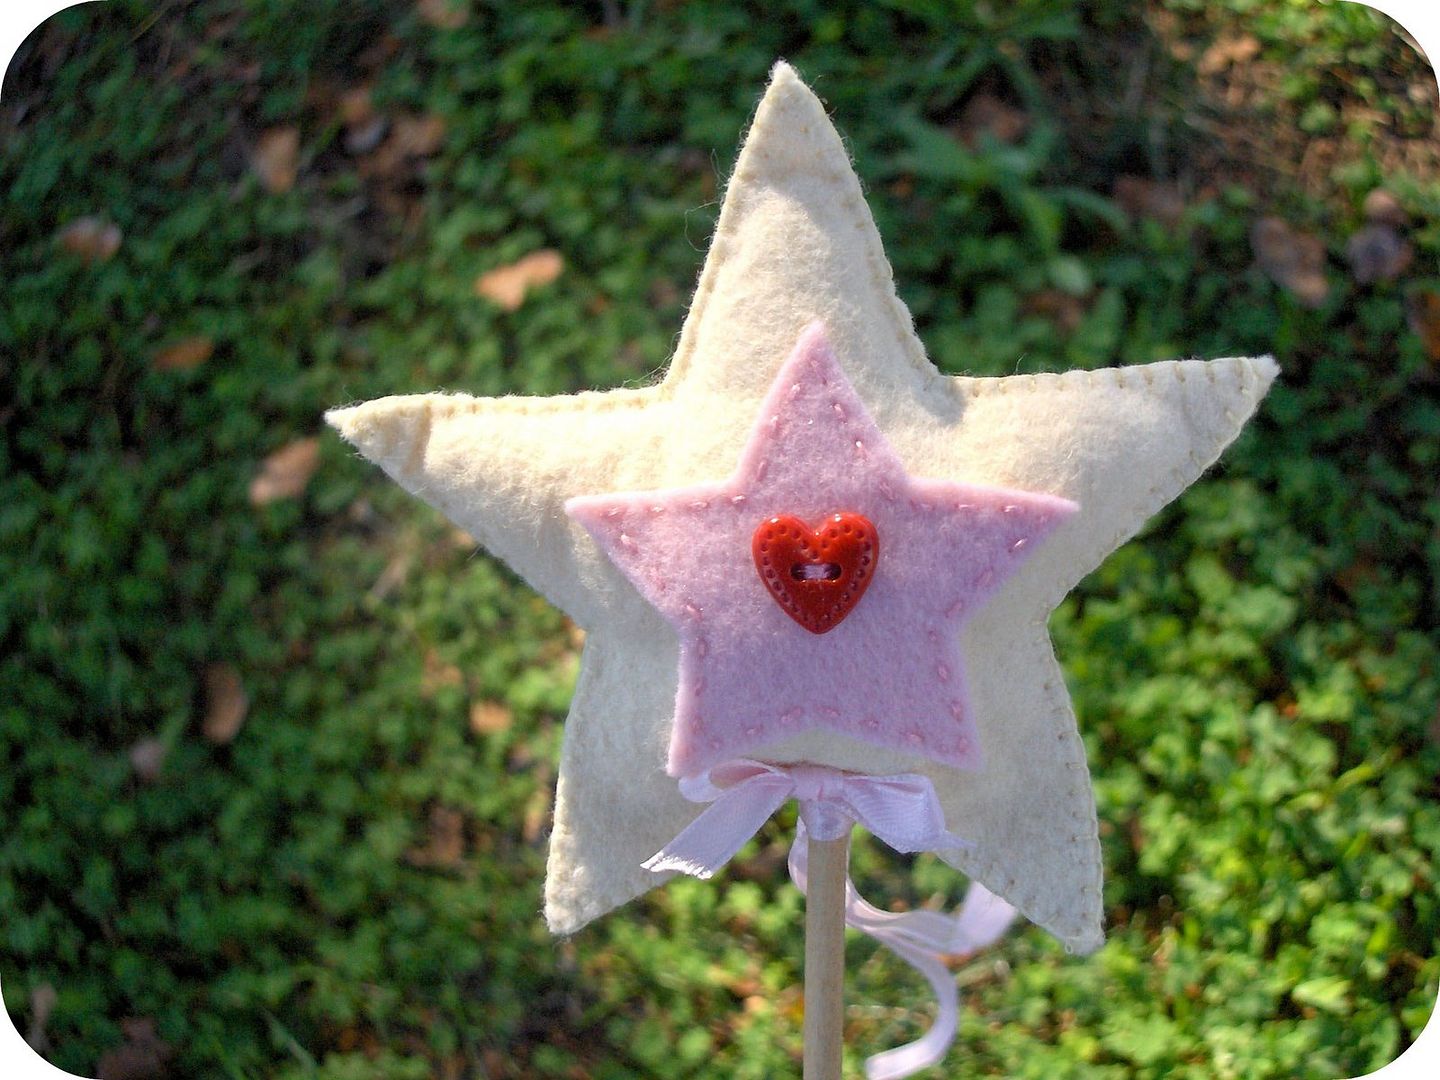
Photobucket

or this one:

Tulle Pom Pom Magic Wand by Lisa E. on Cut Out + Keep:
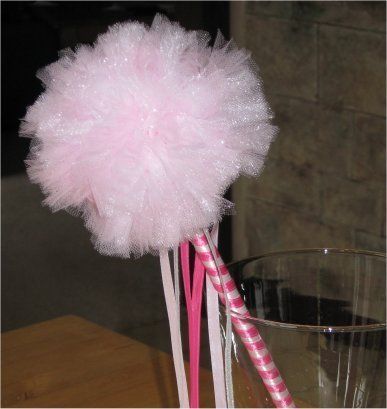
Photobucket

or these:


How to Make a Tulle Wand by Sweet 'n Sassy Girls
(I ended up making these! Check 'em out here)


The Bug Catcher necklace by Whimsy Love (I'll fill them with little trinkets):


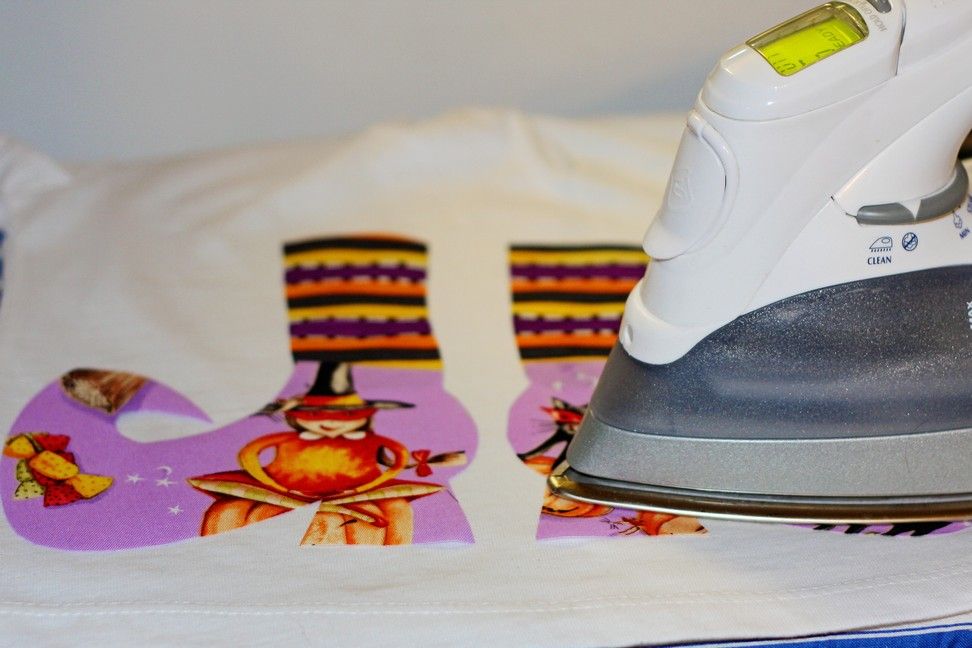
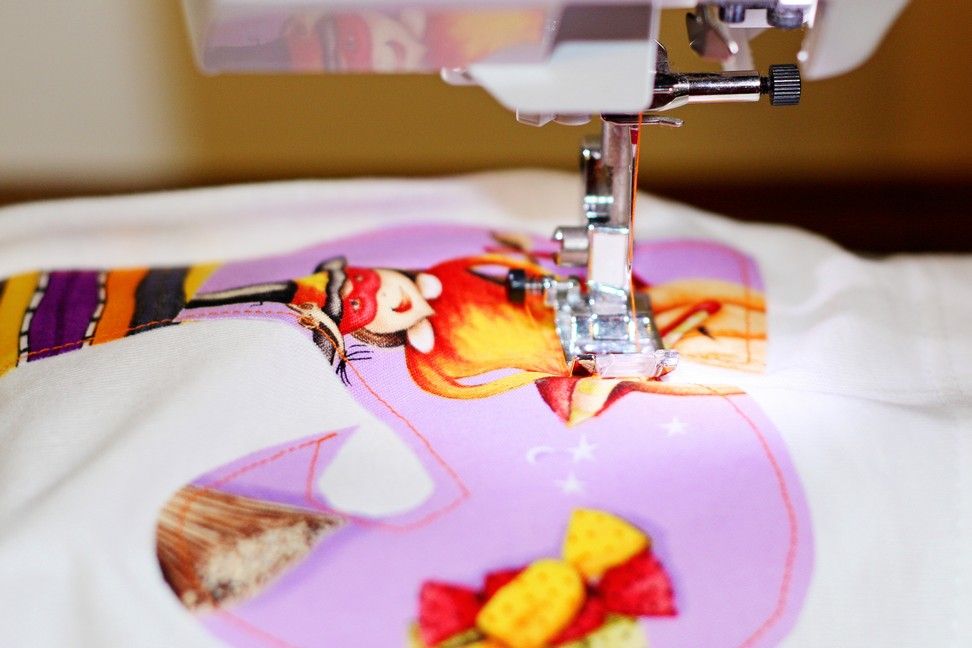
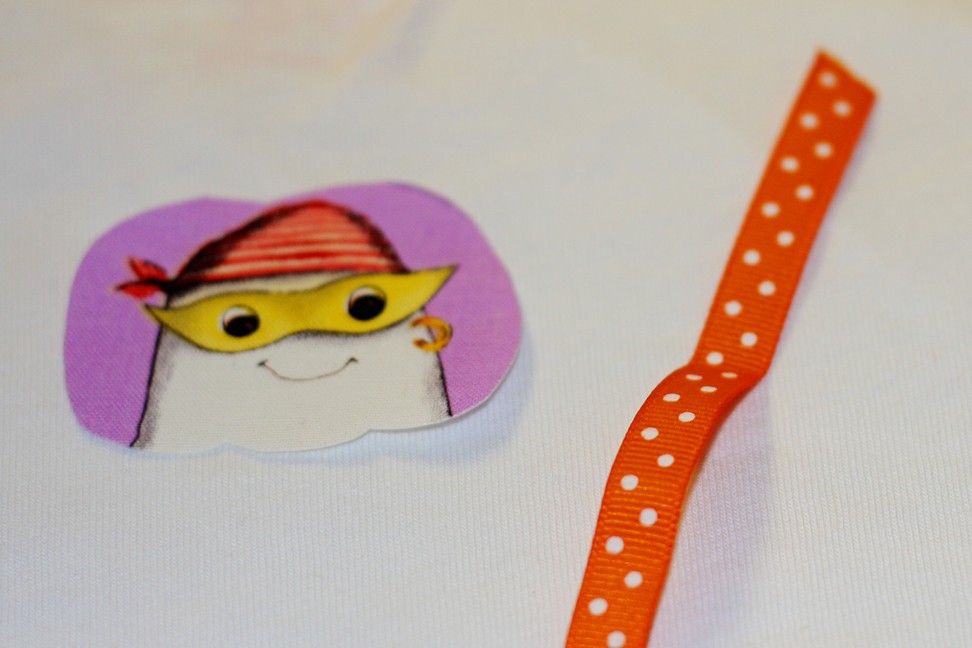
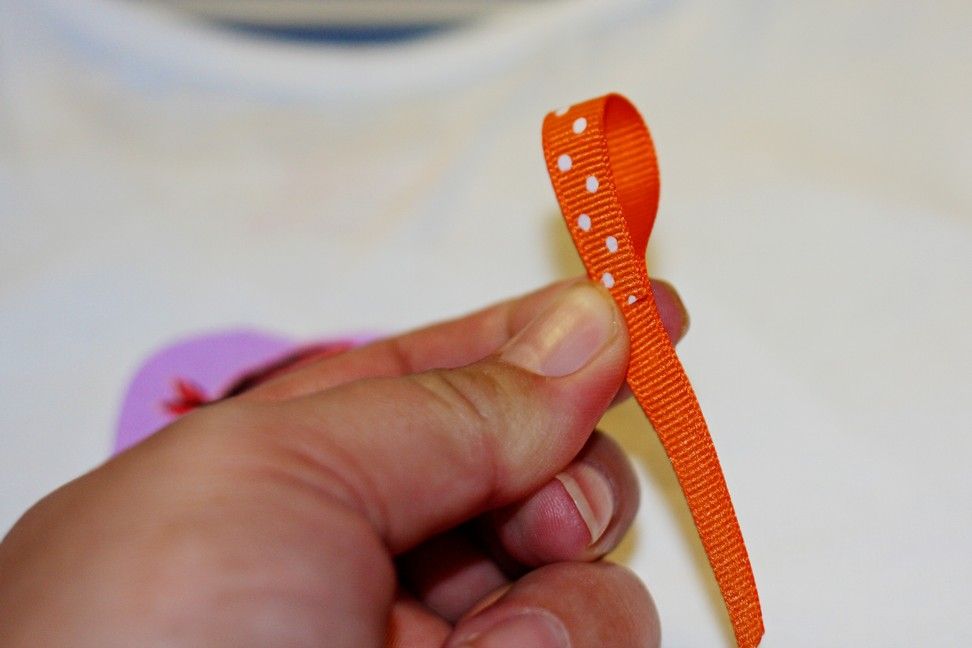
POST-IT-NOTE: Based on this idea, I'm making Fairy Catchers! Check out my post that shows you how to make a tiny fairy! I bought brand new small gumball capsules from Variation on Etsy. Excellent and helpful seller!


The Magic Coloring Wand by Me!


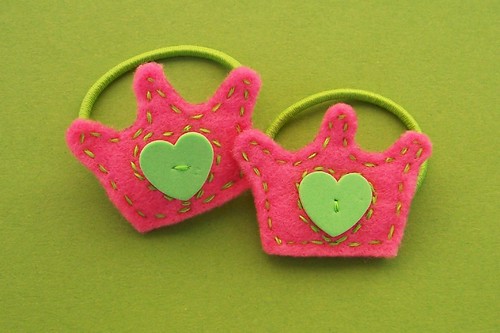
Felt Princess Crown ponytail holders using this DIY hairband tutorial.


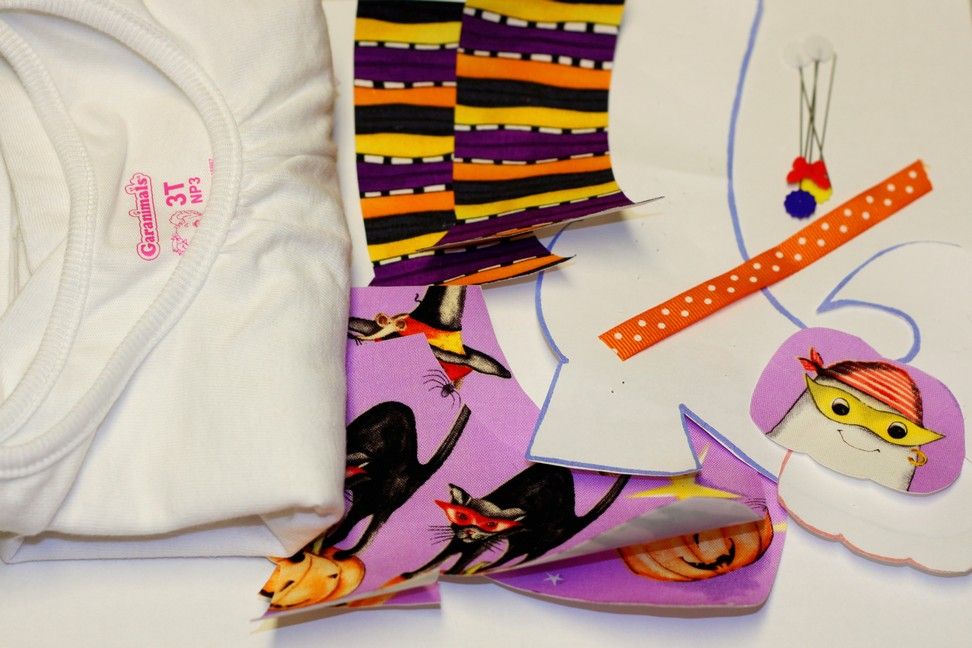
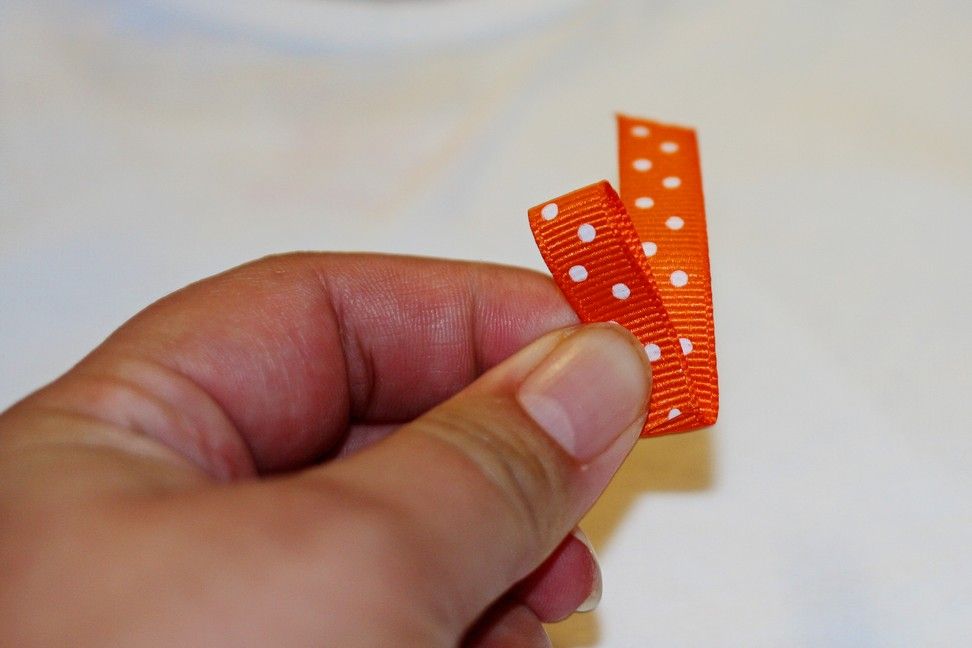
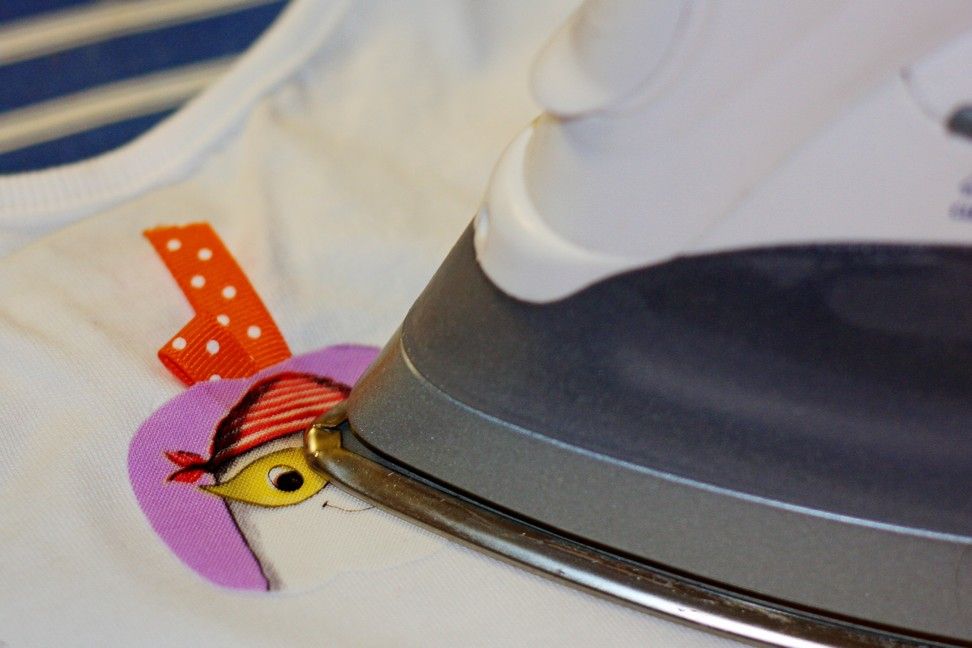
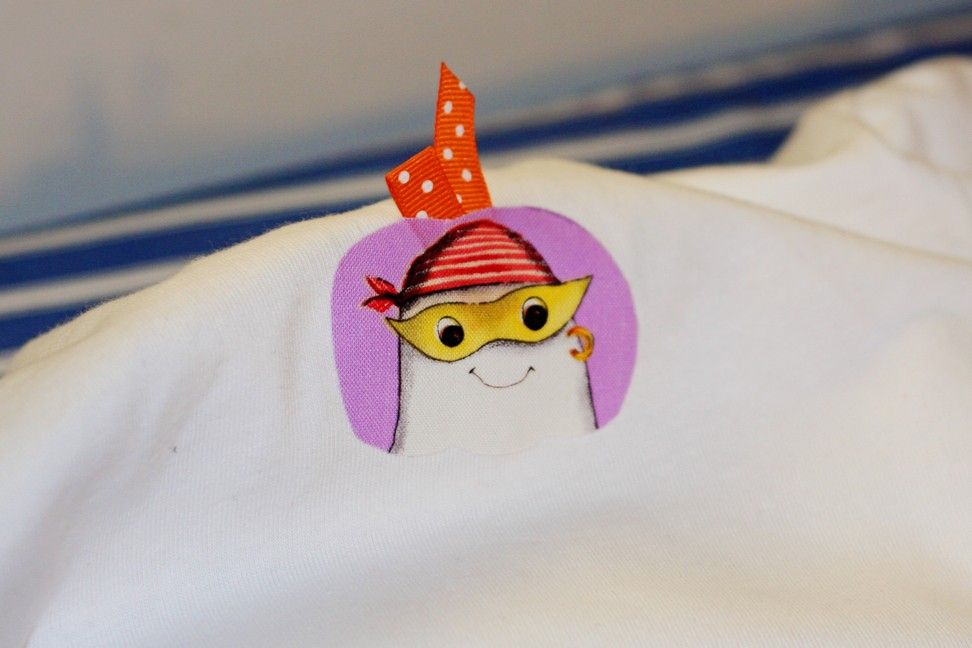
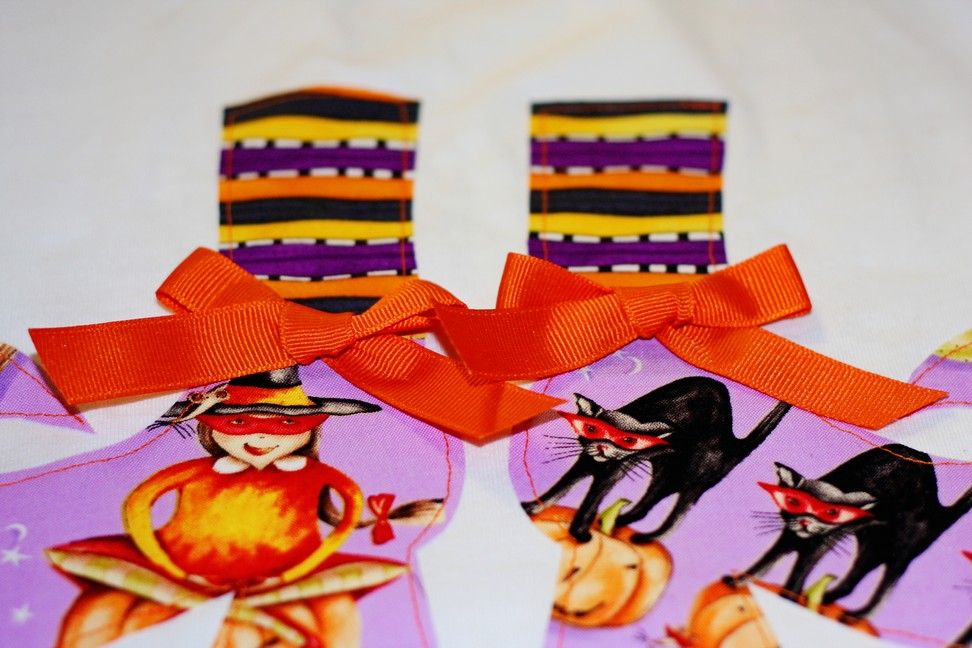
Star (or a Princess crown) pencil (Disney Princesses) toppers (I made them! LOOK here!) using this cute Pumpkin topper tutorial by Roots and Wings Co.:


A small bag of felt Bow-Tie Pasta by Me:


Remember these from the 80's? A Braided Barrettes tutorial by Wee Folk Art:


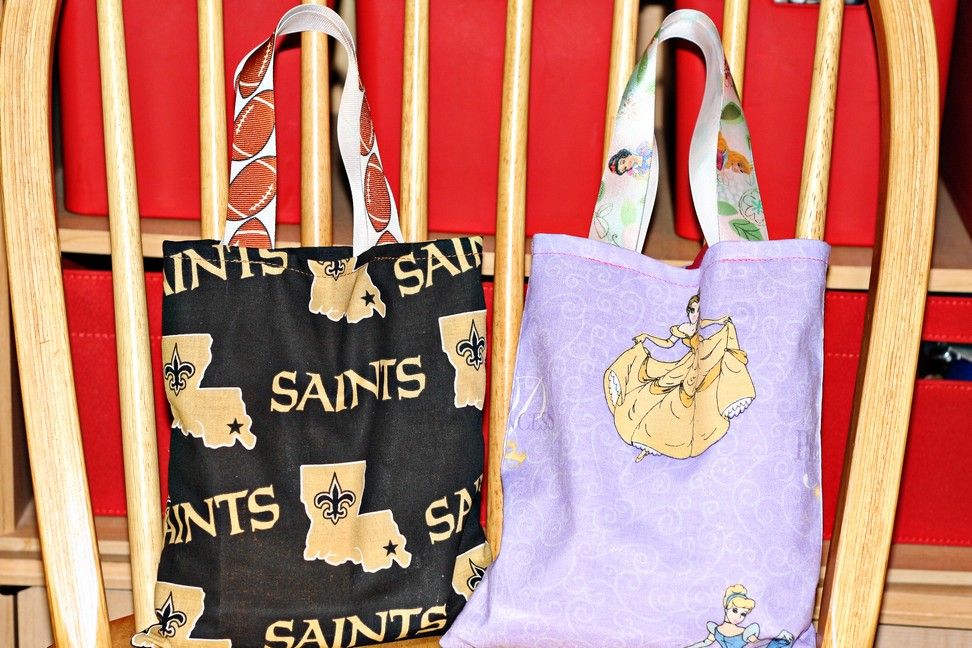
And a drawstring bag from Obsessively Stitching


or

Gift Bags by Me!
(I ended up doing these!)


This is what I have in mind for the Princess Packs - I just hope I can finish everything!


AND BTW...

Here's a couple more adorable tutorials I found over at One Pretty Thing today that I wanted to link and share with y'all!

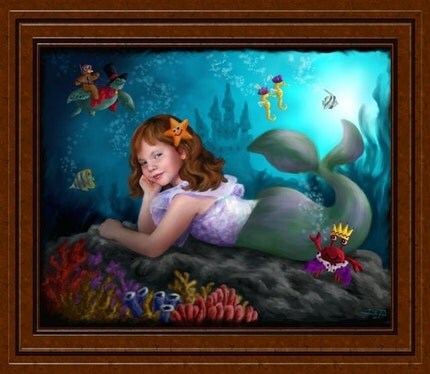
The Sparkly Mermaid Tail by Elegant Bloggery:

Marisa only paid $12 for
both Mermaid tails! These would be darling to sew for all the tiny guests at a Little Mermaid theme Birthday Party!

The Fairy Wand from Zakka Life:


I found this darling tutorial today and
had to share! How cute would this top look with a tutu?! You could use Disney Princess material to stick with your Princess theme too!
I just wish I could get the hang of shirring!!
I want to try one more time - by sewing this top!

The Shirred Mod Top tutorial by Sew Retro Chic

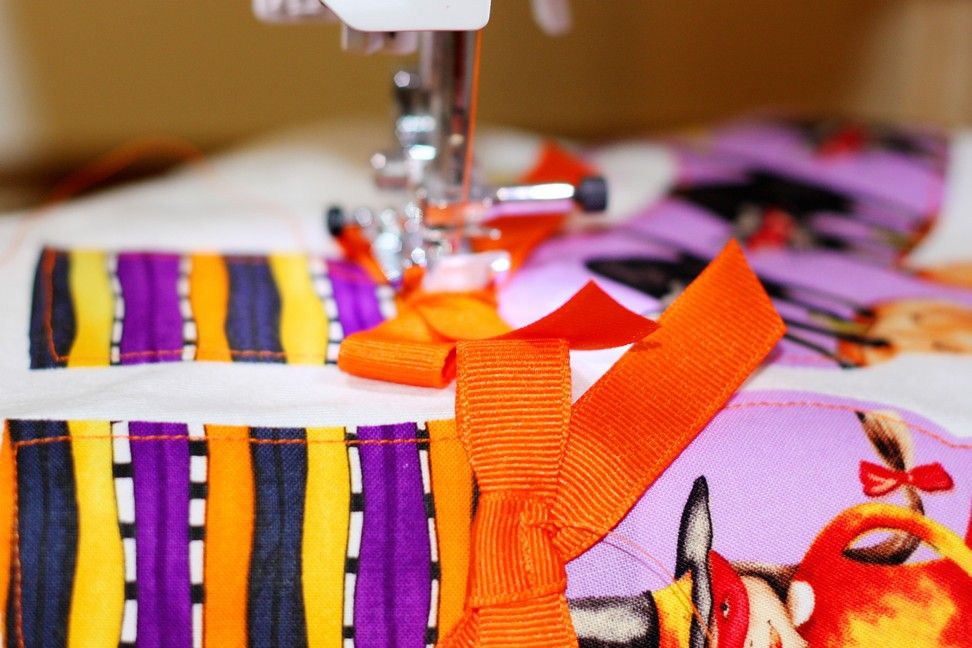
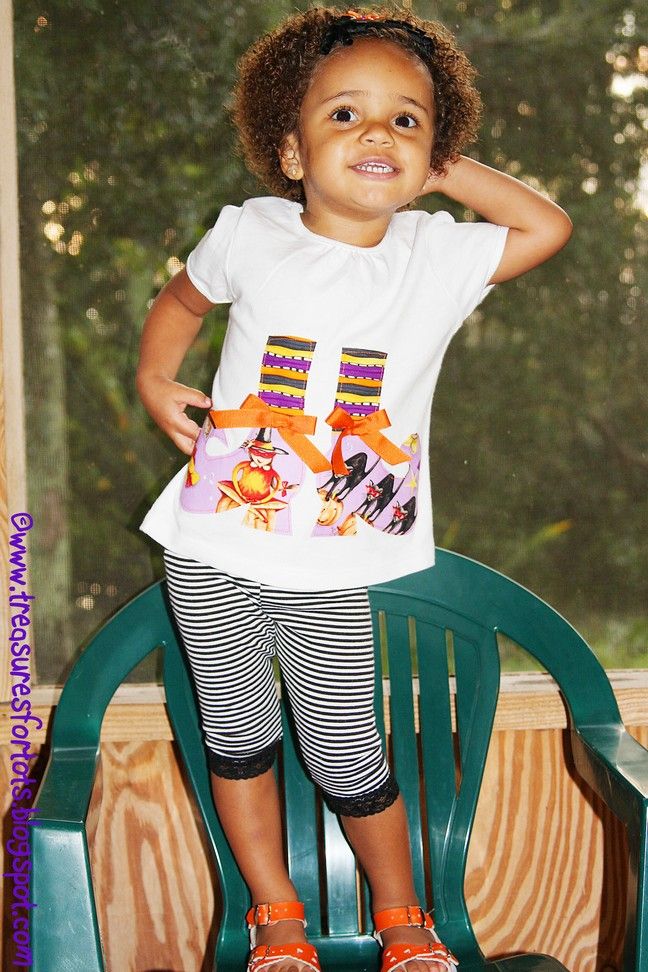
I made a cute and very easy to sew Summery Bandana Halter top that's perfect with a tutu too!


POST-IT-NOTE 2: I would like give a HUGE thank you to 10marifet.org for linking this post!

Have fun!

StumbleUpon.com

Friday, October 9, 2009

DIY: Satin Wrap A Tutu


Here's how I satin wrap a tutu. 

But this is just to give you the basic idea of how it's done, you can wrap whatever way is easiest for you. 
This is an easy, inexpensive do-it-yourself project instead of buying!

Bethany was my very helpful hand model! 

Didn't she do a great job?!


Materials:
A completed tutu
3 yards of 7/8" satin ribbon (I found it at Wal-Mart for .39¢/yard and Hobby Lobby for .83¢/yard) - you'll need more if you're making a bigger tutu. I'm making toddler tutus and 3 yards was perfect with very little excess.
Hot glue gun
lighter


Start by leaving a long "tail" of ribbon for the bow. 

In the picture below, Bethany's right hand is holding the "tail" and she'll begin wrapping using the ribbon in her left hand. 
Wrap from the inside-out. 
I like how this tutu looks wrapped this way - but it's totally up to you which direction you decide to wrap.


You'll need to get a good grip of the "tail" in your right hand, while wrapping the ribbon with your left hand. 


After you've made a fewwraps, you can let go of the "tail".


Wrap the ribbon between every two pieces of tulle.


Keep wrapping the ribbon until you've worked your way back around to the beginning. 

Make sure you don't pull the ribbon tootight as you're wrapping.


Tie a pretty bow. 


Cut off the excess ribbon.


Use a lighter to seal the ends of the ribbon.


Hot glue the bow in place so it won't come undone. 
I forgot to take that picture!


Ariel tutu all done!

Here's a Snow White tutu we wrapped too!


Making a tutu is very easy. 

There are many different variations, but the two ways used the most are the double-knot method and the slip-knot method.

Don't forget to check out my post that shows you how to Cut Tulle Using A QUICK and EASY Method!

Also, if you'd like to add ribbon streamers to your tutu, cast them on the same way you did the tulle, using a double-knot or slip-knot method.


Easy!

Little Birdie Secrets has a wonderful double-knot step-by-step picture tutorial how to make the cutest little baby chick tutu
This is the method I used to make the Ariel and Snow White tutus.
Feels Like Home has a great picture tutorial that will show you how to make a slip-knot tutu on elastic.

I have an Easy No Sew Tutu Tutorial that is a snap to make!
Momdot has excellent links to several different tutu tutorials too!

POST-IT-NOTE: 
I usually make tutus using 1" wide grosgrain ribbon that's 50" long (longer for older girls), and then I cast on the tulle using a slip-knot.
When I put the tutu on Serenity, I secure it by tying the ribbon into a bow. 
I've made all of Serenity's tutus this way. 
I've never had a problem with the tulle slipping or coming undone. 
I wanted to do it a little different this time - an easy tutu that the little girls coming to Serenity's birthday party could put on and take it off all by themselves.

POST-IT-NOTE 2: 
I would like give a HUGE thank you to U Create and One Pretty Thing and Everything Your Mama Made and Krafty Mum and Tip Junkie for linking this post!

Have fun!


StumbleUpon.com

Thursday, October 8, 2009

Cut Tulle for a Tutu QUICK and EASY!

Top row: Bethany, Sarah, and Kelsey
Bottom row: Lauren, Sierra, and Lizzy


I've been making tutus for about three years now - mostly for Serenity, my nieces, and my friends' girls.
When I make them, I don't usually make just one - I make lots of them!
I even had a tutu-making slumber party for my nieces (Sierra and Lauren) and my friends' little girls a couple of years ago, and I taught all of them how make tutus - smart, huh?
I certainly didn't want to make SIX tutus!!
Besides, they had fun and learned a neat new project!
That's all of the rotten little stinkers in the picture above wearing the tutus they made themselves!

You can learn how I taught the girls to make their own easy No Sew tutus by clicking HERE!

If you already know how to make a tutu, then you know the most aggravating part is measuring and cutting the tulle.
It's so time-consuming!
But not for me - 'cause I figured out a super quick and easy method.
Listen up!
I was complaining to my friend Teensie a few years ago when I was making around a hundred tutus (well, it seemed like that many!) - there just had to be an easier way!

She said maybe I could figure out a way to wrap it - then something just clicked (you know how it is), and this is how I ended up doing it!

I'd never seen tulle cut this way before, and I never, never, never cut tulle any other way now!

I'm planning
Princess Packs for Serenity's upcoming 3rd Birthday Party and I'm making tutus for the little Princess party guests as part of the PPs.
I need to make a least ten tutus - just to make sure I have enough.

TEN!

Of course I'm gonna use my quick and easy method, and that gave me the idea to share with y'all.

If you'd like to learn how I satin wrap tutus, check out my post,
DIY: Satin Wrap A Tutu!


Here's My Super QUICK and EASY Method:

Cut out a piece of cardboard 15" long and about 7" wide.
The width doesn't have to be exact, but the length does.

I like to use the flap from a cardboard box.
You'll need two rubber bands too.

When making a baby or toddler tutu or even a super short tutu for tweens & teens, I cut my pieces 15" long.
You can make it however long or short you prefer.
Remember to cut the cardboard about twice the length you'd like your finished tutu to be.
My tulle pieces are 15" long so my finished tutu is around 7" - 7 1/2" long.
I like to label my cardboard pieces too.

Next, wrap your tulle (I use the 6" spools) around the cardboard evenly.
Make sure you're not wrapping too tight - if the cardboard is bending in the middle, then it's
way too tight.


Once you've finished wrapping (I usually wrap the entire roll so I don't waste tulle - I'll show you how to store leftover tulle in a minute),
secure both ends with the rubber bands.


Carefully and slowly, cut the ends of the tulle using the edge of the cardboard as your guide.
Make sure you don't pull up on the tulle while cutting it or it'll be shorter on one end.


Remove any scraggly pieces you might have.
Here's a picture with both of the ends cut - you can see my scraggly pieces in the front.


Pull the tulle off the cardboard, and
ta-da!
You're done!
Perfectly cut pieces of tulle - quick and easy!
Below are the pieces I cut for a Snow White tutu:


Store any leftover tulle pieces on the cardboard.
All nice and neat and tidy!


Here's my finished tutu!
I usually use a slip knot when I make tutus, but this time I tried a double knot for the first time.
It came out pretty good and it was quicker to make.
This is also the first time I used a
satin ribbon to wrap the waist of the tutu.
I really like how it turned out!
The tutu may look a bit uneven in the picture because of the hanger, but it's not.


Making a satin wrapped tutu is easier than you think - for sure easier than I thought! I used 3 yards of ribbon, but it all depends on how big of a tutu you're making.
I'm sure people do it different ways, but I wrapped my tutu like this:


Leave a "tail" of ribbon at the beginning (to tie into a bow), and wrap from the inside-out, threading the ribbon between every two pieces of tulle until you've work your way around. Be sure you don't pull the ribbon too tight as you're wrapping. When you've finished wrapping, tie the ribbon into a bow, cut off the excess, use a lighter to seal the ends, and hot glue the bow in place so it won't come undone.


Here's my picture tutorial that will show you how I wrap a tutu:


You can find the 6" spools of tulle at JoAnn's, Hobby Lobby, Nashville Wraps, and many other online stores.
Look around - you can probably find it cheaper than your local stores - and that includes shipping and handling charges!

To learn how to make a tutu, you can follow my No Sew Tutu tutorial or Google "how to make a tutu" for almost 560,000 results!

EDIT 1/11/11:
I created this tutorial over two years ago, now when you Google "how to make a tutu" there are over 14,500,000 results!
WOW!

Little Birdie Secrets shows you how to make and inexpensive Baby Chick tutu costume! Tutus make GREAT costumes and cool holiday outfits! Here's Serenity all dressed up for the Mardi Gras earlier this year! I crocheted her leg warmers and sewed her bead bag too.


POST-IT-NOTE:
BTW people, this was taken in February - have you noticed that Serenity is wearing shorts under her tutu?!
The leg warmers ended up coming off later too 'cause it got very warm (you would say "hot") that day!
Blink - and our "Winter" is gone!

Of course little girls don't need a reason to dress up in a tutu!
Here's a picture of Serenity and her friends Cobee Lynn and CeeCee wearing tutus while playing outside.
Why?!
Because that's what all little girls should wear when they play outside!

POST-IT-NOTE 2:
I would like give a HUGE thank you to One Pretty Thing and Everything Your Mama Made and More and Tip Junkie for linking this post!


Have fun!


StumbleUpon.com

Wednesday, October 7, 2009

MORE Cute Kiddie Stuff!

Have I mentioned how much I love Etsy? Here's a few reasons why:


The awesome Sweater Skirt by Handmade Pretties. I first found saw this skirt over at Tots and Trends. I couldn't resist! I had to get one for Serenity!


The snugly Organic Cotton Sherpa Sleeper by Snug Organics. No synthetic fabrics or flame retardant chemicals, just soft, fluffy, snugly cotton that will have Serenity sleeping peacefully.


Design your child a beautiful fairy by Vermont Fairies. I ordered two lovely mermaids from her - she was so helpful and her work is so detailed!


Beautiful apron dresses by Three Little Bird's Boutique. These dresses remind of the gorgeous dresses from Matilda Jane - but I think I like Three Little Bird's Boutique even more!


How sweet is this crocheted caps by Simply J Crochet? She has so many to choose from, AND she's having a sale right now too!


The Pod Swaddler ebook by While They Sleep. It's a very well-written ebook with easy-to-follow instructions that even a beginner can understand!


Your Little Princess in a Fairytale Painting by Photos Not Forgotten. This is just so neat! I wanna get this for Serenity one day!


Paint and Link has the coolest imaginary maps! This one is of East Princessia. There is also a West Princessia, Treasure Maps, and maps to beautiful Imaginary Lands!


The Wood Master Shop offers beautiful hand-crafted wooden doll cradles for the BEST prices! You just can't beat handmade!


Hope y'all enjoyed looking at these beautiful treasures I found on Etsy!

Have fun!

StumbleUpon.com

Monday, October 5, 2009

Halloween Witch's Shoes Tee

All aboard our new John Deere. She has this thing with leaves - she's gotta pick 'em every time she's outside!


Today I made Serenity and her BFF, Cobee Lynn each a Witch's Shoes applique shirt.

They came out so cute!


Here's how I made them:

Materials:
pins
white shirt
4" (3/8") grosgrain orange polka-dot ribbon
lighter or fray check
Halloween fabric (small amounts - less than l/4 yard)
witch's shoe template (download here {3T} and here {4T})
pumpkin template (download here)
ribbon to make a bow of your choice (not pictured)
thread (not pictured)


After you've made the fabric appliques (video), arrange them on the shirt, and then iron down. Make sure you flip the witch's shoes template over before making the second shoe applique. The shoes are supposed to face outwards - like duck's feet!


Sew all around the applique about 1/4" from the edge. You can use a straight or zig-zag stitch. I used a straight stitch.


I added a cute little pumpkin on the back of the shirt using the pumpkin template from my Embroidered Felt Pumpkin Hair Clips. Before ironing the pumpkin to the shirt, make a little stem from the 4" 3/8 grosgrain orange polka-dot ribbon. To make it the way I did, just follow the pictures:


Then arrange the pumpkin and stem on the shirt, iron down, trim the ribbon and seal the end with a lighter or fray check. Sew all around the applique about 1/4" from the edge.


Make two bows. I can't make fancy bows, so mine are pretty basic and I didn't use a lot of ribbon. Fancy or basic - it's up to you. Remember to seal the ends with a lighter or fray check. Arrange them on the shirt.


Machine or hand stitch the bows in place.


All done! Here she is being silly and cheesing for the camera! Hand wash or machine wash on gentle in cold water using homemade laundry soap (okay, so that part is optional, but it's much better than store-bought!). Serenity is wearing her Felt Spider Hair Clip too, but it was raining and getting dark outside so I took her picture on the back porch. It's hard to see the clip and I had to lighten up this picture a lot!


POST-IT-NOTE: I have two different size appliques ( for a 3T and 4T shirt) available for download here and here, but you can easily re-size them for a smaller or larger shirt. Just use MS Powerpoint, MS Paint, or the free program Draw (it's similar and compatible to Powerpoint) by OpenOffice.org.

POST-IT-NOTE 2: Serenity's leggings are from Target for about $6. The shirts were on sale a few months ago at Wal-Mart for $3. I used less than a 1/4 yard of Halloween material I bought last year on Ebay. In all, her outfit (and Cobee Lynn's since I made her one too) was about $10! Not bad, huh?!

UPDATE:
Serenity is still wearing her cute shirt! Click the link below:
Fun Halloween Outfit


Have fun!

Design Dazzle

StumbleUpon.com
Related Posts with Thumbnails