
My husband and I finally got around to putting together a little portable tea table I got the idea to build months ago.
He works in Brazil two months at a time now and I wanted to wait until he got home because I'm not as comfortable with power tools as Ana White!
I'm going to try to explain how we built it, but at some point we did something wrong.
The table is supposed to fold up all nice and neat (I wanted to put a small handle on one end so Serenity could carry it around), but I miscalculated and it doesn't fold up the way I planned.
I'll try to figure out exactly what I did wrong and post an update when I do.
I'll try to figure out exactly what I did wrong and post an update when I do.
Maybe you know?
If you do, please share!
Still, it's such a cute little table - even though it doesn't fold up quite right.
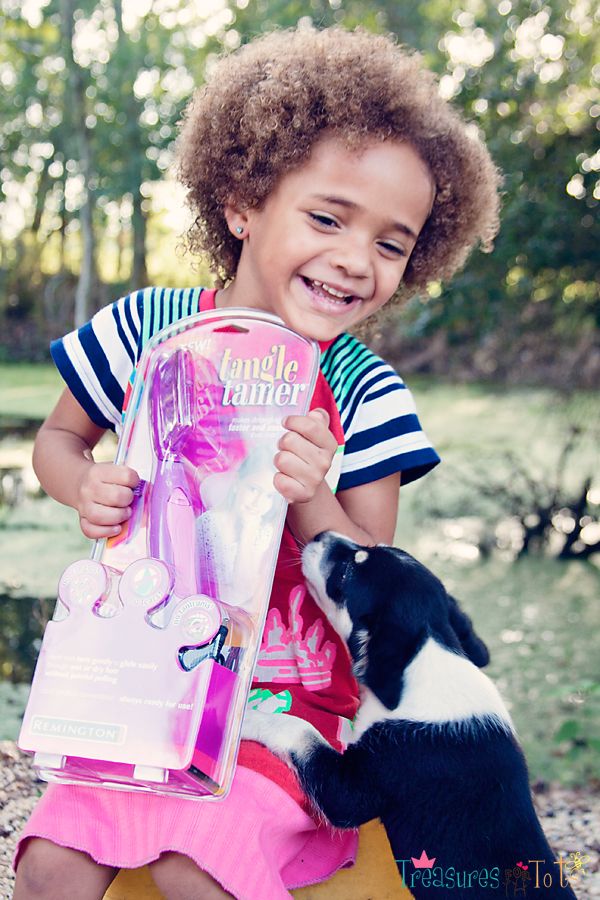
It's the perfect size for Serenity to play tea party with her friends and dolls - indoors and outdoors, which was the whole idea behind building it.
It's great as a photo prop too!
Okay, bear with me when it comes to explaining some of the hardware - I have no idea the real names of some of these things and I don't know building terms!
A very nice older gentlemen at Lowe's was extremely patient with me when I was trying to explain what I needed to build it - without knowing what anything was called!
He stuck with me though and together we found everything.
A very nice older gentlemen at Lowe's was extremely patient with me when I was trying to explain what I needed to build it - without knowing what anything was called!
He stuck with me though and together we found everything.
Materials Needed:
Power drill
Jig-saw
Sander
#10 flat washers
1 7/8" wooden dowel
1 7/8" wooden dowel
2) 1 1/2" threaded aluminum posts
2) 1" threaded aluminum posts
bathroom wall hook
2 aluminum fasteners
(ignore the other two in the picture)
(ignore the other two in the picture)
1 can of spray paint
2) 1x2x4 pine
1) pre-cut circle grade pine

Cut 4 legs (around 18" long) from the 1x2x4.
Cut a small curve on one end and a 45 degree angle on the other end.
We actually forgot to cut the bottom of the legs until almost the last step and had to take the table apart.
A lot of wasted energy.
We actually forgot to cut the bottom of the legs until almost the last step and had to take the table apart.
A lot of wasted energy.

Sand it smooth.
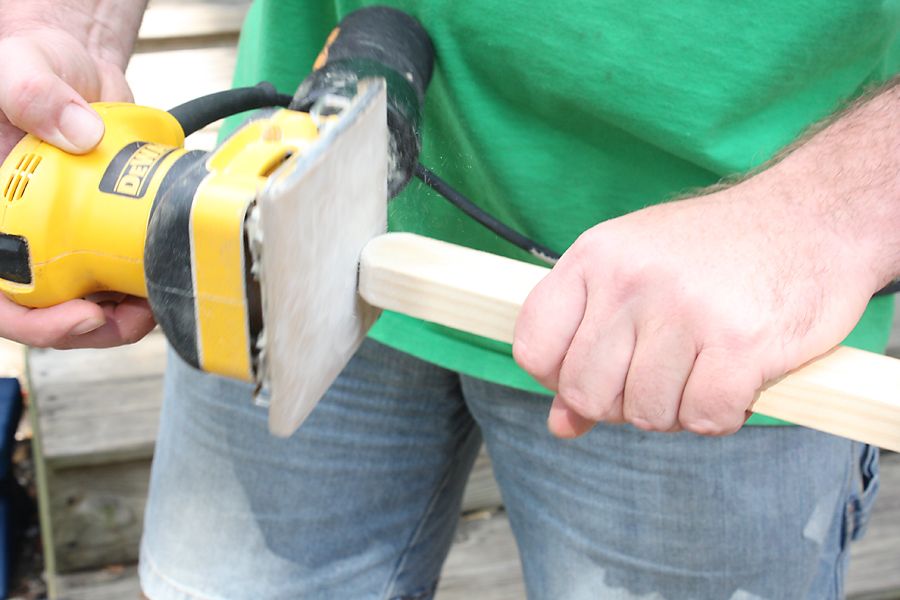
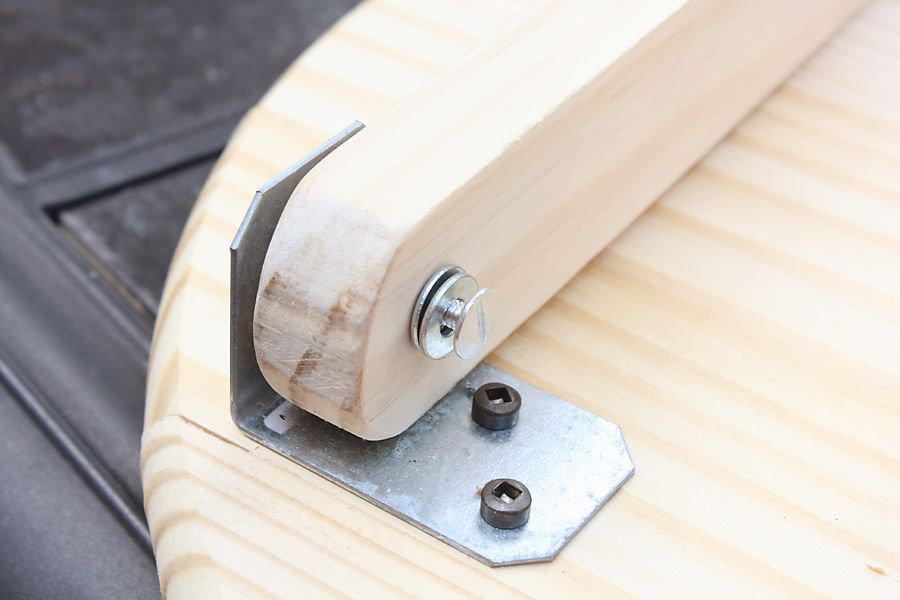
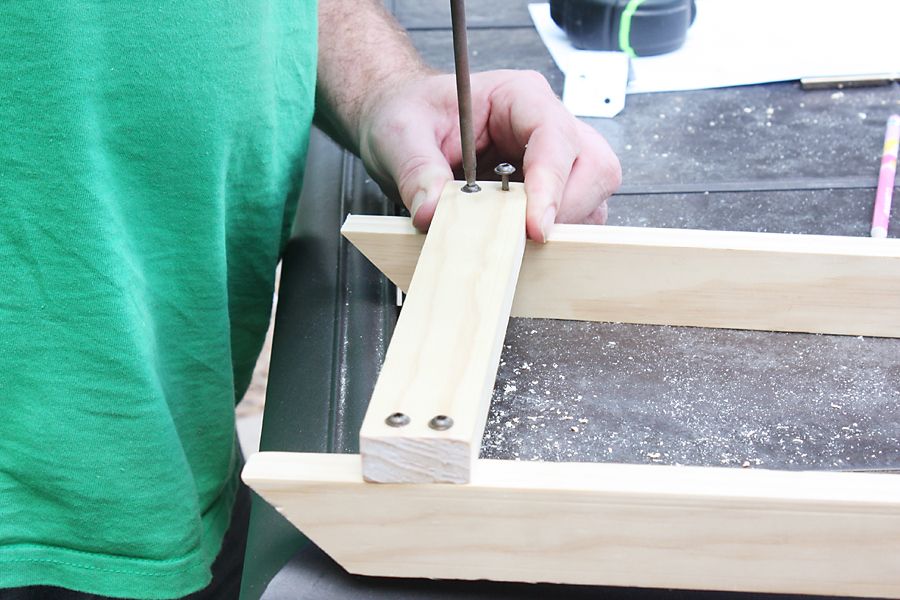
This is how the hardware is placed underneath the table:

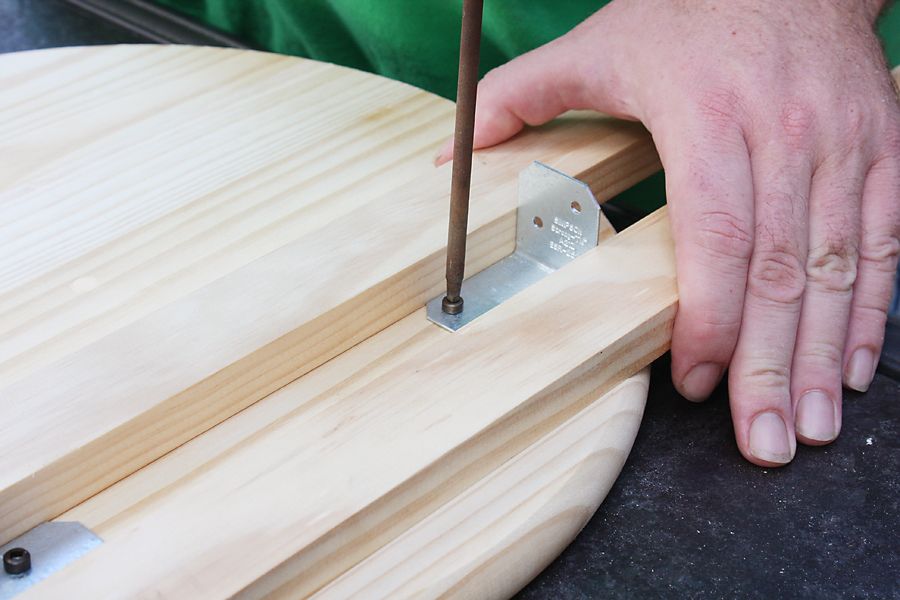
Set the bathroom hook aside for now, and using the legs to keep the fasteners straight, screw in place.
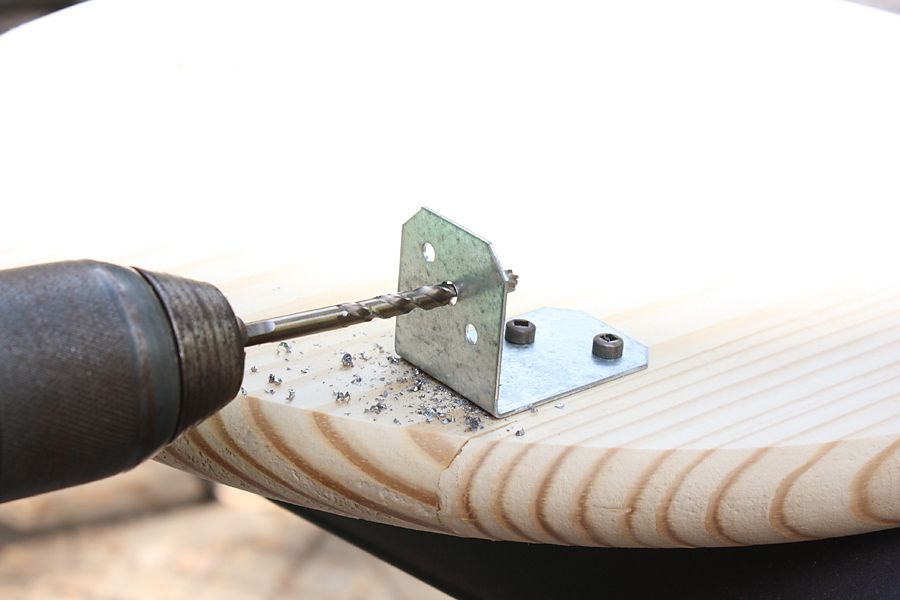
Drill a hole (big enough for the aluminum fasteners to fit) in the center of both of the fasteners and sand them smooth.
Drill a hole near the top of two of the legs.
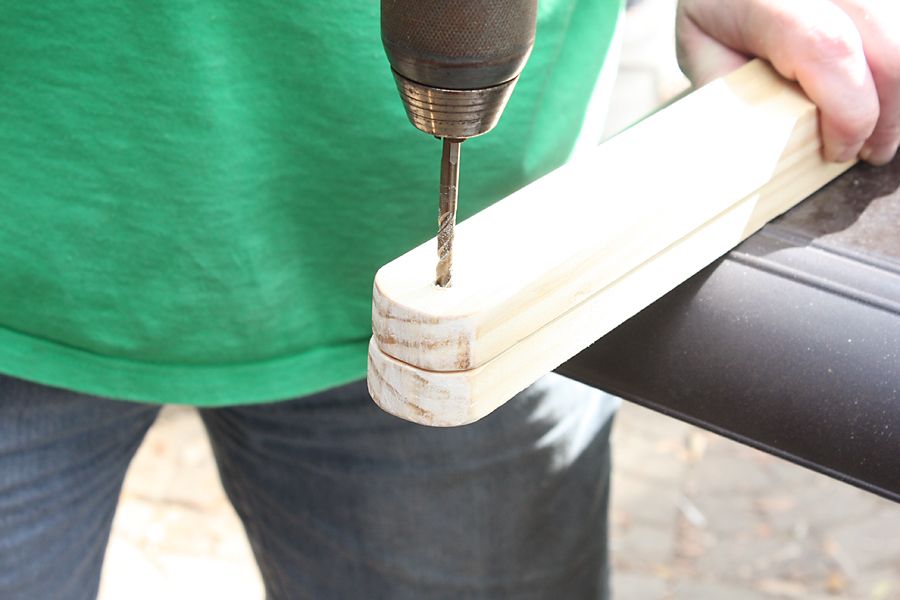
Using the 1" threaded aluminum post, attach two of the legs.
Use washers to stabilize the legs.
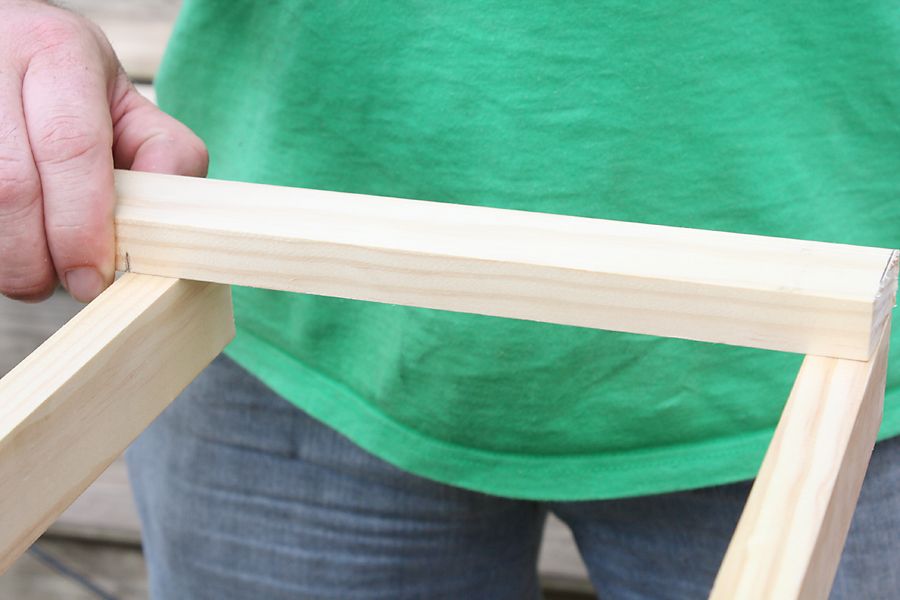
Cut a smaller piece of the 1x2x6, the width of the two legs you just attached.
Drill a hole near the top of two of the legs.
Using the 1" threaded aluminum post, attach two of the legs.
Use washers to stabilize the legs.
Cut a smaller piece of the 1x2x6, the width of the two legs you just attached.
Attach this smaller piece about 2" from the bottom of the legs.
Make sure to pre-drill your holes.
Make sure to pre-drill your holes.
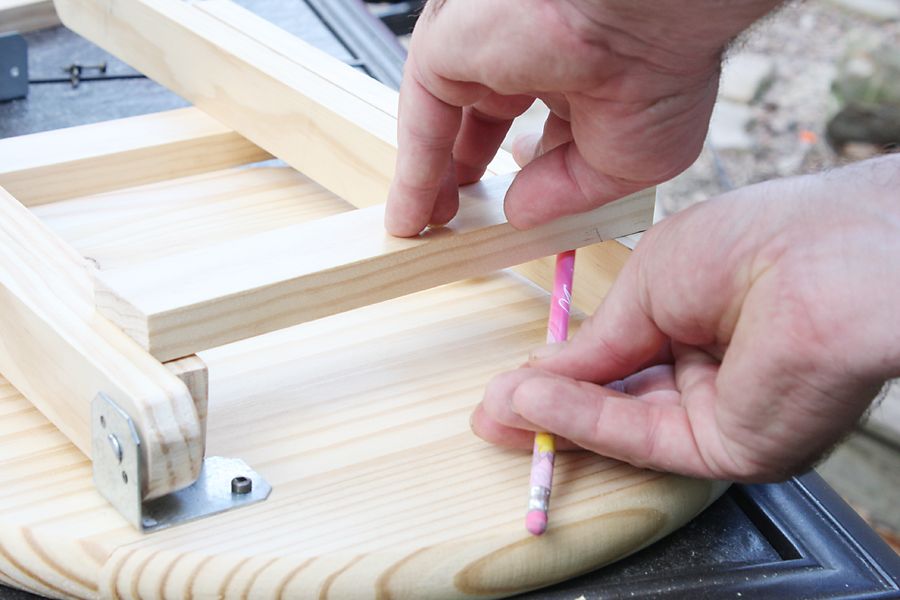
To figure out how wide the other two legs need to be, place them inside the ones you just attached to the table.
Then measure for the smaller cross piece of wood.
Check the picture below for reference:
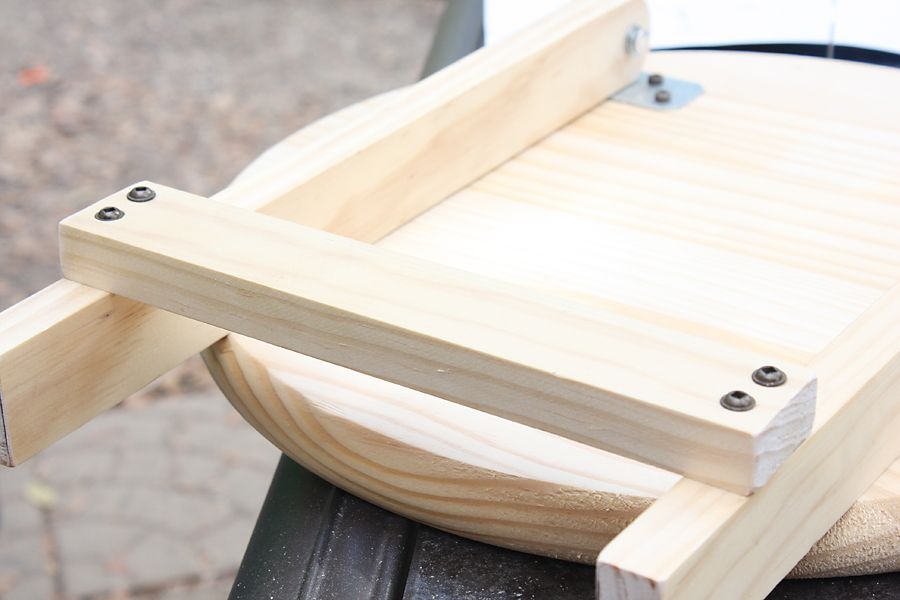
Now screw down that smaller cross piece to the second set of legs.
Remember to pre-drill the holes so you don't damage the wood.
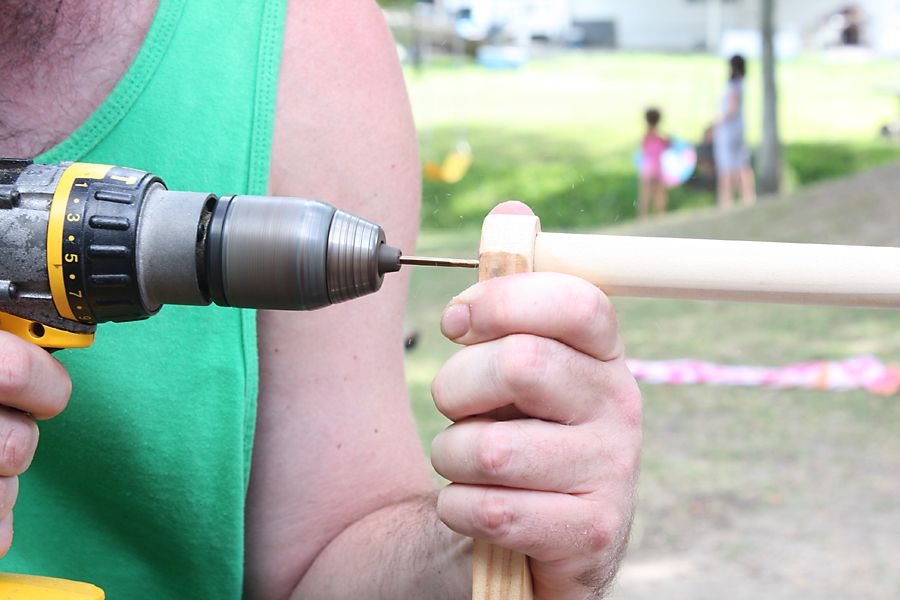
Screw the dowel to the other end of the second set of legs.
Counter-sink the screws.
And of course, pre-drill the holes first!
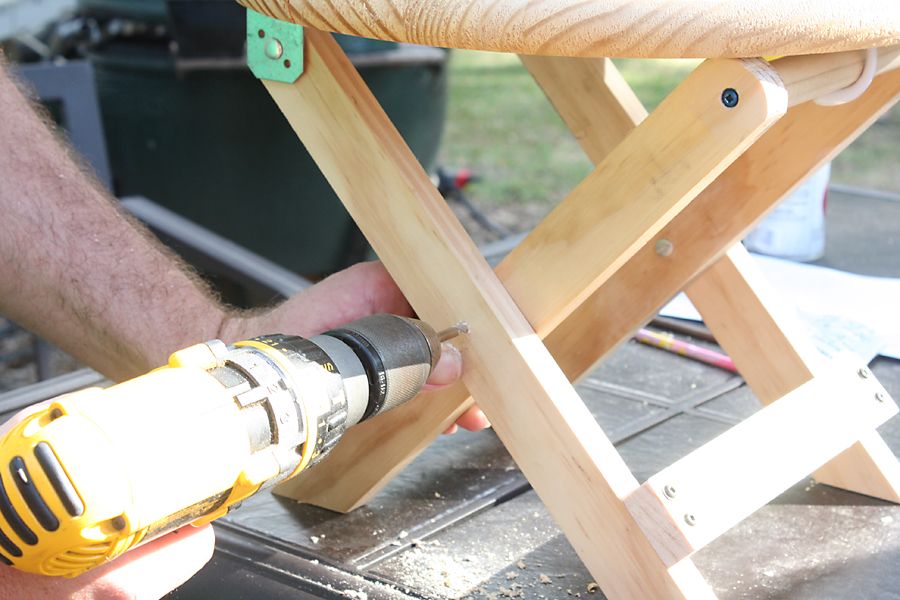
Carefully put the table together.
At the place where the legs cross, drill through both pieces of wood and insert the 1 1/2" threaded aluminum post.
Repeat for the other side.
Spray paint it pink (or whatever), and give it to your Darling Stinker for a Tea Party!

Have fun!


5 comments:
lovely,
my little one wants me to paint our foldable garden table now :-)
I'm Brasilian and love your blog.
Awesome idea !!!!!!!
Can u please post a pic of it closed the see if i can figure out what need tweeking. I can only figure that the screws are getting in the way but id like.to see ur pic before i try this. Thanks
Thank you Marcia! That's pretty cool you're from Brazil and read my blog - my husband works in Brazil!! Did your little one convince you to paint the garden table? Hahaha!
I'll try to remember to get a picture of underneath - I keep forgetting! Sorry about that!
Post a Comment