
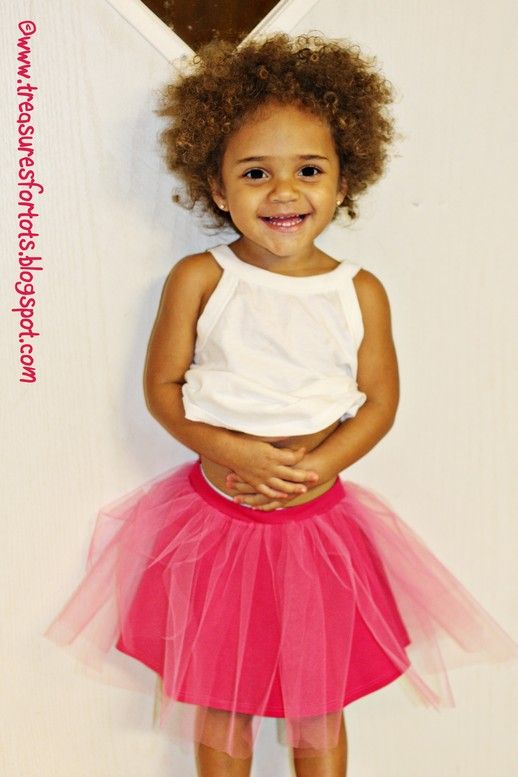
Here's the tutorial for the cute t-shirt twirl skirt that I promised y'all! Did you notice the little silly name I gave the skirt? Is that the most ridiculous name or what?!
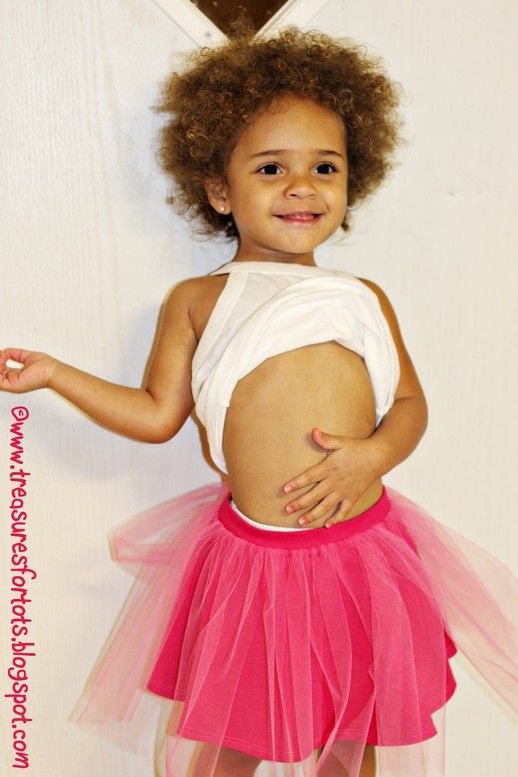
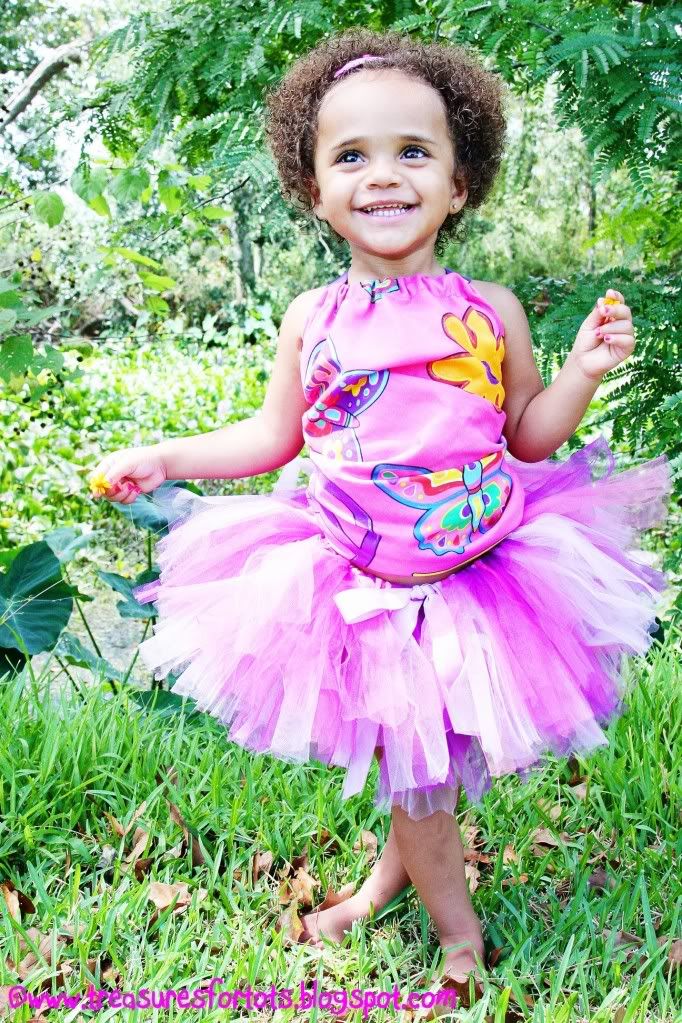
This would be a cute skirt for any occasion or holiday! Serenity's pink skirt makes me think of Valentine's Day!
Okay, putting this tutorial together took MUCH longer than I thought it would - there were more steps than I imagined! But don't let that intimidate you, it really isn't that hard to sew together. If you have any questions or notice any mistakes, please email me! Thank you!
Here's a picture of Serenity wearing the original Crazy 8 skirt:

POST-IT-NOTE:
I changed the elastic waistband to a knit waistband. The main reason is because it's just easier - and has a neater look. This is the very first time I ever sewed this type of waistband, so to learn how to do it I read this tutorial and this tutorial, try this one, and these helpful tips too. I probably should've cut a little more off the width of the waistband before sewing it, because mine came out a little bigger than I wanted, but I guess that just means Serenity has a extra growing room!
Remember to click on any picture to ZOOM in!
Materials needed:
3/4 yard jersey knit material
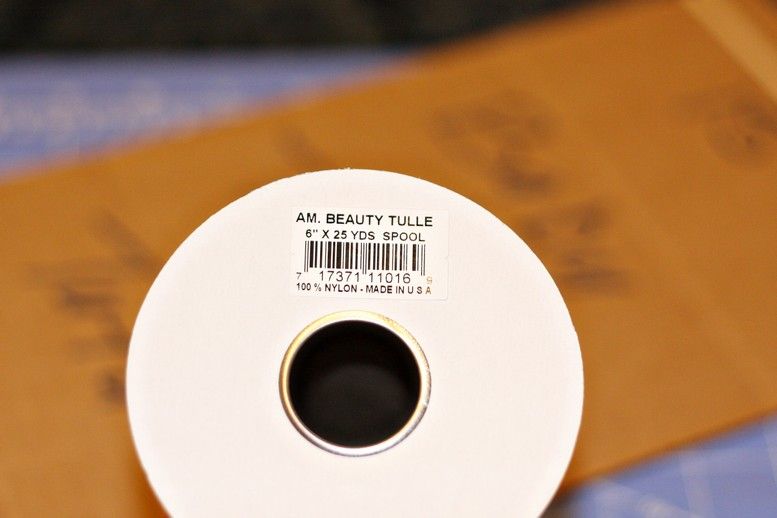
6" spool of tulle
7"w x 15"l piece of cardboard
2 rubber bands
small piece of cardboard (size of an index card)
fabric pen
sewing gauge
scissors
pins
thread
scotch tape
PDF skirt pattern (download here)
Print out two copies of the pattern, be sure to your printer is set to: Page scaling: NONE and CHECK the little box next to: Choose paper source by PDF page size. You'll end up with 4 sheets of paper.
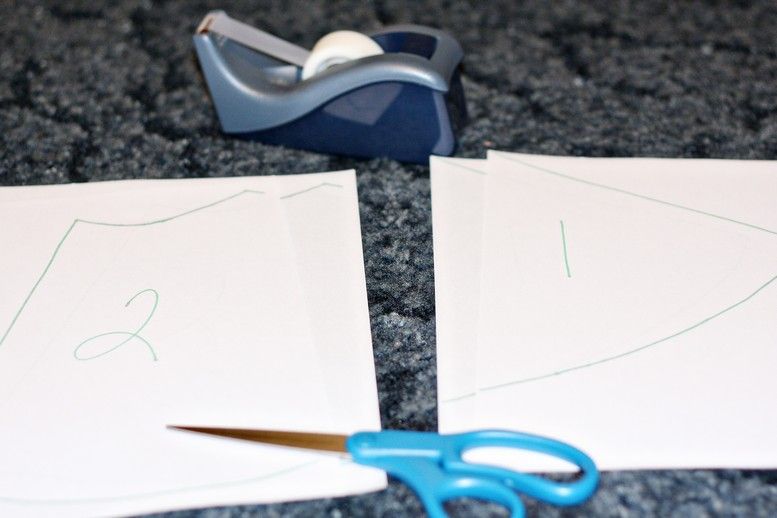
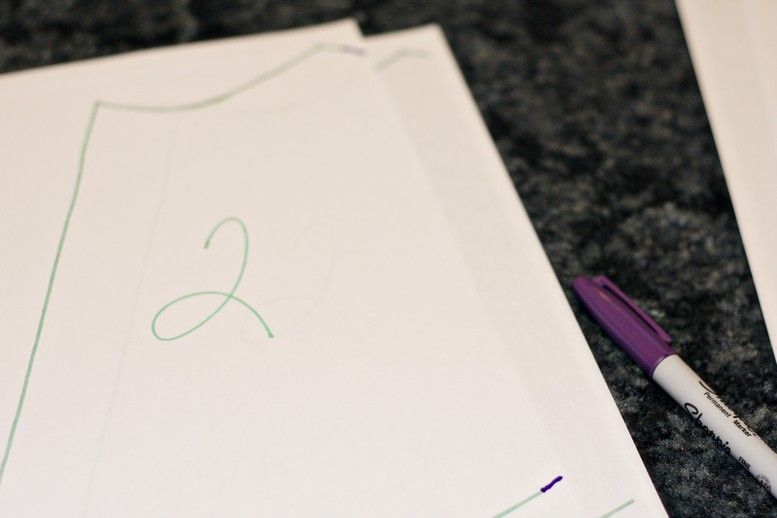
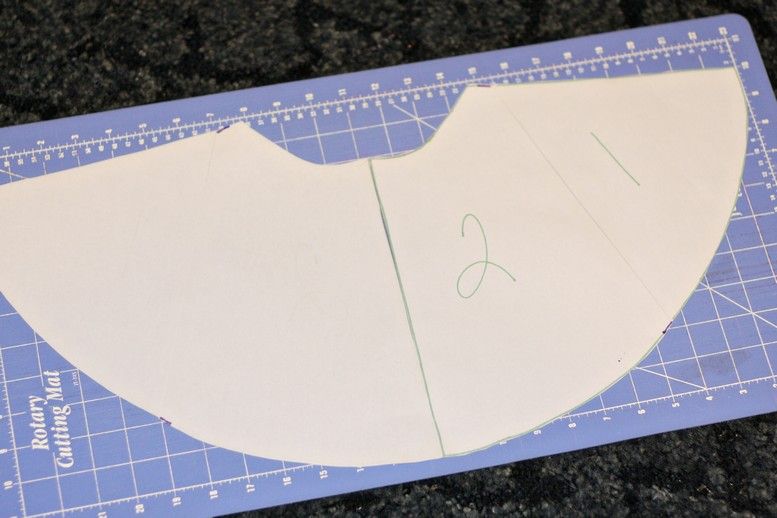
On the pages labeled "2" - you'll need to extend the marks out just a little with a pen. I don't know why the printer didn't print it - putting a pattern on a PDF is something I had to learn tonight! I tried to do it once before, but it didn't work out. I still don't know all the tricks yet, but this pattern is correct except for those marks. Cut out all the patterns.
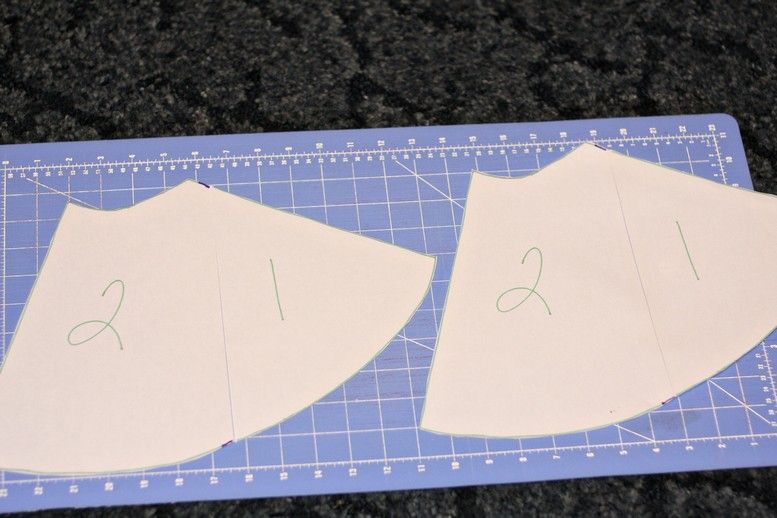
Tape together the "2" pattern piece to the "1" pattern piece - twice. Don't overlap the pages! You'll end up with two sets. Flip one set over and tape it to the other set - making one big pattern. Look at the pictures to see what I mean:
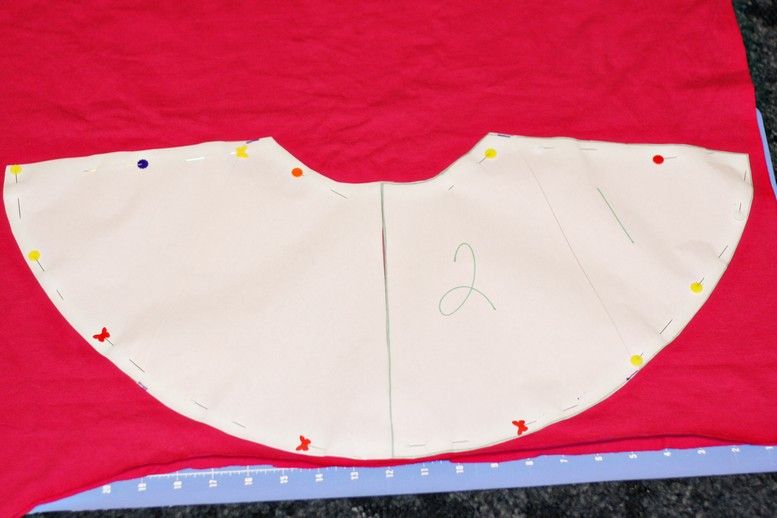
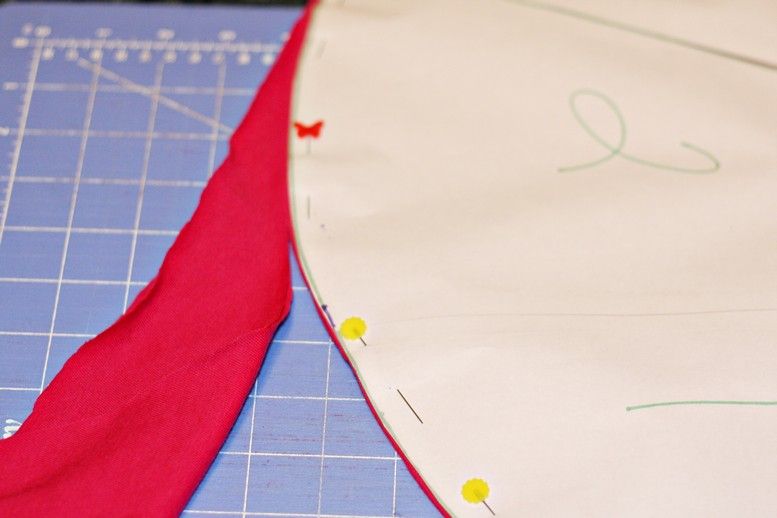
Lay the pattern on top of the fabric. Make sure the fabric is two-layers thick. You'll be cutting out two pieces of fabric at one time. Pin - I used a lot of pins! Cut around the pattern.
POST-IT-NOTE 2: You could use a large t-shirt you found on sale or recycle an old t-shirt - try using more than one t-shirt for a really unique look!
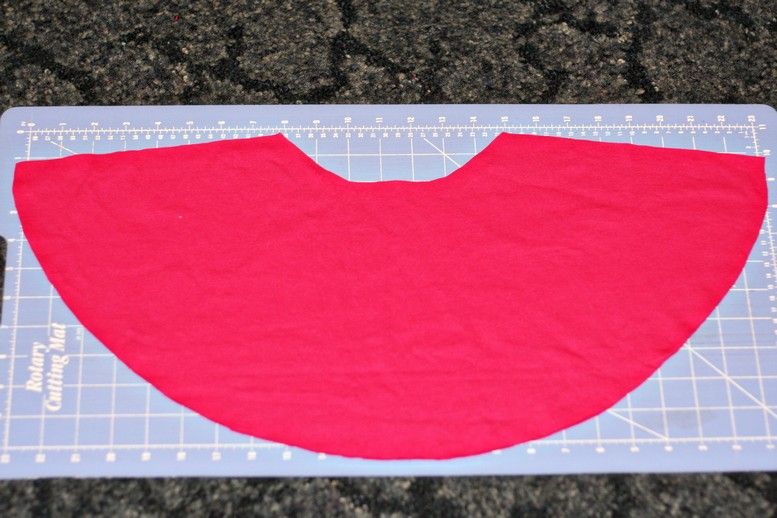
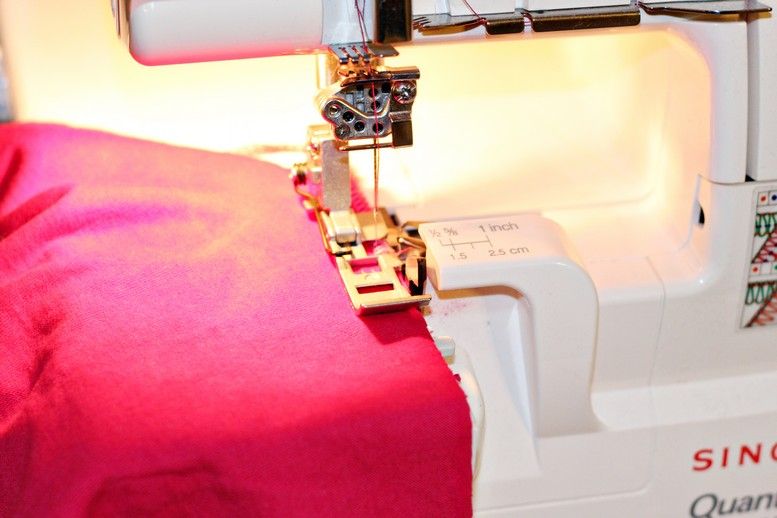
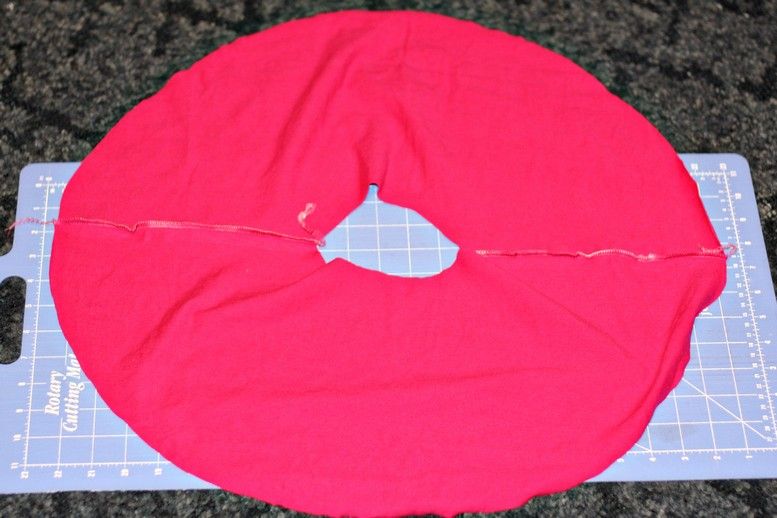
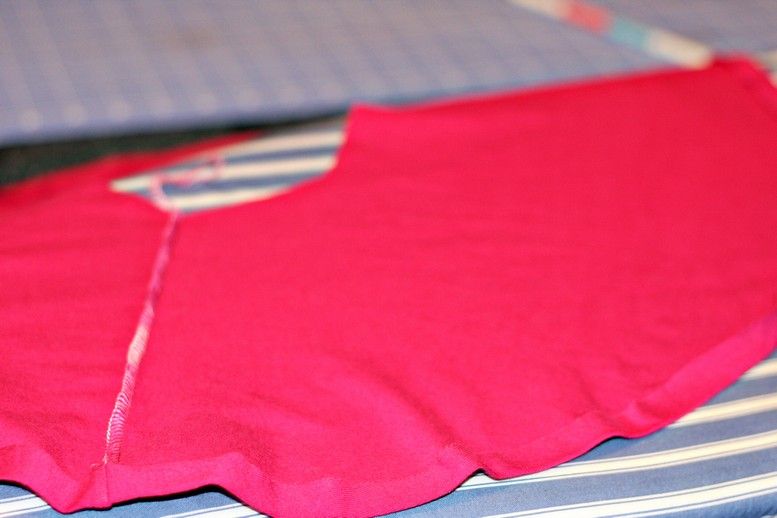
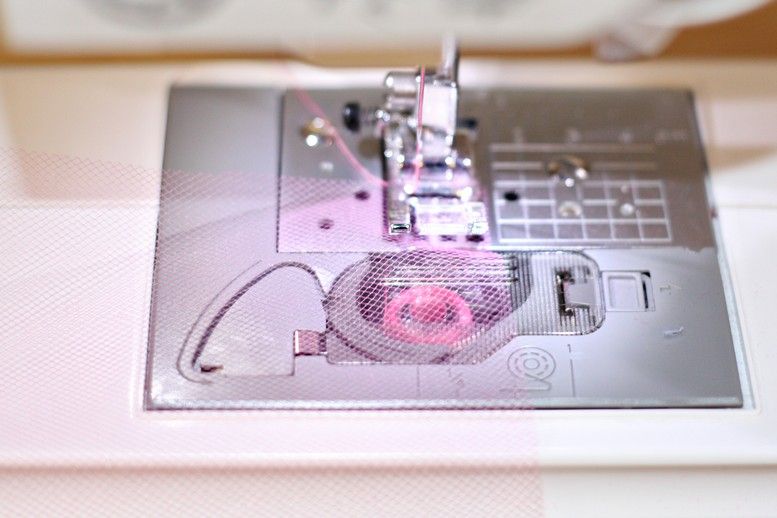
Place right sides together, then sew 1/2" seam down both sides of the skirt (I used a serger and just followed the edges, but if you don't have one that's okay!) . You'll end up with a large circle that has a "hole" in the middle. It looks just like a big pink donut, huh? Or am I just hungry?
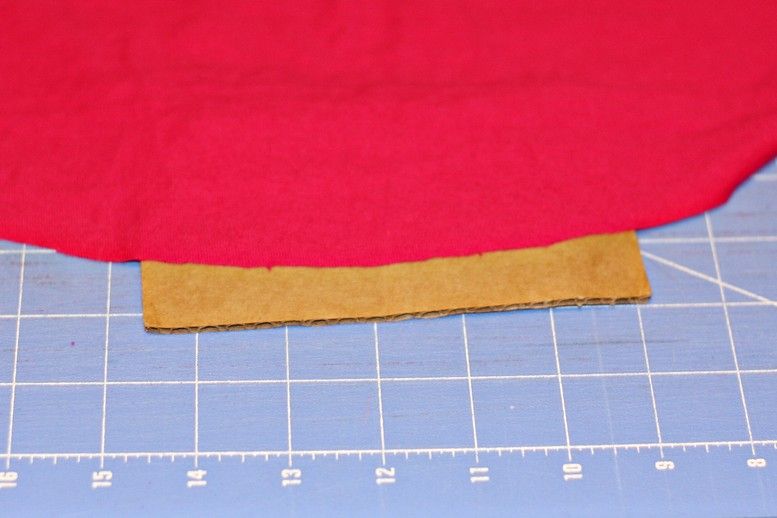
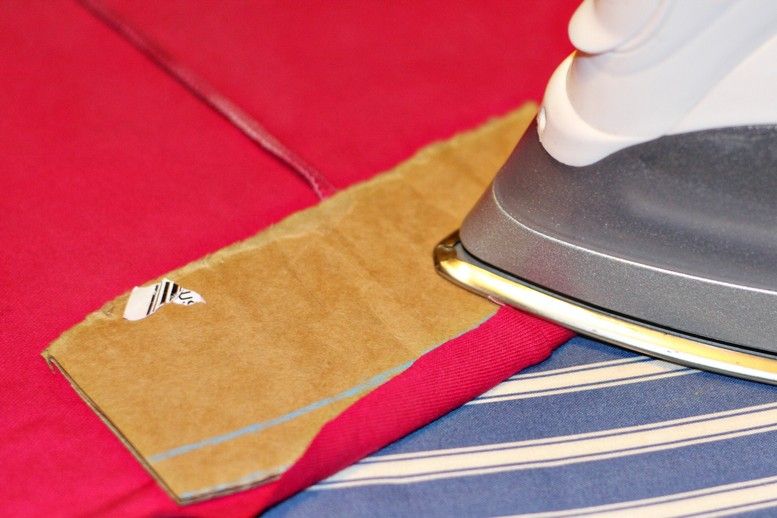
Now you're going to make a 1/2" hem around the edges of the skirt. I normally use a Dritz Ezy-Hem gauge, but it's kinda hard to hem a curve with a straight edge, or one that doesn't curve enough. So what I did was to cut out a small piece of cardboard, traced around the curve of the skirt, and cut the cardboard along that curve. Then I measured 1/2" up with a sewing gauge, and marked the line using a fabric pencil.
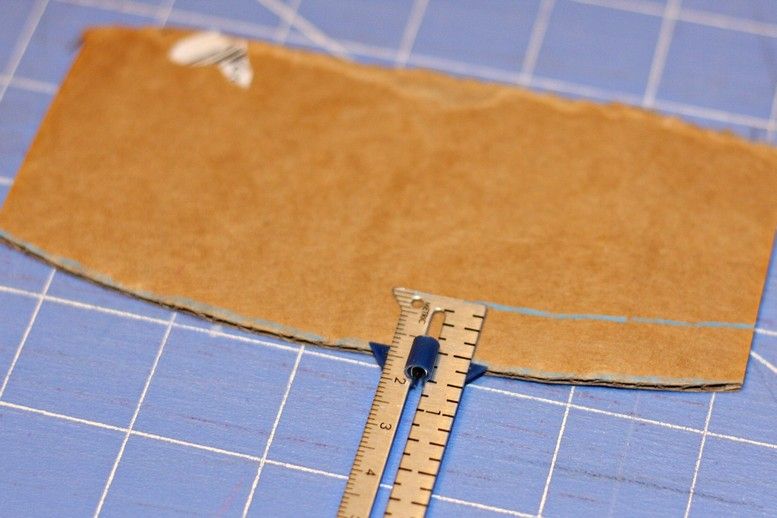
Ta-da! Quickie hem gauge all done! It worked great too. I used it to iron a 1/2" hem all the way around the skirt and I'm very satisfied with the results.
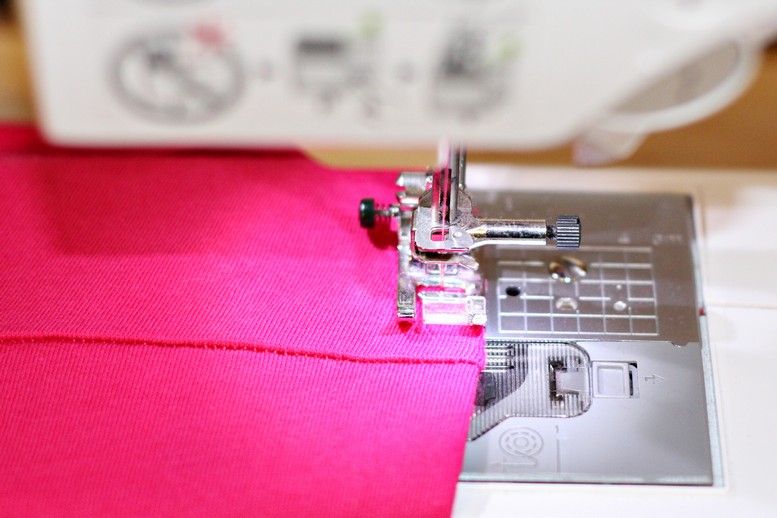
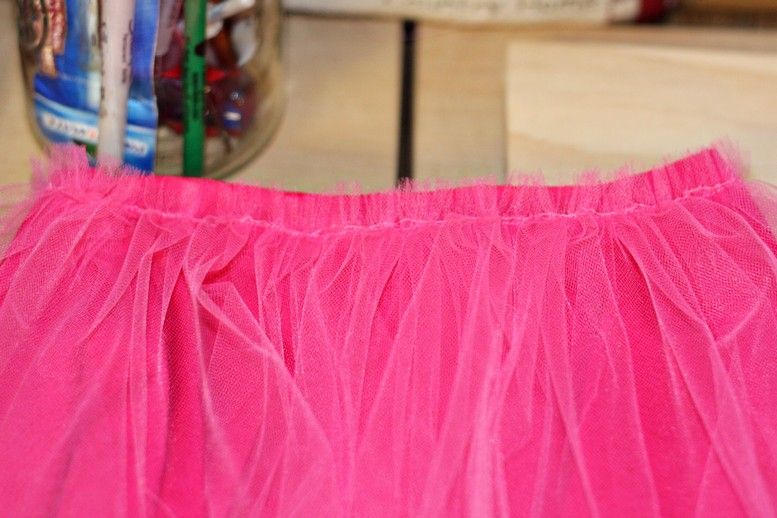
Next sew a double stitch around the skirt. Here's how: I sewed about 1/2" from the bottom edge of the skirt, then I adjusted the position of my needle to sew another stitch around the bottom edge of the skirt about 1/4" up from the first one. You don't have to do the double stitch hem, I just think it gives the skirt a nicer look.

Here's how it looks so far:
This next step is measuring and cutting the tulle. You're going to do it the same way I did in my post: Cut Tulle QUICK and EASY!
I used some pink tulle I found online at Nashville Wraps. It matched perfectly with the fabric!
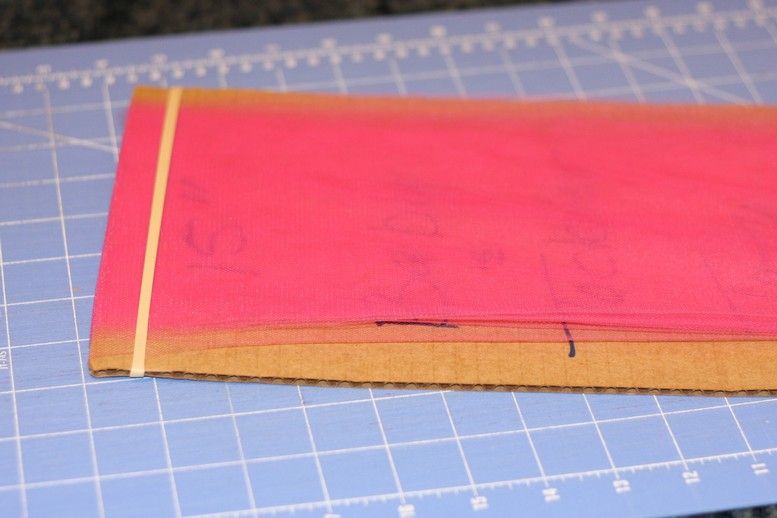
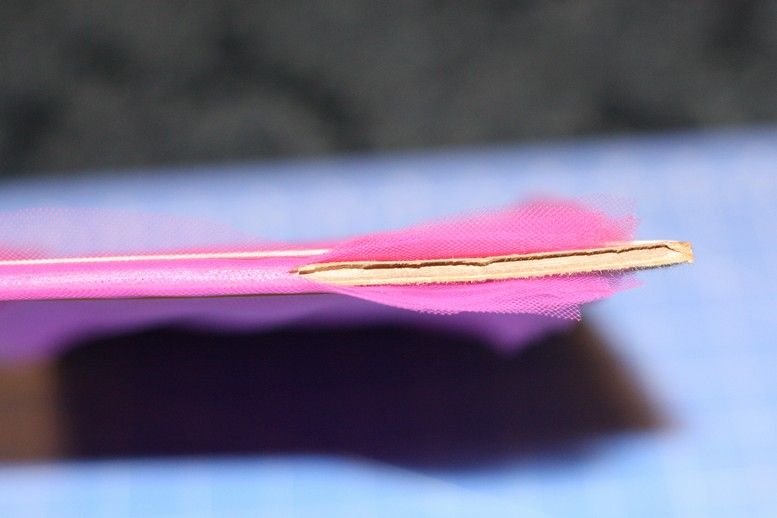
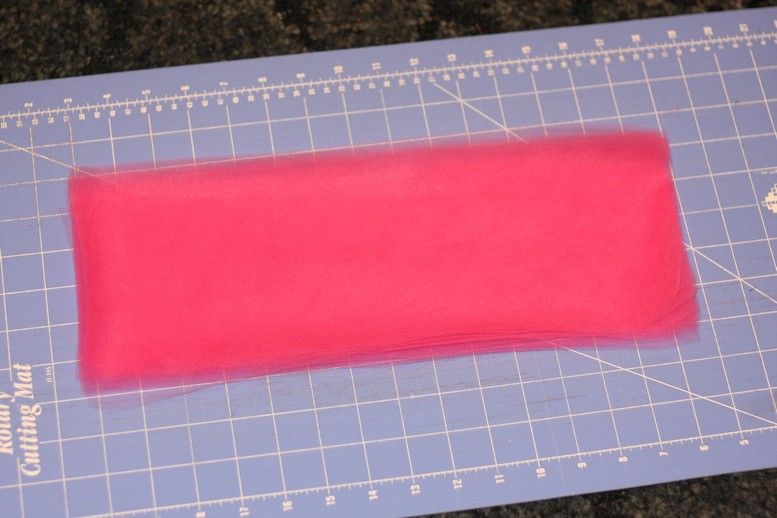
Use the 7" x 15" cardboard to measure and cut out 20 pieces of tulle. Check out my post: Cut Tulle QUICK and EASY for more details.
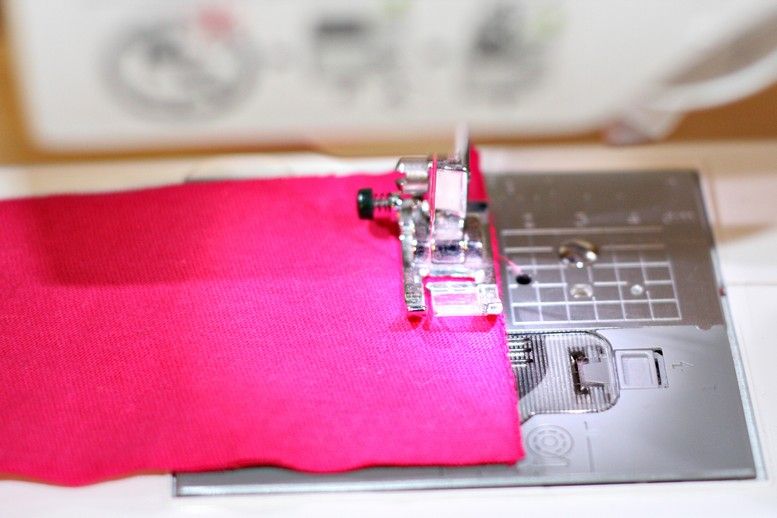
Set your machine to a long stitch (or a gathering stitch), and sew about 1/2" from the top edge of a the first piece of tulle. {Make sure you're working on the 6" width of the tulle and not the 15" length!} Before coming to the end of the tulle, overlap another piece and keep sewing until all the pieces have been sewed together using the gathering stitch.
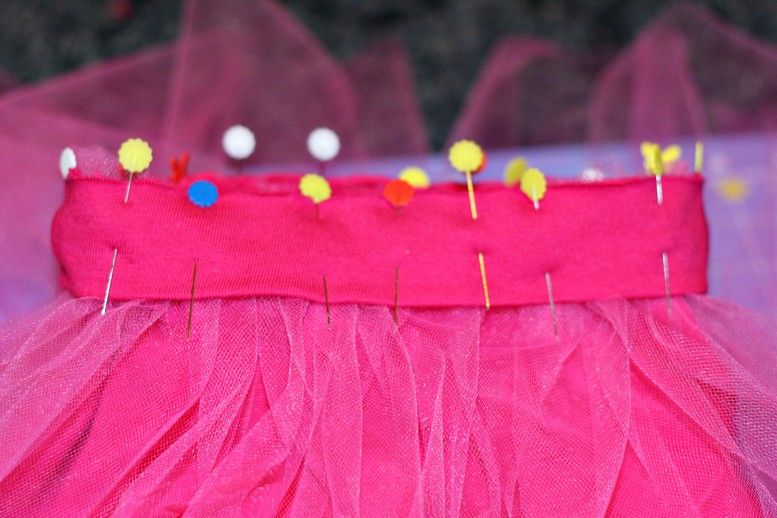
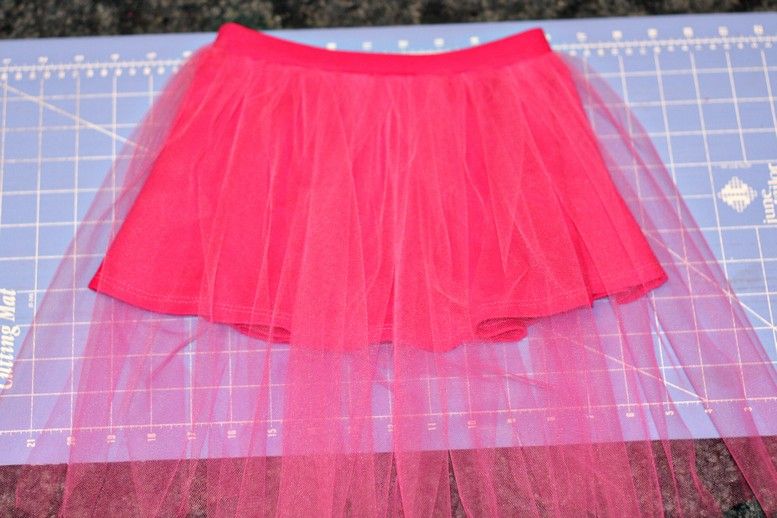
Once that's done, you going to carefully pull on the long gathering thread until you've got the tulle the same width as the waist on the skirt - just like you'd gather a ruffle. Sorry I don't have a picture of this, but my camera was having a hard time focusing on the tulle! Now using lots of pins, pin the tulle to the right side of the skirt.
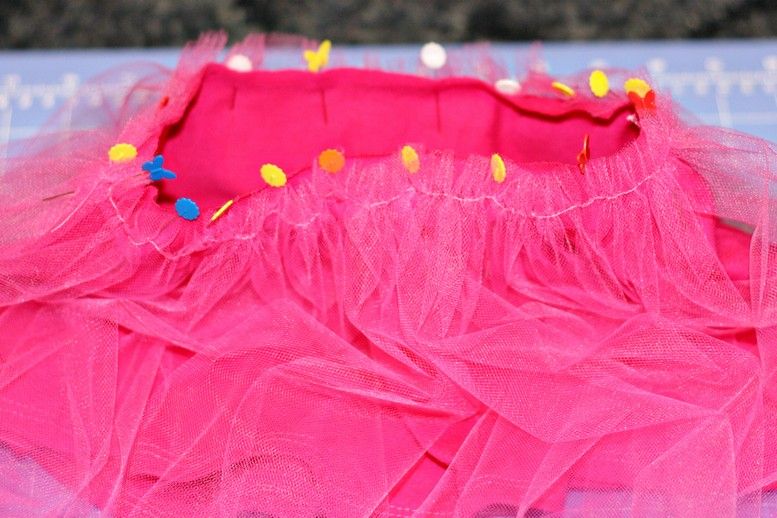
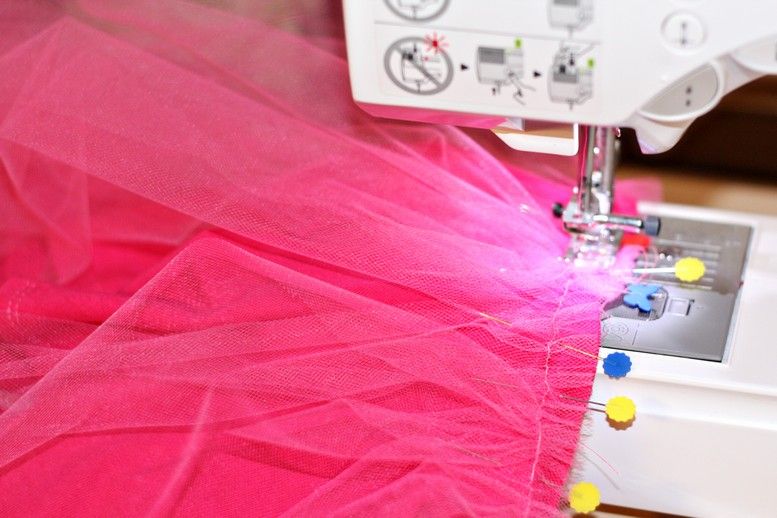
Sew right over your gathering stitch. Go very slowly and be sure to keep your tulle as straight as possible making as many adjustments as you need to. Look at the pictures to see what the skirt looks like once the tulle has been sewn on. Normally you'd remove the gathering stitch after sewing a ruffle on - but that is way too hard to do with tulle! I didn't even try since it's really not going to matter.
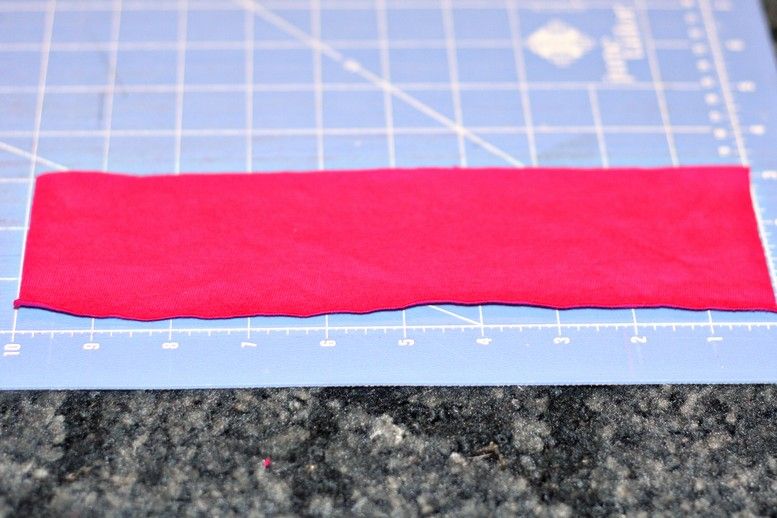
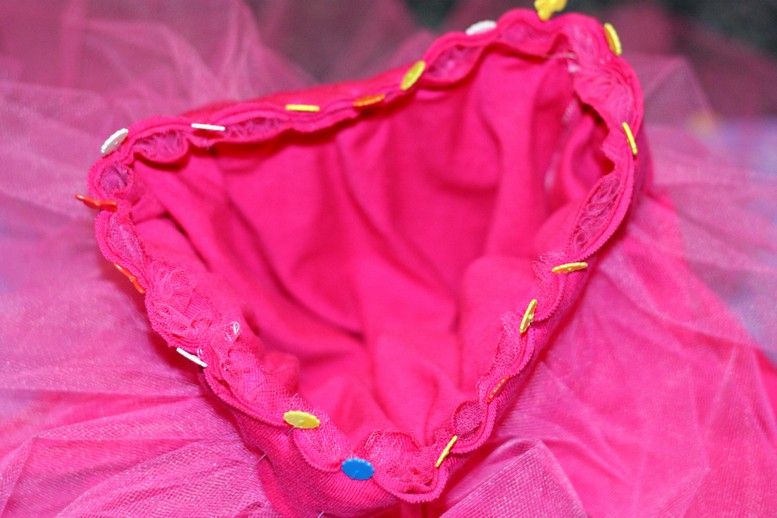
Next cut out your waistband. Cut two 3"l x 10"w pieces. Sew a 1/2" seam on one side. Wrap it around your little one's waist, and if it's too big cut about an inch off the width, and try it on her again. Keep doing that until it fits her waist nice 'n snug, then sew a 1/2" seam on the other side. Now iron open the seams, fold the waistband in half, and iron again.

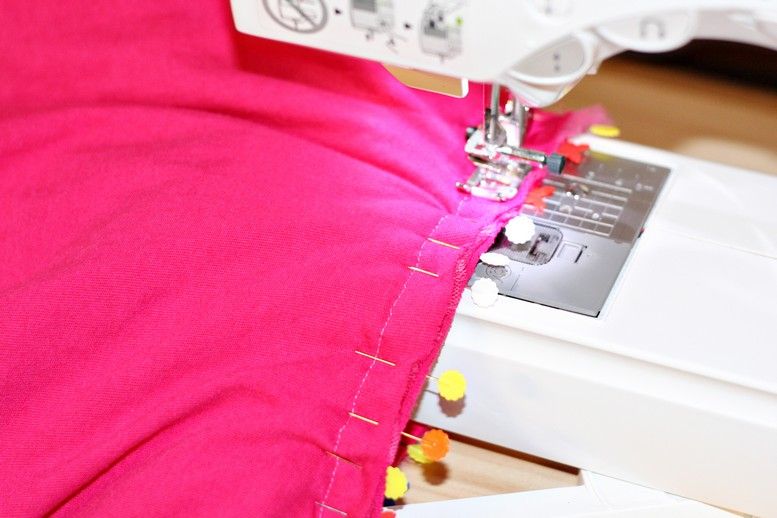
With right sides together, attach the waistband to the skirt. Match up the seams and pin them first, then pin the rest of the waistband to the skirt (use lots of pins!). The waistband will be smaller than the skirt, so you'll have to pull the waistband slightly as you pin it to the skirt.
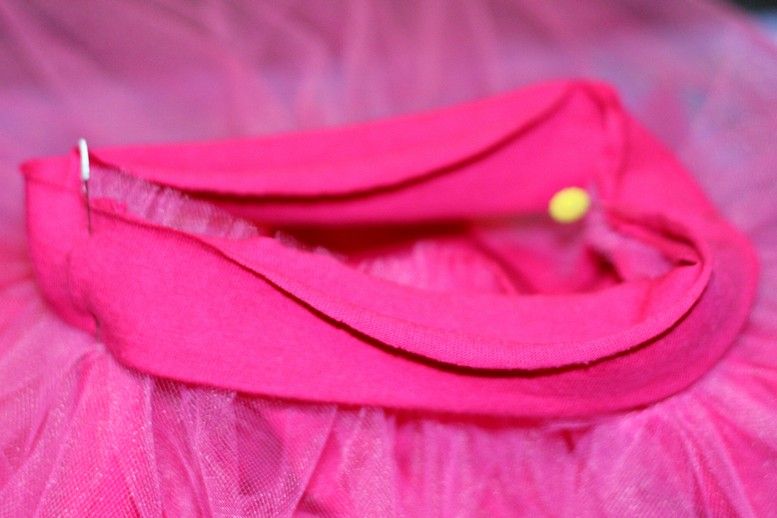
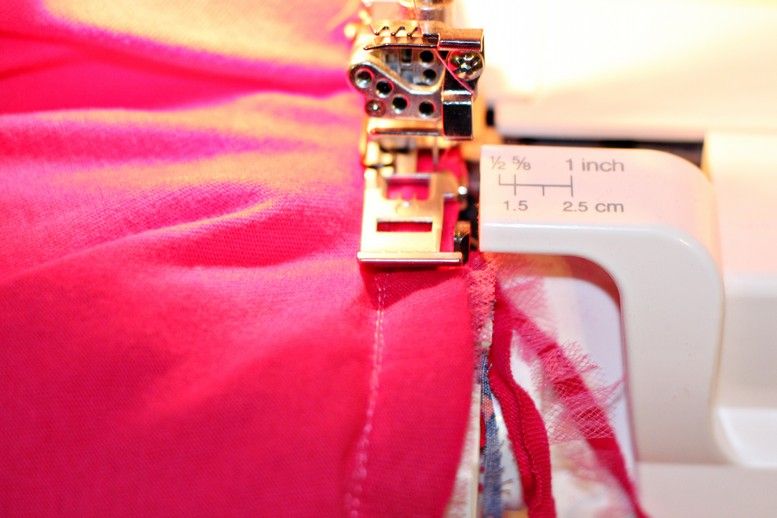
Carefully turn the skirt inside out, and following the stitch you made putting on the tulle, sew the waistband to the skirt. Serge the edges or use scissors to cut off the excess material - but be careful not to cut your stitches! If you do use scissors, I recommend sewing a zig-zag stitch on your raw edges.
Time for the last part! Lay your skirt down and make sure the tulle is as straight as possible. Following the curve of the skirt, cut the tulle about 1" past the edge of the skirt. This part really depends on you. You can leave it long or any length in-between!
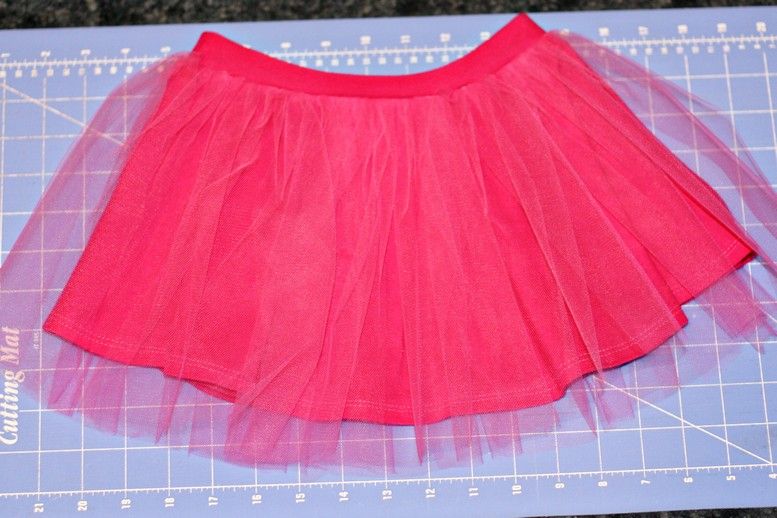
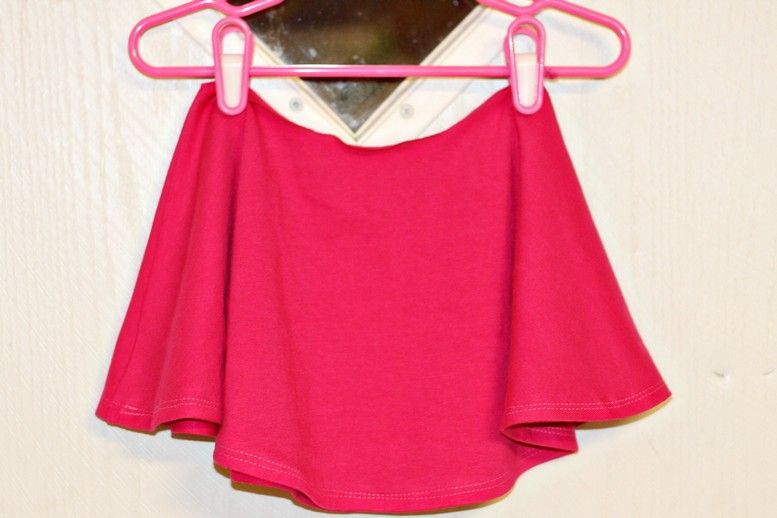
All done! Wouldn't this be adorable to wear to a Birthday party?! Or just because!
This would be a cute skirt for any occasion or holiday! Serenity's pink skirt makes me think of Valentine's Day!
Okay, putting this tutorial together took MUCH longer than I thought it would - there were more steps than I imagined! But don't let that intimidate you, it really isn't that hard to sew together. If you have any questions or notice any mistakes, please email me! Thank you!
Here's a picture of Serenity wearing the original Crazy 8 skirt:
POST-IT-NOTE:
I changed the elastic waistband to a knit waistband. The main reason is because it's just easier - and has a neater look. This is the very first time I ever sewed this type of waistband, so to learn how to do it I read this tutorial and this tutorial, try this one, and these helpful tips too. I probably should've cut a little more off the width of the waistband before sewing it, because mine came out a little bigger than I wanted, but I guess that just means Serenity has a extra growing room!
Remember to click on any picture to ZOOM in!
Materials needed:
3/4 yard jersey knit material
6" spool of tulle
7"w x 15"l piece of cardboard
2 rubber bands
small piece of cardboard (size of an index card)
fabric pen
sewing gauge
scissors
pins
thread
scotch tape
PDF skirt pattern (download here)
Print out two copies of the pattern, be sure to your printer is set to: Page scaling: NONE and CHECK the little box next to: Choose paper source by PDF page size. You'll end up with 4 sheets of paper.
On the pages labeled "2" - you'll need to extend the marks out just a little with a pen. I don't know why the printer didn't print it - putting a pattern on a PDF is something I had to learn tonight! I tried to do it once before, but it didn't work out. I still don't know all the tricks yet, but this pattern is correct except for those marks. Cut out all the patterns.
Tape together the "2" pattern piece to the "1" pattern piece - twice. Don't overlap the pages! You'll end up with two sets. Flip one set over and tape it to the other set - making one big pattern. Look at the pictures to see what I mean:
Lay the pattern on top of the fabric. Make sure the fabric is two-layers thick. You'll be cutting out two pieces of fabric at one time. Pin - I used a lot of pins! Cut around the pattern.
POST-IT-NOTE 2: You could use a large t-shirt you found on sale or recycle an old t-shirt - try using more than one t-shirt for a really unique look!
Place right sides together, then sew 1/2" seam down both sides of the skirt (I used a serger and just followed the edges, but if you don't have one that's okay!) . You'll end up with a large circle that has a "hole" in the middle. It looks just like a big pink donut, huh? Or am I just hungry?
Now you're going to make a 1/2" hem around the edges of the skirt. I normally use a Dritz Ezy-Hem gauge, but it's kinda hard to hem a curve with a straight edge, or one that doesn't curve enough. So what I did was to cut out a small piece of cardboard, traced around the curve of the skirt, and cut the cardboard along that curve. Then I measured 1/2" up with a sewing gauge, and marked the line using a fabric pencil.
Ta-da! Quickie hem gauge all done! It worked great too. I used it to iron a 1/2" hem all the way around the skirt and I'm very satisfied with the results.
Next sew a double stitch around the skirt. Here's how: I sewed about 1/2" from the bottom edge of the skirt, then I adjusted the position of my needle to sew another stitch around the bottom edge of the skirt about 1/4" up from the first one. You don't have to do the double stitch hem, I just think it gives the skirt a nicer look.
Here's how it looks so far:
This next step is measuring and cutting the tulle. You're going to do it the same way I did in my post: Cut Tulle QUICK and EASY!
I used some pink tulle I found online at Nashville Wraps. It matched perfectly with the fabric!
Use the 7" x 15" cardboard to measure and cut out 20 pieces of tulle. Check out my post: Cut Tulle QUICK and EASY for more details.
Set your machine to a long stitch (or a gathering stitch), and sew about 1/2" from the top edge of a the first piece of tulle. {Make sure you're working on the 6" width of the tulle and not the 15" length!} Before coming to the end of the tulle, overlap another piece and keep sewing until all the pieces have been sewed together using the gathering stitch.
Once that's done, you going to carefully pull on the long gathering thread until you've got the tulle the same width as the waist on the skirt - just like you'd gather a ruffle. Sorry I don't have a picture of this, but my camera was having a hard time focusing on the tulle! Now using lots of pins, pin the tulle to the right side of the skirt.
Sew right over your gathering stitch. Go very slowly and be sure to keep your tulle as straight as possible making as many adjustments as you need to. Look at the pictures to see what the skirt looks like once the tulle has been sewn on. Normally you'd remove the gathering stitch after sewing a ruffle on - but that is way too hard to do with tulle! I didn't even try since it's really not going to matter.
Next cut out your waistband. Cut two 3"l x 10"w pieces. Sew a 1/2" seam on one side. Wrap it around your little one's waist, and if it's too big cut about an inch off the width, and try it on her again. Keep doing that until it fits her waist nice 'n snug, then sew a 1/2" seam on the other side. Now iron open the seams, fold the waistband in half, and iron again.
With right sides together, attach the waistband to the skirt. Match up the seams and pin them first, then pin the rest of the waistband to the skirt (use lots of pins!). The waistband will be smaller than the skirt, so you'll have to pull the waistband slightly as you pin it to the skirt.
Carefully turn the skirt inside out, and following the stitch you made putting on the tulle, sew the waistband to the skirt. Serge the edges or use scissors to cut off the excess material - but be careful not to cut your stitches! If you do use scissors, I recommend sewing a zig-zag stitch on your raw edges.
Time for the last part! Lay your skirt down and make sure the tulle is as straight as possible. Following the curve of the skirt, cut the tulle about 1" past the edge of the skirt. This part really depends on you. You can leave it long or any length in-between!
All done! Wouldn't this be adorable to wear to a Birthday party?! Or just because!
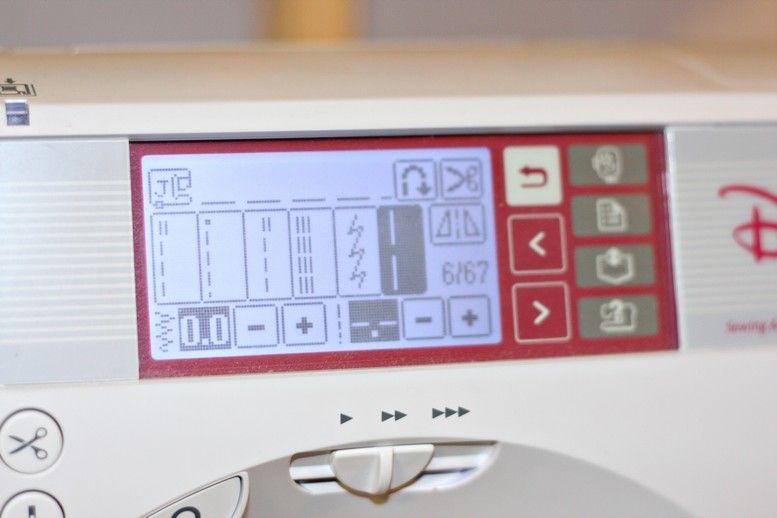
Here's a neat sewing tip I learned while sewing knit: set your machine to a longer stitch - I use a 3.5 length. The material will slide through the machine much easier if you use a longer stitch. It does make a difference!
I created the pattern for this skirt by basically tracing around the one I purchased from Crazy 8 and adding a little bit to the length and width to account for seam allowances. It's a size 2T, but I think it'll fit Serenity for a while - it has plenty of room for growing. But if you'd like to make it bigger (or smaller), just add (or subtract) length to the bottom, and if you need to, on the sides (but be very careful making too many adjustments at the waist). Make small adjustments and hold up the pattern to your little one to get an idea of how it'll fit her before making any more adjustments.
I used the 6" spool of tulle because that's what I already had. You could use the tulle that you can buy by the yard too. Your piece would have to be about 120" wide to equal the width I used. Gather it the same way - by sewing a long gathering stitch. You don't have to cut the length 15" either - again I was working with what I already had and I just used my tulle template from making tutus.
How to Clean:
Hand wash or machine wash on gentle using "Green" laundry soap (okay, optional, but much better!) then hang dry. Or you can put it in the dryer on very low heat for about 10 minutes, then hang dry.
Y'all have got to go take a look-see at this absolute darling layered circle twirl skirt! It's made with tulle too and it's SO girly! I want to make one for Serenity - she will LOVE it!
Head over to Lusco Land to see the skirt she made for her daughter using my tutorial! She used black striped knit and pink tulle - a very striking & pretty combination!
I would like give a HUGE thank you to One Pretty Thing and Ucreate and The Crafter's File Box and Someday Crafts for linking this tutorial!
Have fun!


24 comments:
LOVE it! I wish I had more time before the baby is born for me to attemp cute skirts and dresses! I'll have to wait till after the baby is born and I have her a schedule :) Great job on such a cute skirt!
thanks a bunch, This would be so cute in white, or red knit and white and blue tulle (4th of july), or red with red and white tulle (Christmas!)... the options are endless. I love the modest knit underskirt!
You're welcome!
I think you're right Melanie - there are so many different options you can do! I really like the idea of a Christmas one too!
Found you thru UCreate. Thanks for the great tutorial. My two girlies will love this skirt! I hear some tulle calling to me now...:)
Adorable and simple! Love it!
I am in love!! Thanks so much for making tulle comfy to wear! My girls will thank you! I have filed this away at thecraftersfilebox.blogspot.com.
Thanks so much for sharing!
Finished one last night and blogged about it. Thanks again for the great tute!
So cute! Thanks for sharing!
I haven't seen that twist on the tutu! Cool love it!
Linda
Sooo cute!! But I have to say that little model is even cuter. :D
This is adorable. I want to make it for myself... I think I will!
So cute... I wish I could still get away with that look! : )
Sweet tutu and great tutorial! Lezlee
You are a sewing genius! What a great tutorial. My daughter is 11 now, but when she was small she loved anything twirly. The tulle makes it so fun!
Your model is adorable!
Thanks for linking up!
Just adorable!
Thanks for taking part in Talented Tuesday at My Frugal Family! Don't forget to come back next week!
Very cute!
Why don't you come on over to my blog and visit a while
there you go again with sewing!!!LOL
My daughter wore tutu's all the time when she was younger, but I bought them all, because you know I can't sew!
Very very cute! =)
That is so cute!
I love this skirt. I was actually thinking of trying it out this week...thanks for the link on check me out saturdays
That method of cutting tulle is BRILLIANT. Seriously. I linked to this on my weekly roundup - thanks so much for sharing!
So cute! Thanks for the tips about what you'd change.
happy crafting,
Linda
This is so cute! I am featuring it at somedaycrafts.blogspot.com
Angie,
This is tooo cute! Even more so with that great little model! :)
My little girl have always wanted a tutu, and now I know how to make one! :)
Thanks for linking up your fun projects over at my Party Link Party!
I'll be hosting one regularly, so do come back to link up!
Hugs,
Bird
Post a Comment