Sunday, November 29, 2009

Hot & Sweet Drumsticks


Tonight I tried a yummy recipe that The Pioneer Woman (Ree Drummond) found over at the Tasty Kitchen.
It's called Hot & Sweet Drumsticks by Terri.

BTW: Y'all do know by now how much I love love The Pioneer Woman's blog?!
Ree is so awesome!
I've tried several of her recipes and I've loved every single one of them.
mmMmmm!!
I've got her book too - you can grab it over at Amazon.com.

I would've never thought to mix these particular ingredients together: apricot preserves, soy sauce, minced garlic, ketchup, and hot sauce heated then poured over drumsticks and the whole concoction is popped in the oven.
Strange combination, huh?
But oh so good!
The only thing I did a little different than the recipe was add two extra teaspoons of hot sauce and I seasoned the chicken with just a little Tony C's before adding the hot & sweet sauce.

I'm from South Louisiana - we like it spicy!!

I think next time I'll cook it without the skins to cut back on the grease.

It was very, very easy to put together - especially if you've been sick and have a stuffy head and headache like I've had all day today - UGH!
Prep time is next to nothing, and cook time is anywhere between 40 minutes to 'round a hour - depending on your oven.
Cleanup is a breeze too - use a non-stick pan.

I served it with rice and tiny buttery sweet peas - delicious!
Serenity ate it up - hurray!
In case you were wondering, it wasn't too spicy for her at all - she's a tiny mini-me and she likes her food with a little kick too!

Now back to my Star Wars marathon (the original ones) on Spike TV.

Have fun!


StumbleUpon.com

Thursday, November 26, 2009

Happy Turkey Day!

Have fun!

StumbleUpon.com

Wednesday, November 25, 2009

Princess Tiana at Carol's Daughter

I tried some new hair care products on Serenity's curls that I'd like to share with y'all!

Carol's Daughter has some great hair products for curly hair and I finally got around to ordering a few.

Right now they have a limited edition of Princess Tiana products.
The Princess Tiana hair detangler did an awesome job getting those tangles out of Serenity's hair.
It smells wonderful too!

POST-IT-NOTE: Since we got good results with the detangler, I decided to order the Princess Tiana A Magical Beauty Gift Set today.
It comes with shampoo, conditioner, bubble bath, and a loofah.
I'll update this post after we've tried it!

I also used their Hair milk, and I love the way it makes Serenity's hair feel so soft.
It's very light and has the most yummy lemony scent.
I put the Mimosa Hair Honey on Serenity's dry ends and a few dry spots she tends to get and got good results too.
Both products help with the frizzes and you only need to use a small amount of each.

I've been using all three of these products for a few days now, and I really like how Serenity's hair looks and feels.
I'm very satisfied with Carol's Daughter.
I especially like the Hair Milk and I would definitely buy more.

Carol's Daughter is offering fast free shipping on order over $40 - and it really is fast!
My order got here in no time.

While you're shopping around at Carol's Daughter, don't forget to enter to win a $250 Sweepstakes Shopping Spree.
All you have to do to enter is subscribe to their newsletter.
Simple!

Have fun
!


StumbleUpon.com

Saturday, November 21, 2009

Tiny Hands Turkey Applique Tutorial


I meant to post this last week, but I was busy and Serenity and I wasn't feeling too good - that's the reason it's so last minute.

When I thought of the idea, I search the internet to see if anyone else doing this age-old kids' project in fabric.

I was so surprised to find there wasn't!

So I thought I'd do one to share with y'all.


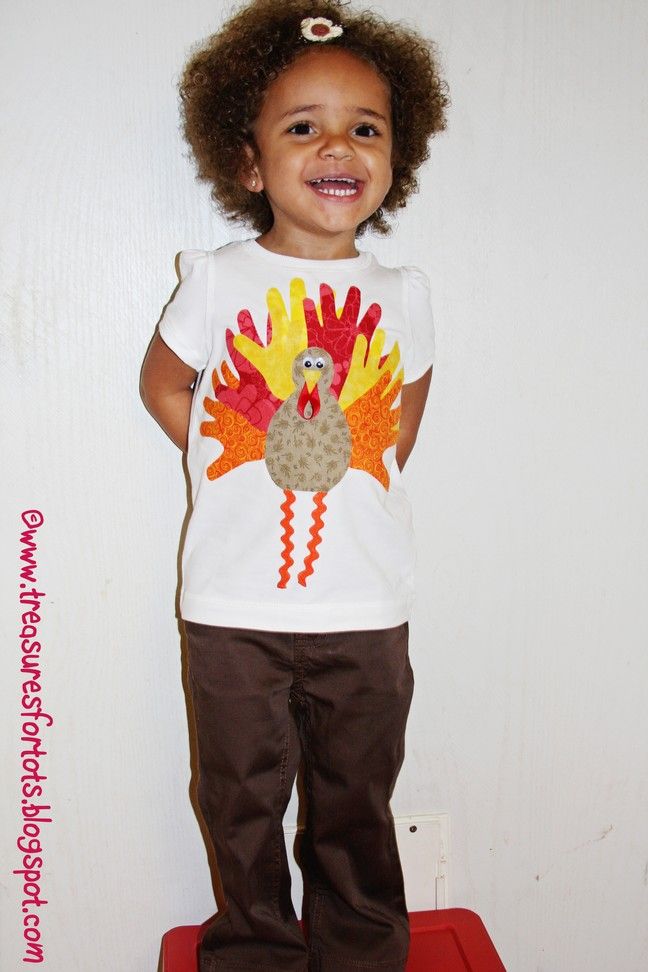
This is a very easy, NO-SEW turkey applique you can create using your child's hands!
Of course you can sew it down if you want to, but it's not necessary if you fuse the applique to the shirt correctly
.

This is similar to the hands and feet turkey craft projects kids do in school - but with fabric.
It's a great project to do with your child too since it's mostly just cutting, ironing, and gluing!


This is a cute shirt that's great for girls and boys!


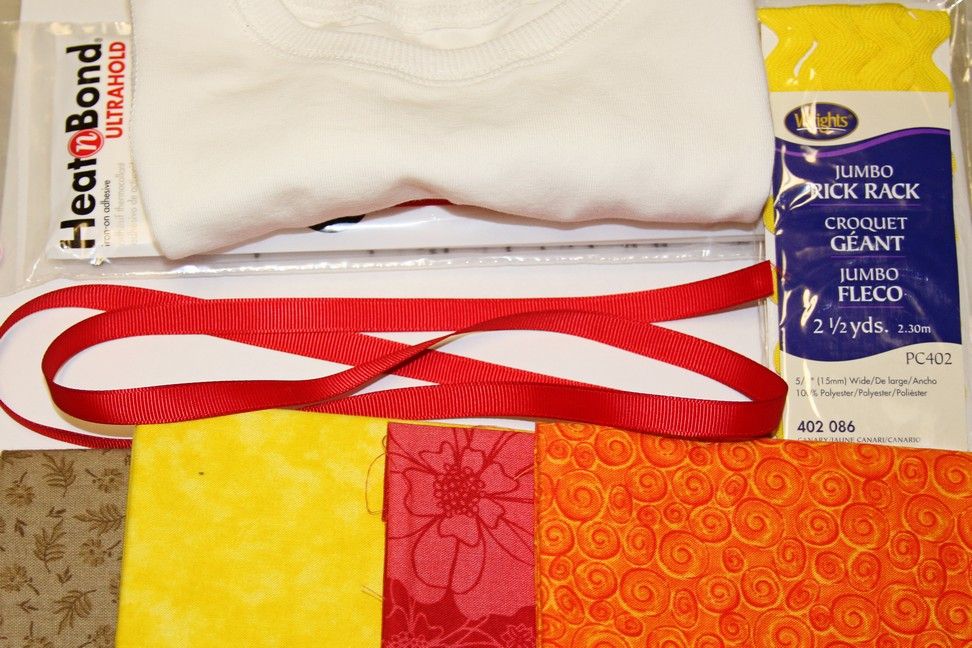
Materials needed:
White tee shirt
Heat 'n Bond
(the red package)
2 3" pieces of medium orange Rick Rack
(I have jumbo yellow pictured, but I changed my mind)
1 1 1/2" piece of 3/8" red ribbon
4 pieces of 9"w x 5 1/2"l fabric in red, orange, yellow, and brown
(this depends on how big your child's hands are)
Liquid stitch
2 googly eyes
lighter or fray check

I used this picture for the turkey's body and it's beak, but you could draw your own or use your child's feet to create a template.


Trace your child's hands on a piece of paper and cut out them out to use as templates.
Print and cut out this turkey picture to use as a template for the turkey's body and beak.


Following the directions on the the Heat 'n Bond package, apply the Heat 'n Bond to all the fabric.
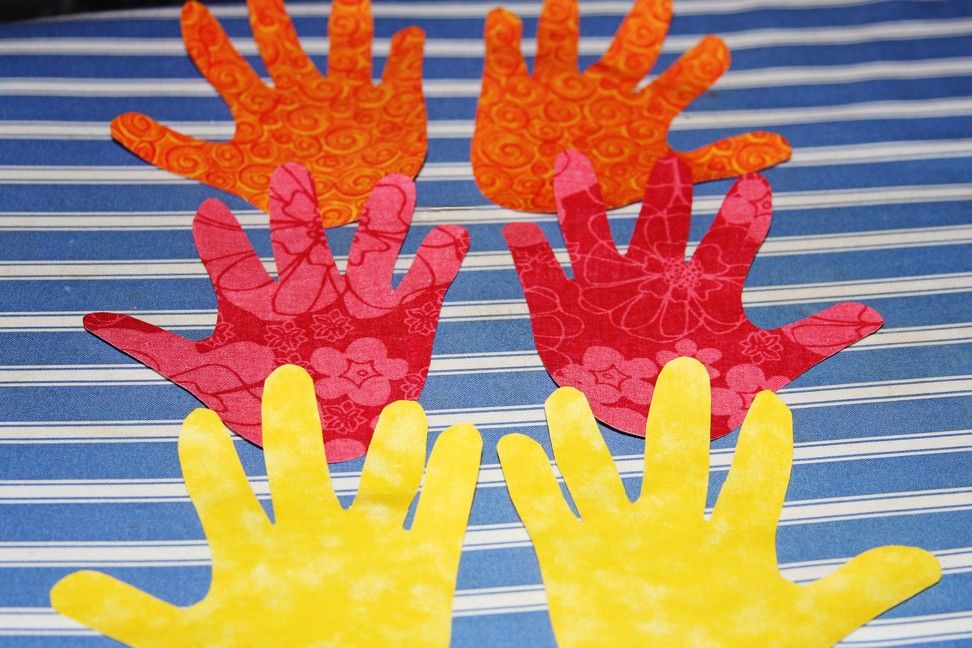
Using the templates, cut out the hands, the turkey's body, and it's beak.
Sorry I forgot to put the turkey's body and beak in this picture!


Make sure you use a lighter or fray check to seal both ends of the ribbon and Rick Rack.
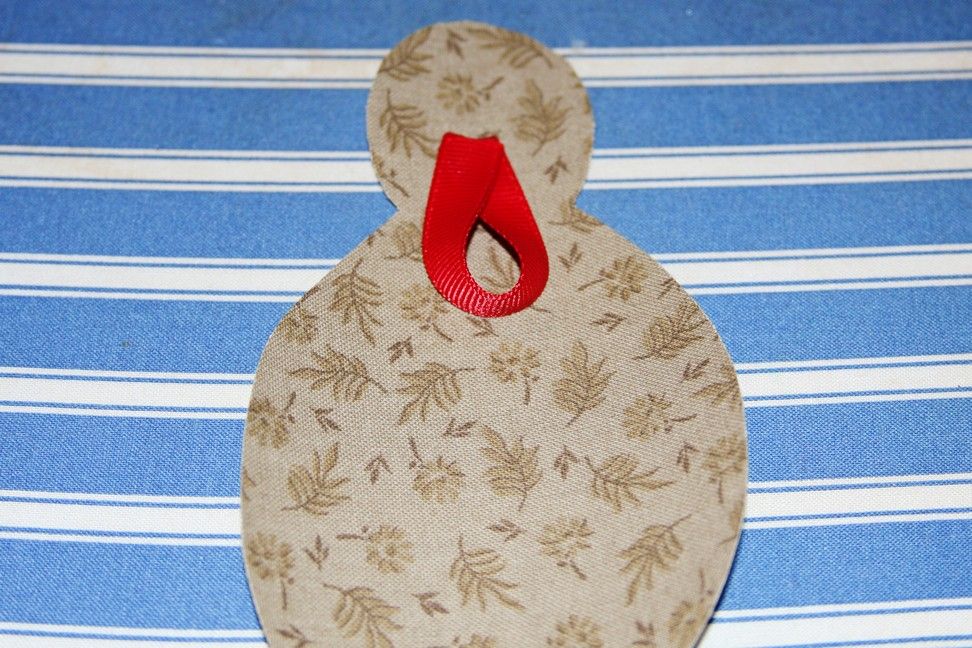
Fold the piece of red ribbon to form the turkey's wattle, then glue it together using Liquid Stitch.
I put it on the turkey's body to get an idea of how it would look:


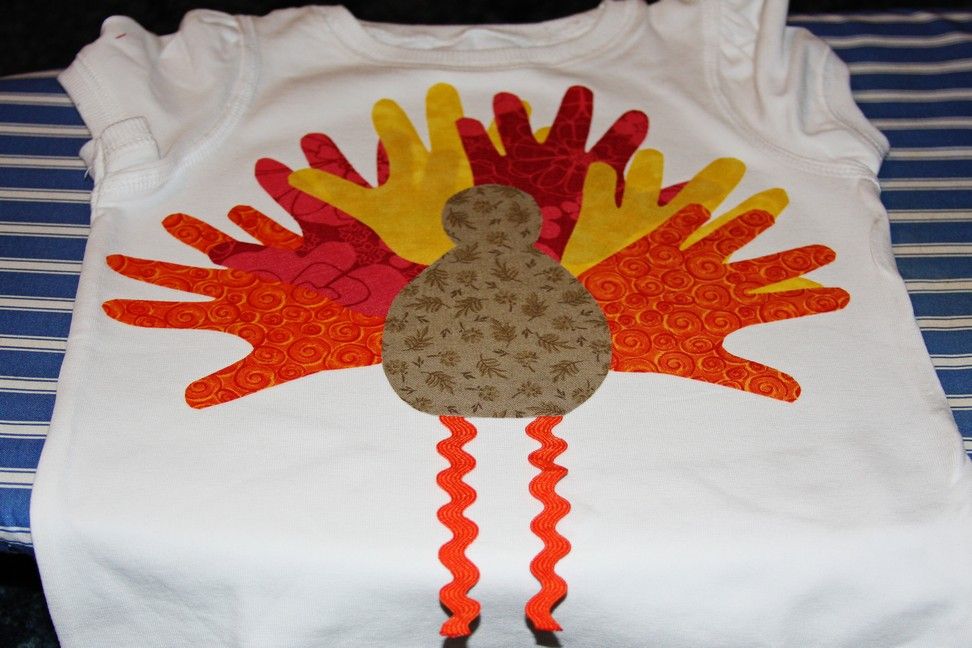
Arrange the hands on the shirt how you'd like them, and iron them down one by one.


Place the turkey's body in the middle, and use Liquid Stitch to glue the Rick Rack to the shirt underneath - those will be his legs.
Now iron down the turkey's body.
----------------
Stitching little buttons to the tops of the "legs" would not only look cute, but ensure the legs stay attached when you wash the shirt!


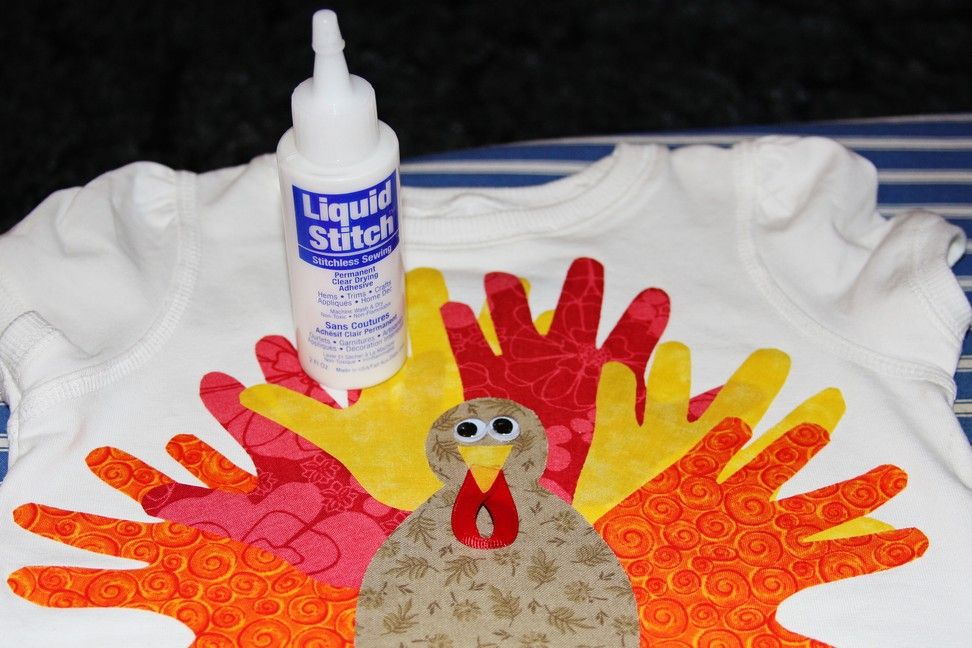
Using the Liquid Stitch again, glue the turkey's wattle to his body.
Arrange the beak slightly over the wattle and iron it down.
Use Liquid Stitch to attach the googly eyes to the turkey.


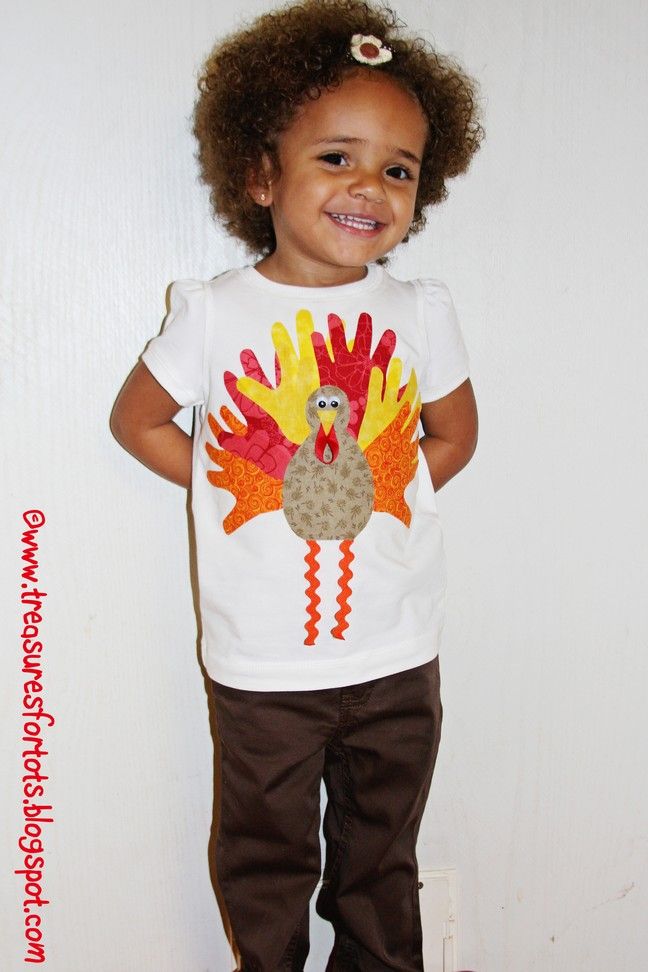
All done!
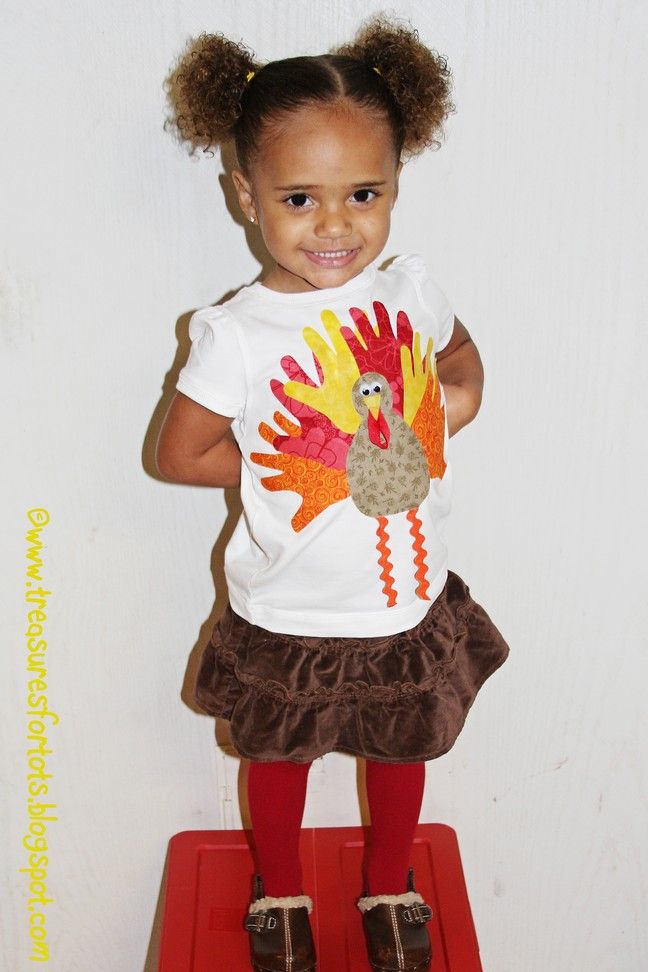
Look how cute it looks on Serenity!


UPDATE:
11/15/11
Check out my Tiny Hand Turkey FELT Applique tutorial!


POST-IT-NOTE:
I ended up using the medium orange Rick Rack 'cause I think it looks better. I have no idea what I was thinking when I got that big jumbo yellow pack for this project.

TIP:
If some of the fingertips won't stay ironed down, just use a little Liquid Stitch to get 'em to stick.
Hand wash, or turn the shirt inside-out before washing in cold water on your machine's gentlest cycle.
Hang to dry.
I would totally recommend using homemade laundry soap or Charlie's soap too!

Total cost:
I bought a fat quarter in each color for a $1 a piece at Wal-Mart - I have plenty of fabric left.
The shirt was $4.99 at Target (Serenity's pants are from Target too - $6 in the store).
The Rick Rack was $1.14 for a 2 1/2 yard pack - I used 6 inches total.
The red ribbon is 24¢ a yard - I only used about 1 1/2 inches.
A pack of 50 googly eyes is 97¢ - I have 48 left.
I bought the Liquid Stitch about a week or so ago - so I didn't need to buy anymore.

All together, this project costs less than $6?
I don't know exactly since I'm horrible at Math - I just know it was pretty cheap!

POST-IT-NOTE 2:
Check out Brandy's version of the Tiny Hands Turkey applique - it's adorable!
She used some funky fabric, pretty pink ribbon, and buttons & rhinestones for the eyes.

Carole made a turkey for her little boy Leland on a onesie.
Go have a look-see on her blog Lee, Carole & Leland!


POST-IT-NOTE 3:
I would like give a HUGE thank you to Ucreate and Pocket Full of Posies for linking this post!


Have fun!


What I'm Making MondayMaking http://www.thethriftyhome.comShow and Tell GreenSomewhat SimpleHome Stories A2Z


StumbleUpon.com

Tuesday, November 17, 2009

Polaroid Snapshots


So I saw Grosgrain's post "J'Adore L'Poraroid!!!" today and I thought it was the coolest thing!
I had to try it out!
She found this fun little photography program that will turn your pictures into a retro Polaroid.
It's called Poladroid.


I've been having lots of fun playing around with the program.
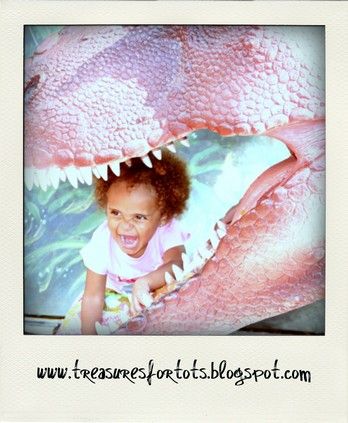
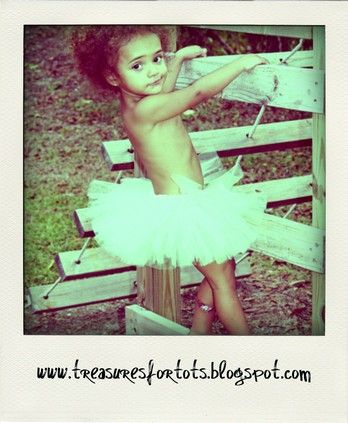
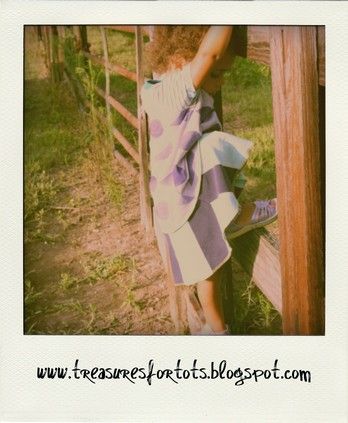
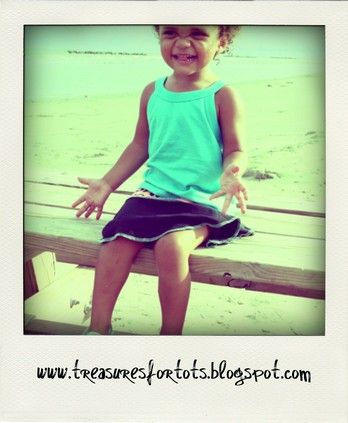
These pictures are just a few of the ones I've been converting - it's addicting!
You can see a video demo of program here.
Once you open the program, just drag and drop any photo into the
Polaroid camera icon on your desktop, and wait for it to develop.
It only takes a few minutes - just like a real Polaroid!
You can even "grab and shake" the photo to get it to develop "faster" - cute!
I think the coolest feature is how you can get a copy of the picture at any stage of it's development.
So if you think under-developed pictures are kinda neat-looking (and I do!) - then you'll have fun playing around with that feature.


And what better way to add your own watermark (or other info) on your brand new
Polaroid than with a free sharpie font?! (I used vtks Rascunho Errado)
Or head over to typenow.net to try another free Sharpie font,
and browse hundreds more fonts for free too.
Installing a new font is super easy too, check out this how-to to learn more.


Don't forget to go join Polodroid's Flickr group to share your cool new Polaroids!

Have fun!

StumbleUpon.com

Monday, November 16, 2009

Gift Bag Tutorial

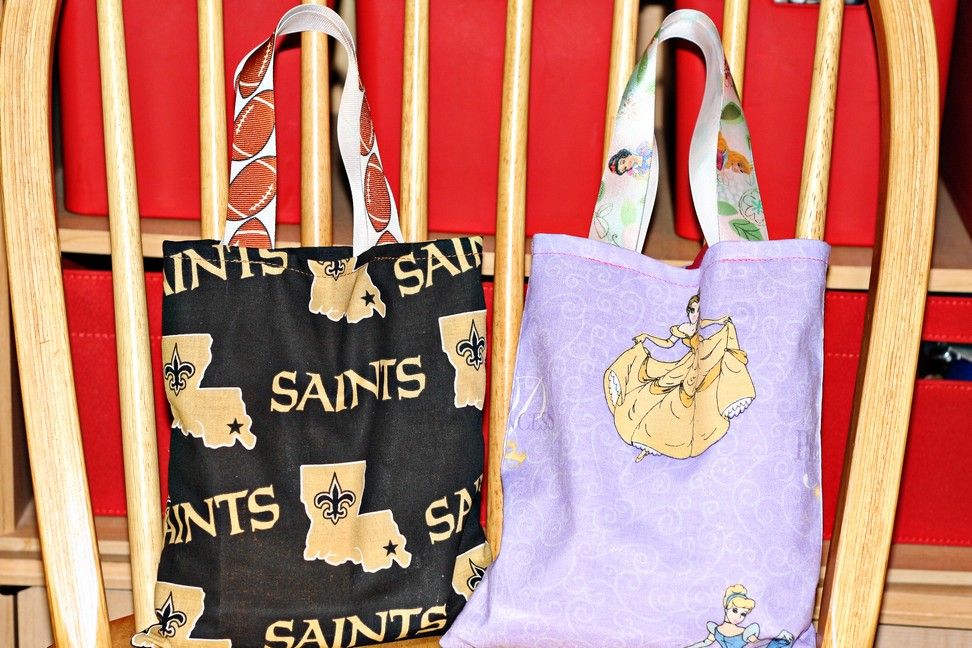
I made very simple gifts bags for Serenity's birthday party this year and last year. Last year her birthday party theme was The Little Mermaid - this year it was Disney Princesses.

I didn't leave out the boys - I made Saints bags for them this year and last year.

The kids really liked these bags too - so much cuter than the plain old plastic store-bought ones and they'll last much longer than expensive paper gift bags.

They are very, very quick and easy to sew. Perfect for a beginner sewer and kids too. The bags cost less than 50¢ to make - cheaper if you can find a good sale or two!

Here's how I made them:

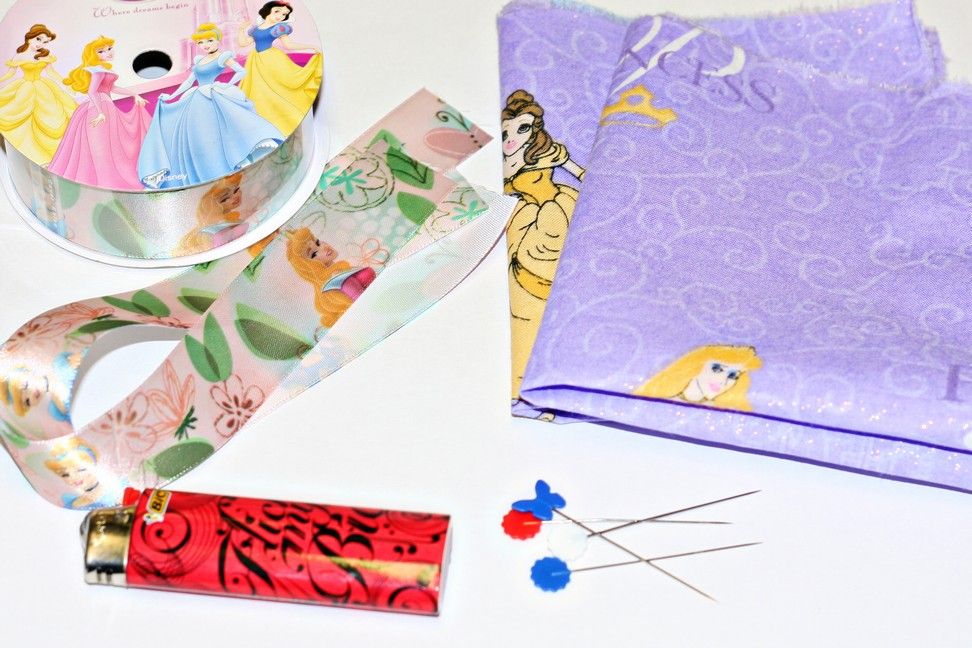
Materials needed:
(2) 9"w x 10"l fabric
(2) 12"l x
(7/8" - 1") wide ribbon
lighter or fray check
pins


Use a lighter or fray check to seal all the ends of the ribbons.
Iron both pieces of fabric.
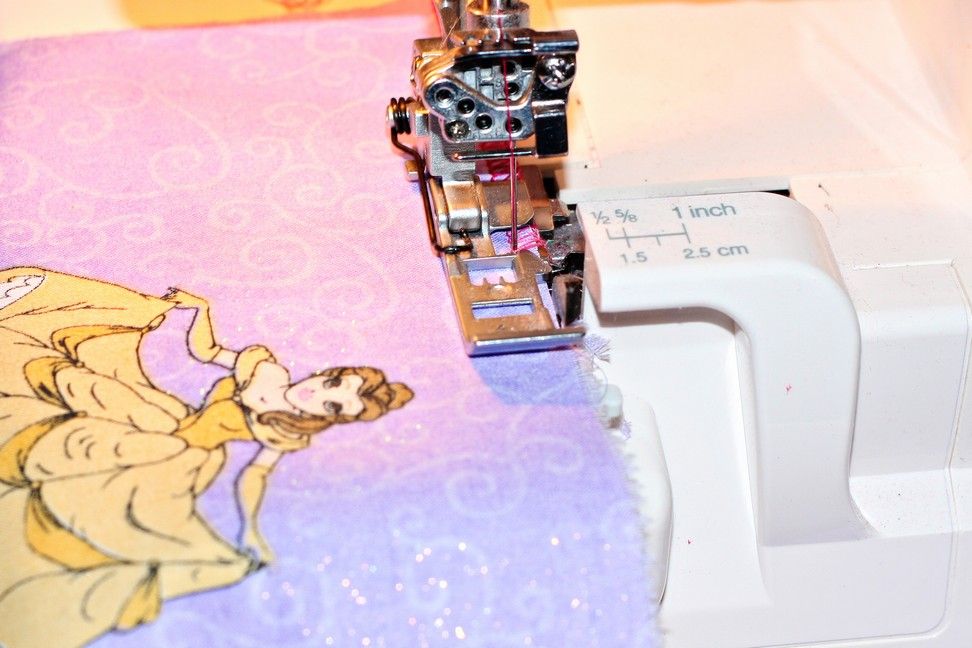
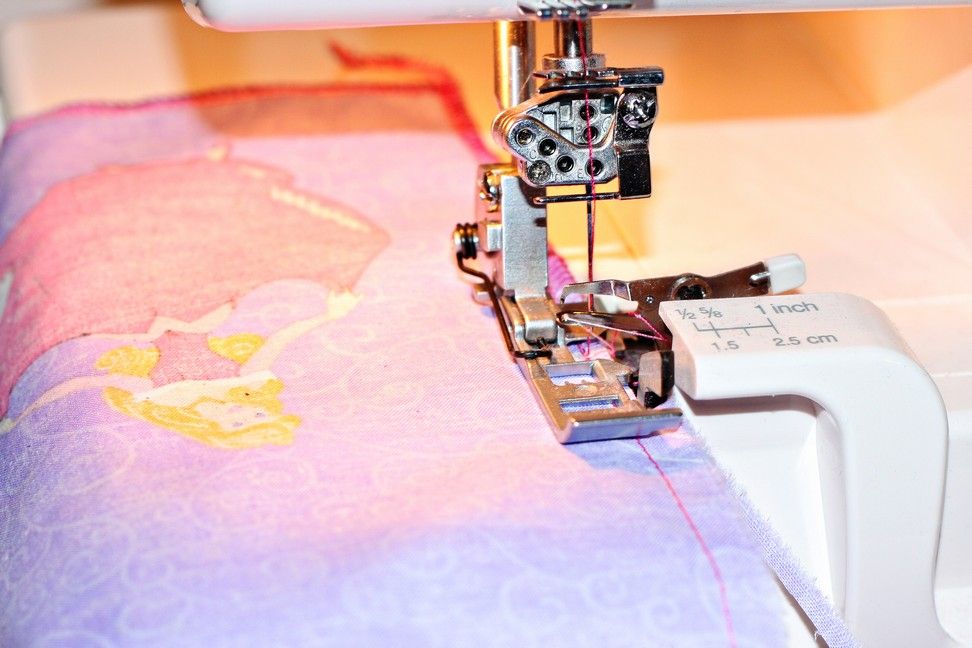
Serge the top of both pieces.
OR you can zig-zag the edges.


Place the fabrics together with right sides facing.
Sew both sides, then the bottom 1/4" from the edge.
Serge all the raw edges.
OR you can zig-zag the edges.

Time-out:
Before turning the bag inside out, you could square the corners for a different look.


Turn the bag inside out.
Iron flat (optional).
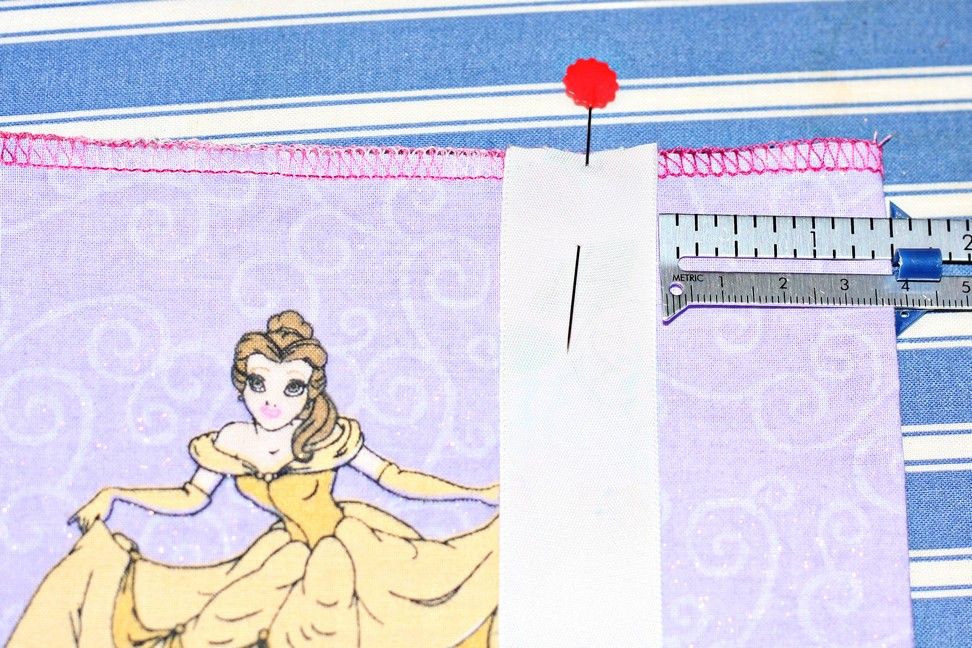
With the
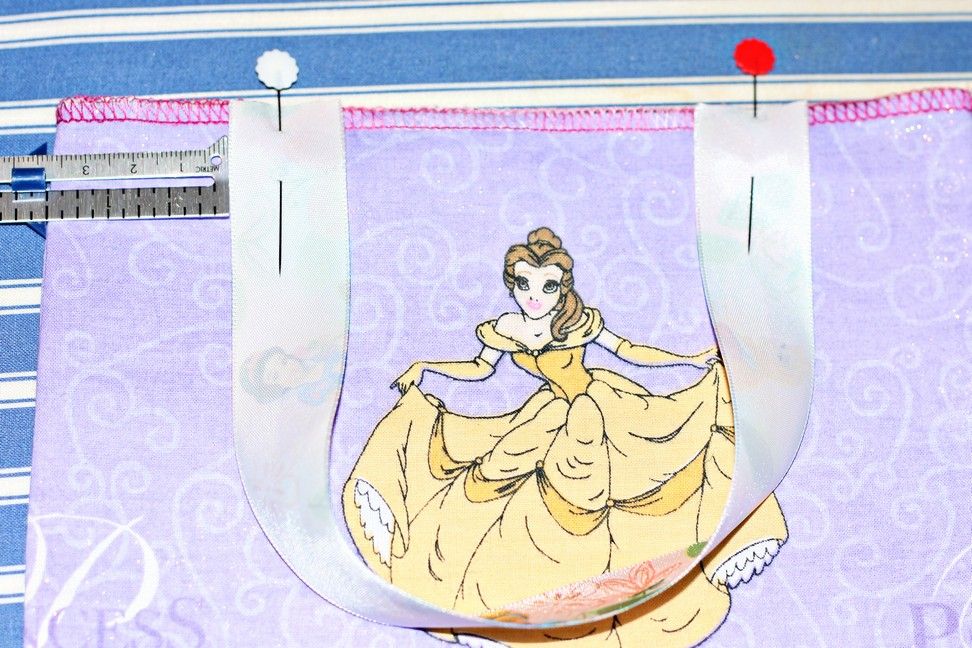
right side of the ribbon facing the right side of the bag, pin the ribbon 1 1/2" from the side of the bag.
Pin the other end of the ribbon 1 1/2" from the other side of the bag.
Repeat on the opposite side of the bag with the second ribbon.


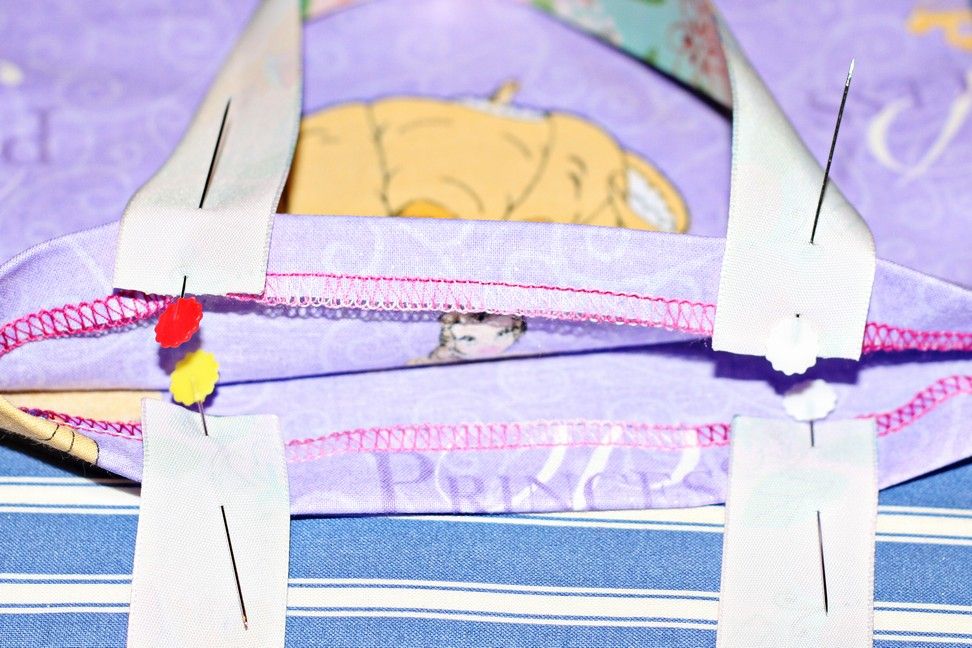
Fold the top of the bag under 3/4".
Iron flat (optional).
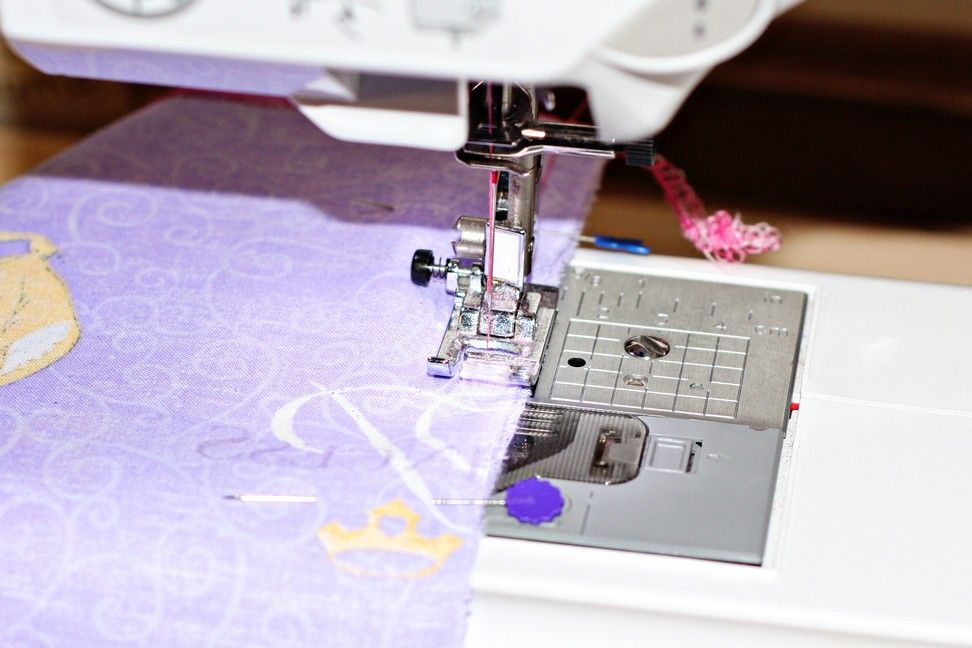
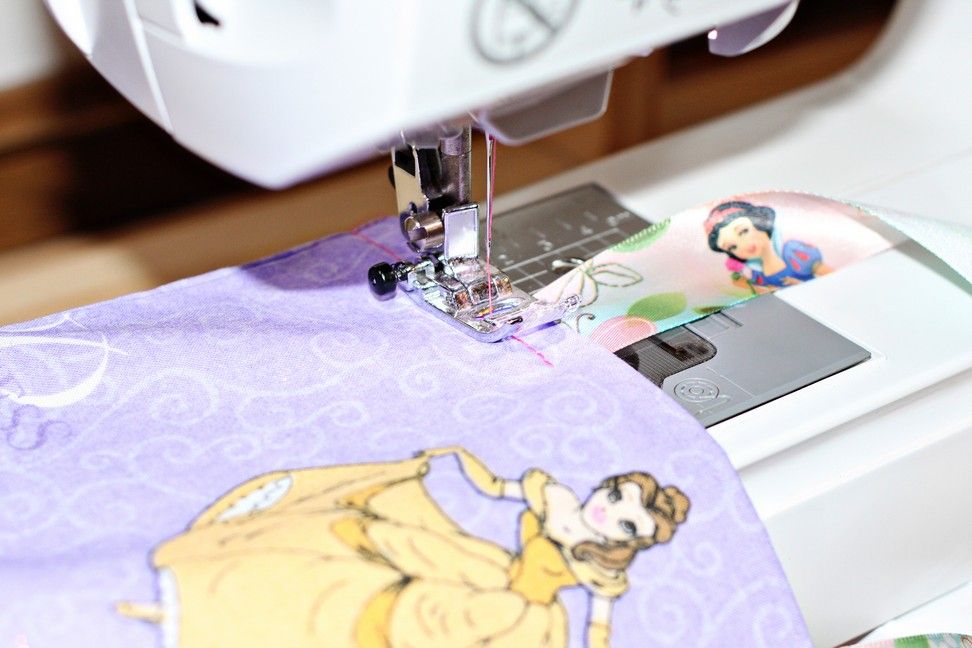
Top-stitch 1/2" from the top of the bag.
Reinforce the handles by back-stitching over the ribbon.


All done! See how simple that was?!


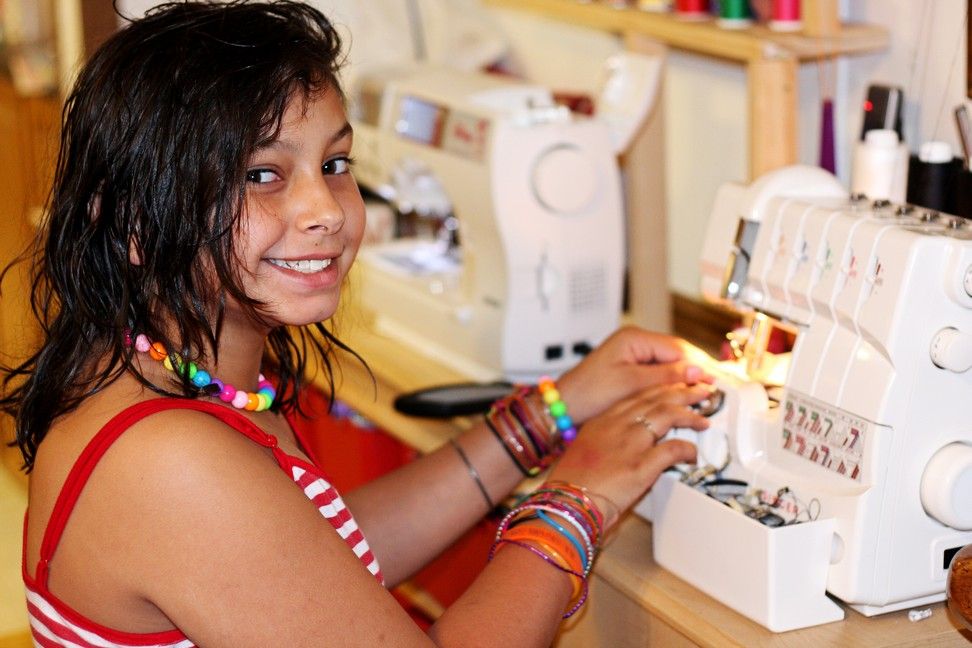
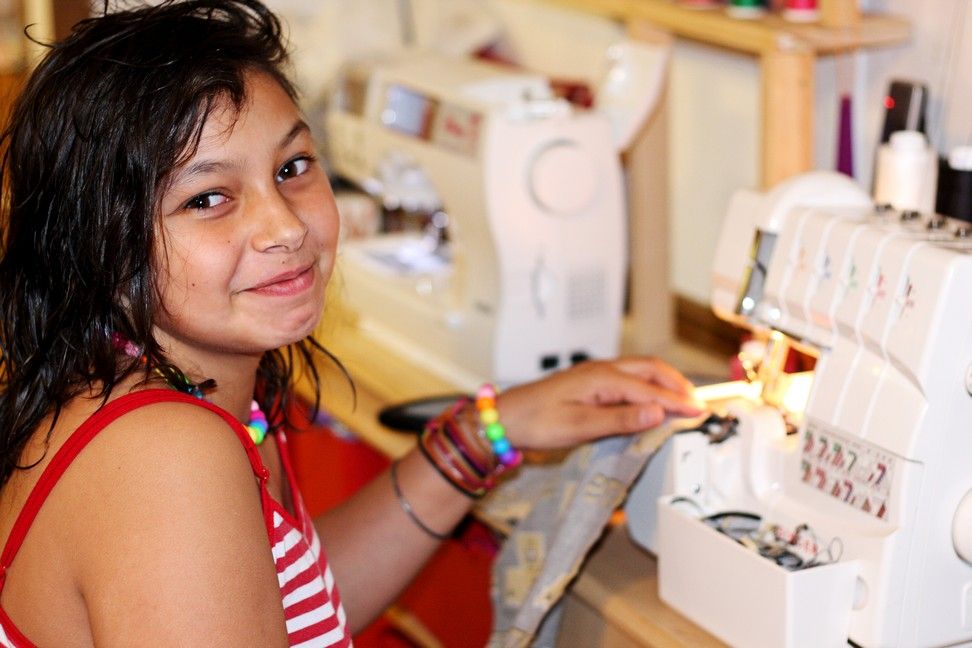
POST-IT-NOTE: The night (and early morning) before Serenity's birthday party, Bethany stayed up to help me with all kinds of last minute party stuff.
She also helped me make almost 20 gifts bags!
She was such a BIG help - I couldn't have gotten everything done without her!!

Thank you Bethy!!


POST-IT-NOTE 2: I would like give a HUGE thank you to One Pretty Thing for linking this post!

Have fun!


StumbleUpon.com
Related Posts with Thumbnails