Tuesday, October 4, 2011

Double Crochet Flower

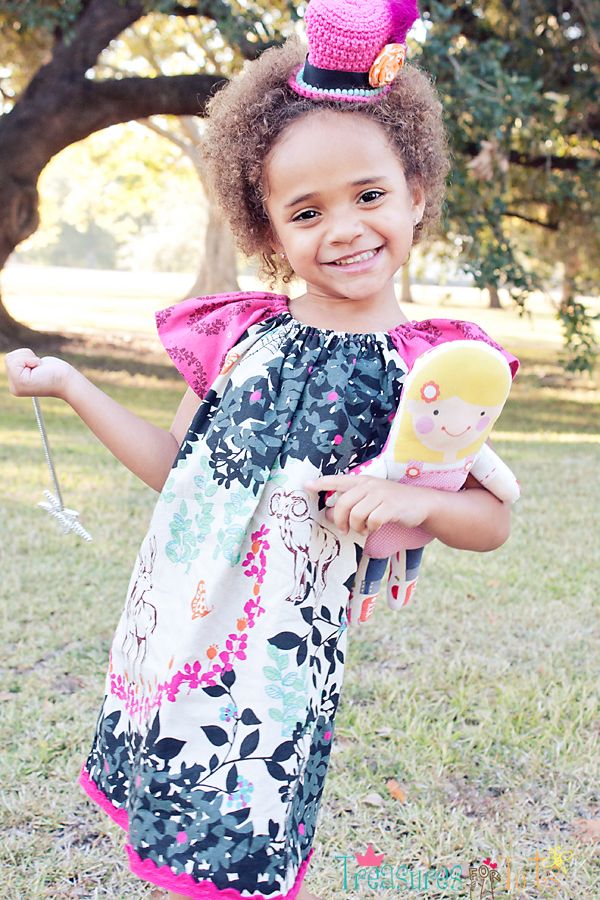
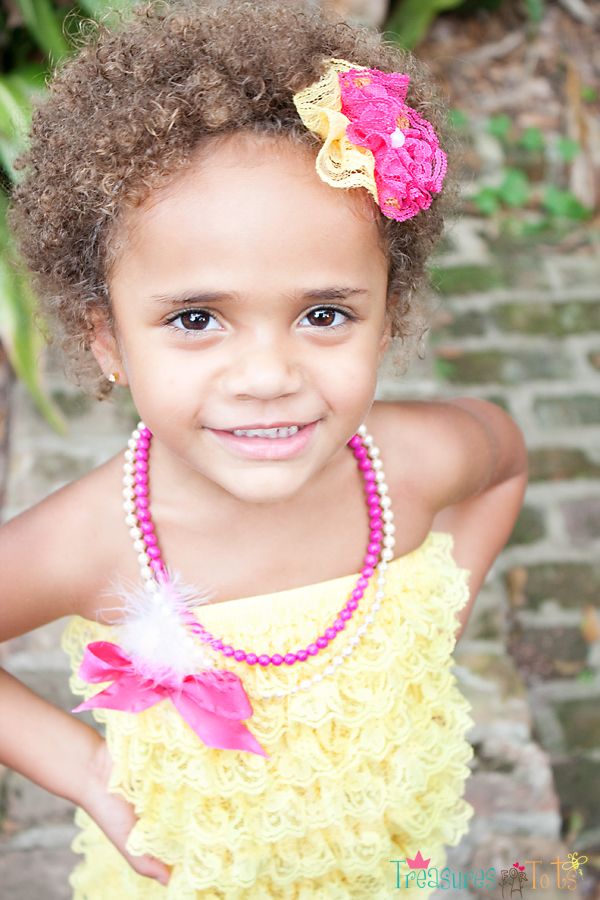
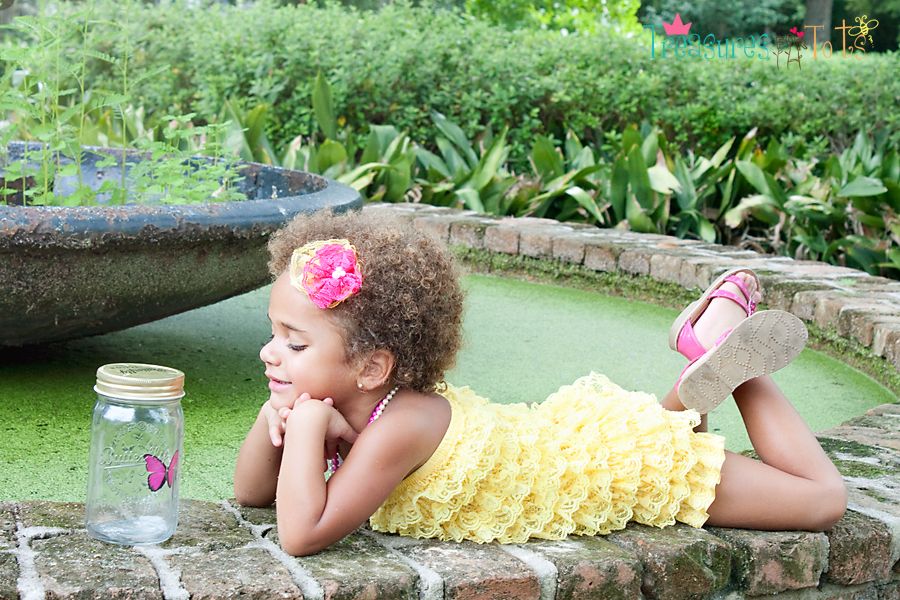
Serenity's dress is from courtneycourtney! I'll have more pictures of it soon!


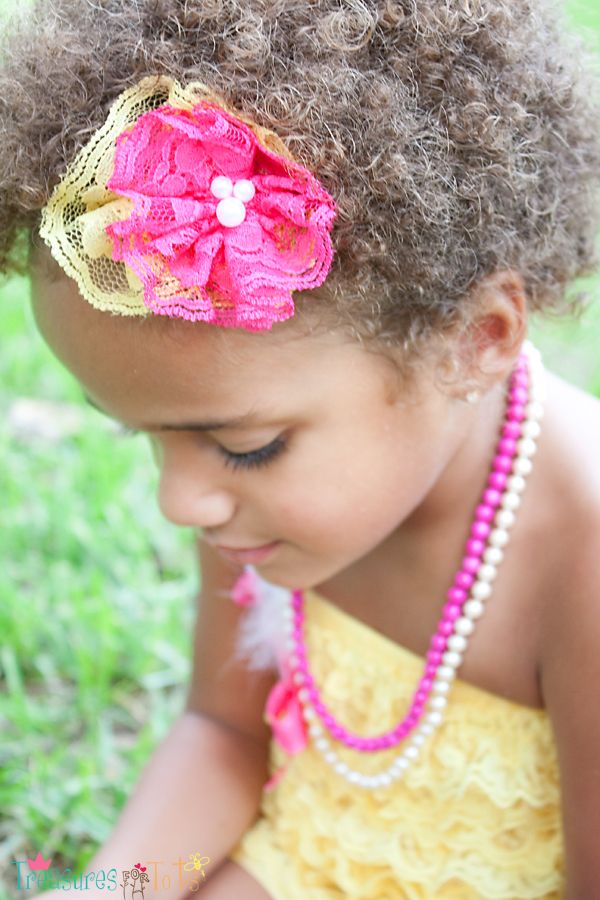
I found the cutest crochet flower from Daisy Cottage Design and had to try it!


The Double Layer Daisy pattern is super easy to make - even for beginners.

I did alter the pattern slightly because I think it works up faster for me, but it's still very easy to crochet.

Here's how I made the two double flowers on Serenity's headband:

Abbreviations:
ch = chain
sp = space
sl st = slip stitch
sc = single crochet
dc = double crochet
tr = triple crochet
bpsc = back post single crochet

Crochet Hook Needed:
F, 1st double flower
H, 2nd double flower

Yarn:
Sugar 'n Cream 100% cotton yarn


Double Crochet Flower:

Round 1: Start with a Magic Adjustable Ring, 10 dc in circle, join with a sl st, tighten ring.
Round 2: ch 1, sc in same st, *ch 2, skip 1 sc, sc in next stitch, repeat from * around, ch 2, skip 1 sc, join with a sl st.
Round 3: *ch 3, 3 tr in ch 2 sp, ch 3, sl st in sc, repeat from * around, join with a sl st.
Round 4: ch 1, *bpsc around sc post on round 2, ch 3, repeat from * around, join with a sl st.
Round 5: *ch 2, 3 dc in ch 3 sp, ch 3, sl sc in sc, repeat from * around, join with a sl st.

Fasten off and weave in ends.

Make two flowers different sizes, and use your glue gun to attach it to a headband or hat.


While you've over at Daisy Cottage Design, check out her FREE Newborn Owl Hat pattern, Petal Daisy Flower and other wonderful tutorials too!

This project is CHEAP!
It can be made with left-over yarn so you don't have to run out and buy a thing!
Sweet!

DIY under $5

Have fun!


StumbleUpon.com

Sunday, October 2, 2011

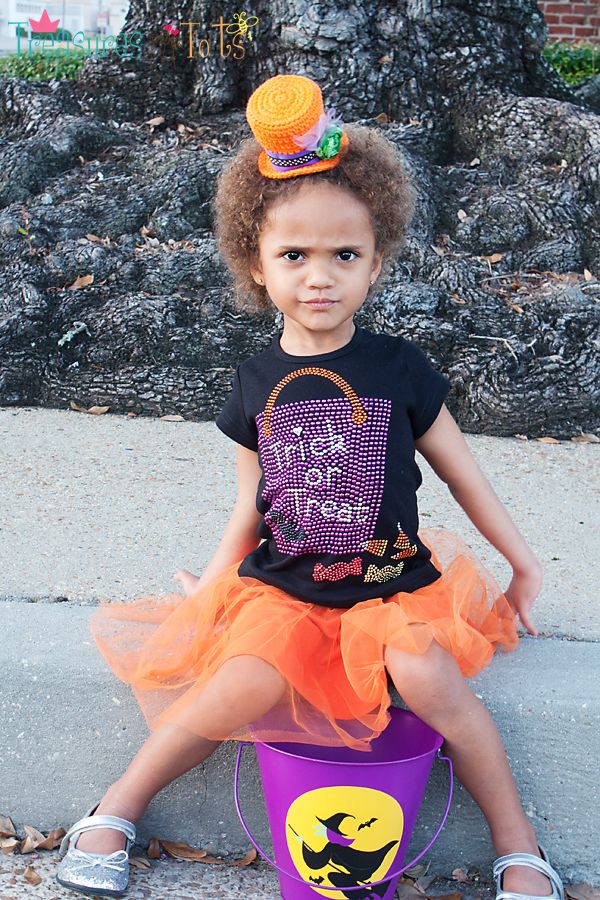
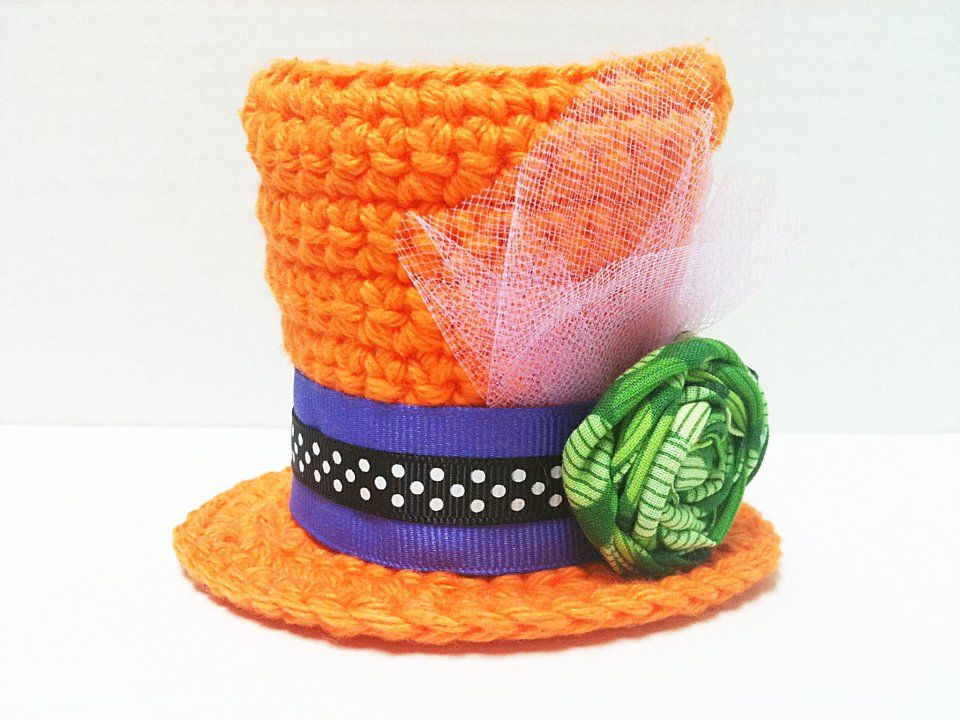
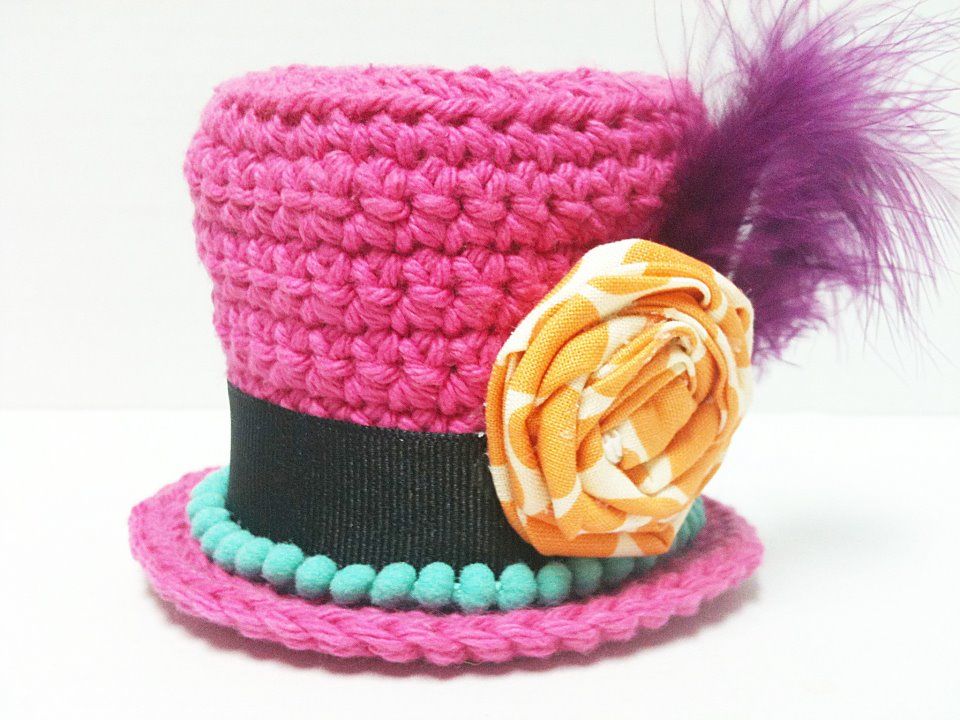
Mini Top Hat Crochet Pattern

Serenity's adorable Halloween shirt is from Paperlili!


Abbreviations:
ch = chain
bl = back loop
sl st = slip stitch
sc = single crochet
sc2tog = single crochet two stitches together


Crochet Hook Needed:
F, but you can use whatever size you want.
Remember the hat can be bigger or smaller depending on the size hook you use.


Yarn:
1 skein of Sugar 'n Cream 100% cotton yarn

Mini Top Hat Crochet Pattern:
Row 1: Start with a Magic Adjustable Ring, 10 sc into ring, join with sl st, tighten ring.
Row 2: ch 1, turn (always turn your work in the same direction throughout), 2 sc in each sc around, join with sl st.
Row 3: ch 1, turn, sc in each sc around, join with sl st.
Row 4: ch 1, turn, 2 sc in each sc around, join with sl st.
Row 5: ch 1, turn, sc in each sc around, join with sl st.
Row 6: (working in bl only on this row) ch1, sc in each sc around, join with a sl st.
Row 7: ch 1, turn, sc in next 9 sc, sc2tog, sc in each sc around until last 10 sc, sc2tog, sc in each sc, join with a sl st.
Row 8: ch 1, turn, sc in each sc around, join with sl st.
Row 9: ch 1, turn, sc in next 8 sc, sc2tog, sc in each sc around until last 9 sc, sc2tog, sc in each sc, join with sl st.
Row 10: ch 1, turn, sc in each sc around, join with a sl st.
Row 11: ch 1, turn, sc in next 7 sc, sc2tog, sc in each sc around until last 8 sc, sc2tog, sc in each sc, join with a sl st.
Row 12-13: ch 1, turn, sc in each sc around, join with sl st.
Row 14: ch 1, turn, sc in next 6 sc, sc2tog, sc in each sc around until last 7 sc, sc2tog, sc in each sc, join with a sl st.
Row 15-17: ch 1, turn, sc in each sc around, join with sl st.
Row 18: (working in bl only on this row): ch 1, turn, 2 sc in same sc, 1 sc in next sc, *2 sc in next sc, 1 sc in next sc, repeat from * around, join with sl st.
Row 19: ch 1, turn, sc in each sc around, join with sl st.
Row 20: ch 1, turn, sc in next 12 sc, 2 sc in next sc, sc in each sc around until last 13 sc, 2 sc in next sc, sc in each sc.

Fasten off and weave in the ends.

Attach to alligator clips or a headband after embellishing.


Embellish your new mini top hat with scraps of :

ribbon
feathers
silk flowers
lace
various trims
netting
buttons
bows
rolled shabby flowers
pearls
rhinestones
tulle

Whatever sparks your creativity!

This is an inexpensive fascinator.
It'll cost between $5 - $10 for the supplies.
It can be crocheted in about 30 minutes (or a little more depending on your level of expertise).
They are perfect for party favors too!


This tutorial is for personal use only.
If you do make a fascinator using my tutorial, I would appreciate a link back to this tutorial please!
I always try to give full credit to the creative blogs and people who inspire me - you can see evidence of this all over my blog!
I only ask for the same curtsy in return.

Thank you!


Have fun!

StumbleUpon.com

Monday, September 12, 2011

Tea Party Birthday


Serenity will be turning 5 soon and we are having a tea party birthday at La Tea Da in Thibodaux.

You can find them on Facebook here.

I've been looking around for fun tea party themed supplies and favors.
There is so much cute stuff online!!

Here's some I've found so far:


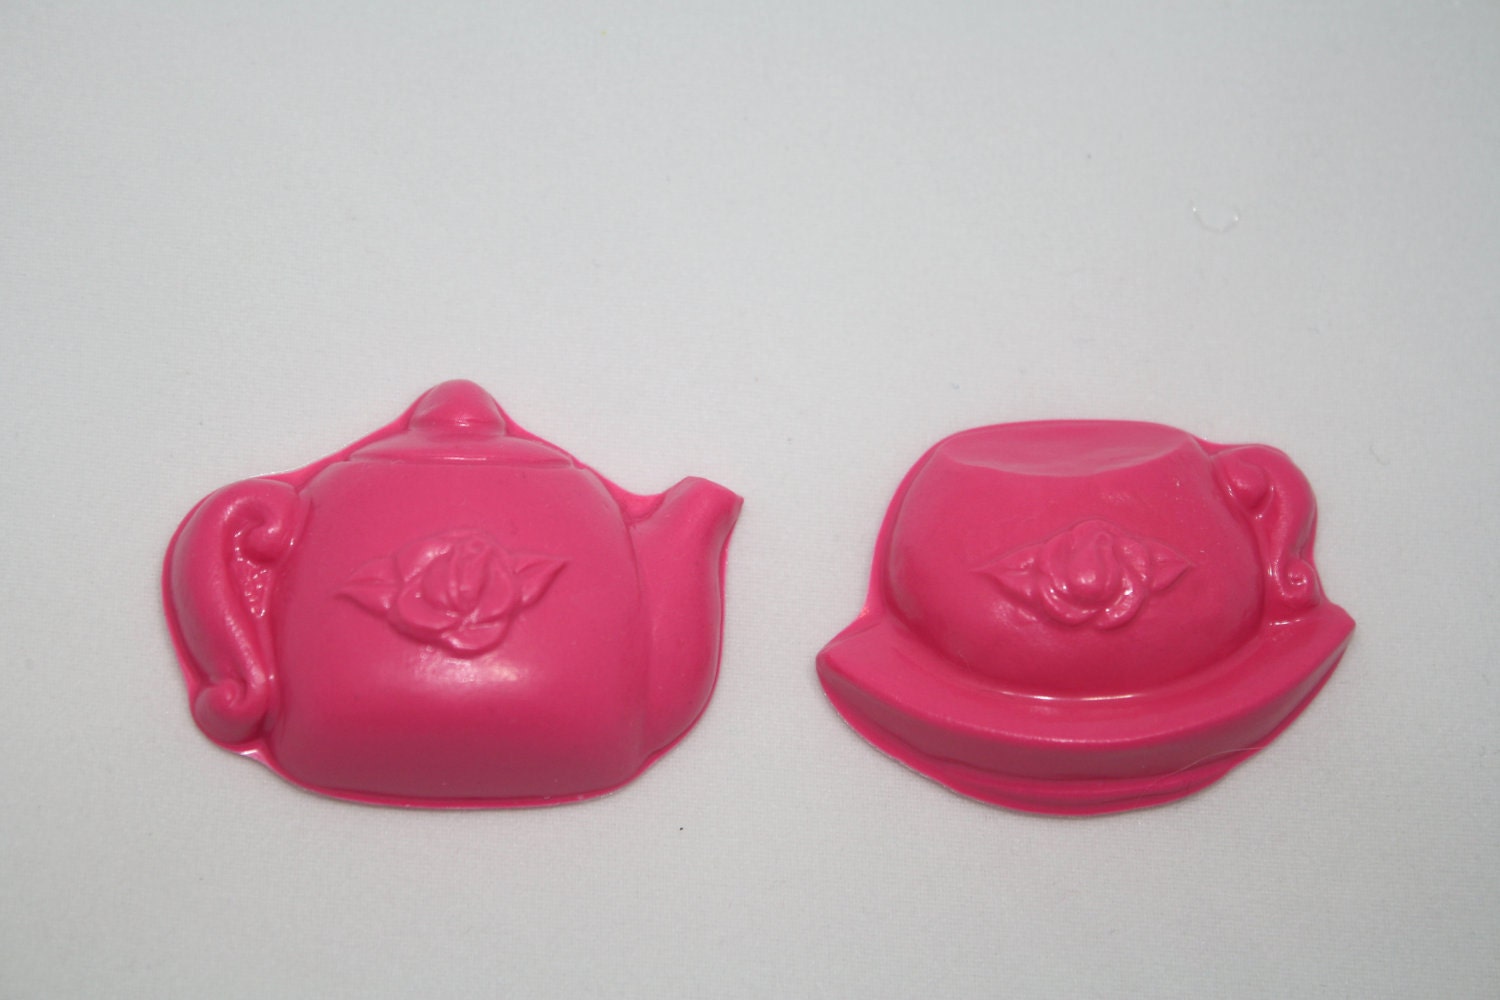
Tea pot and cup crayons at Posh Paper Creations on Etsy.
Or you can make your own by carefully pre-melting crayons and pouring the wax into these candy molds:


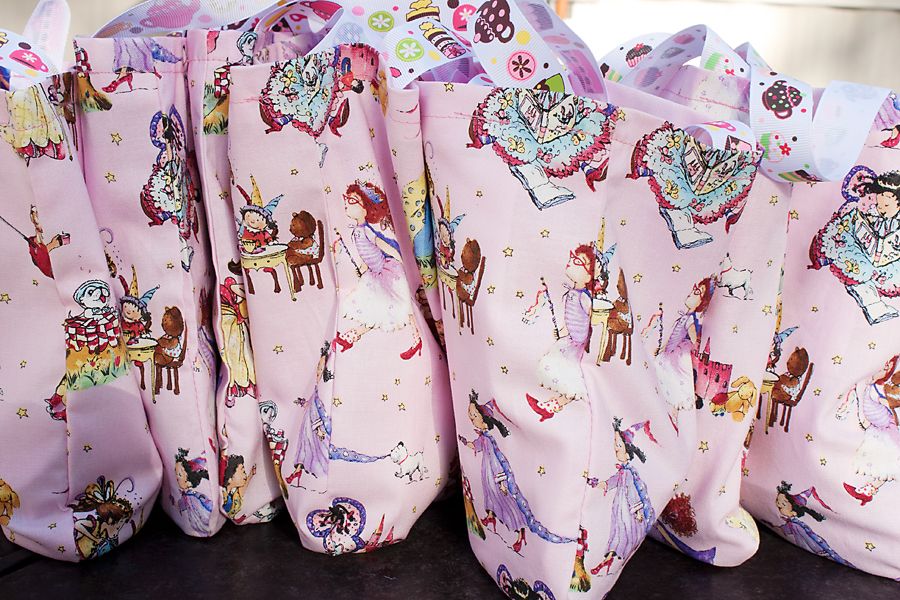
Here's some adorable multiracial Princesses Have a Tea Party fabric for homemade gifts bags.


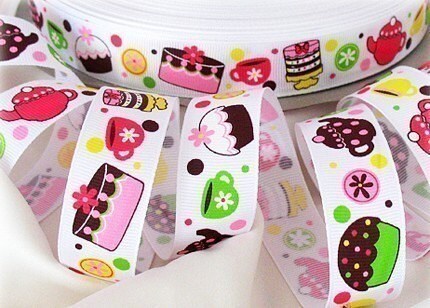
Here's some cute tea-themed ribbon for the gift bag handles:


Combine the two to make these fun Tea Party themed gift bags!
Use my gift bag tutorial to see how I made them!


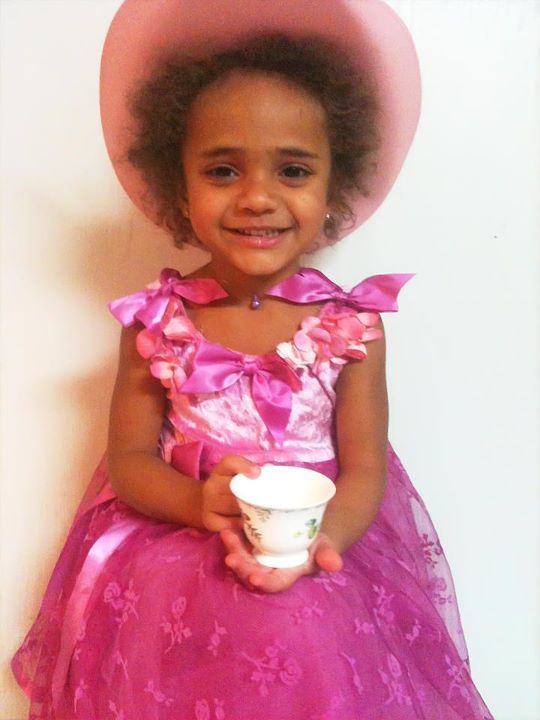
In the cell phone picture above, Serenity is holding a little tea cup (set of 6) that I bought on Amazon.
Only $11.19 and FREE shipping w/Prime.
They are the perfect size for little girls!
You can find the matching teapot ($10) here.
FREE shipping w/Prime too!


I also love this play makeup by Mini-Play.
Just like Mommy's!


Or you can make your own - much cheaper if you're doing party favors for 6 little girls!
I've made some before - but mine didn't turn out nearly as nice as this Mommy's set!
She found all her cute supplies at the Dollar Store.
Check out her entire post on her blog, Meet the Dubiens.


I love these cute non-toxic nails polishes by Piggy Paint.
But at $8.99 they are out of my price range.


AllyKats also has non-toxic nail polish for kids.
They peel-off so you don't need to buy nail polish remover.
Affordable at $4.99!


A cute (and inexpensive) pinata at Amazon!


Tea cup cupcake silicone molds with saucers.
These are too fun!
Even I could decorate these cute!


As for cakes, you can find TONS of idea online.
If I wasn't the worst cake decorator in the world, I would try make this "simple" tea pot cake:


I'm still looking around at tea party fun supplies so I may update this post when I come across something new!


Have Fun!

StumbleUpon.com

Sunday, September 11, 2011

Remembering 9/11


Remember 9/11 and all the Firefighters who lost their lives struggling to save the people trapped in the WTC towers. 

Please keep in your hearts those firefighters who have developed cancer while wading through unimaginable, toxic dust to find WTC survivors and save others on that fateful day.
You can donate to help firefighters at Firefighter Cancer Support Network.
Also, tune in to Sanjay Gupta's Terror in the Dust.


You can donate to help the families of fallen firefights by going to the National Fallen Firefighters Foundation.


What is a fireman? 

He is the guy next door - a man's man with the memory of a little boy. He has never gotten over the excitement of engines and sirens and danger.
He is a guy like you and me with wants and worries and unfulfilled dreams.
Yet he stands taller than most of us.
He is a fireman.
He puts it all on the line when the bell rings.
A fireman is at once the most fortunate and the least fortunate of men.
He is a man who saves lives because he has seen too much death.
He is a gentle man because he has seen the awesome power of violence out of control.
He is responsive to a child's laughter because his arms have held too many small bodies that will never laugh again.
He is a man who appreciates the simple pleasures of life - hot coffee held in numb, unbending fingers - a warm bed for bone and muscle compelled beyond feeling - the camaraderie of brave men - the divine peace and selfless service of a job well done in the name of all men.
He doesn't wear buttons or wave flags or shout obscenities.
When he marches, it is to honor a fallen comrade.
He doesn't preach the brotherhood of man.
He lives it. 

-Author unknown


StumbleUpon.com

Zote Laundry Jelly


Supplies:
1 - 5 gallon bucket*
1 (14.1 ounce) bar of Zote**
3 cups Arm & Hammer Super Washing Soda***
3 cups Borax
Water
Grater
Long mixing spoon or paddle


Instructions:
1. Grate the Zote bar.
2. Add the grated Zote to a pot with water on medium heat and stir until melted.
3. Fill the bucket halfway with HOT water.
4. Add Washing Soda and Borax, stir until the powder is dissolved and everything is blended together. 
5. Add the melted Zote; stir well.
6. Fill the bucket to the top with HOT water, stir well and cover overnight to cool and jell.
---------------

Use 1/4 - 1/2 cup per load. 
Some water will collect at the top which is normal and great for delicates.

You can also fill a liquid laundry jug up halfway with the Zote jelly and then fill it with water. 
It will thicken, so shake well before each use.

I scoop the jelly straight from the bucket since it dissolves easily in the washer.

A 5-gallon bucket of Zote jelly is easy to make and inexpensive - only pennies per load! 

---------------
*Lowes and Home Depot carries 5 gallon buckets. I like the Gamma2 spin lid instead of a traditional bucket lid. They are easy to spin off and on, and offer an air-tight seal. They also come in several colors.

**Big Lots carries Zote for like 80¢ a bar, or you can substitute three bars of Fels Naptha for the Zote.

***It may be hard to find Arm & Hammer washing soda in your area. A friend told me to try local hardware stores. I ordered mine online at SoapsGoneBy.com. Right now it's $6 a box, but I stocked up when they had a sale last year.
Buy.com has Arm & Hammer Super Washing Soda for only $2.99 w/free shipping if you spend $40. That's 14 boxes! But it might not be a bad idea if you can't find it locally and plan to start making your own.
----------------

This is almost the recipe I use for my powdered Zote laundry soap, but I copied a friend's jell technique. 
She convinced me to try the jelly verison. 
She acutally used Fels Naptha, but I like Zote's light and fresh clean smell on our clothes.

Zote jelly makes very little suds, so it's perfect for your regular and HE washing machines.

Some people have problems using homemade laundry soap, but I think that it's mostly due to hard water.
eHow has a homemade water softener that may work for you. 
It's a simple and inexpensive solution:

1 cup Borax
2 cups washing soda
water

Mix all them together in a gallon container leaving a 1/2" space at the top.

Add 1 cup into the wash with your homemade (or regular) laundry soap.


UPDATE:
My local Wal-Mart now sells washing soda, Borax AND Fels Naptha!


Have Fun!!

StumbleUpon.com

Friday, August 19, 2011

Izzy's Attic


Recently I bought this adorable lacy Petite Romper and matching headband from Izzy's Attic at Etsy for Serenity.

It's totally adorable and fun to wear for photos!


Izzy's Attic has several colors to choose from: aqua, yellow, light pink, fushia, and black.

They also offer baby, little girl and big girl sizes.


The quality Izzy's Attic's work is excellent, prices are very competitive, customer service is the best and shipping was super fast.

You can't ask for better than that!


Izzy's Attic also offers adorable matching headbands for all their lacy Petite Rompers!


And don't forget to check out their Halloween costumes!


You can find Izzy's Attic on Facebook too!


Have fun!

StumbleUpon.com

Thursday, August 18, 2011

Crochted Newborn Elf Hat

I recently created this crocheted elf hat for a newborn photoshoot.
It's inexpensive, very quick and easy to work up - even beginners can do it!


Long Elf Hat:

Abbreviations:
sl st = slip stitch
ch = chain
hdc = half double crochet

Crochet hook needed:
I, or size needed to obtain gauge.

Gauge:
4 hdc = 1"
3 rows = 1"

I used the equivalent of one skein of Sugar 'n Cream cotton yarn for the entire hat.
That's less than $5 for one hat!

Row 1: Start with a Magic Adjustable Ring, ch1, 10 hdc into ring, join with a sl st. Tighten ring.
Row 2-29: ch1, hdc in first hdc and in each hdc around, join with a sl st. (10 hdc)
Row 30: ch1, 2 hdc in first hdc and in each hdc around, join with a sl st. (20 hdc)
Row 31: ch 1, 2 hdc in first hdc and in each hdc around, join with a sl st. (40 hdc)
Row 32-39: ch 1, hdc in first hdc and in each hdc around, join with a sl st. (40 hdc)
Row 40: ch 1, hdc in first hdc and in each hdc around, fasten off.

Attach a pom-pom on the end.
Weave in all the loose ends.
All done!


POST-IT NOTE: I used a Clover Pom-Pom maker to make the pom-pom for my little elf hat (I bought a bunch of sizes when they went on sale over half off at Michael's a few years ago), but this super easy cardboard technique works great too!

Pin It


Have fun!


 http://www.thethriftyhome.com

StumbleUpon.com

Tuesday, July 19, 2011

Fairy Door

A couple days ago I came across this post by My Trendy Tykes.

A Fairy Door!

How adorable is that?!

I couldn't wait to gather the supplies and make one too!

I found everything I needed at Hobby Lobby thanks to Nest of Posies' Tooth Fairy Door post.

She made the cutest yellow Tooth Fairy door for her little boy:


How sweet!!

I had to make one for Serenity!
She loves the Tooth Fairy and goes on and on about them.
She can't wait until she's old enough to start losing teeth so the Tooth Fairy can visit.
She's had a tooth that's been "loose" for like a year now!
And we are always watching the Tooth Fairy movie with The Rock in it over and over.
That's one of the best family movies out there - right next to Aliens in the Attic!

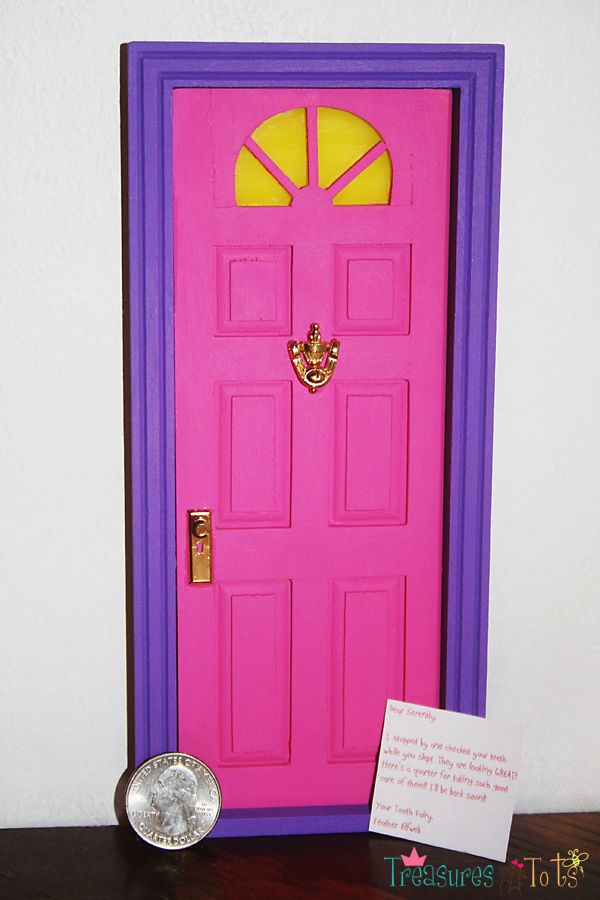
While at Hobby Lobby, I found a girly door with a little arched window for $9.99,
Americana acrylic paint on sale for 97¢,
A pack of 2 little door knobs for $2.99, and
A door knocker for $1.99.

Not too bad.
After completing the door, I have plenty of paint leftover and an extra door knob in case I want to paint another one later.


I painted the window a light yellow color that I mixed with Modge Podge.
I wanted the window to have a frosted look and I think I achieved that.
I got the idea from a pretty DIY Beach Glass Tutorial on Krafy Kat.

I made the mixture for the Fairy Door window a little different:
I added a tiny bit of yellow paint to small amount of Modge Podge.
Next, I painted a couple of coats to the window - letting it dry in-between coats.
It was easy and it worked.

I used Epoxy to attach the door knob and knocker.
The door knocker really works too!
I used similar magic strips that Nest of Posies used to "hang" the door on the wall.

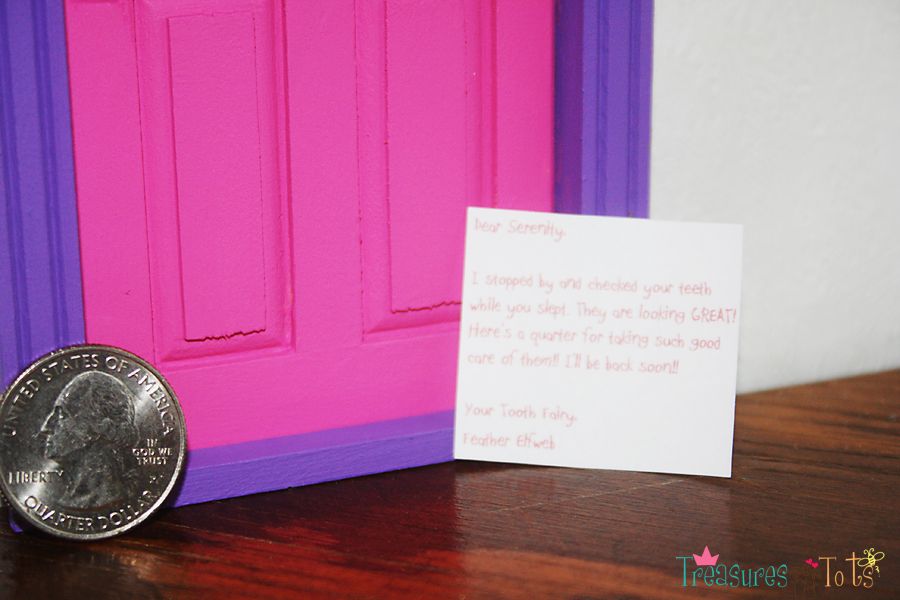
Then I got on Word to type up a little note from Serenity's Tooth Fairy:

"Dear Serenity,
I stopped by to check on your teeth while you slept.
They are looking GREAT!
Here's a quarter for taking such good care of them!
I'll be back soon!!
Your Tooth Fairy,
Feather Elfweb"


Feather Elfweb

She is cheerful and friendly.
She lives in high places where the clouds meet the earth.
She is only seen in the mist of an early morning.
She wears pale blue like the sky and has transparent green wings like a cicada.

Isn't that a pretty name for a Fairy?!
She sounds sweet and beautiful too!

I found a Fairy Name Generator online.
Just enter your child's first and last name and the Fairy Name Generator will tell you your child's Fairy's name and a little bit about her.

You can find more Fairy Doors on ohdeedoh and read about the Mythology and History behind the Urban Fairy Tale from Jonathan Wright of Ann Arbor.

If you'd like to paint your own, you can find all the supplies you need at your local Hobby Lobby.
They even had tiny house numbers in case you'd like to add your address number on the door.

Or you can buy your doors and hardware online here and here.

If you rather buy a door that's already been painted, try here, here, here, here, here, here, here, here, or here!!


Have Fun!!


StumbleUpon.com

Friday, July 15, 2011

Princess Echo


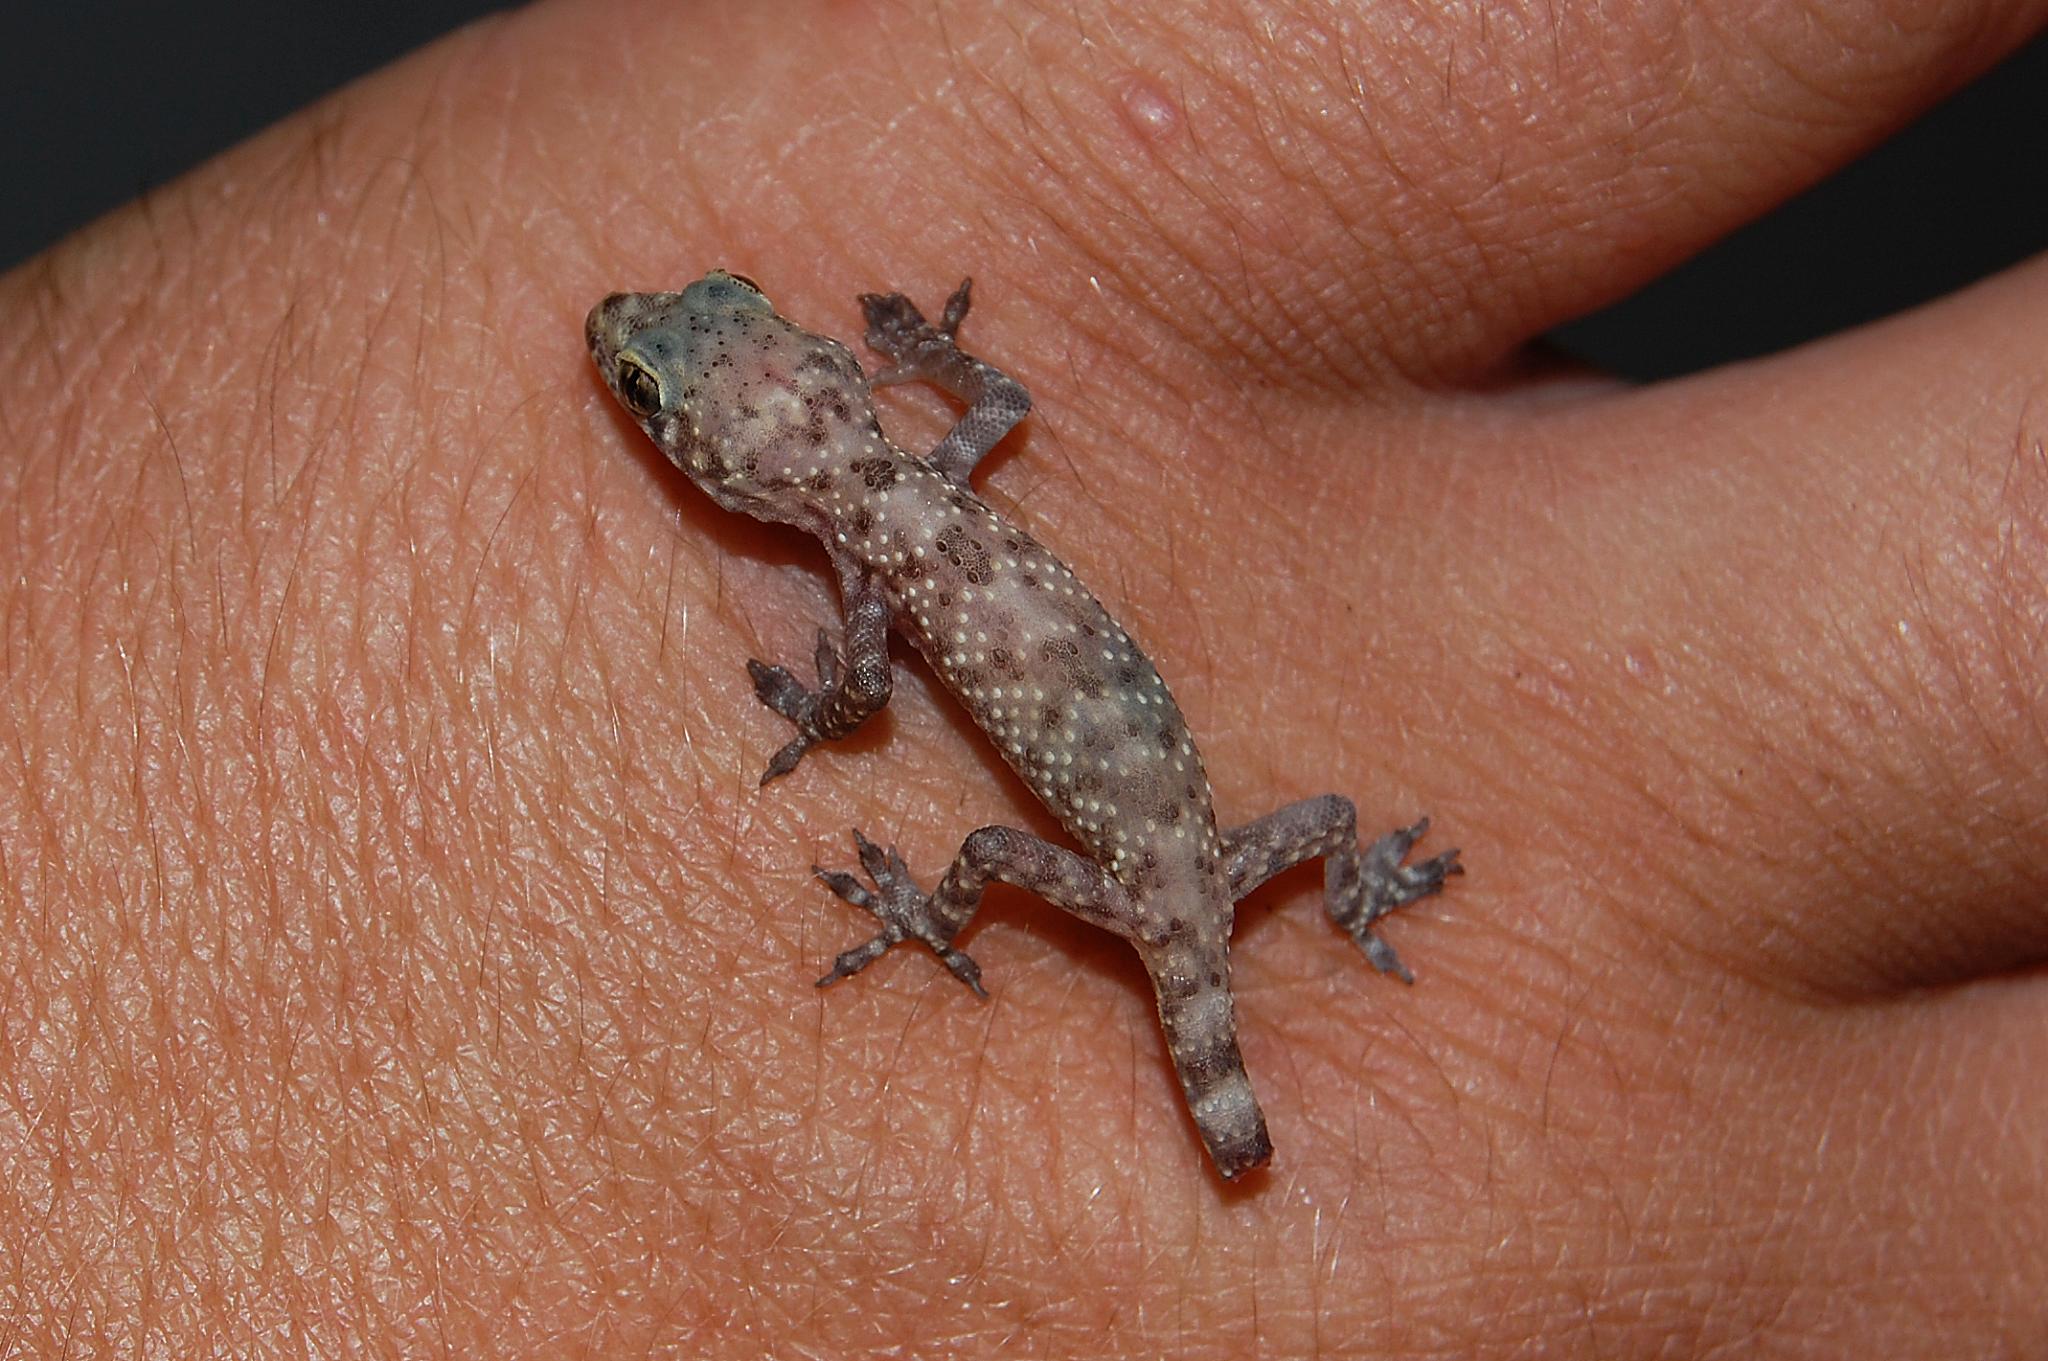
I found a tiny Mediterranean Gecko in our bathtub today.
I quickly plugged the drain so it wouldn't getting away before I could show Serenity.

She was so excited and climbed in the tub with the gecko to gently touched it.
She immediately asked to keep it.
I wasn't expecting that, but I wasn't totally against the idea.

So I got online to find out a little information about them:

They are considered a harmless invasive species that probably originally came from Southern Europe.
They like man-made places to sleep, hide, hunt, and lay their eggs - usually 1 or 2 at a time.

Image from: Journals of an Amateur Naturalist


The eggs are tiny
and similar to birds' eggs, only much smaller:

Image from: DFW Urban Wildlife


The geckos are most active at night, and are attracted to the light around your house where bugs gather.
They feed mainly on small roaches, crickets, flies, mosquitoes, moths and spiders.
I'd like an army of these little critters to keep us pest-free!

Image from: Biological Ramblings


A Mediterranean gecko's tail will detach just like a lizard's tail when it needs to escape a predator.
And also just a like a lizard, it will regenerate a new one after a while.

Image from: Flickr


Unlike most lizards, the Mediterranean gecko will vocalize by squeaking and/or chirping which is probably territorial, fighting, and/or breeding noises.
To hear the sounds they make, click here.

Pretty cool!

During the day and around a light source, they are sorta pinkish-looking, but at night they get darker.

Hmmm....

Looks like it would make a good little pet for a 4 year old, but if it's not doing well in the next couple of days I plan to release it.

My hubby took Serenity to Wal-Mart and bought one of those little $5 reptile habitats.
A
pink habitat!

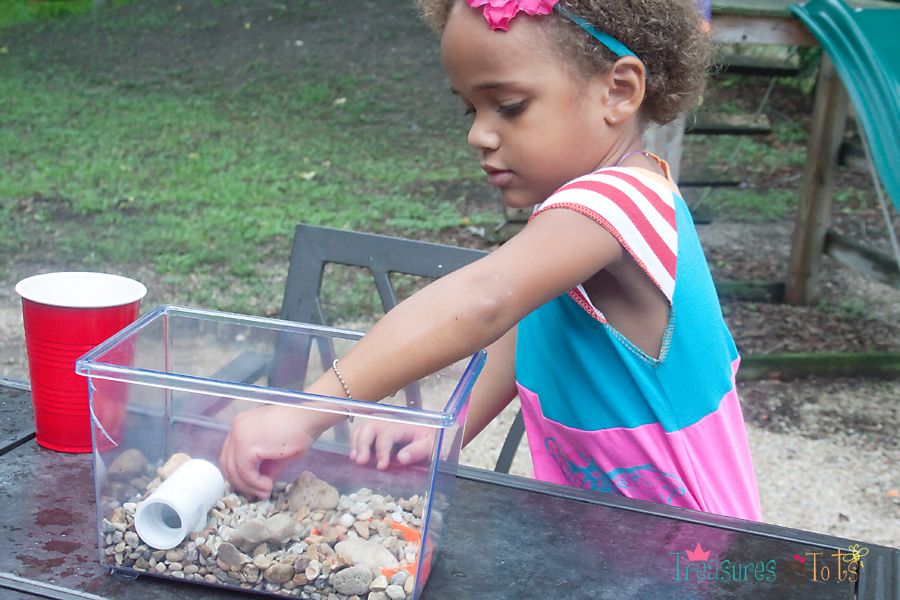
When they got home we gathered a few things to make a home for it:

Tiny pebbles
Small rocks
PVC elbow
Plastic cap from a jar
Water

First she put the PVC elbow in so it would have somewhere to hide and sleep, then poured in the pebbles.


Then she added the plastic cap and filled it with some pebbles and a rock.

I poured a little water into the cap.


Next she arranged the small rocks around the habitat.


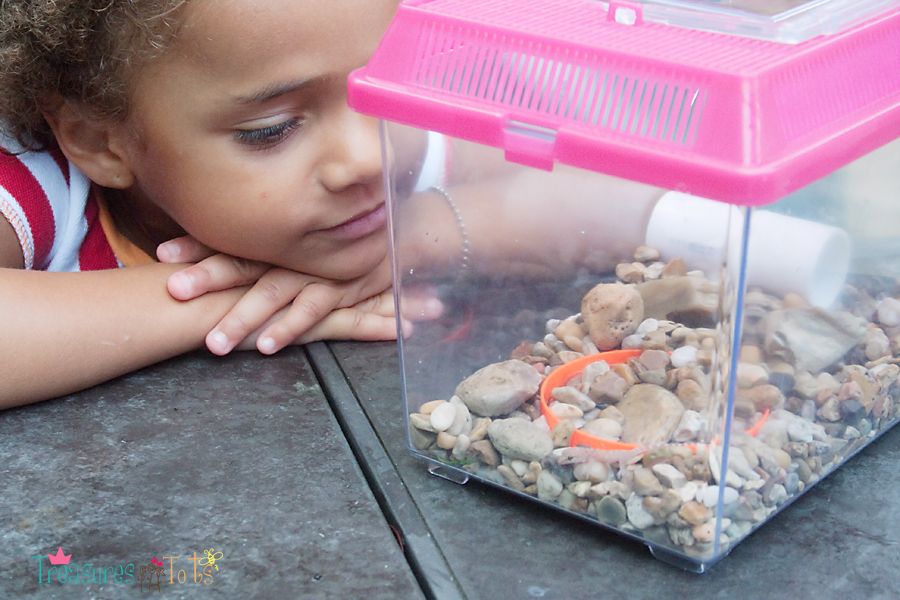
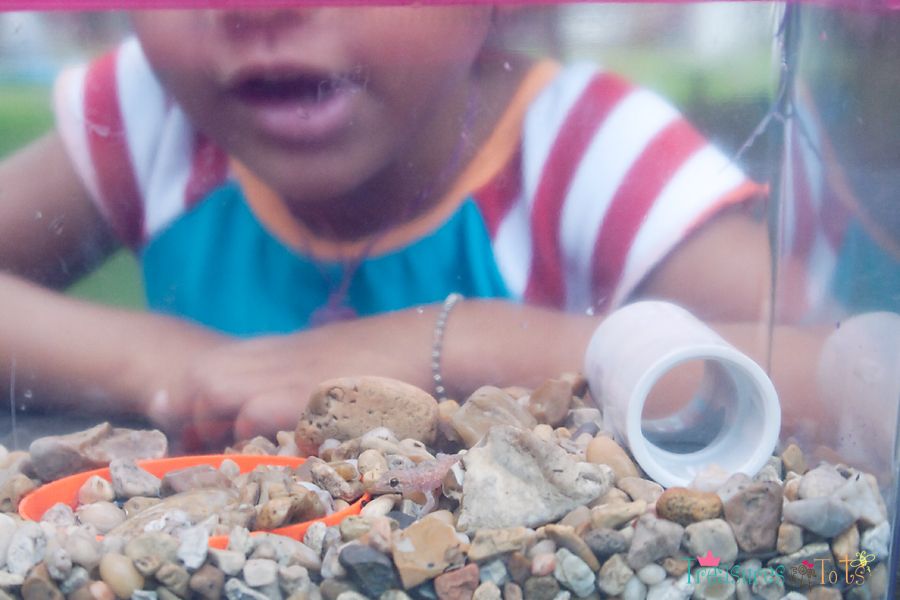
Daddy carefully captured the gecko in a cup and let Serenity put it in the habitat.
She can't quite say "gecko" - it comes out sounding like "echo".
She has also decided it's a girl.


So.....


Hello Princess Echo!


Have Fun!

StumbleUpon.com

Thursday, July 7, 2011

Pinterest is addicting!!


I just signed up to Pinterest today!

I've heard about it before today, but didn't really know what it was about.

Last night I stumbled across it and was hooked let me tell you!

One of my followers on Facebook, Lanetta's Creations, sent me an invitation and I've been glued to my computer ever since!!


It's so visual!

I love how the pictures of each interest are so prominent and the titles are itty bitty tiny.
So much easier to cruise through quickly and see as much as possible in a small amount of time.


It helps me to keep track of all my favorite tutorials, kid stuff, recipes - whatever really and access them quickly.

Then you get to flip through everything fast (or slowly) to find what you like best too!


However getting caught my boards caught up with all my favorites might take some time - like I said soooo addicting!!

If you haven't signed up yet, what have you been waiting for?!
Need an invitation? Just email me and I'll send you one!

Don't forget to follow me on Pinterest once you join too:

Follow Me on Pinterest


Have Fun!

StumbleUpon.com

Monday, July 4, 2011

Independence Day!

Hope y'all are having a wonderful 4th of July with friends and family!


Have fun!
StumbleUpon.com
Related Posts with Thumbnails