Friday, January 20, 2012

13 Ounces or Less

Recently I discovered giver'slog on Pinterest.

I love AmberLee's series, 13 ounces or less!
She finds all kinds of creative ways to send cute gifts in the mail.
Including flip-flops, a ball (who knew you could send a ball with only stamps and an address?!) and a clown disguise!

But here's the catch - everything has to weigh 13 ounces or less!

Okay - I had to try it!

We send things in the mail all the time to Serenity's BFF Pen Pal Brianna (her Mommy is Grow With Me Gifts), but this time giver'slog inspired me to get a little more creative with the packaging. 

Please excuse the quality of the photos - I forgot to grab my big camera when I left the house and these are taken with my cell phone.
------------

I found a little plastic "paint can" from Target in the dollar aisles a while back and decided to fill that up and mail it.
The key is to take everything out of it's original packaging.
I went to a little local place called Mailbox Express instead of my actual Post Office - I've been going there for years since it's closer to my house, and the ladies over there are so nice!

I'm not totally sure the PO will accept it yet, but I'm keeping my fingers crossed they do!
I'll update once I find out if the paint can arrives at Brianna's with no problems.

The paint can is filled with a few Dollar Store toys, little trinkets from Target's dollar aisles, and a rolled-up note from Serenity - weighing in at a whopping 4.7 ounces!
~I forgot to get a picture of the toys before I packed the container.~

Serenity got to put the stamps on the paint can after they printed a label for us.
They taped the top of the can for us too.

All ready to be mailed to Brianna!

I love this idea and it's such a fun activity for kids!
I have quite a few things in mind that Serenity can mail in the future.

Don't forget to check out giver'slog and see all the cool things she's mailed that's 13 ounces or less!


Update:
Brianna got it in the mail yesterday!
Kim posted on her blog, Grow With Me Gifts pictures of Brianna enjoying all the little toys in her fun gift.
We are so happy it was such a hit, and that it went through the mail successfully! 
Serenity was glad Brianna got her little "note" the most! 


Have fun!


Wednesday, January 18, 2012

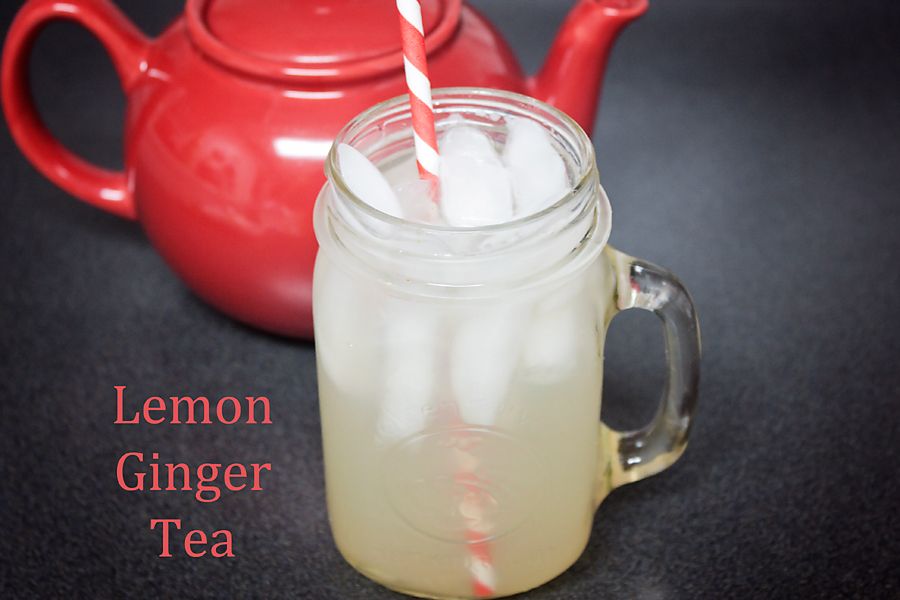
Lemon Ginger Tea


This refreshing, naturally sweetened drink is so easy to make!
Gingerlemon and honey are great for your health too.

Fresh ingredients are the best, but I just used what I had in my kitchen.

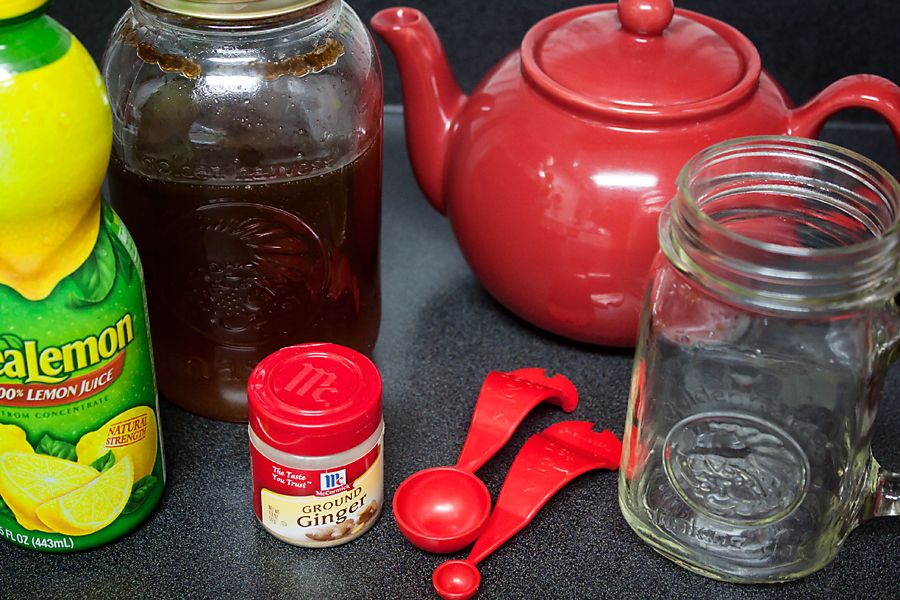
Ingredients:
ground ginger 
lemon juice
honey
hot water
cold water
ice

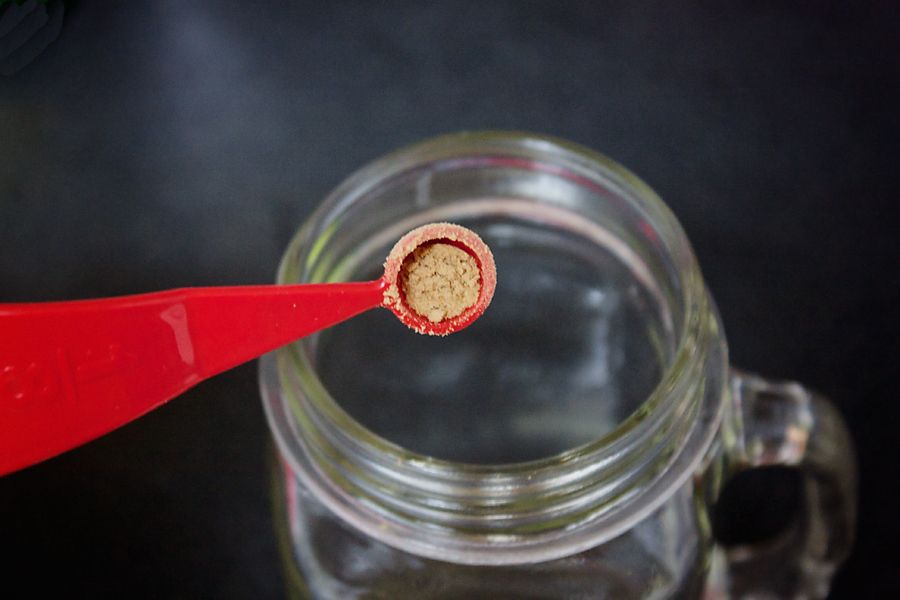
1/8 teaspoon of ginger:

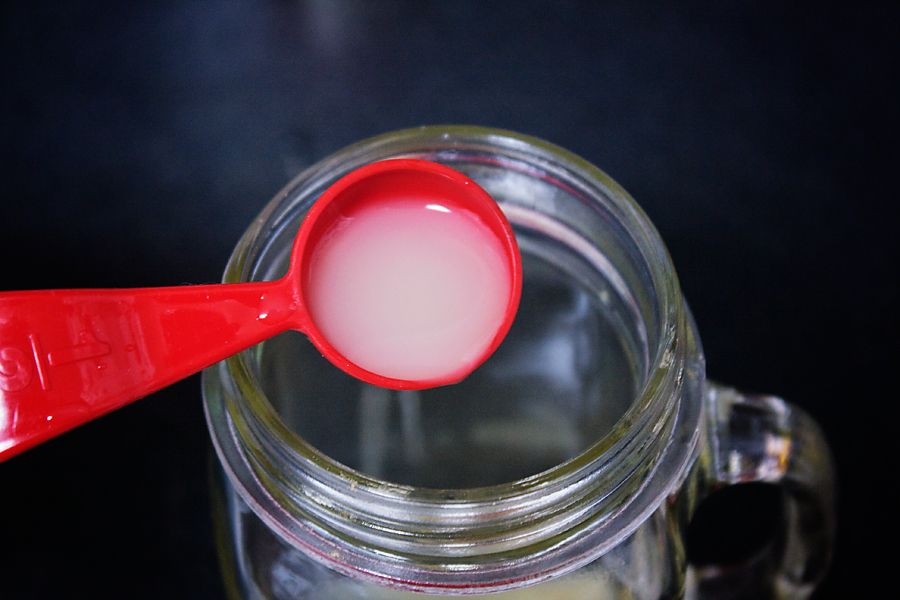
1 tablespoon of lemon juice:

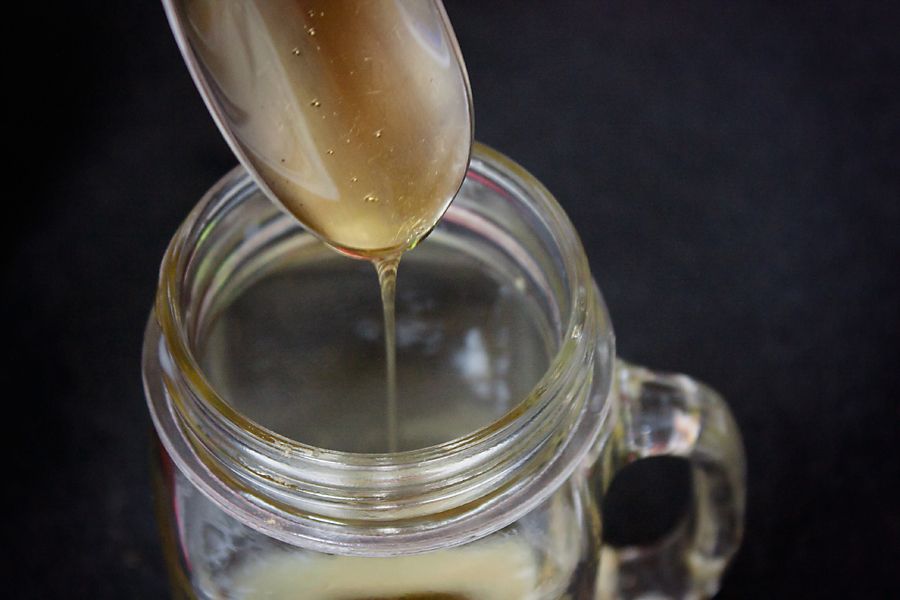
1 tablespoon of honey:
~Local honey is best!~

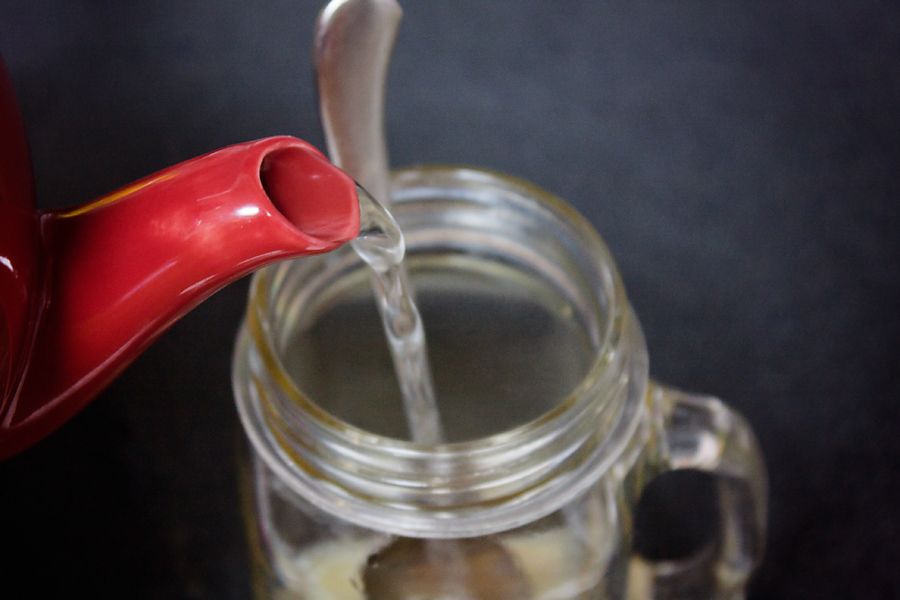
1/4 cup of hot water and stir:
~You could fill your glass and drink it hot instead of moving on to the next step.~

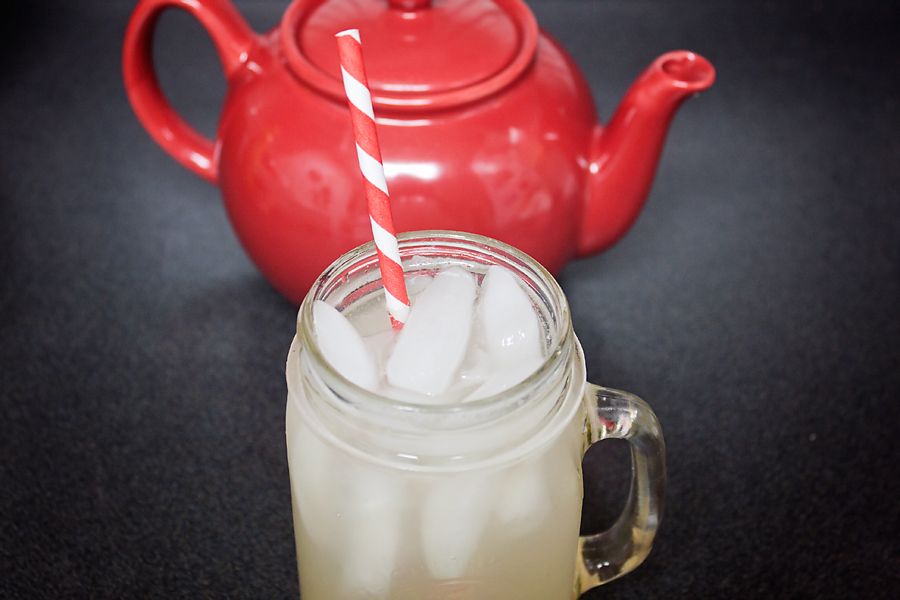
Fill your glass with plenty of ice and cold water.
Stir.
Enjoy!

Have fun!
Monday, January 16, 2012

DIY Fabric Organizers


These are super easy to make and won't cost you a dime!


I first saw fabric organizers over at The Cottage Home:

Aren't they great?
But so expensive!
$131.62 for 75 large (10" x 14") organizers!
I have a lot of fabric and I just can't afford to wrap my whole collection.

Then I found a DIY fabric organizers using cardboard from Kandra's Corner.

Nice!

She used rubberbands to secure the fabric, but I really liked the tabs on the expensive ones:

I  wanted to make my own using tabs not rubberbands or pins.
So I grabbed an Amazon box to "upcycle" and started cutting!

I tried out a few ways  to position the tabs that would hold the fabric in place, but I ran into a problem.
You can't cut too many tabs like the expensive organizers because the cardboard becomes weak and floppy. 
So then I tried only two tabs in the center. 
It worked great!

Here's how I made my fabric organizers:

Materials:
fabric
cardboard
X-Acto or sharp knife


Cut out a board 7 1/2" w x 11 1/2" l
Using a X-Acto or a very sharp knife, cut one tab 2" from the top in the center of the board.
Flip the board around and cut out another tab the same way.
Look at the picture for reference:

Start wrapping the fabric around the board:

When you've finished wrapping, pop out the tabs to secure the fabric.

That's it!
It will stack on shelves just as neatly as the fabric organizers too.
It's not as pretty as the expensive ones, but it is free.
You could spray paint the cardboard to match your sewing room - one can of paint would cover a lot of boards.

Here's the front of the organizer:

I read on Kandra's Corner that she's using comic book boards now.
I believe some people were worried the cardboard (she actually used tag board) wasn't acid-free.

So with a little searching, I found 100 magazine boards (8 1/2" x 11") for only $12.45 on Amazon - plus free shipping!
The boards on Amazon have only one preview - from a lady that is using them as fabric organizers!

I'm hoping I can cut tabs on them without the board becoming weak.
Maybe narrower tabs?
The tabs on the expensive boards appears to be more narrow than the ones I made. 
I'll be sure to update with pictures when I've tried the magazine boards!

Have fun!
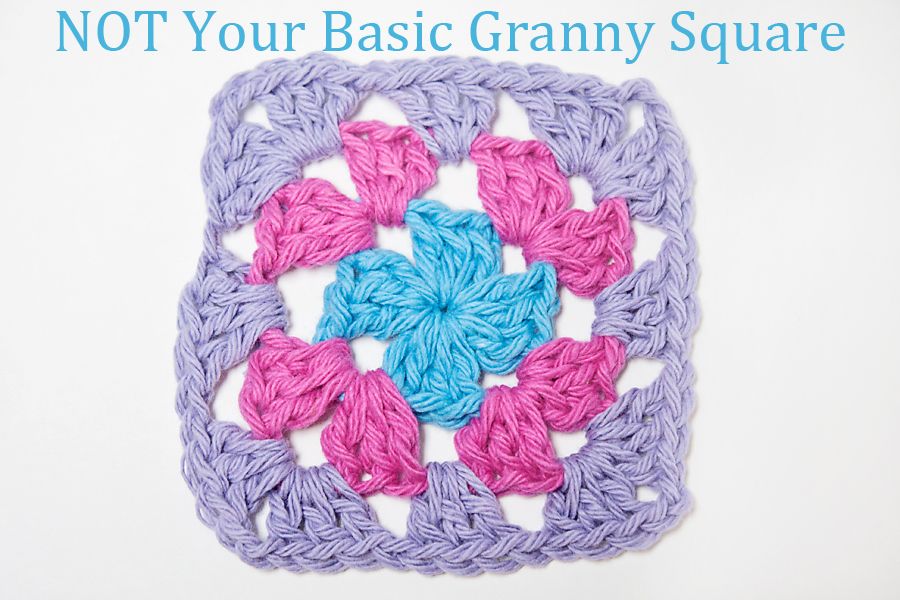
NOT Your Basic Granny Square

My method of crocheting a basic Granny Square isn't the traditional one that others use.

Similar yes, but I find my way flows better - less steps than the old way, so that means it's faster and easier to crochet.

Well, for me it is and maybe for you too.

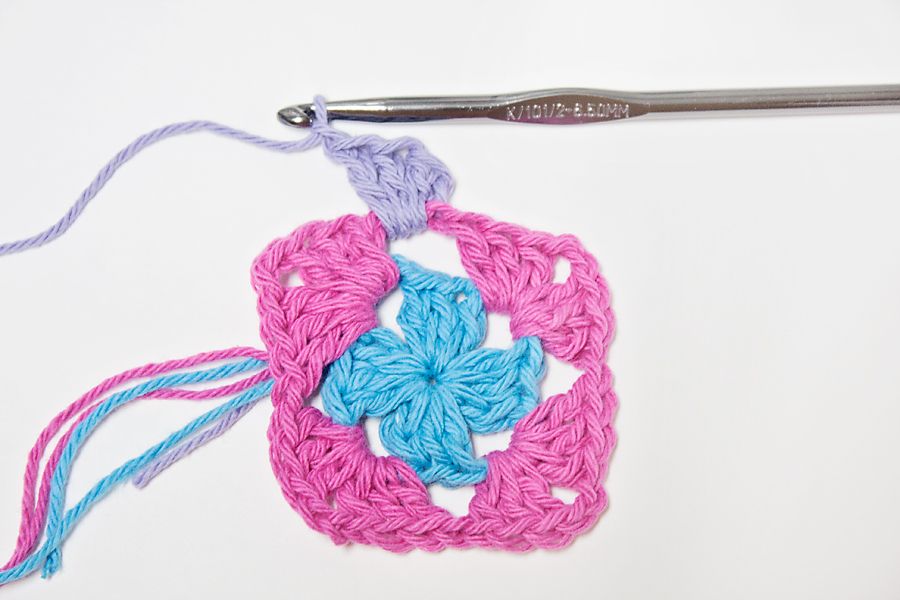
Below is a step-by-step picture guide how I crochet a basic Granny Square - my way!


Abbreviations:
ch = chain
sp = space

yo = yarn over
dc = double crochet

Materials:
crochet hook
yarn
scissors
tapestry needle

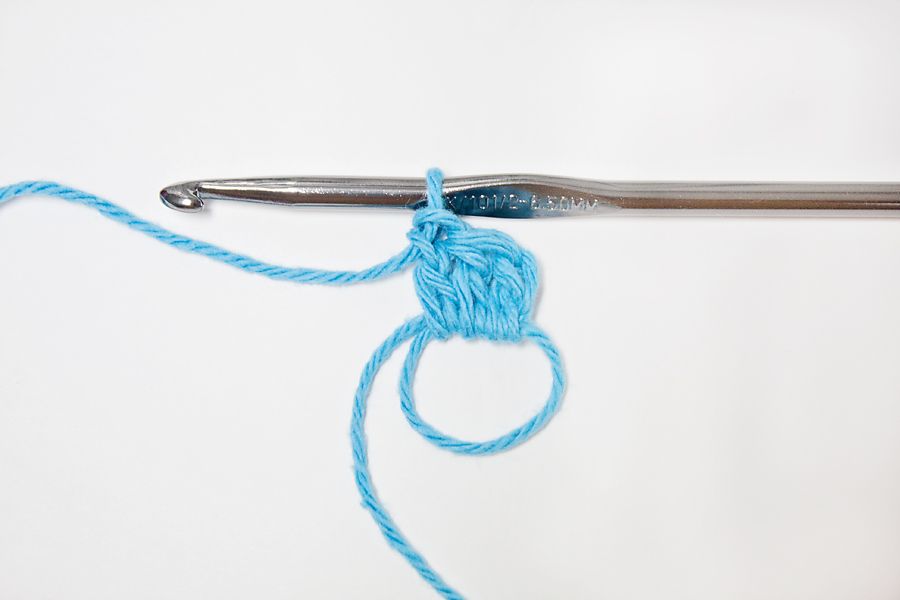
Start with a Magic Adjustable Ring, ch2
3dc into ring

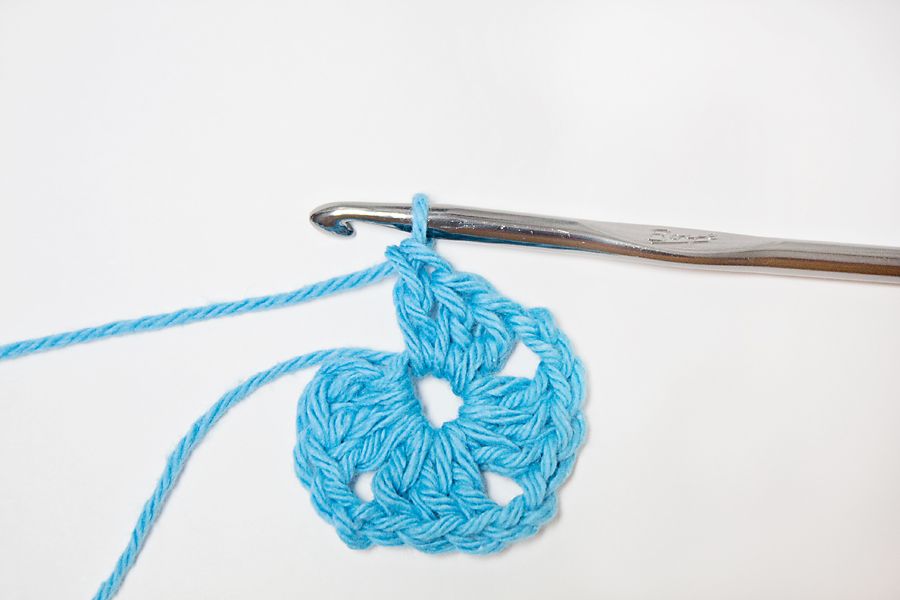
*ch1, 3dc* 3 times around.
Gently pull adjustable ring closed.
The center "O" can be any size you like; I pull my in small.

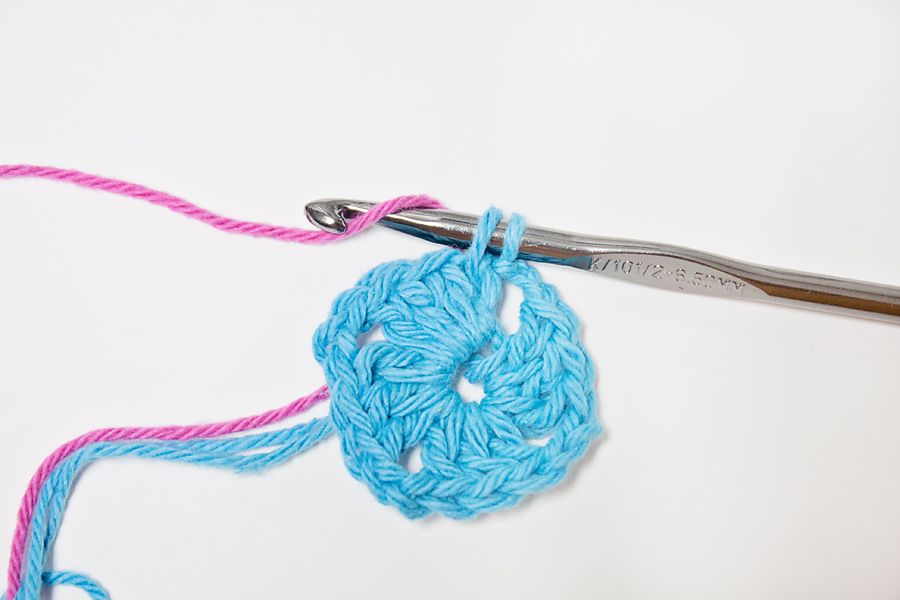
The next step is to change colors - but don't fasten off!

First ch1, put the hook into the top of the first dc, yo and pull through.
You should have two loops on your hook.
Change colors the traditional way by dropping the old color, and then picking up the new.

Now pull the new color through both loops on the hook.
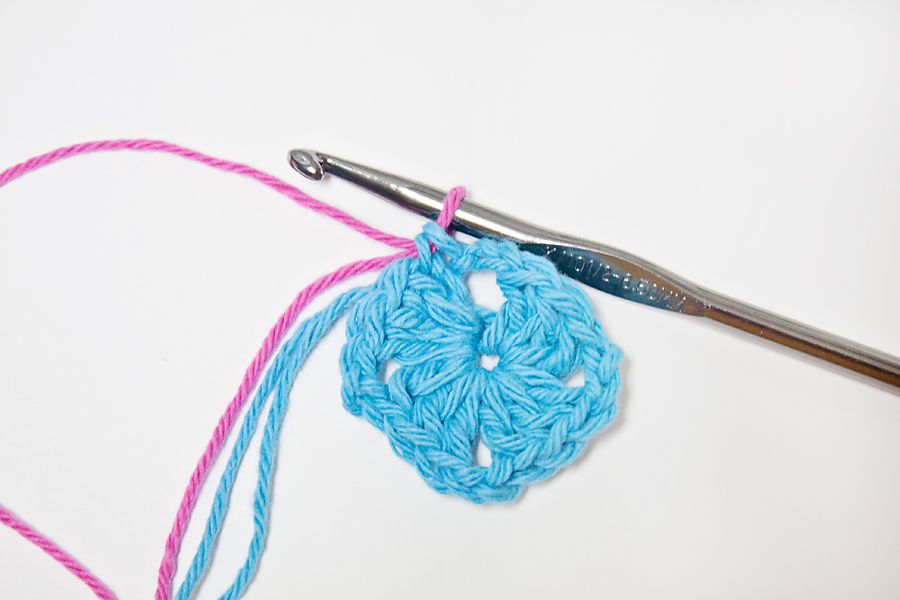
Cut off the old color leaving a 3" tail.

Next ch2, 3dc in same sp, ch1, 3dc in same space.
First corner made.

*ch1, 3dc, ch1, 3dc in next ch1 sp* repeat 3 times around.
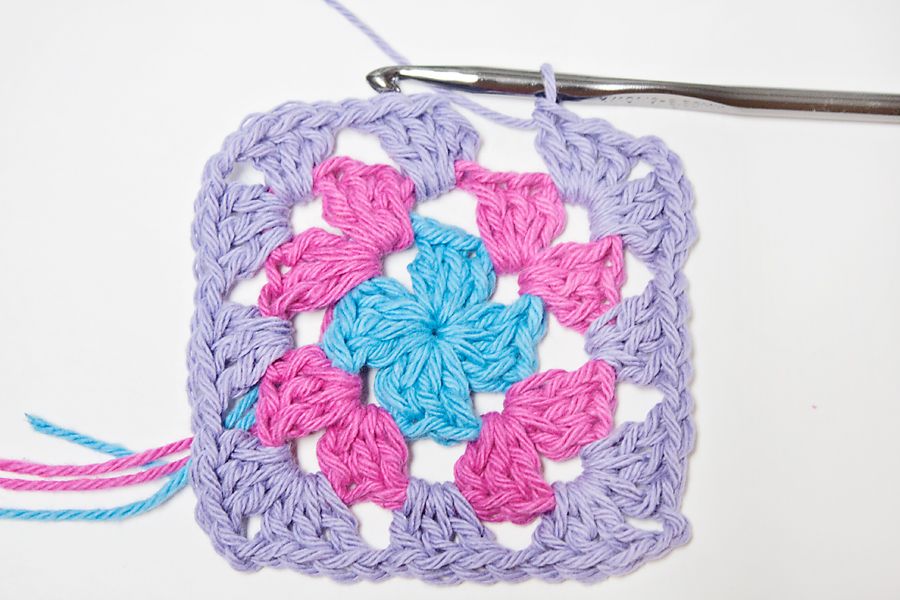
ch1 and put the hook into the top of the first dc.
Change colors like before.

ch2, 3dc in same sp, ch1

*3dc, ch1, 3dc* in corner, ch1, 3dc in next sp, ch1
Repeat 2 more times.
*3dc, ch1, 3dc* in last corner, ch1
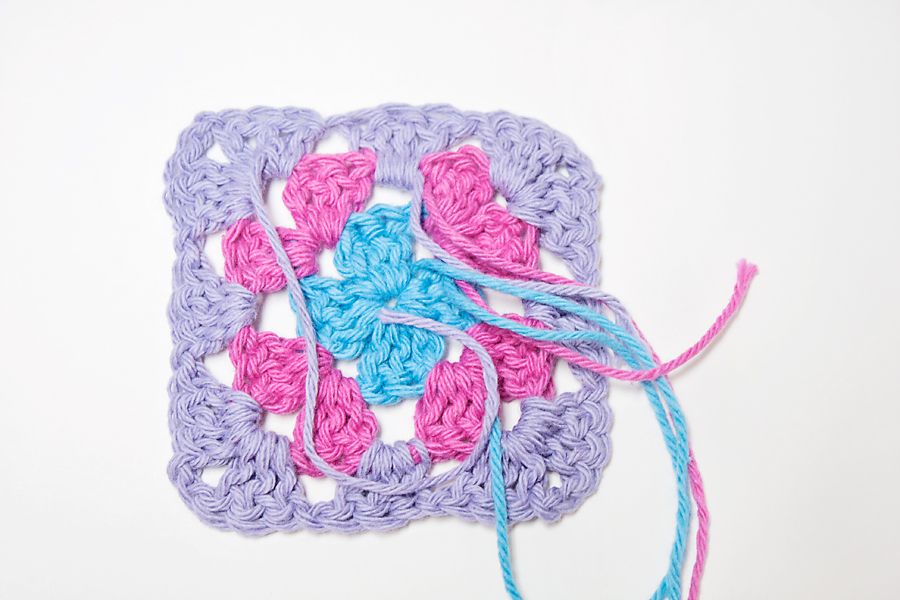
Finally, cut the yarn leaving a 3" tail.
Join to the first dc using futuregirl's method.

Weave in and secure all those tails with a tapestry needle - snip off the extra.

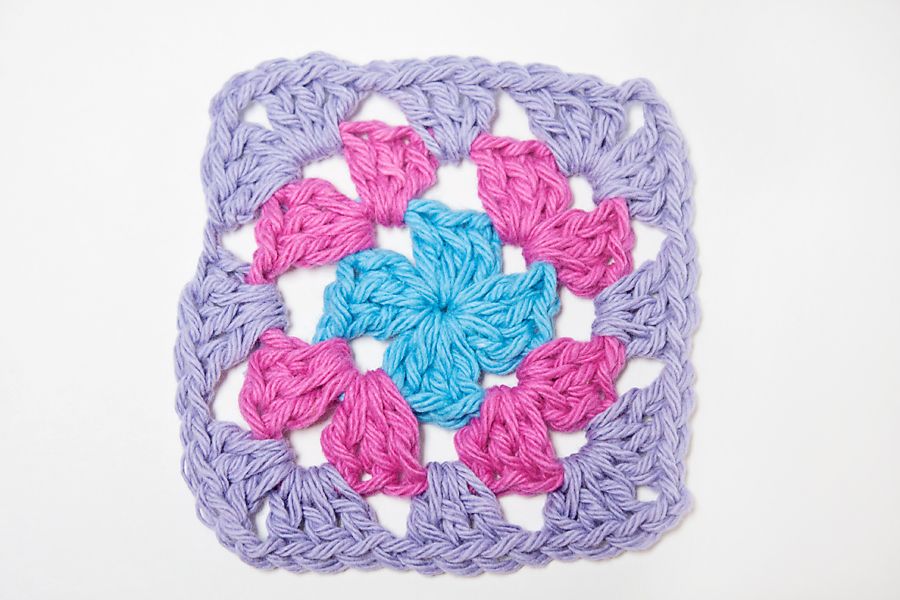
All done!

Post-It-Note:
You can keep going around and around by remembering:

At each corner: 3dc, ch1, 3dc
In each ch 1 space in-between corners: 3dc, ch1

Update:
1/18/12
I updated this post because I had a few typos. 
Sorry about the mistakes, but the instructions should be error-free now!


Have fun!


Sunday, January 15, 2012

Chuck E. Cheese Coupons - February & March 2012


More Chuck E. Cheese 2012 coupons!
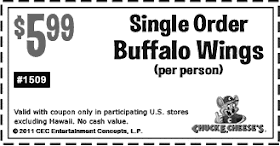
Just right-click on the coupons, then "save image as" to save it to your computer so you can print them over and over.
I like to add them to gift bags for birthdays and party favors too.


The following coupons expire:
February 14th 2012


These coupons below expire soon so hurry and take advantage of them!
Expires February 1st 2012


The following coupons have "CHUCK E CHEESE'S OF WILMINGTON" printed at the top of each coupon.
They will probably work at any location.
Doesn't hurt to give it a try!
Expires March 21, 2012


Find more 2012 Chuck E. Cheese coupons I've posted
HERE.


Have fun!!

A Week of Fuzzy Cell Phone Pictures

Okay another week gone by, and more fuzzy pictures to share!

I took all of these with my 3GS iPhone and edited them with Photoshop Express just like last week.

This week I also used PicFrame (99¢) to show some of the before/after shots when I edit.
A couple of them I made into mini "storyboards".
A fun, inexpensive little app!
Lots of frames to choose from, but you can easily resize the frames too.
So many features on this cheap app - go try it out I think you'll like it!
-----------


Deep conditioning Serenity's hair with THIS.
She said, "I look like a beautiful alien!"

Found the little guy chewing on our cabbages:

Serenity is all dressed up and headed to art class!

Doing Math problems the old fashion way.
I bought our abacus HERE.

Dropping my hubby off at the airport in NOLA.
He works in Brazil for two months at a time.
We are going to miss him a lot!

Serenity's silly little Jeanette toy.

It's a hard knock life!
Serenity's handmade mop is from Camden Rose.
You can find it on Amazon too.

We made stamps using bottle caps and foam stickers.
You can find the tutorial we used HERE.

A little Supper with Serenity at her favorite pancake place.

Painted her piggy toes!

My little pink drink.


Have fun!