Tuesday, June 28, 2011

Pinwheels, courtneycourtney and Target!


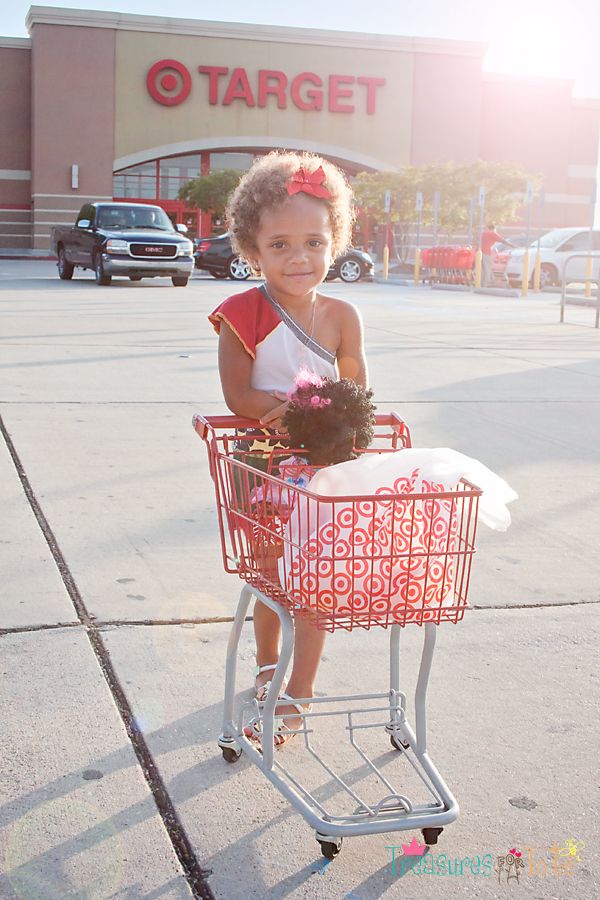
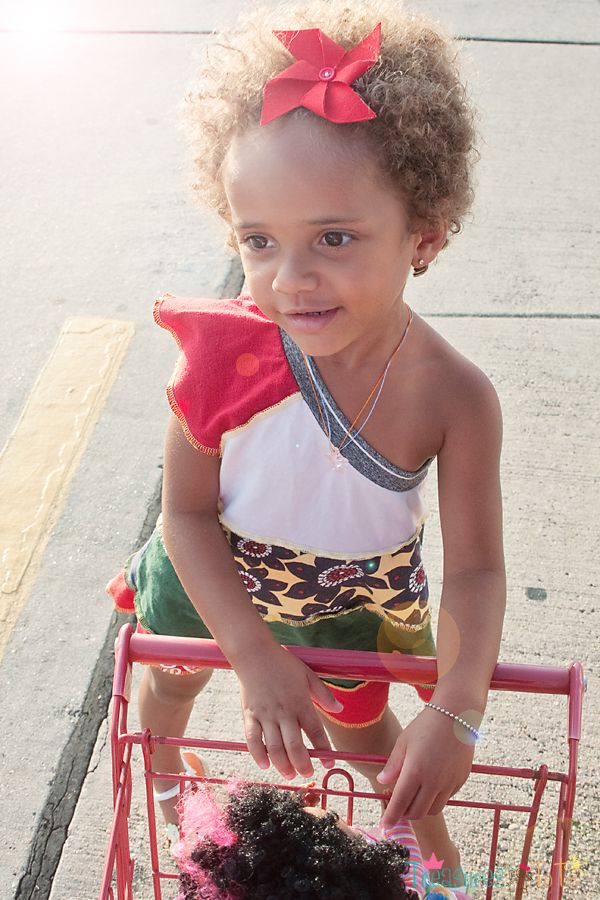
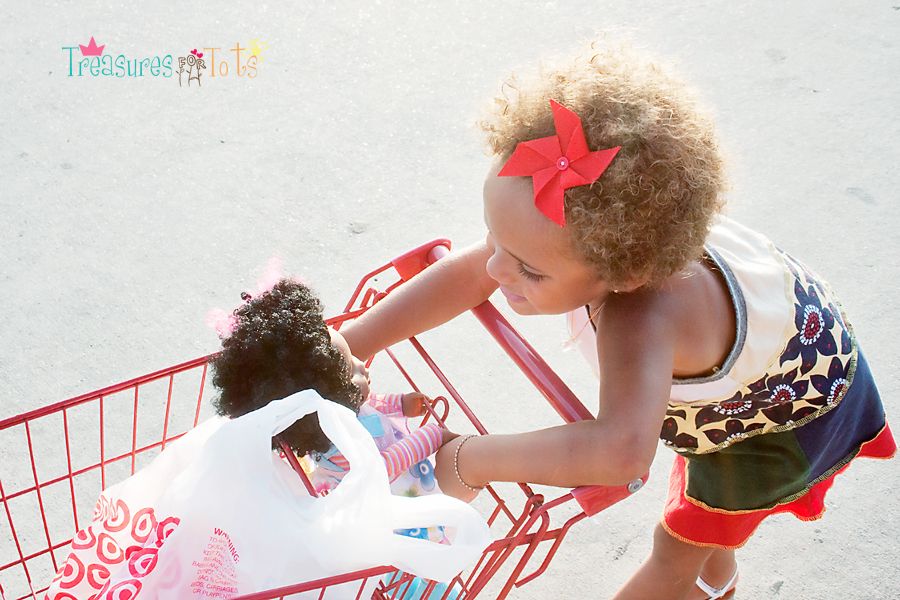
Leslie from Rainbow Dashing, sent this sweet pinwheel clippie to Serenity.
It matches great with her fun Summery little courtneycourtney dress!


Her dress is a couple of years old now, so it's gotten a tiny bit short, but it's in excellent condition and still fits my petite babe.


I love this outfit on her - it's so cool and comfy for shopping at Target on a HOT Southern Summer day!


Post-It-Note:

I found Serenity's shopping buggy on Ebay a few years ago for around $50 (including s&h).
Her sweet baby doll is an older version of the Corolle Les Dollies named Tina.


Have fun!


Monday, June 27, 2011

Chuck E. Cheese Coupons!!!


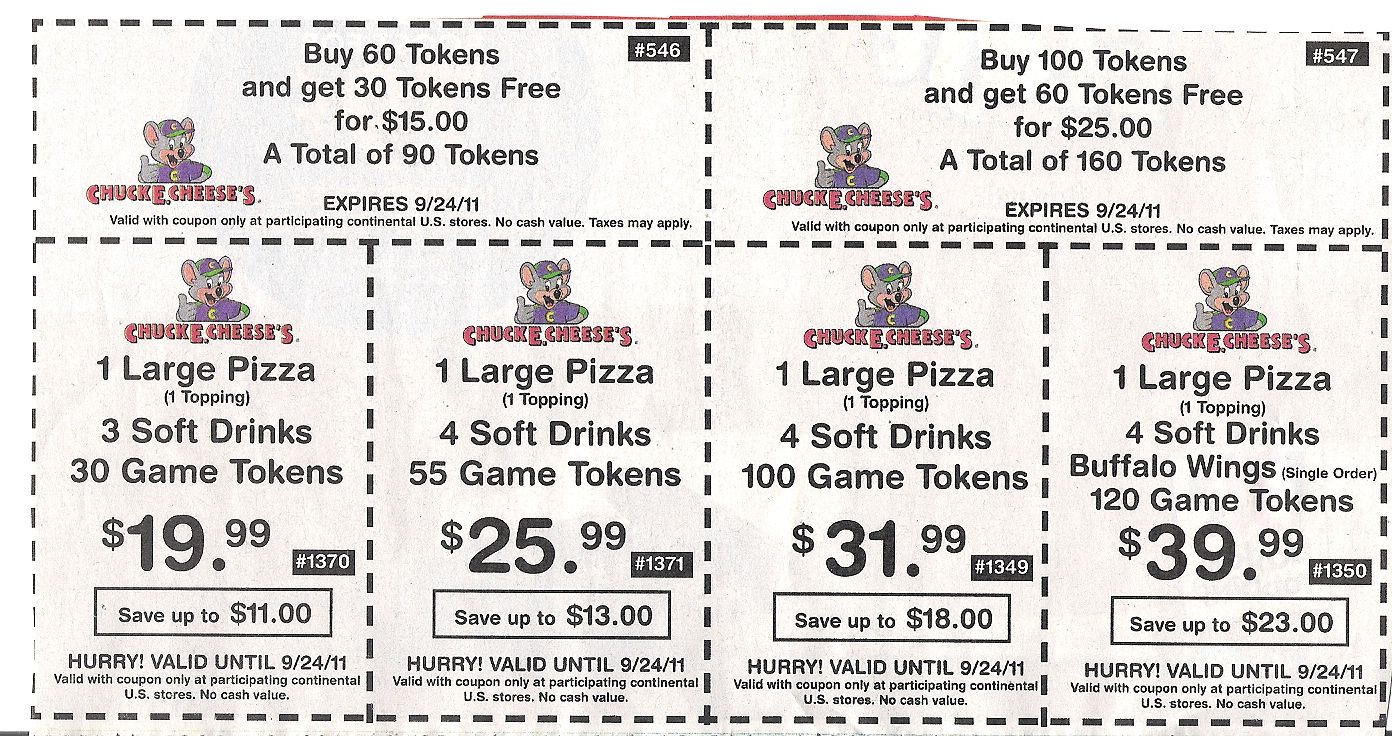
Here's some new Chuck E. Cheese coupons!

Just right-click, then "save image as" to save it to your computer!

Chuck E. Cheese coupons are great because you can print them over and over!

These coupons were in Sunday's paper and they are good until September 24, 2011!


Find the newest Chuck E. Cheese coupons HERE!


Have fun!!

Wednesday, June 22, 2011

Fresh Homemade Butter!

You wouldn't believe how incredibly easy it is to make your own!

It really is - I promise!

All you need is 1 quart heavy whipping cream, a mixer and 15 minutes of your time.
I used my KitchenAid, but any mixer will do really, like a hand mixer or a blender.

You can even make butter in a jar!
You just have to shake or roll it around for 30 minutes or so.
This takes a lot of energy, so it would be a fun thing that kids can do!
For little kids, use a plastic jar instead of a glass one.
I think Serenity would get a kick out of making butter by herself!
4-year olds - they want to do everything "by themselves"!

Any brand of heavy whipping cream will work too - yes, even the cheap Wallyworld brand.

The first time I made homemade butter, I bought Borden's ($6) and the result was a creamy, very pale yellow butter.
For my second time, I bought the Wallyworld brand Great Value ($4), and the result was a creamy, light yellow butter.

Both tasted delicious!


Here we go:

Pour the entire quart of cold heavy whipping cream into your mixer.
Turn it on the highest setting.
Try to get the freshest cream you can find.
I think that's probably more important than spending the extra money for a brand-name cream.
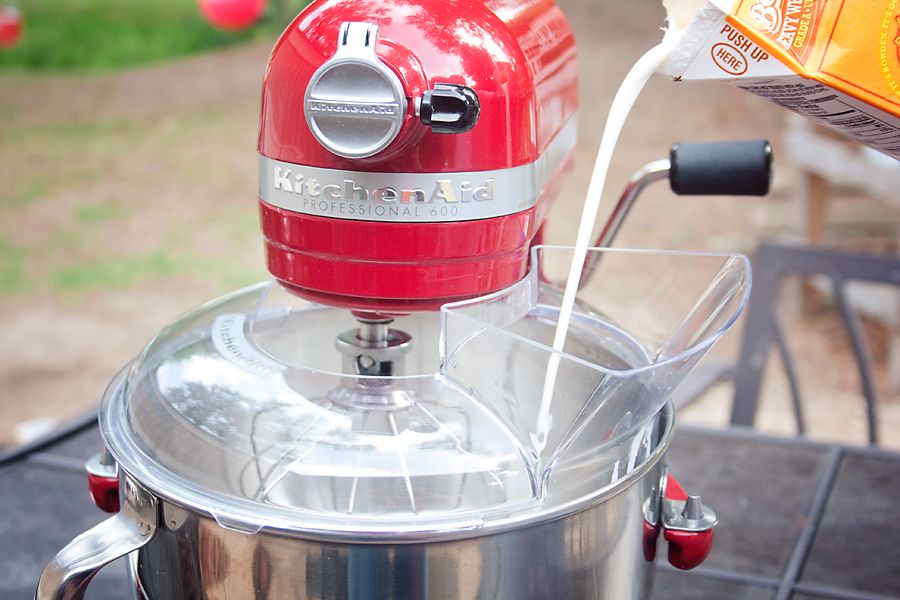


After a couple of minutes or so, you'll get a heavenly whipped cream.
I could lick the whole bowl by myself!
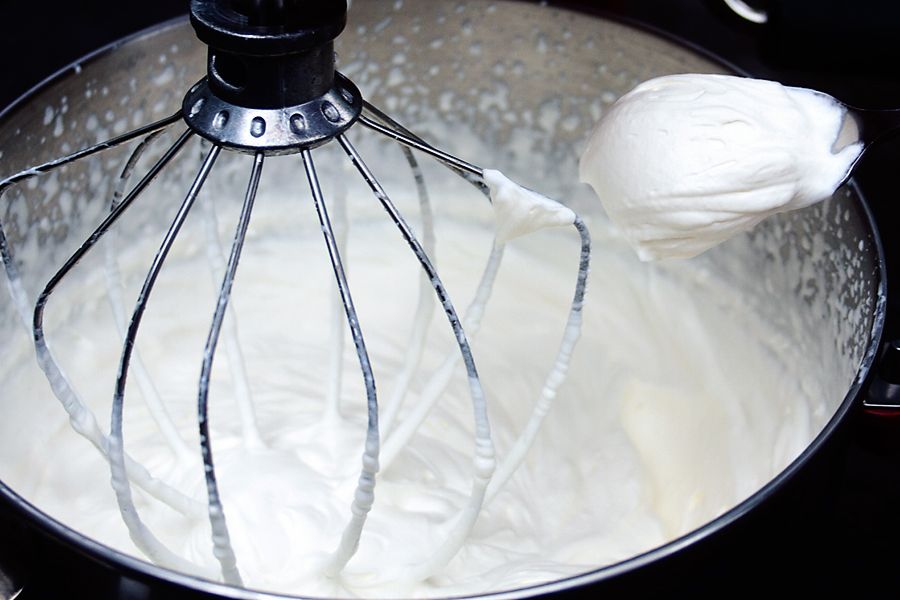


Perfect for a delicious homemade iced coffee!

Iced Coffee:
2 ounces CoolBrew (or your own coffee concentrate)
1 tablespoon fine grain raw sugar
1 glass cold low-fat milk
1 glass of ice
1 dollop of fresh whipped cream

Mmmmm.....
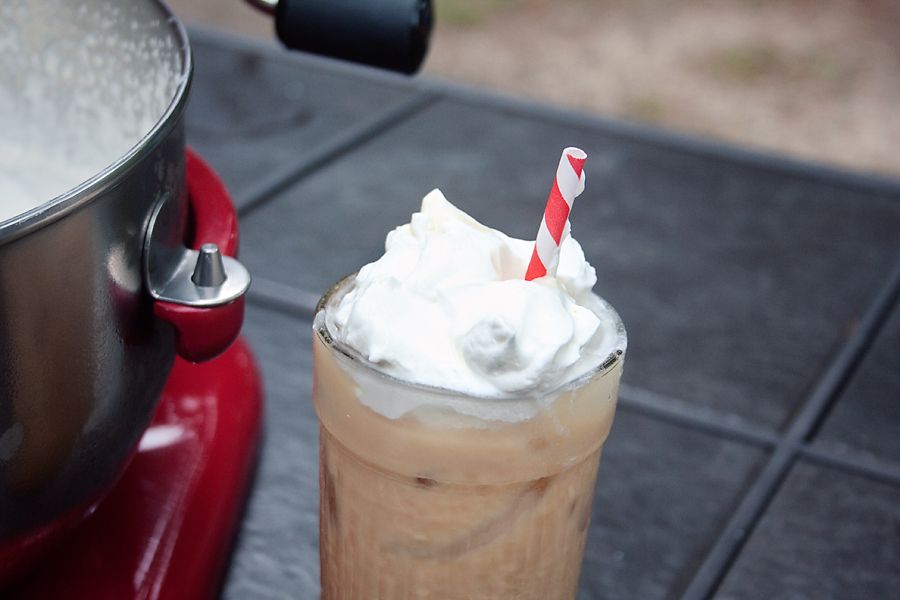


Okay, after scooping out a little bit (just a little!) of fresh cream, turn your machine back on.
After a few more minutes, it'll lose that fluffy, whipped texture.
It will start to look creamy and darken slightly.
I didn't try it when it got to this stage (maybe next time), but I bet it would be scrumptious on fresh baked bread!
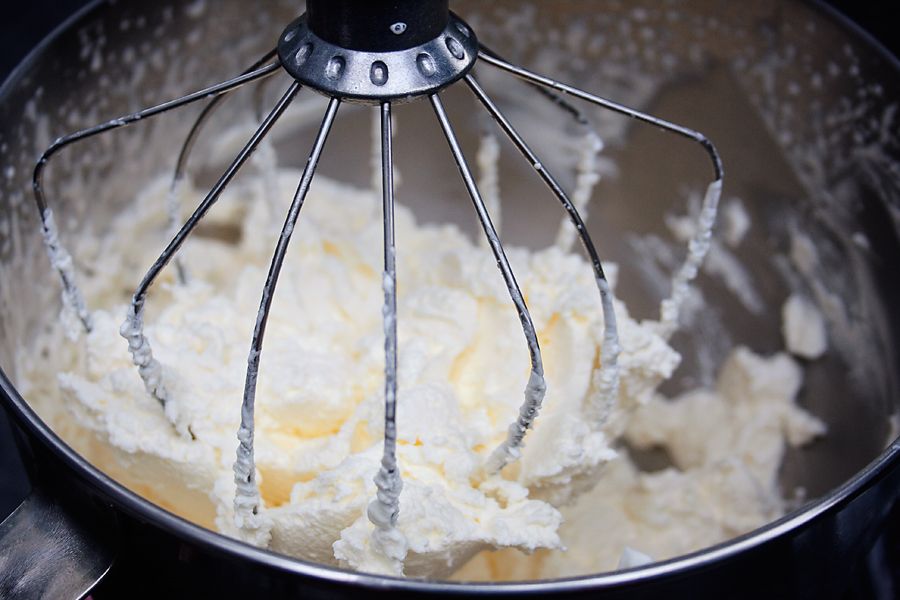


Let's keep going!
After a few more minutes, you'll come to the part where the butter is just about to separate from the buttermilk.
At this point it will turn a light yummy yellow color.
You're almost done!
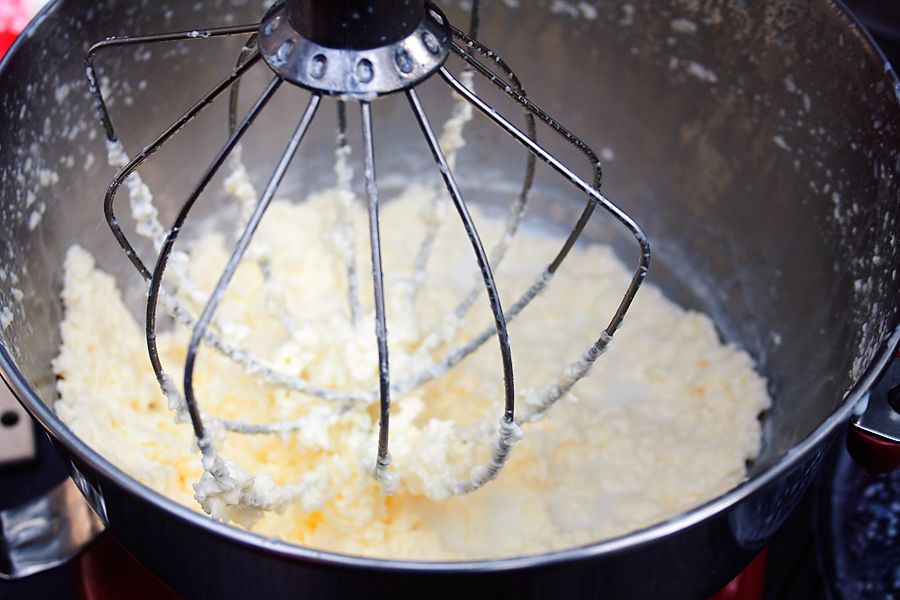


Once the buttermilk separates from the butter, it will splash everywhere!
Be sure to have the guard on your mixer.
You can use plastic wrap or a dishcloth too.
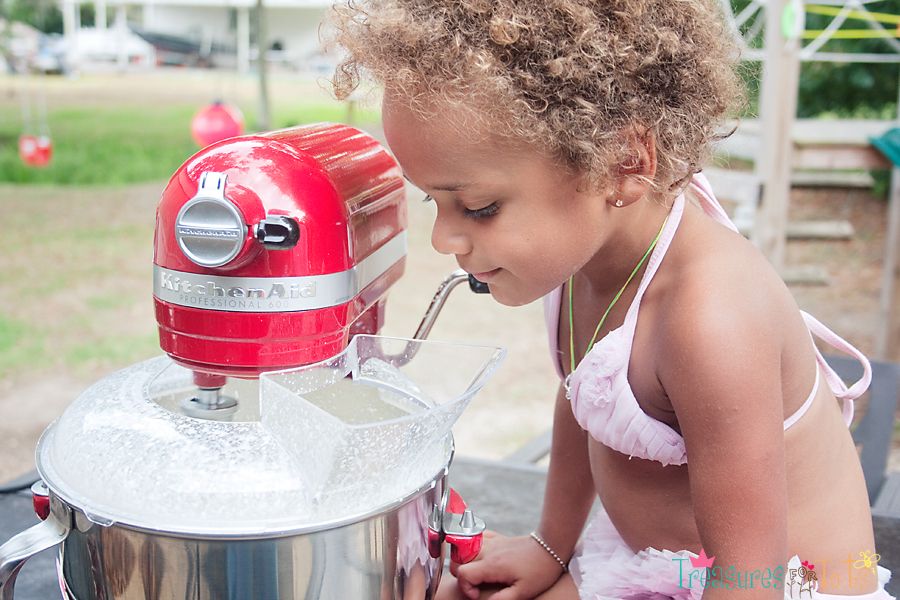
Or let your child sit next to the mixer with their mouth open to catch the flying buttermilk!


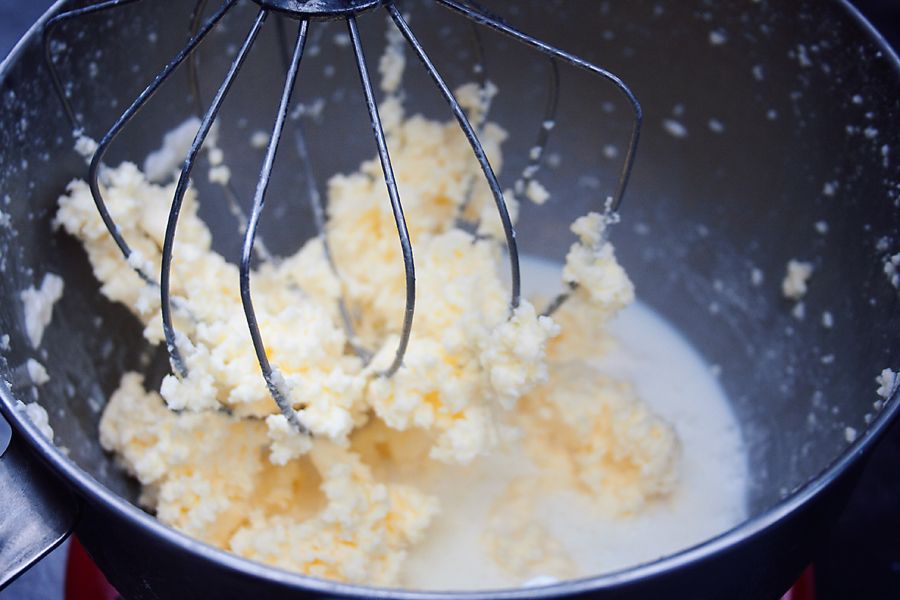
As you can see, the buttermilk has completely separated from the butter.
All done!


The next step is to strain the butter and collect the buttermilk in a bowl.
I recommend using a very fine mesh strainer or a cheesecloth.
If you like your butter salted, you can add it during this step.
I didn't take pictures of how I separated the butter through a mesh strainer, hand-squeezed the excess buttermilk out, and then rinsed the butter.
Sorry about that!

But you can find the most excellent step-by-step picture tutorial that I followed at The Hungry Mouse.

Click HERE for the tutorial!!

Allrecipes.com has the exact same method for homemade butter, but without all the beautiful pictures.
Still, I loved reading the helpful reviews about how much people enjoyed making their own fresh homemade butter.
So many were amazed how easy it is to make your own!
I know I was when I first learned the whole process took less than 15 minutes!

Rhinestone Beagle has a nice tutorial up too, and she uses a very fine cheesecloth to strain her newly made butter.


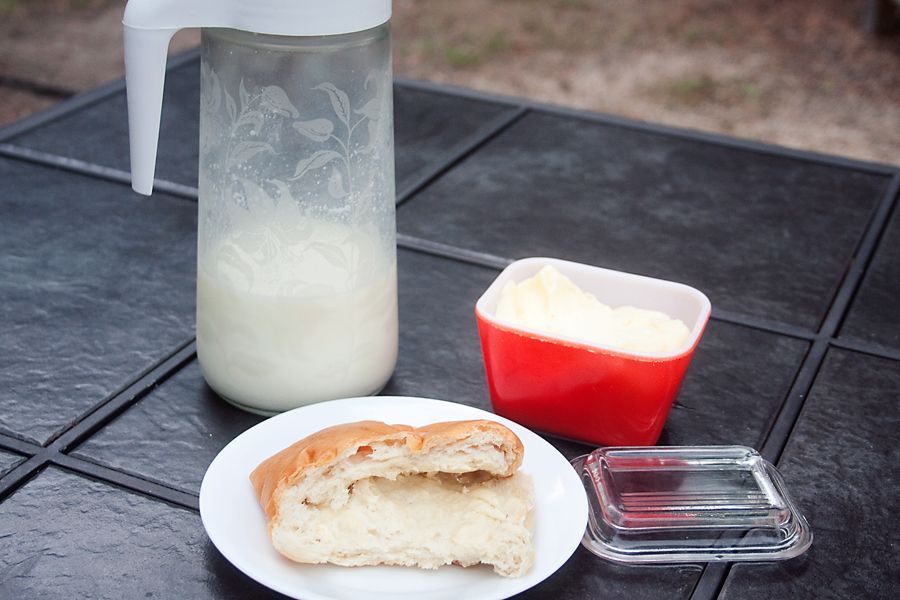
I ended up with around 1 1/2 cups of fresh buttermilk and a little under a pound of unsalted butter from 1 quart of heavy whipping cream.
It would've been a tad more - but I had to snag some of that delicious whipped cream for my coffee.
Try using the buttermilk to make yummy pancakes and biscuits!


Have Fun!!


Monday, June 20, 2011

Hip Klip/Klub Combo


I entered the Purse Bling GIVEAWAY hosted by Teaching Tiny Tots and won this funky cool Hip Klip/Klub combo for Serenity.

It came in today and she's been wearing it all day - only taking it off during nap-time.

It's great for preschoolers, little girls and boys, tween, teens and Moms!

It's not very big, but perfect to keep track of all your small items:
money, phone, lip gloss, tiny toys, coins, a cool rock, or that perfect little sea shell!

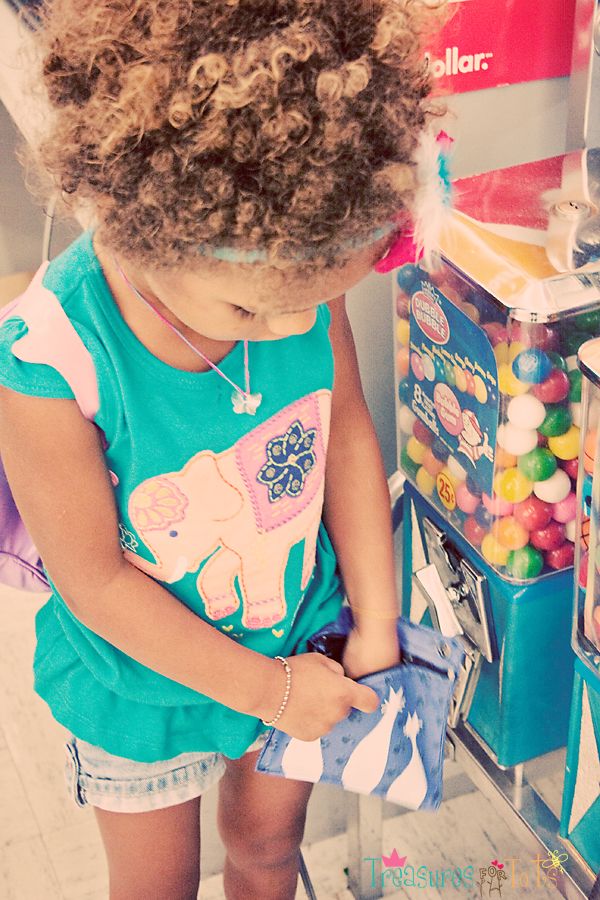
Serenity kept her vending machine and snowcone money in it during our afternoon in town today.

It's also helped to get Serenity interested in money and how to use it - on a very small scale of course.
But she learned that a Barbie snowcone was 1 dollar and 2 quarters.
And some vending machines took 4 quarters, while others took 2 or only 1!

Oh and check out Purse Bling's little Twist and Pout Lip Balms - they are on 10% off right now!

Have fun!

Sunday, June 19, 2011

Happy Father's Day!

Happy Father's Day!!


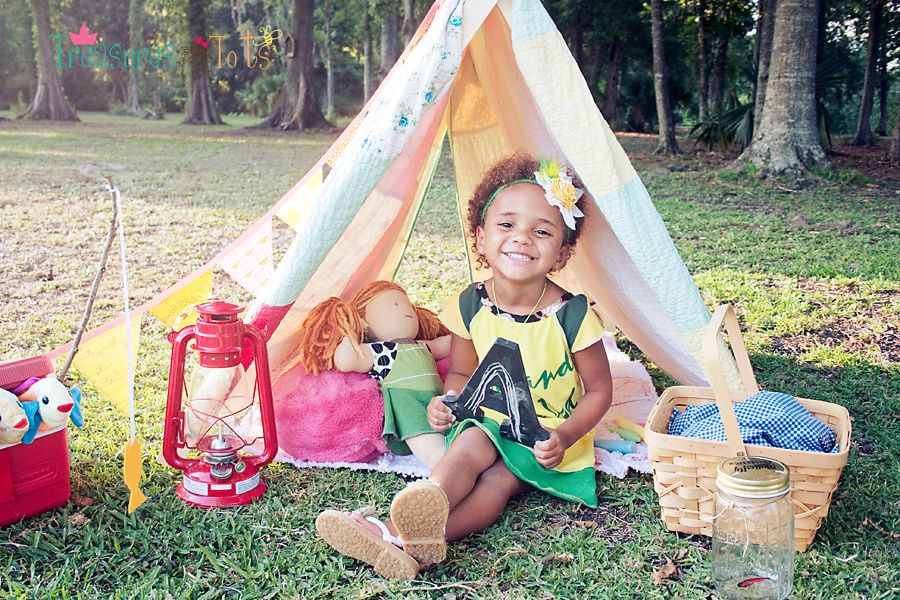
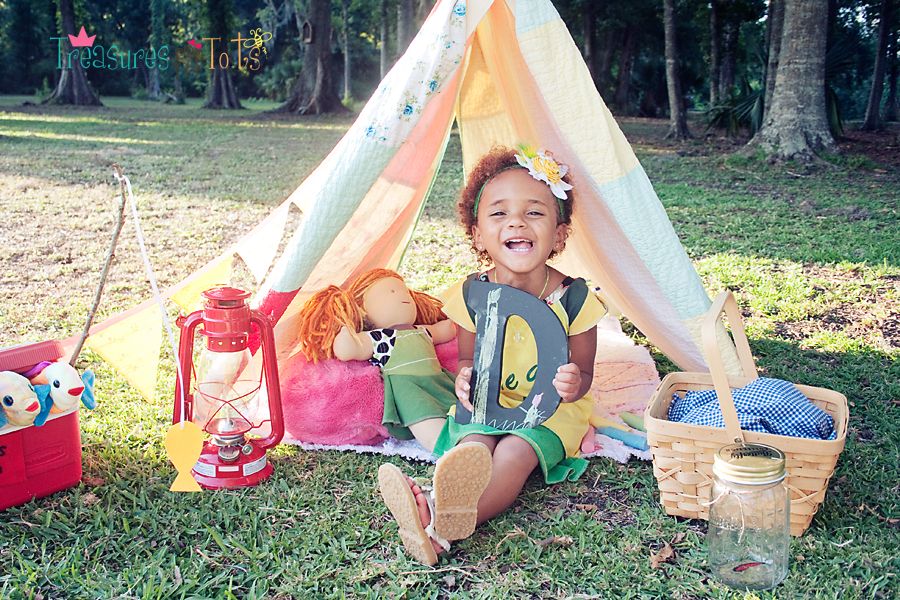
What's in the photos:


The tent:
I built the frame (all by myself!) using my hubby's power tools, and just threw one of my favorite old quilts over it. Serenity likes to take naps in her new tent!

The ice chest:
My sister Paige put it together. She found an old ice chest that used to be my little bother's, some colorful Beanie Baby fish she had in her collection, and then tied a bit of ribbon to a stick and a little yellow felt fish.

LOVE!

The lantern:
$5 from Wallyworld!

The jar:
$10 from Wallworld. There is a pink and black "butterfly" inside a beautiful mason-like glass jar. It flies around pretty realistically when you gently tap the lid!

The picnic basket:
$4 from Wallyword. The blue-checked cloth is from an old sheet that used to be my sister's when she was a little girl.

The rag quilt:
Serenity's baby quilt that I made.

The pillow:
Big, fluffy, soft, heart-shaped, and PINK! Around $10 at Target - I'm pretty sure that's where I got it.

The letters:
Chalkboard letters I painted. I found a big box of Crayola chalk for under $2 at Wallyworld. You can find out more about the chalkboard letters in my blog post here.

The Drawings on the Letters:
The first "D": Her name. She learned a few months ago and she's very proud of her accomplishment.
The "A": A rainbow!
The second "D": That's Rapunzel in her tower with her long hair flowing down, and Mother Gothel waiting in the grass at the bottom.

The headband:
I made it using Heather Ross' Tadpoles in a Jar fabric, silk flowers, a tiny crochet daisy, feathers, and a Swarovski crystal.

The Flag Bunting:
I made it too! I used mixed-mashed fabrics that weren't too-too "girly" to blend with the overall theme of the shoot.

The Doll:
A lovely handmade OOAK doll made by Bamboletta. Her name is Haven!

The Dresses:
Serenity's dress says, "Me and My Dad". Serenity and Haven's dresses are unique, OOAK from courtneycourtney!

The Girl:
My Beautiful, Happy, Quirky, Funny, Energetic, and Smart 4 1/2 ~going on 16~ year old Daughter Serenity!!


Have Fun!

Thursday, June 16, 2011

Unicorn's House


Kim from Grow With Me Gifts sent a darling little unicorn with a wooden house to Serenity last week.

We were in NOLA hanging out for a week with some friends when it arrived so Serenity didn't get a chance to paint it until this week.

She was so excited to get home and see this waiting for her!
She named the little unicorn, Pinky.

She had a lot of fun painting the little house - and paid very close attention to details too!


She used a lot of orange!
I found the paints Serenity is using at Michael's for only $4.99.
It's a 12 pack of washable paints - that's a lot of paint for such a good price.
It came with two trays of light and dark colors - including pink!


Serenity surprised me by never using pink for her unicorn's house - whose name is Pinky!
The closest she got to the pink was painting the back of the house red.
Silly baby girl!


I love following Kim's blog, Grow With Me Gifts.
She's always doing so many fun kid's crafts with her sweet daughter Brianna!

Thanks again Kim for Serenity's pretty new unicorn Pinky and her house and the fun afternoon Serenity and I spent together!

Have fun!

Wednesday, June 15, 2011

Chalkboard DAD Letters

This year for my husband on Father's Day I wanted to do a special photo with Serenity.

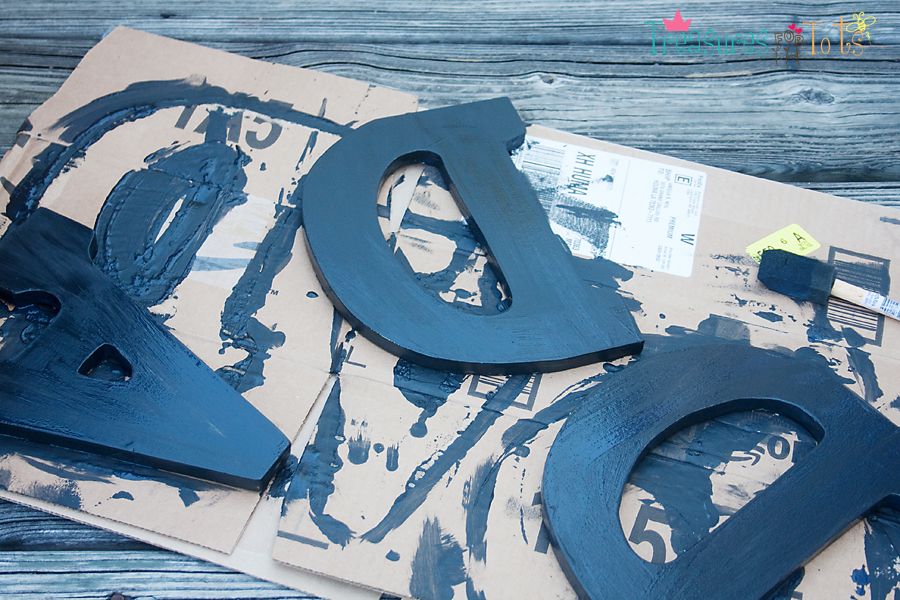
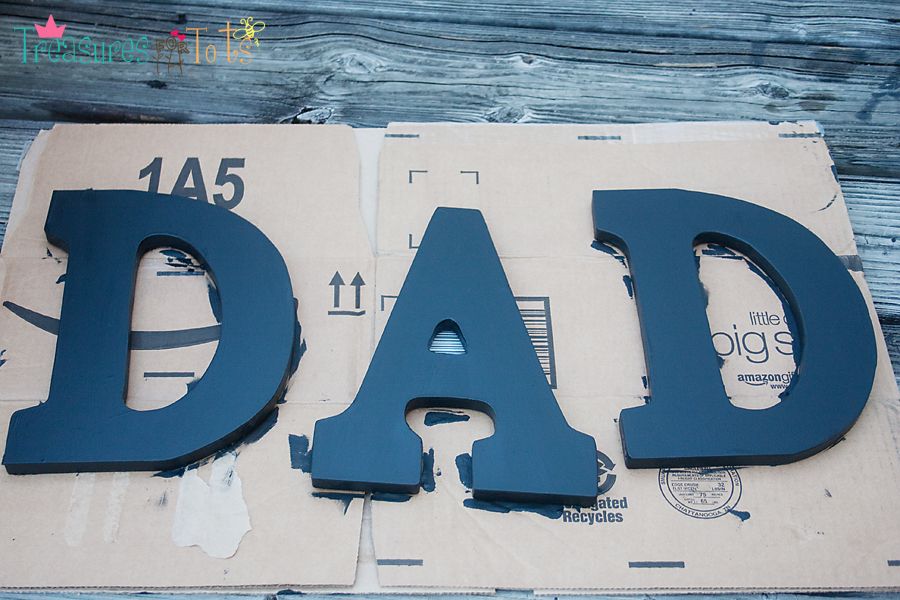
One of the things in the photo shoot will be some DAD letters that I painted with chalkboard paint.

It was very easy - even for someone like me who can't paint!

Here's what you'll need if you want to make your own:


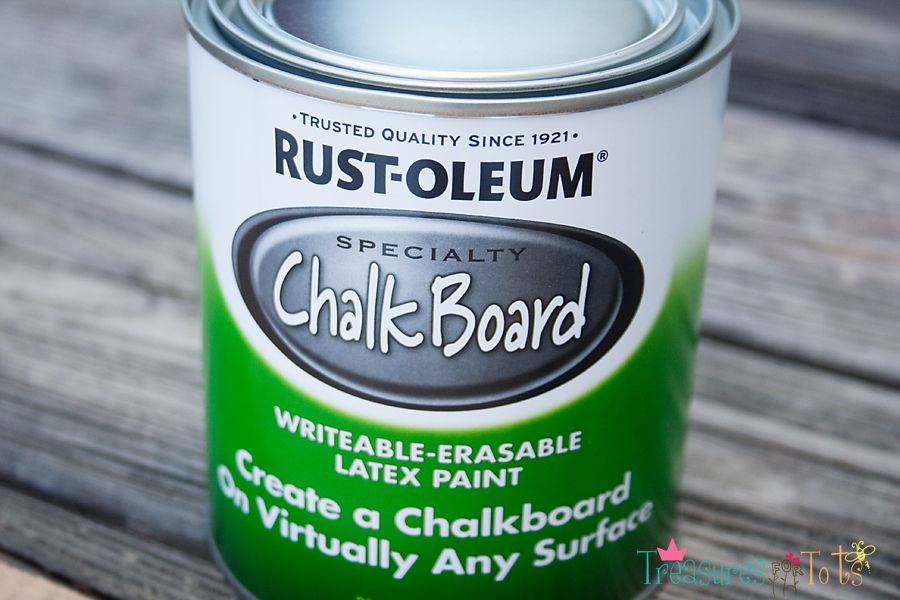
One can of chalkboard paint - you'll have plenty leftover for other projects!
$9.99 at Wal-Mart:


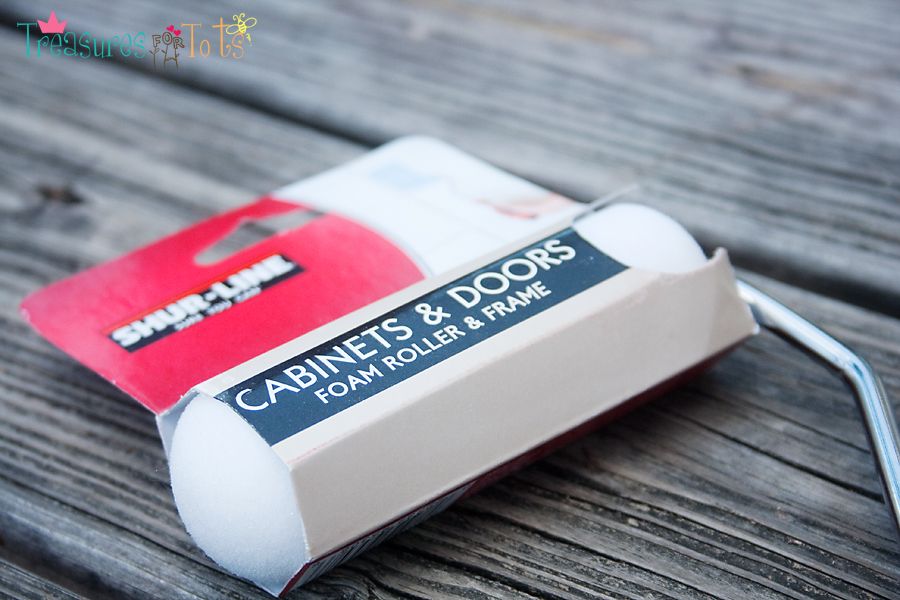
A foam roller for a smooth finish.
$3.99 at Wal-Mart:


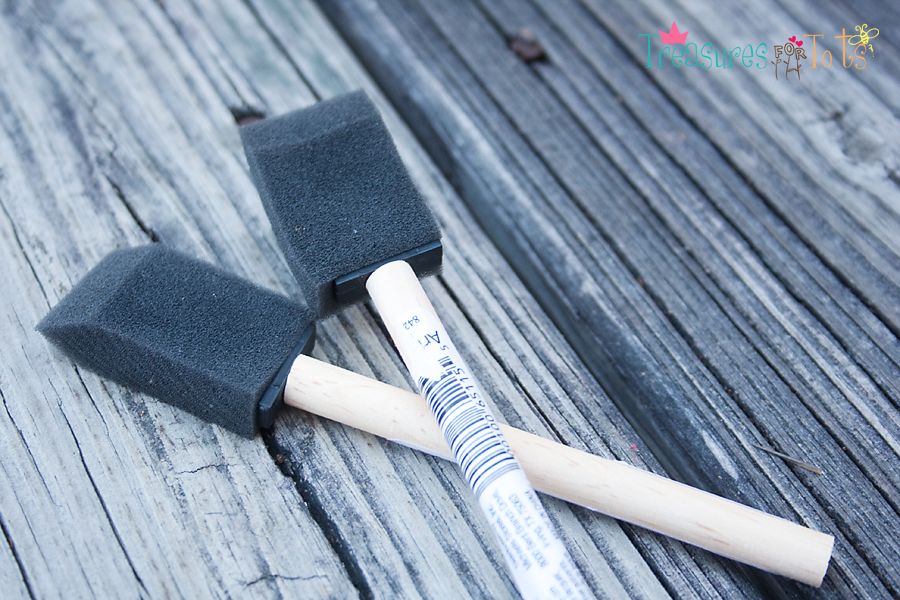
I liked using these little foam paint brushes.
About $.89/each at Wal-Mart:


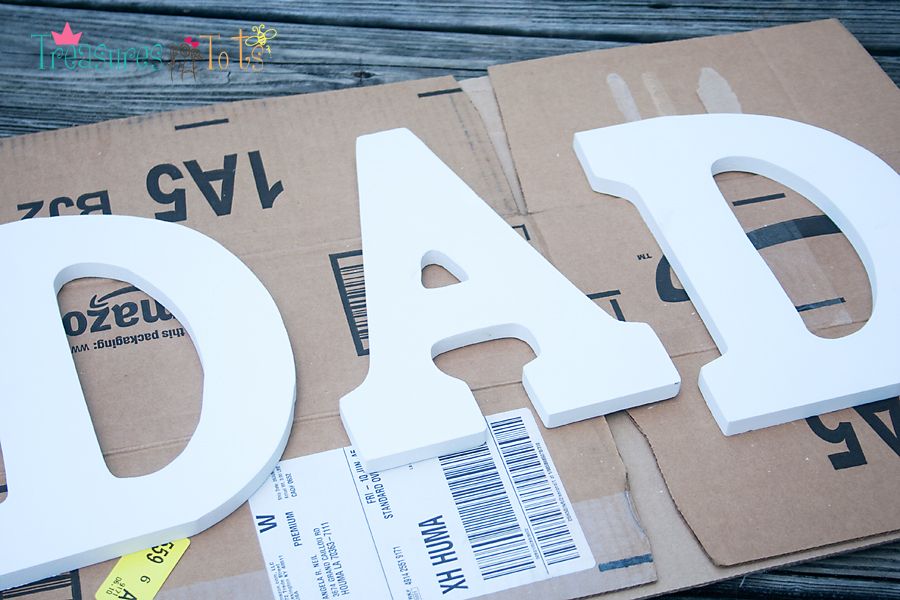
Letters from Michael's.
Less than $5/each:


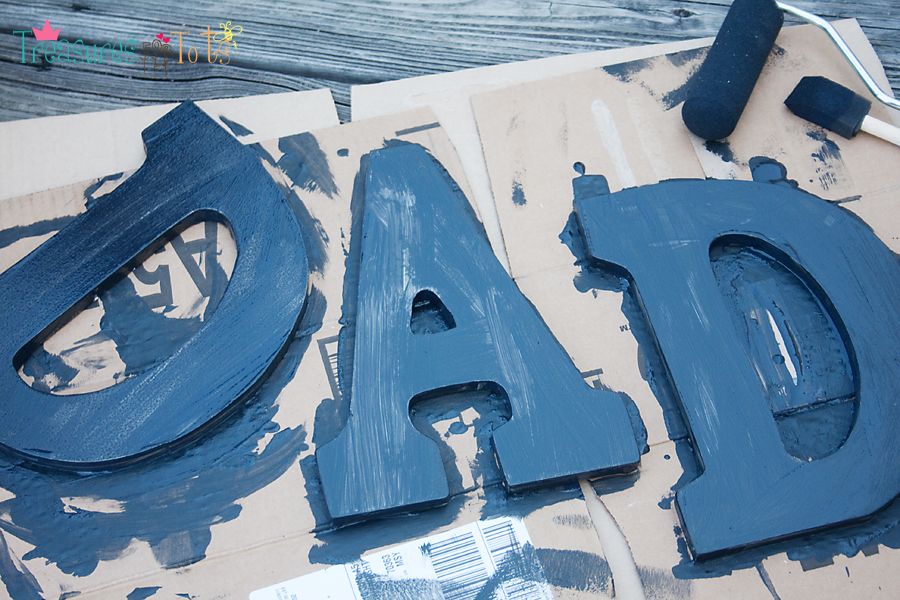
This is after the first coat - I probably should've lightly sanded the letters first to get the paint to stick better:


This is after the second coat:


And this is after the third coat - I definitely should've sanded the letters first:


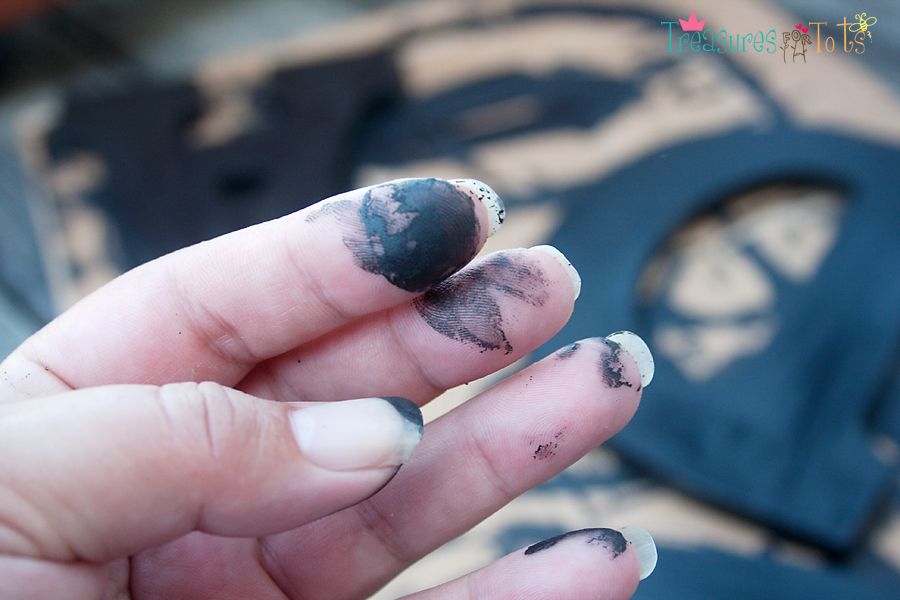
My fingers are messier than Serenity's when she paints!


All in all, I like how they turned out. There are a few things I would've done a little differently:

1. Lightly sand the letters first.
2. BE PATIENT and wait longer in-between coats.
3. Start this project earlier!!

When I'm finished the photo shoot I'll share my pictures so y'all can see how it turned out!


Have fun!


Somewhat Simple


Monday, June 6, 2011

MiaMoo Designs

Necklace by MiaMoo Designs!
Headband by Me!
Very Hungry Caterpillar dress by Me!


Katie from MiaMoo Designs is a long-time blog friend and Mother of two darling girls. I met her right after I started my own blog. She's been so awesome and supportive - always posting the sweetest comments too!

For almost three years she's been making wonderful crafts, outfits and headbands for her two beautiful daughters and sharing online her fabulous results. She posts her own tutorials and links to some other fun tutorials (even some of mine!) too.

Katie is also a great photographer - you should see the amazing shots of her sweet baby girls!


She's made and sold quite a few things on her blog, but her newest creations have got to be my favorite!

Big chunky necklaces for little girls!


So adorable and original - absolutely nothing else out there like them!

She made one for Serenity to made the Very Hungry Caterpillar dress I made for Serenity.


You can find more of Katie's necklaces at her Big Cartel store here:

MiaMoo Designs.

Don't forget to stop over at Katie's blog and catch her on Facebook too!


You can find a Very Hungry Caterpillar pop-up book like Serenity's on Amazon.com!


Have fun!